Электропилы Bosch PPS 7 S - инструкция пользователя по применению, эксплуатации и установке на русском языке. Мы надеемся, она поможет вам решить возникшие у вас вопросы при эксплуатации техники.
Если остались вопросы, задайте их в комментариях после инструкции.
"Загружаем инструкцию", означает, что нужно подождать пока файл загрузится и можно будет его читать онлайн. Некоторые инструкции очень большие и время их появления зависит от вашей скорости интернета.


English |
45
Bosch Power Tools
1 609 929 W71 | (30.3.11)
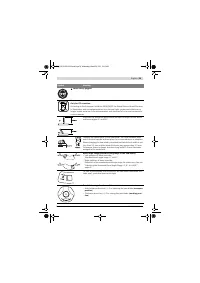
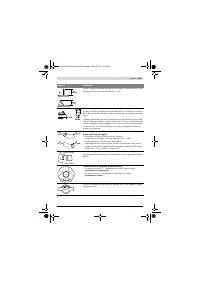
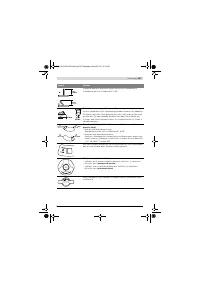
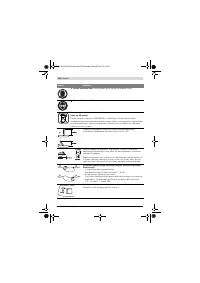
Dust/Chip Extraction
Dusts from materials such as lead-containing
coatings, some wood types, minerals and metal
can be harmful to one’s health. Touching or
breathing-in the dusts can cause allergic reac-
tions and/or lead to respiratory infections of the
user or bystanders.
Certain dusts, such as oak or beech dust, are
considered as carcinogenic, especially in con-
nection with wood-treatment additives (chro-
mate, wood preservative). Materials containing
asbestos may only be worked by specialists.
– Always use dust extraction.
– Provide for good ventilation of the working
place.
– It is recommended to wear a P2 filter-class
respirator.
Observe the relevant regulations in your country
for the materials to be worked.
The dust/chip extraction can be blocked by
dust, chips or workpiece fragments.
– Switch the machine off and pull the mains
plug from the socket outlet.
– Wait until the saw blade has come to a com-
plete stop.
– Determine the cause of the blockage and cor-
rect it.
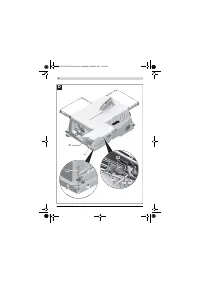
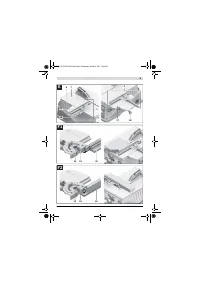
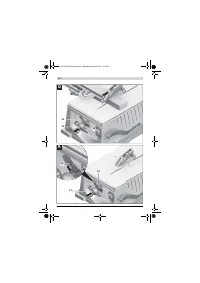
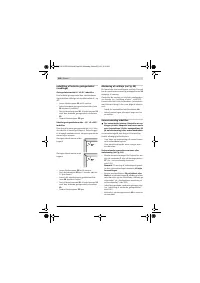
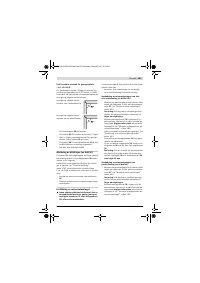
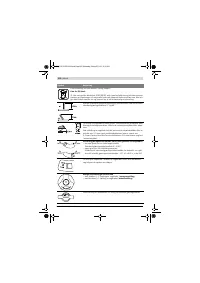
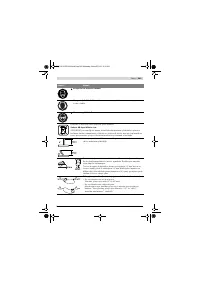
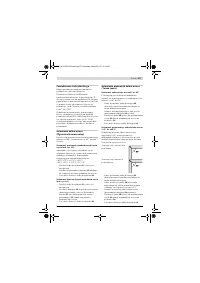
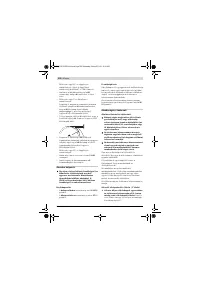
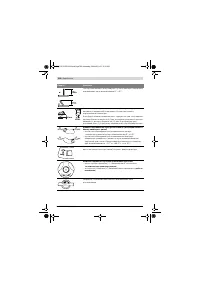
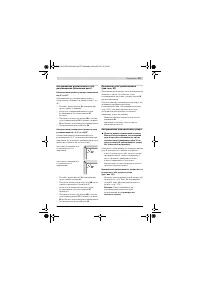
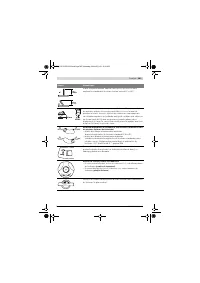
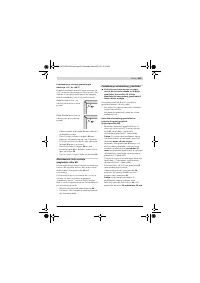
Cleaning the Lower Saw Blade Cover
(see figure I)
A cleaning flap
55
located in the lower saw
blade cover
54
can be opened for removal of
workpiece fragments and large chips.
– Switch the machine off and pull the mains
plug from the socket outlet.
– Wait until the saw blade has come to a com-
plete stop.
– Remove table extension
27
and universal
guide
1
.
– Tilt the machine on it’s side.
– Remove bottom plate
39
.
– Open cleaning flap
55
of the lower saw blade
cover
54
and remove workpiece fragments
and chips.
– Shut the cleaning flap and screw the bottom
plate on again.
– Bring the machine back to the working posi-
tion and mount all attachment parts.
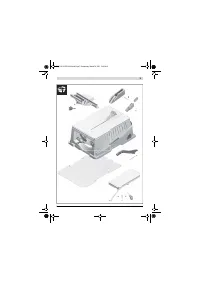
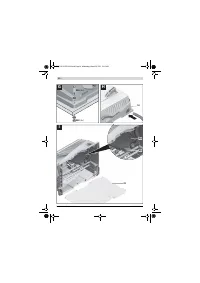
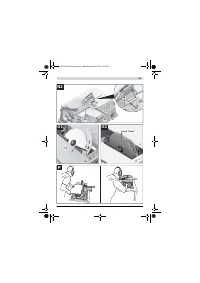
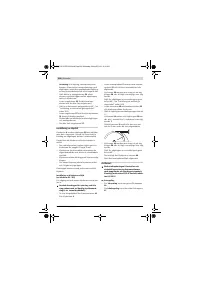
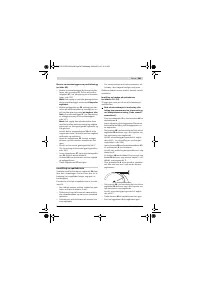
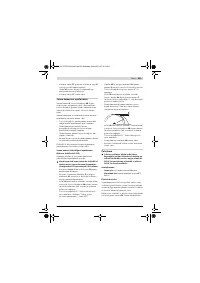
External Dust Extraction (see figure H)
– Connect a vacuum hose to the sawdust ejec-
tor
10
.
The vacuum cleaner must be suitable for the ma-
terial being worked.
When vacuuming dry dust that is especially det-
rimental to health or carcinogenic, use a special
vacuum cleaner.
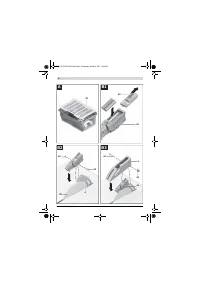
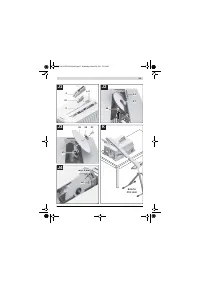
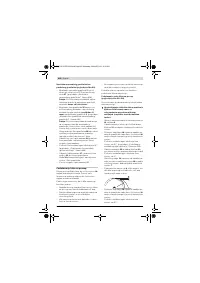
Changing the Saw Blade
(see figures J1
–
J4)
f
Before any work on the machine itself, pull
the mains plug.
f
When mounting the saw blade, wear protec-
tive gloves.
Danger of injury when touching
the saw blade.
Select the suitable saw blade for the material to
be cut.
Use only saw blades whose maximum permitted
speed is higher than the no-load speed of the
power tool.
Use only saw blades that correspond with the
characteristic data given in these operation in-
structions and that are tested and marked in ac-
cordance with EN 847-1.
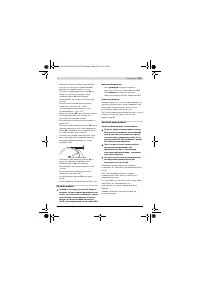
Removing the Saw Blade
– Remove the blade guard
3
and the laser unit
41
from the riving knife
4
.
– Loosen the screws of insert plate
5
with Al-
len key
13
and remove the insert plate from
the saw table.
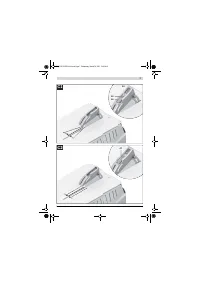
– Turn crank
18
clockwise to the stop, so that
the saw blade
28
is in the highest possible
position above the saw table.
– Adjust a saw blade bevel angle of 45 ° . (see
“Adjusting Bevel Angles”, page 47)
– Turn the Allen screw
57
with the Allen key
13
provided while at the same time pressing the
spindle lock
56
until it engages.
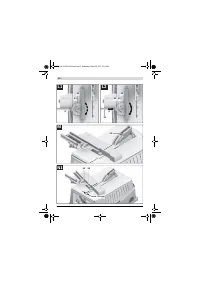
– Keep the spindle lock
56
pressed and un-
screw the Allen screw
57
in anticlockwise di-
rection.
– Remove the exterior clamping flange
58
.
– Remove the saw blade
28
.
OBJ_BUCH-1259-002.book Page 45 Wednesday, March 30, 2011 11:02 AM
Содержание
- 345 Всегда распиливайте только одну деталь.
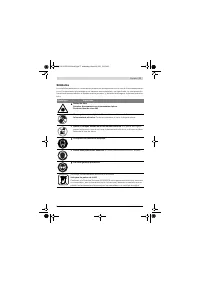
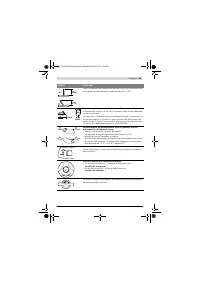
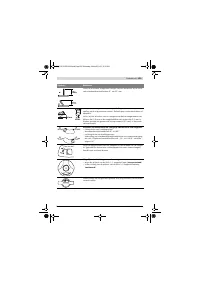
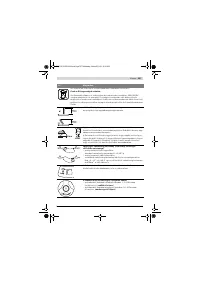
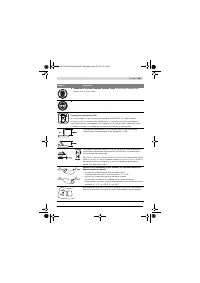
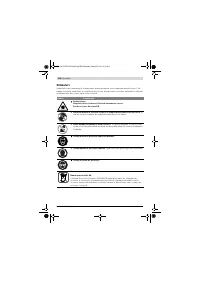
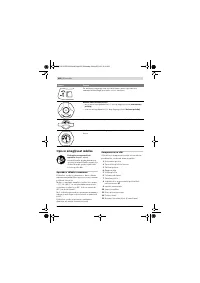
- 346 Символы; Символ
- 347 Русский; Применяйте средства защиты органов слуха.; Воздействие шума может; Используйте защитные очки.; Не выбрасывайте электроинструменты в бытовой мусор!
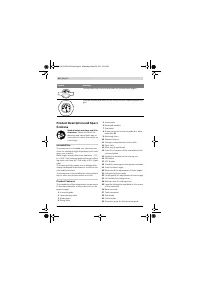
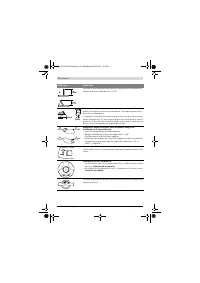
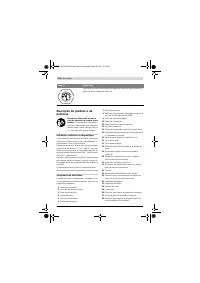
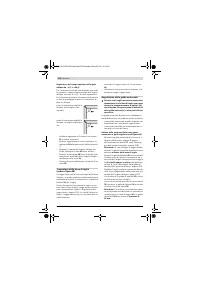
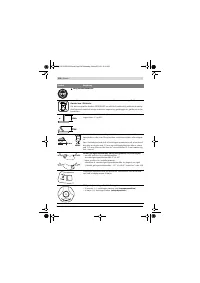
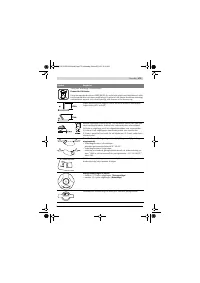
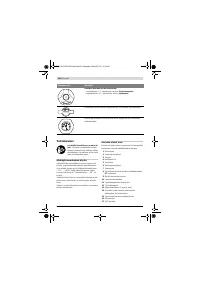
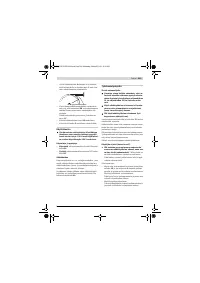
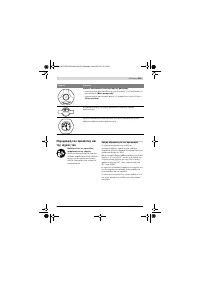
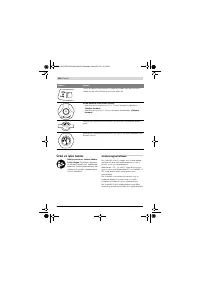
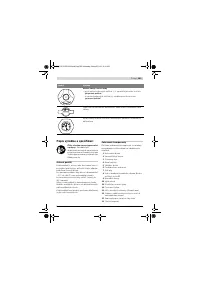
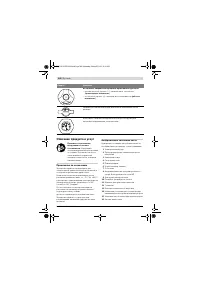
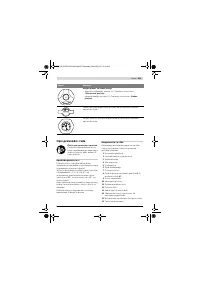
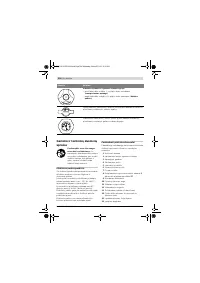
- 348 Описание продукта и услуг; Применение по назначению; Возможные направления вращения кривошипной рукоятки
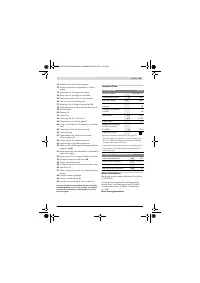
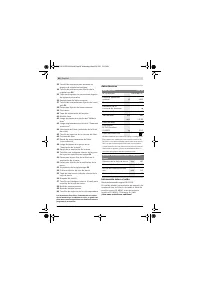
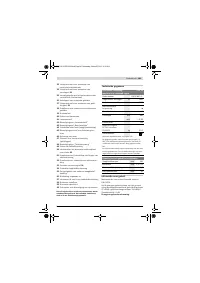
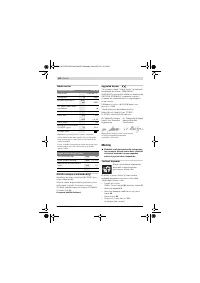
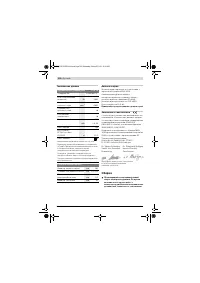
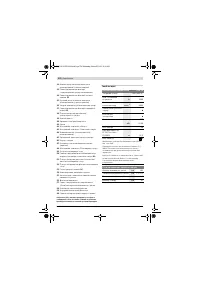
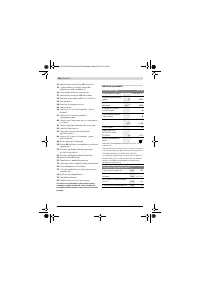
- 350 Технические данные; Применяйте средства защиты органов слуха!; Заявление о соответствии; Сборка; Протяжная циркулярная пила; Размеры пильных дисков
- 351 Комплект поставки; Последовательность монтажа
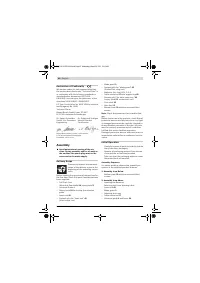
- 352 Монтаж лазера и защитного кожуха; Установка параллельности:
- 353 Настройка ровности; Монтаж удлинителя стола и упоров; справа от пильного
- 354 Отсос пыли и стружки
- 355 Демонтаж пильного диска; Работа с инструментом; Транспортное положение; Увеличение площади стола
- 356 Настройка диапазона угла распила от 0
- 357 Настройка универсального упора
- 358 Включение электроинструмента; включить
- 359 Указания по применению; Общие указания для пиления; Учитывайте при этом следующие указания:; Максимальные размеры заготовки; Этот режим работы пригоден для:; Высота заготовки
- 360 не должно превышать 15 мм
- 361 Хранение и транспортировка; Хранение электроинструмента; Техобслуживание и сервис; Техобслуживание и очистка; Очистка; Принадлежности
- 362 Россия; Утилизация


