Электропилы Bosch PPS 7 S - инструкция пользователя по применению, эксплуатации и установке на русском языке. Мы надеемся, она поможет вам решить возникшие у вас вопросы при эксплуатации техники.
Если остались вопросы, задайте их в комментариях после инструкции.
"Загружаем инструкцию", означает, что нужно подождать пока файл загрузится и можно будет его читать онлайн. Некоторые инструкции очень большие и время их появления зависит от вашей скорости интернета.


42
| English
1 609 929 W71 | (30.3.11)
Bosch Power Tools
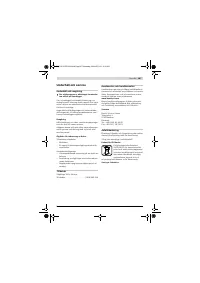
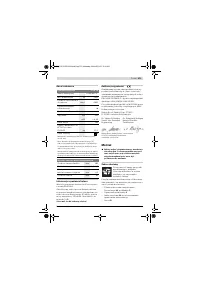
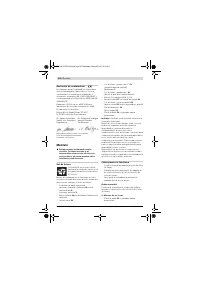
Declaration of Conformity
We declare under our sole responsibility that
the product described under “Technical Data” is
in conformity with the following standards or
standardization documents: EN 61029,
EN 60825-1 according to the provisions of the
directives 2004/108/EC, 2006/42/EC.
EC Type Certification No. MSR 1036 by notified
testing agency No. 0366.
Technical file at:
Robert Bosch GmbH, Dept. PT/ESC,
D-70745 Leinfelden-Echterdingen
Robert Bosch GmbH, Power Tools Division
D-70745 Leinfelden-Echterdingen
Leinfelden, 18.02.2011
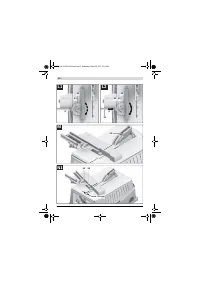
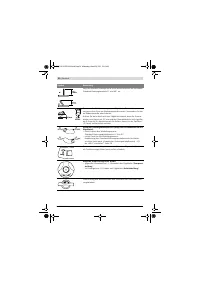
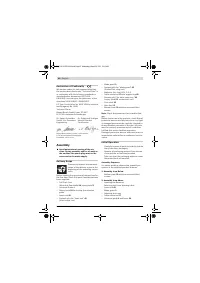
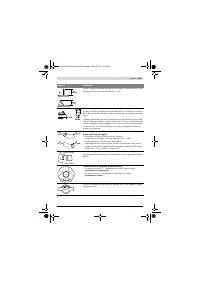
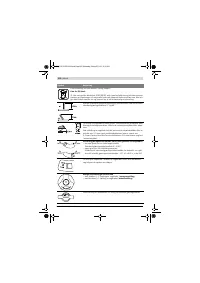
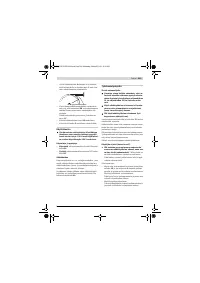
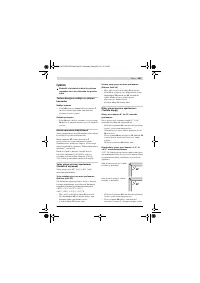
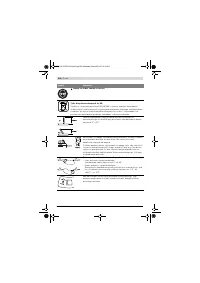
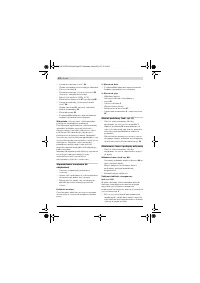
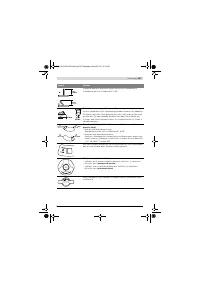
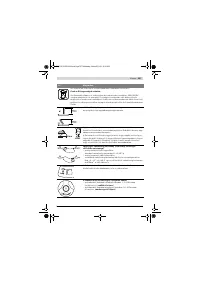
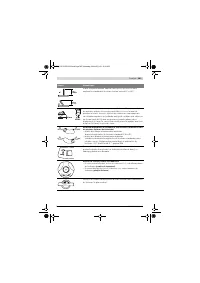
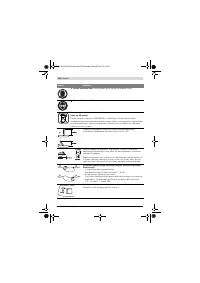
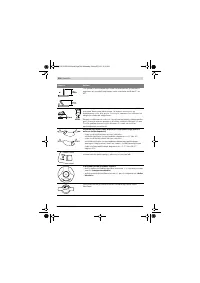
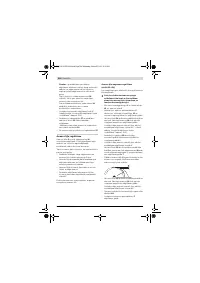
Assembly
f
Avoid unintentional starting of the ma-
chine. During assembly and for all work on
the machine, the power plug must not be
connected to the mains supply.
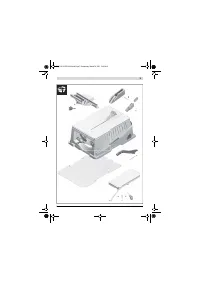
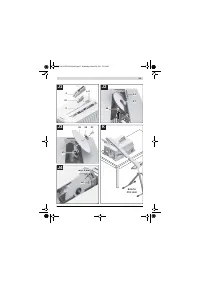
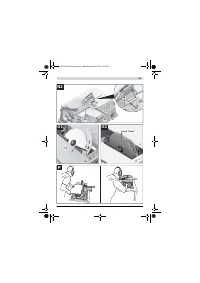
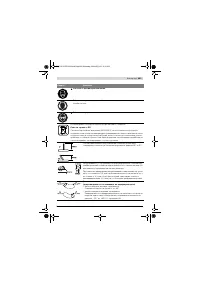
Delivery Scope
Please also observe the represen-
tation of the delivery scope at the
beginning of the operating instruc-
tions.
Before starting the operation of the machine for
the first time, check if all parts listed below have
been supplied:
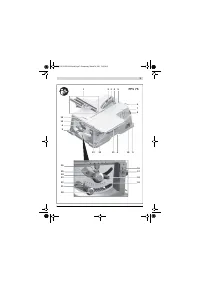
– Pull Push Saw
(Mounted: Saw blade
28
, insert plate
5
)
– Universal Guide
1
– Rotary knob
38
for locking the universal
guide
– Laser unit
41
– Fastening kit for “laser unit”
42
(Allen screw, nut)
– Blade guard
3
– Fastening kit for “blade guard”
43
(Socket bolt, wing nut)
– Batteries (2x, size LR03, 1,5 V)
– Table extension
27
with support leg
49
– Fastening kit “for table extension ”
48
(rotary knob
52
, socket bolt, nut)
– Push stick
12
– Allen key
13
– Bottom plate
39
with pre-mounted Allen
screws
Note:
Check the power tool for possible dam-
age.
Before further use of the machine, check that all
protective devices are fully functional. Any light-
ly damaged parts must be carefully checked to
ensure flawless operation of the tool. All parts
must be properly mounted and all conditions
fulfilled that ensure faultless operation.
Damaged protective devices and parts must be
immediately replaced by an authorised service
centre.
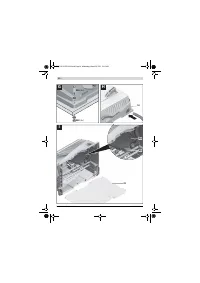
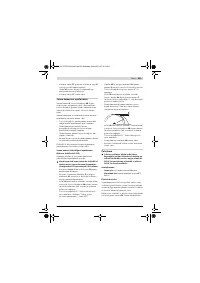
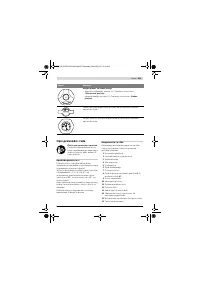
Initial Operation
– Carefully remove all parts included in the de-
livery from their packaging.
– Remove all packaging material from the ma-
chine and the accessories provided.
– Take care that the packaging material under
the motor block es removed.
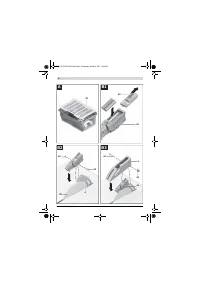
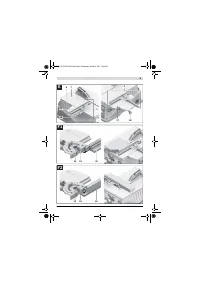
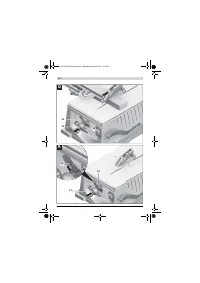
Assembly Sequence
For easier working, observe the assembly se-
quence of the supplied product features.
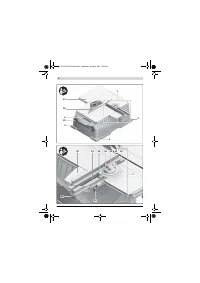
1. Assembly from Below
– Bottom plate
39
with pre-mounted Allen
screws
2. Assembly from Above
– Inserting the Batteries;
Attaching the Laser Warning Label
– Laser unit
41
– Blade guard
3
– Adjusting the Laser
– Table extension
27
– Universal guide
1
and fence
36
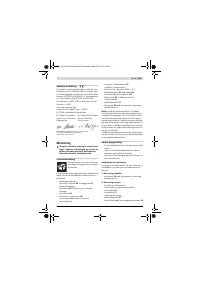
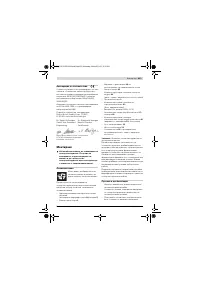
Dr. Egbert Schneider
Senior Vice President
Engineering
Dr. Eckerhard Strötgen
Head of Product
Certification
OBJ_BUCH-1259-002.book Page 42 Wednesday, March 30, 2011 11:02 AM
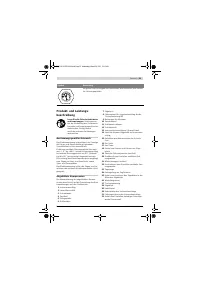
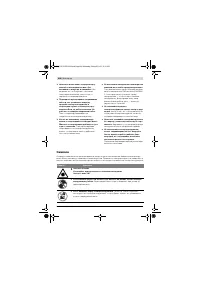
Содержание
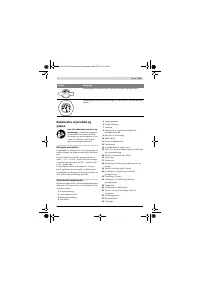
- 345 Всегда распиливайте только одну деталь.
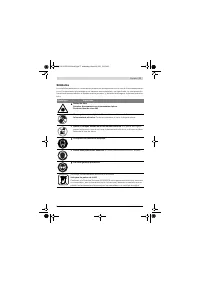
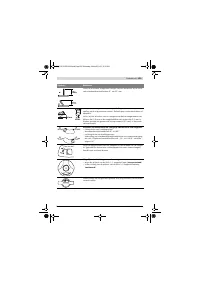
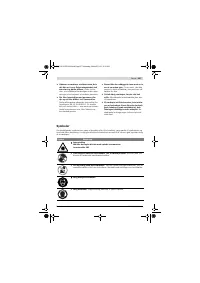
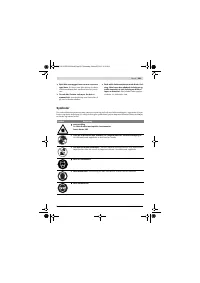
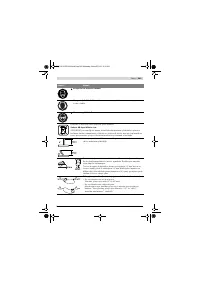
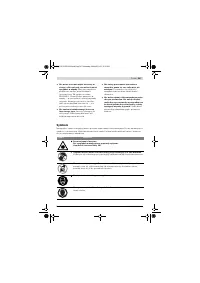
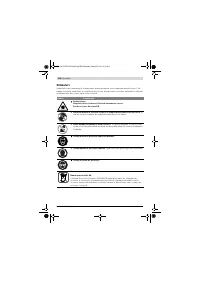
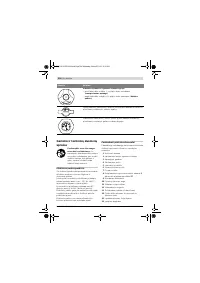
- 346 Символы; Символ
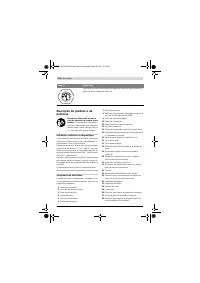
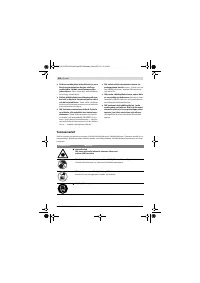
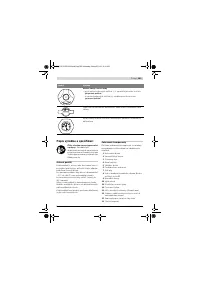
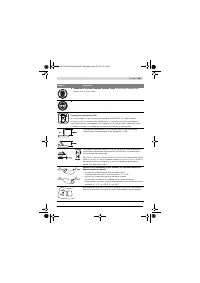
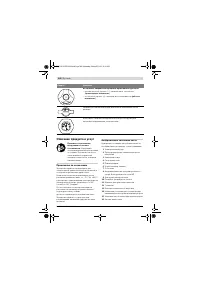
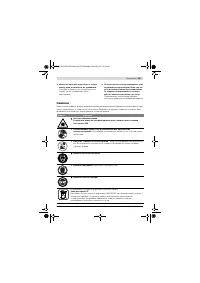
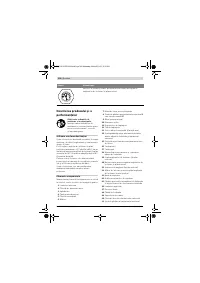
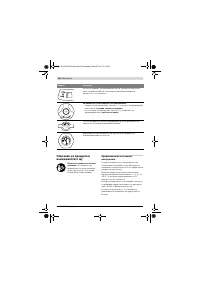
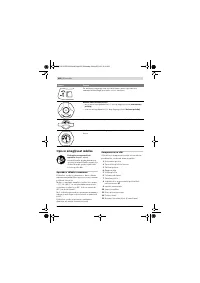
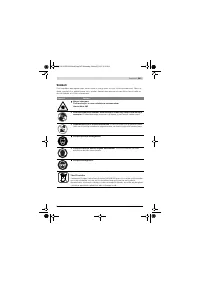
- 347 Русский; Применяйте средства защиты органов слуха.; Воздействие шума может; Используйте защитные очки.; Не выбрасывайте электроинструменты в бытовой мусор!
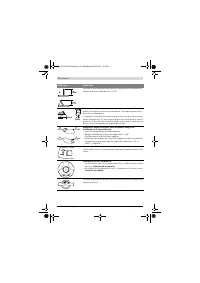
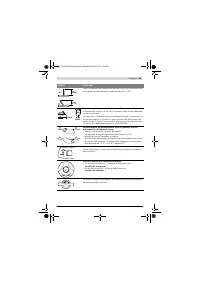
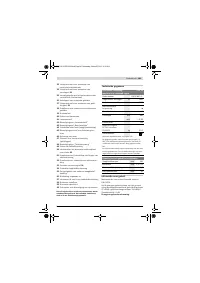
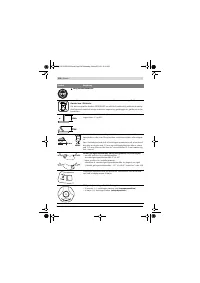
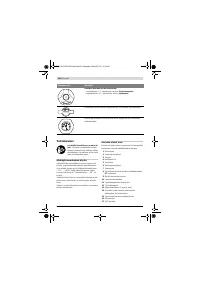
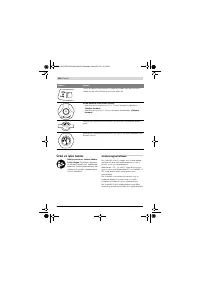
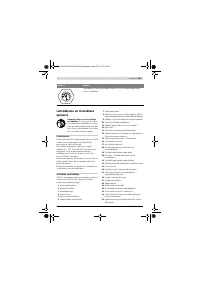
- 348 Описание продукта и услуг; Применение по назначению; Возможные направления вращения кривошипной рукоятки
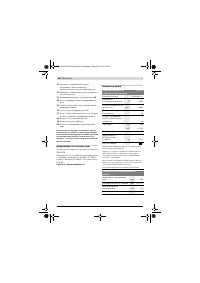
- 350 Технические данные; Применяйте средства защиты органов слуха!; Заявление о соответствии; Сборка; Протяжная циркулярная пила; Размеры пильных дисков
- 351 Комплект поставки; Последовательность монтажа
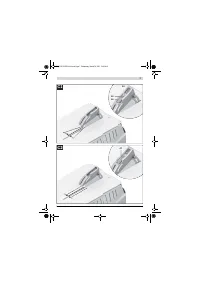
- 352 Монтаж лазера и защитного кожуха; Установка параллельности:
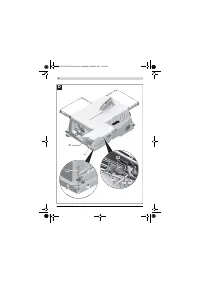
- 353 Настройка ровности; Монтаж удлинителя стола и упоров; справа от пильного
- 354 Отсос пыли и стружки
- 355 Демонтаж пильного диска; Работа с инструментом; Транспортное положение; Увеличение площади стола
- 356 Настройка диапазона угла распила от 0
- 357 Настройка универсального упора
- 358 Включение электроинструмента; включить
- 359 Указания по применению; Общие указания для пиления; Учитывайте при этом следующие указания:; Максимальные размеры заготовки; Этот режим работы пригоден для:; Высота заготовки
- 360 не должно превышать 15 мм
- 361 Хранение и транспортировка; Хранение электроинструмента; Техобслуживание и сервис; Техобслуживание и очистка; Очистка; Принадлежности
- 362 Россия; Утилизация


