Электропилы Bosch GCM 12 GDL - инструкция пользователя по применению, эксплуатации и установке на русском языке. Мы надеемся, она поможет вам решить возникшие у вас вопросы при эксплуатации техники.
Если остались вопросы, задайте их в комментариях после инструкции.
"Загружаем инструкцию", означает, что нужно подождать пока файл загрузится и можно будет его читать онлайн. Некоторые инструкции очень большие и время их появления зависит от вашей скорости интернета.


42
| English
1 609 92A 0XN | (13.10.14)
Bosch Power Tools
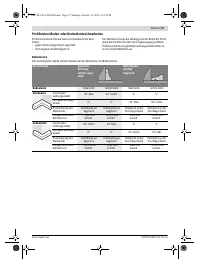
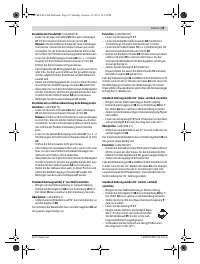
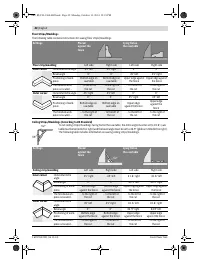
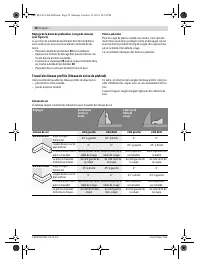
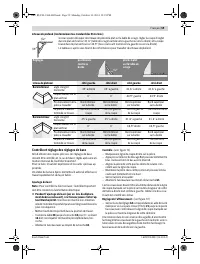
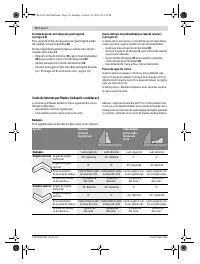
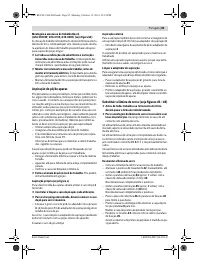
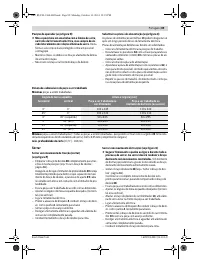
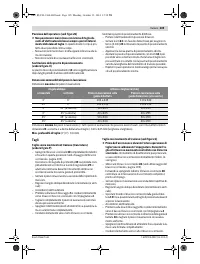
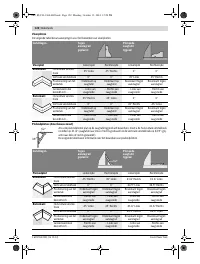
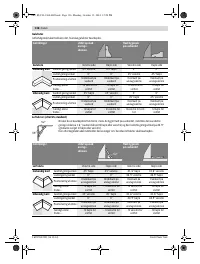
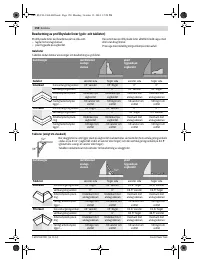
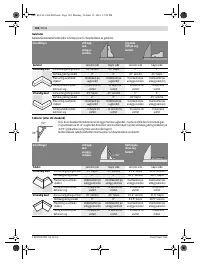
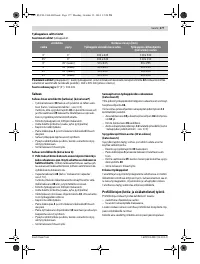
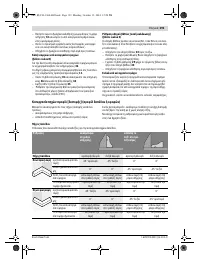
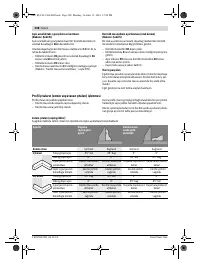
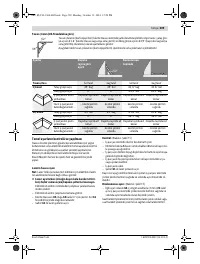
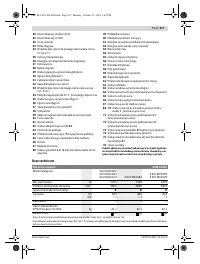
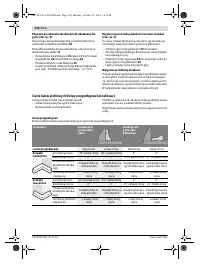
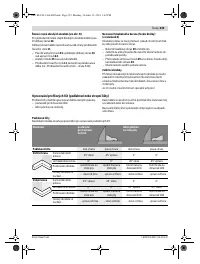
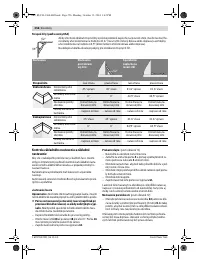
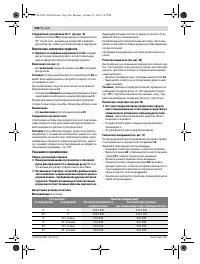
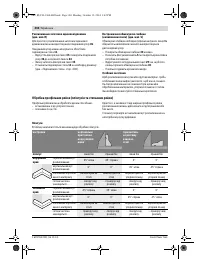
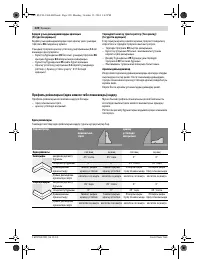
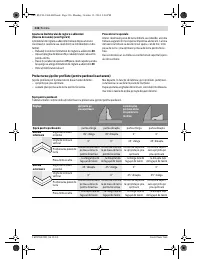
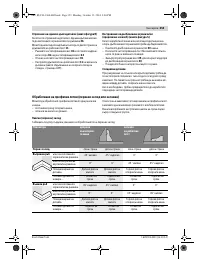
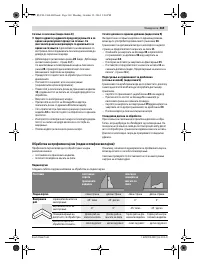
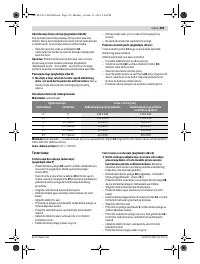
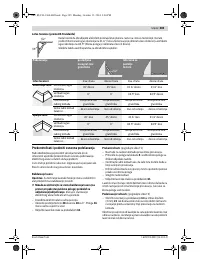
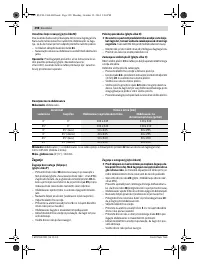
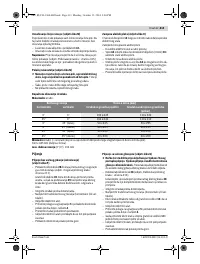
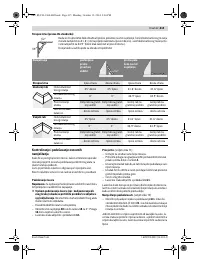
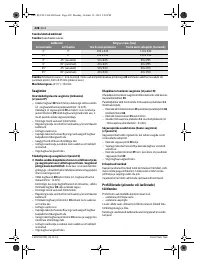
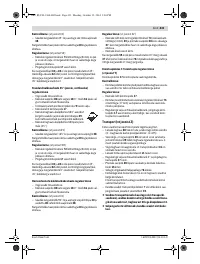
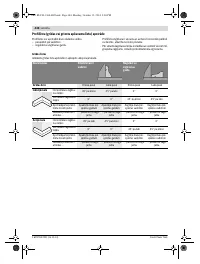
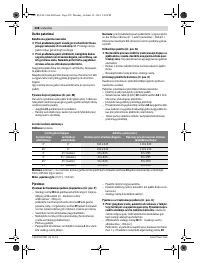
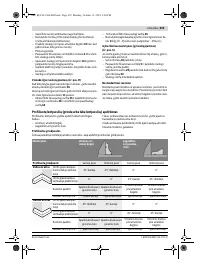
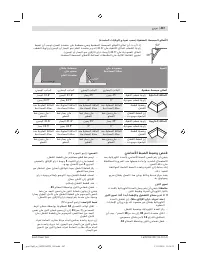
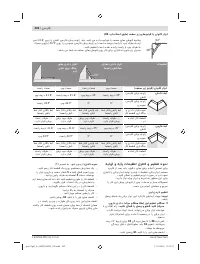
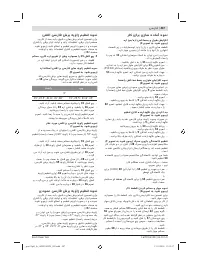
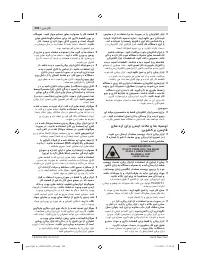
Floor Strips/Mouldings
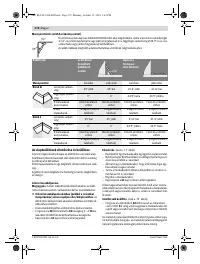
The following table contains instructions for sawing floor strips/mouldings.
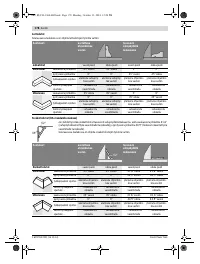
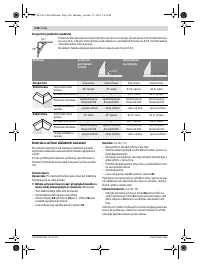
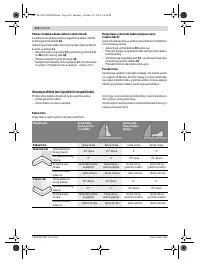
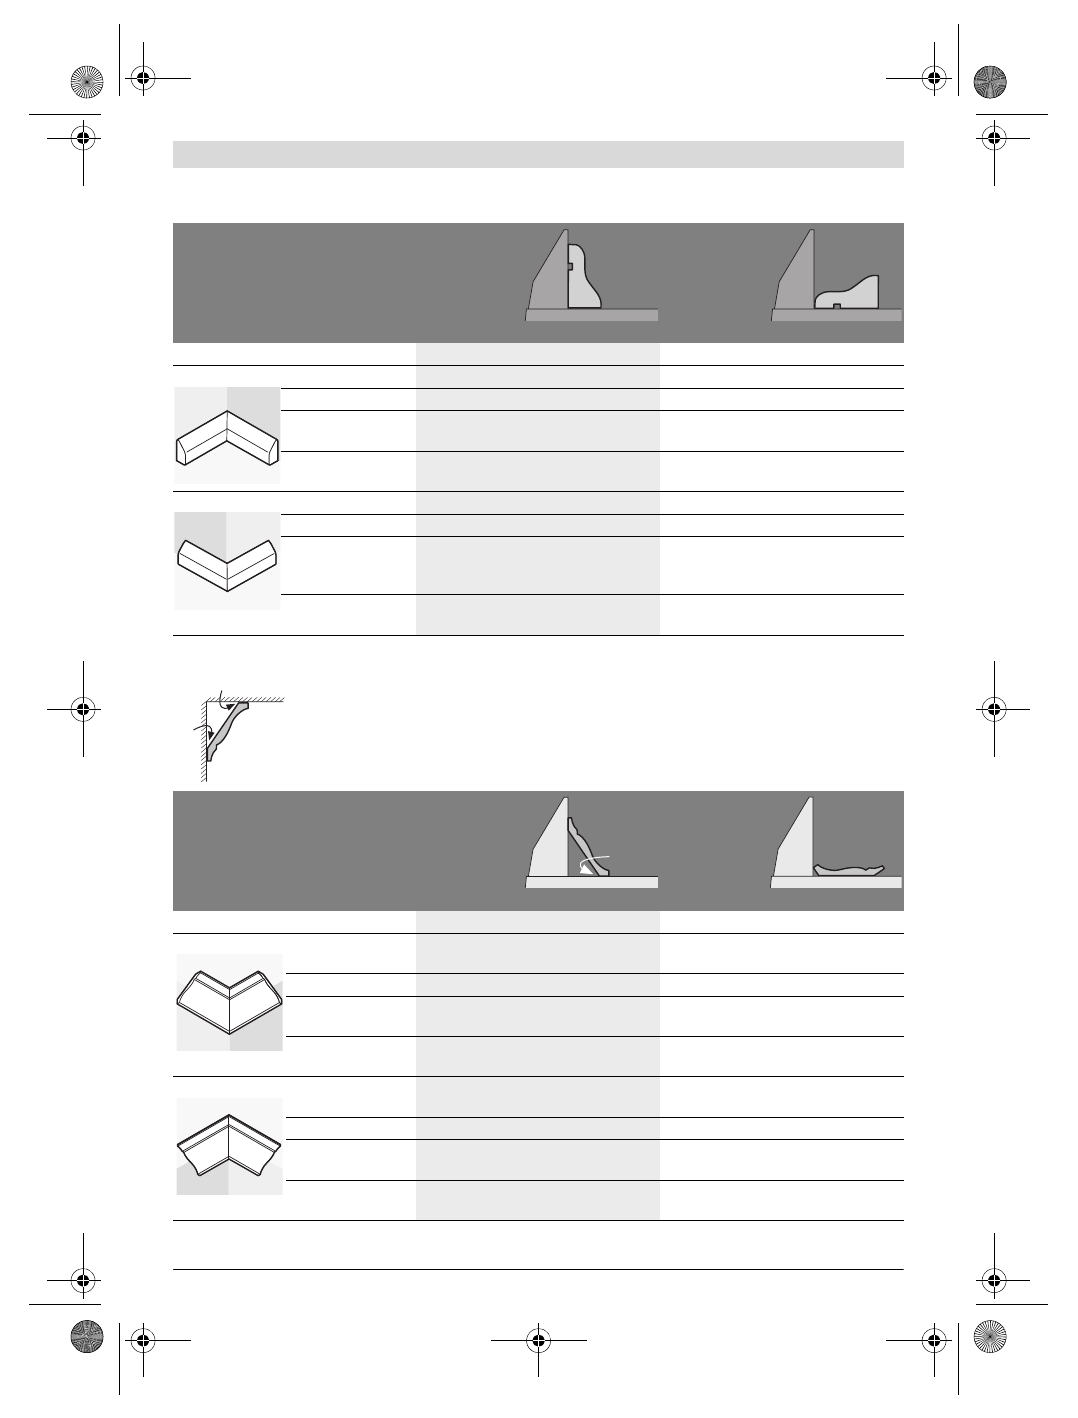
Ceiling Strips/Mouldings (According to US Standard)
Settings
Placed
against the
fence
Lying flat on
the saw table
Floor strip/moulding
Left side
Right side
Left side
Right side
Inner corner
Horizontal mitre angle
45 ° left
45 ° right
0 °
0 °
Bevel angle
0 °
0 °
45 ° left
45 ° right
Positioning of work-
piece
Bottom edge on
saw table
Bottom edge on
saw table
Upper edge against
the fence
Upper edge against
the fence
The finished work-
piece is located ...
... to the left of
the cut
... to the right of
the cut
... to the left of
the cut
... to the right of
the cut
Outer corner
Horizontal mitre angle
45 ° right
45 ° left
0 °
0 °
Bevel angle
0 °
0 °
45 ° right
45 ° left
Positioning of work-
piece
Bottom edge on
saw table
Bottom edge on
saw table
Upper edge
against the fence
Upper edge
against the
fence
The finished work-
piece is located ...
... to the right of
the cut
... to the left of
the cut
... to the left of
the cut
... to the right of
the cut
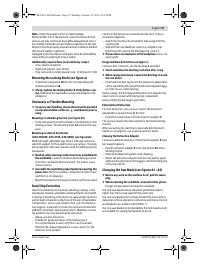
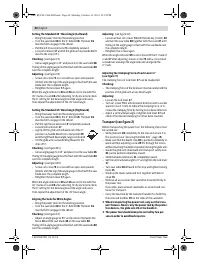
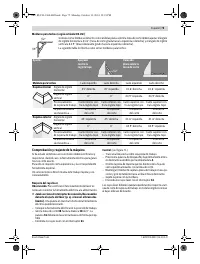
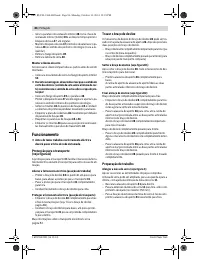
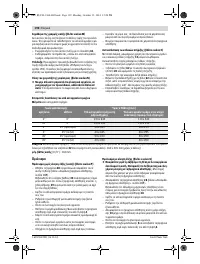
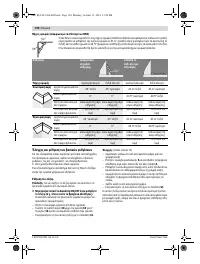
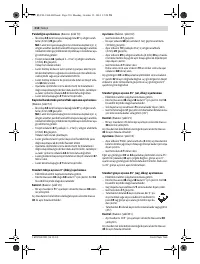
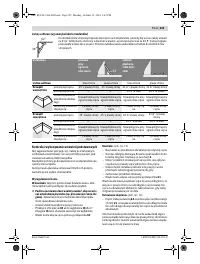
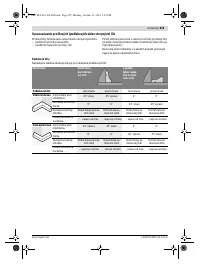
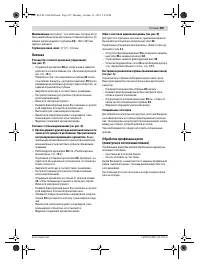
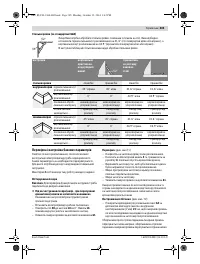
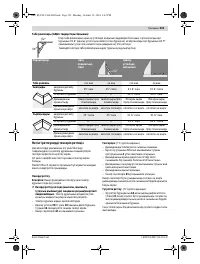
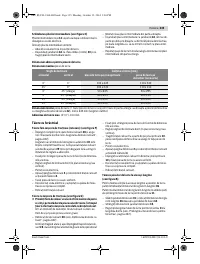
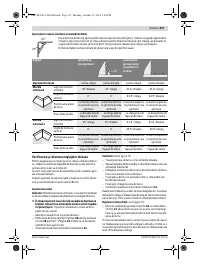
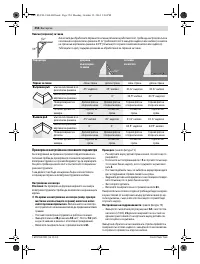
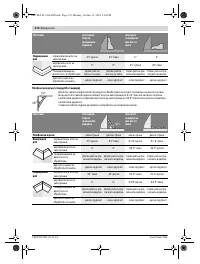
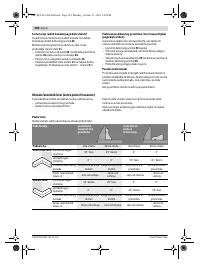
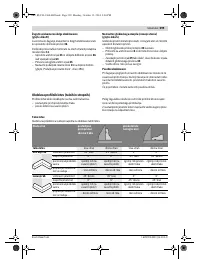
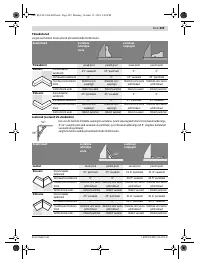
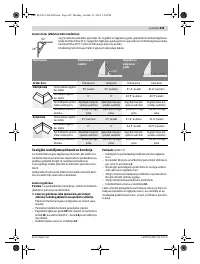
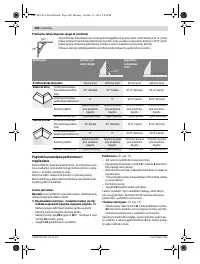
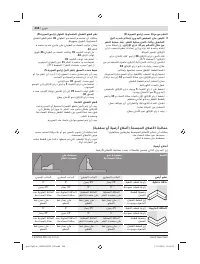
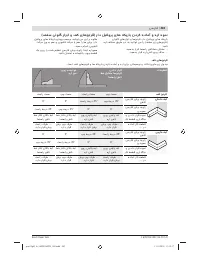
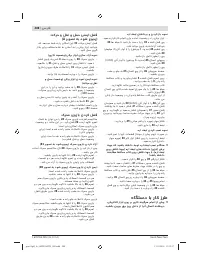
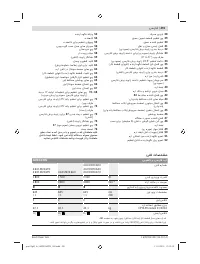
To cut ceiling strips/mouldings facing flat on the saw table, the mitre angle must be set to 31.6° (saw
table must be turned left or right) and the bevel angle must be set to 33.9° (glide arm tilted left or right).
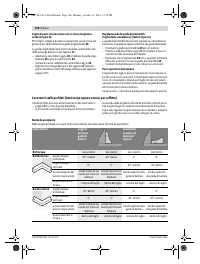
The following table includes information on sawing ceiling strips/mouldings.
Settings
Placed
against the
fence
Lying flat on
the saw table
Ceiling strip/moulding
Left side
Right side
Left side
Right side
Inner corner
Horizontal mitre
angle
45 ° right
45 ° left
31.6 ° right
31.6 ° left
Bevel angle
0 °
0 °
33.9 ° left
33.9 ° right
Positioning of work-
piece
Bottom edge
against the fence
Bottom edge
against the fence
Upper edge against
the fence
Upper edge against
the fence
The finished work-
piece is located ...
... to the right of
the cut
... to the left of
the cut
... to the left of
the cut
... to the right of
the cut
Outer corner
Horizontal mitre
angle
45 ° left
45 ° right
31.6 ° left
31.6 ° right
Bevel angle
0 °
0 °
33.9 ° right
33.9 ° left
Positioning of work-
piece
Bottom edge
against the fence
Bottom edge
against the fence
Upper edge
against the fence
Upper edge
against the fence
The finished work-
piece is located ...
... to the right of
the cut
... to the left of
the cut
... to the left of
the cut
... to the right of
the cut
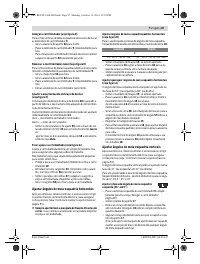
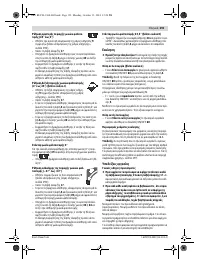
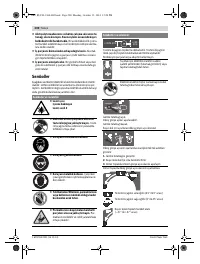
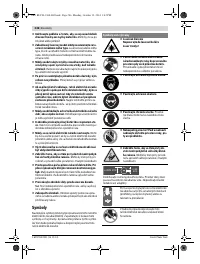
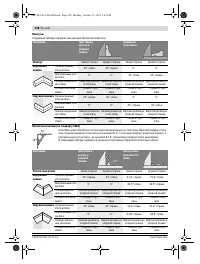
52°
38°
52°
OBJ_BUCH-1360-002.book Page 42 Monday, October 13, 2014 12:18 PM
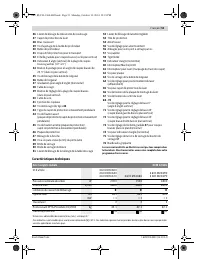
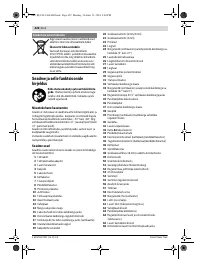
Содержание
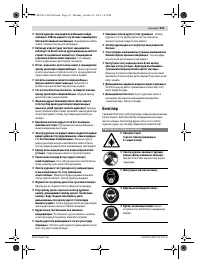
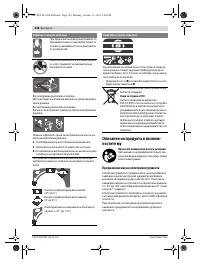
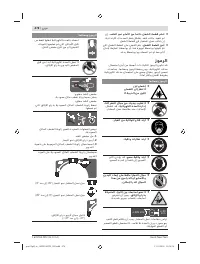
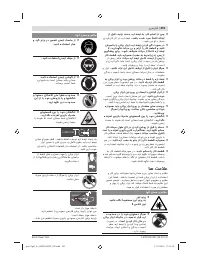
- 277 Защищайте электроинструмент от дождя и сырости.
- 278 Держите Ваше рабочее место в чистоте.
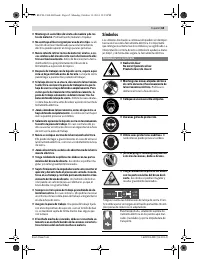
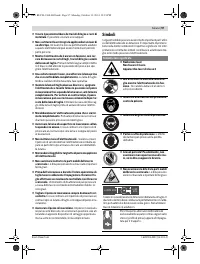
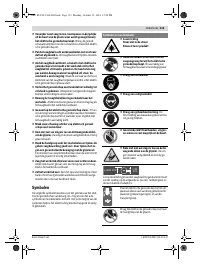
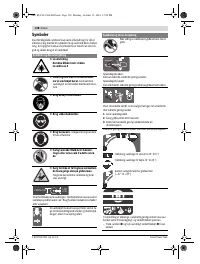
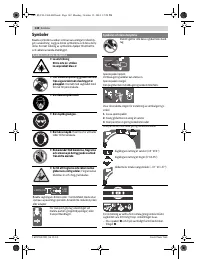
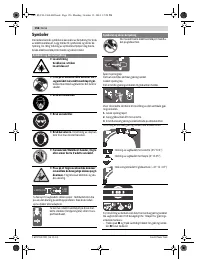
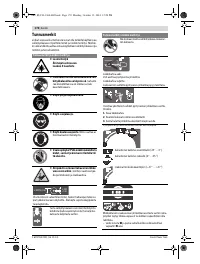
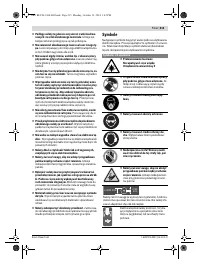
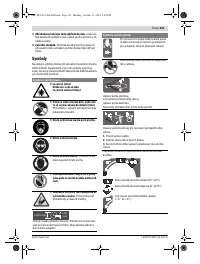
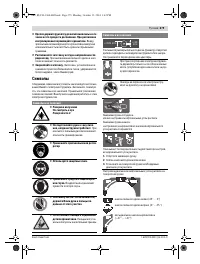
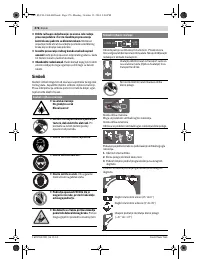
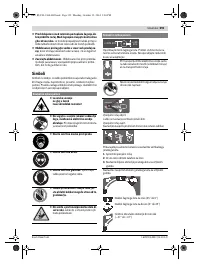
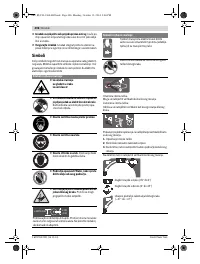
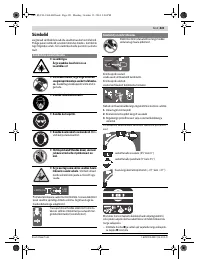
- 279 Закрепляйте заготовку.; Символы; Символы и их значение
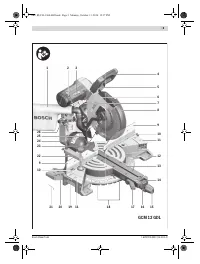
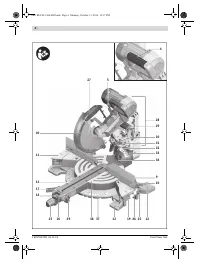
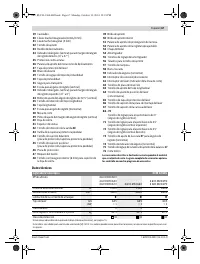
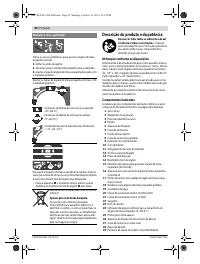
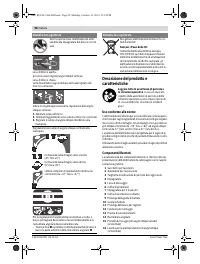
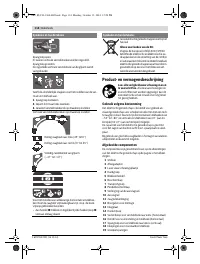
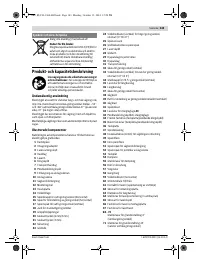
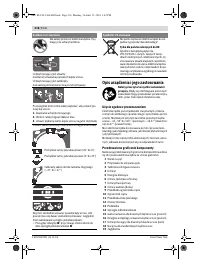
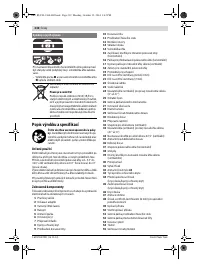
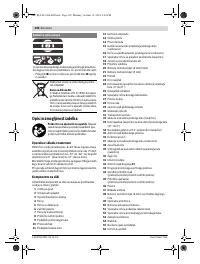
- 280 Описание продукта и услуг; Применение по назначению
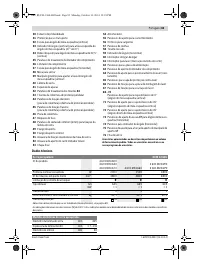
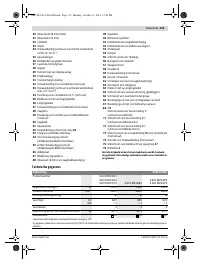
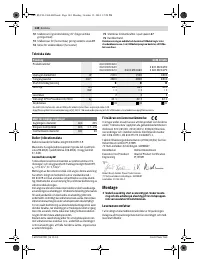
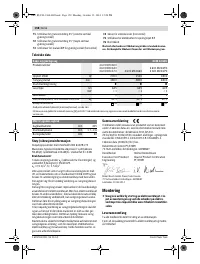
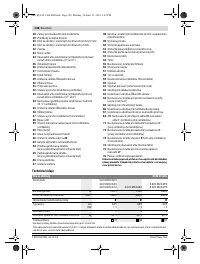
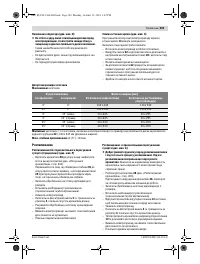
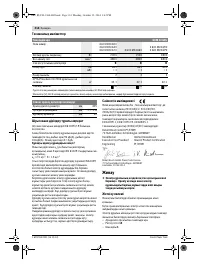
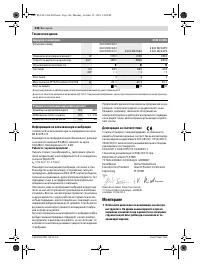
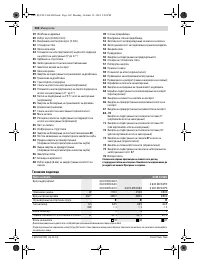
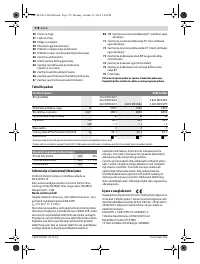
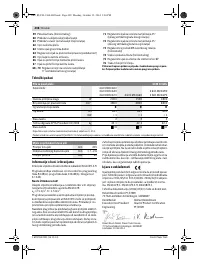
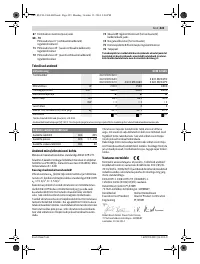
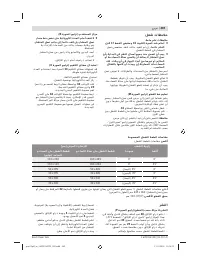
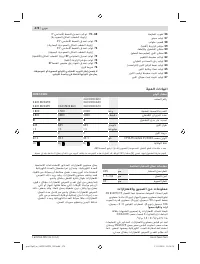
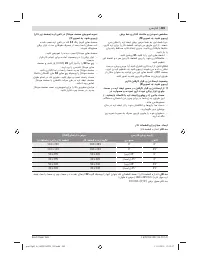
- 281 Технические данные; Применяйте средства защиты органов слуха!; Размеры пильных дисков
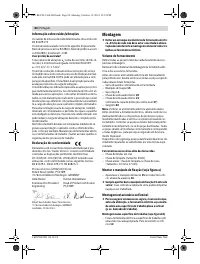
- 282 Заявление о соответствии; Сборка; Комплект поставки
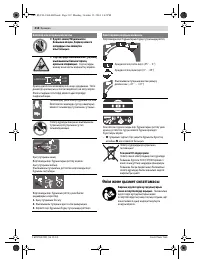
- 283 Избегайте скопления пыли на рабочем месте.
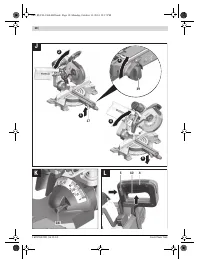
- 284 Работа с инструментом; Фиксация кронштейна; мягкого; более жесткого
- 285 Настройка горизонтального угла распила; Стандартный угол распила 0 °
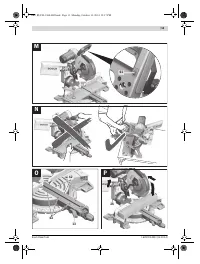
- 286 Включение электроинструмента
- 287 Минимальные; Пиление; Специальные заготовки
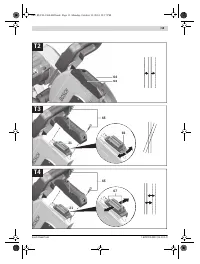
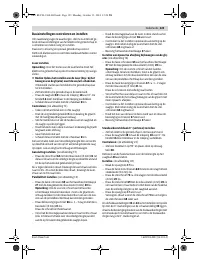
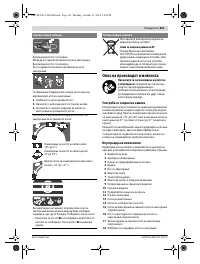
- 288 Плинтусы
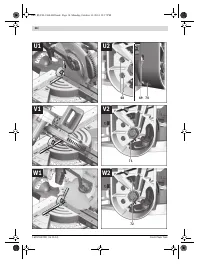
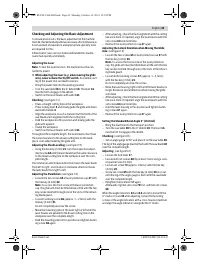
- 289 Основные настройки – контроль и коррекция; Настройка ровности
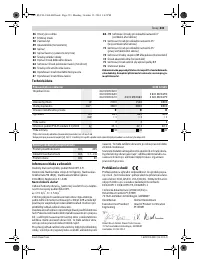
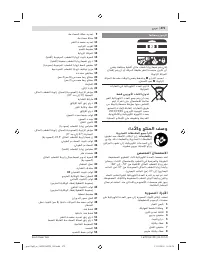
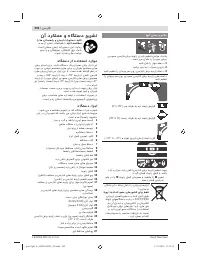
- 291 Техобслуживание и сервис; Техобслуживание и очистка; Очистка; Принадлежности; Пильные диски для пластмассы и цветных металлов
- 292 Россия; Утилизация


