Электропилы Bosch GCM 10 SD - инструкция пользователя по применению, эксплуатации и установке на русском языке. Мы надеемся, она поможет вам решить возникшие у вас вопросы при эксплуатации техники.
Если остались вопросы, задайте их в комментариях после инструкции.
"Загружаем инструкцию", означает, что нужно подождать пока файл загрузится и можно будет его читать онлайн. Некоторые инструкции очень большие и время их появления зависит от вашей скорости интернета.


34
| English
1 609 92A 0XL | (29.9.14)
Bosch Power Tools
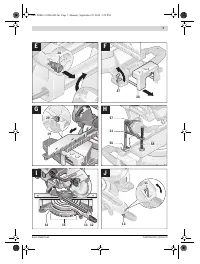
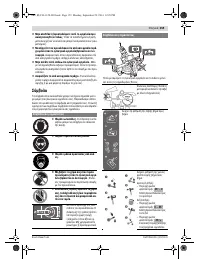
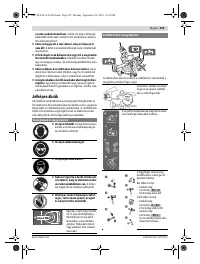
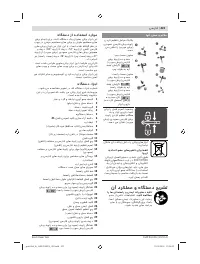
Replacing Insert Plates (see figure O)
The red insert plates
10
can become worn after prolonged
use of the machine.
Replace defective insert plates.
– Bring the power tool into the working position.
– Unscrew the screws
59
using the provided cross-head
screwdriver and remove the old insert plates.
– Insert the new insert plates.
– Set the bevel angle to 47 ° (leftward).
– Push locking lever
41
and completely lower the tool arm.
– Position the insert plate approx. 2 mm away from the saw
blade. Make sure that the saw blade does not come in con-
tact with the insert plates throughout the complete possi-
ble ripping length.
– Refasten the insert plate with the screws.
– Repeat the work steps for the other insert plate in the same
manner.
Sawing
Sawing without Slide Movement (Cutting Off)
(see figure P)
– For cuts without slide movement (small workpieces), loos-
en the locking screw
29
in case it is tightened. Slide the
tool arm to the stop in the direction of the fence
18
and
retighten the locking screw
29
.
– Firmly clamp the workpiece as appropriate for its dimen-
sions.
– Set the desired mitre angle.
– Switch on the machine.
– Press button
6
and guide the tool arm slowly downward
with handle
5
.
– Saw through the workpiece applying uniform feed.
– Switch off the machine and wait until the saw blade has
come to a complete stop.
– Guide the tool arm slowly upward.
Sawing with Slide Movement
– For cuts using the slide device
23
(wide workpieces), loos-
en the locking screw
29
in case it is tightened.
– Firmly clamp the workpiece as appropriate for its dimen-
sions.
– Set the desired mitre angle.
– Pull the tool arm away from the fence
18
far enough so that
the saw blade is in front of the workpiece.
– Switch on the machine.
– Press button
6
and guide the tool arm slowly downward
with handle
5
.
– Press the tool arm in the direction of the fence
18
and saw
through the workpiece applying uniform feed.
– Switch off the machine and wait until the saw blade has
come to a complete stop.
– Guide the tool arm slowly upward.
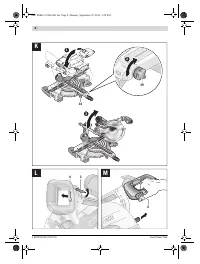
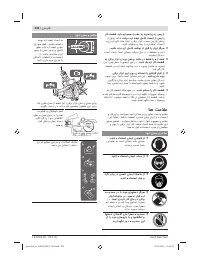
Sawing Workpieces of the Same Length (see figure Q)
The material stop
35
can be used for easily sawing workpiec-
es to the same length.
The material stop can be mounted on either side of the saw
table extension
36
.
– Loosen lock screw
34
and swing the material stop
35
over
clamping screw
60
.
– Retighten lock screw
34
.
– Adjust the saw table extension
36
to the desired length
(see “Extending the Saw Table”, page 32).
Adjusting the Depth Stop (Sawing Grooves) (see figure R)
The depth stop must be adjusted when a trench gap is to be
sawed.
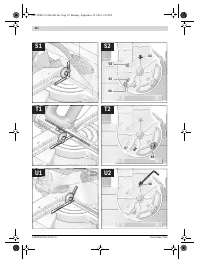
– Push the locking lever
41
and lower the tool arm to the de-
sired position.
– Press button
61
.
– Push in adjusting screw
27
until the screw end touches
depth stop
62
.
– Release button
61
again.
– Guide the tool arm slowly upward.
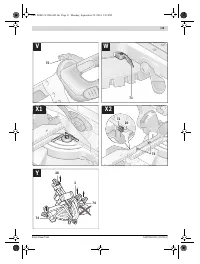
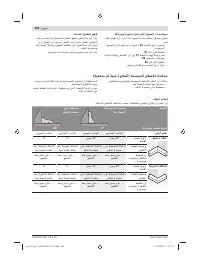
Special Workpieces
When sawing curved or round workpieces, these must be es-
pecially secured against slipping. At the cutting line, no gap
may exist between workpiece, fence and saw table.
Provide for special fixtures, if required.
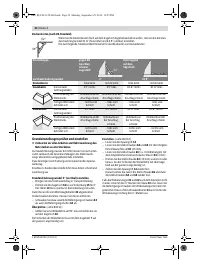
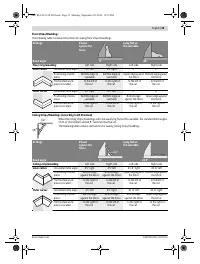
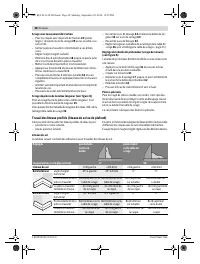
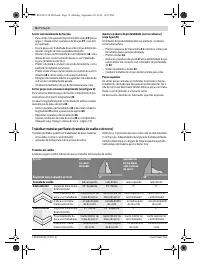
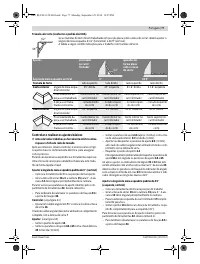
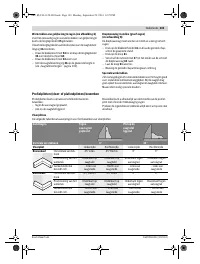
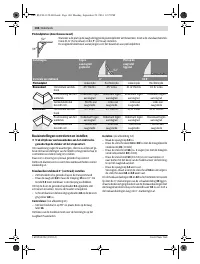
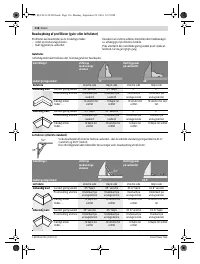
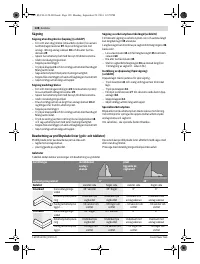
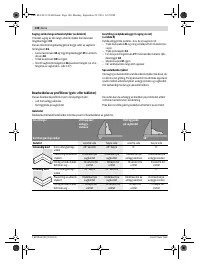
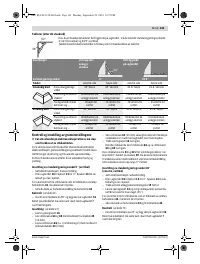
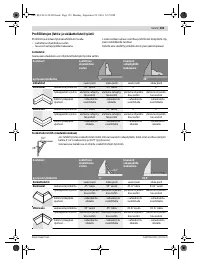
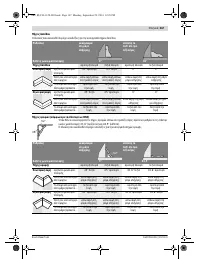
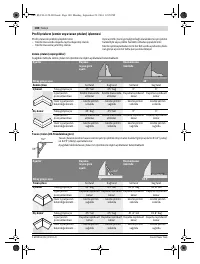
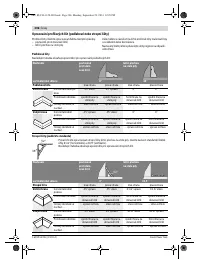
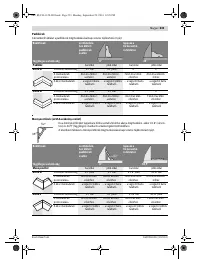
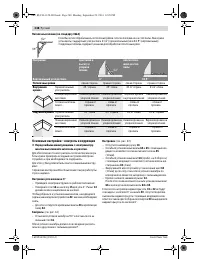
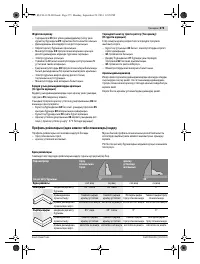
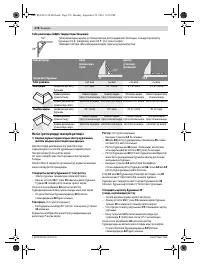
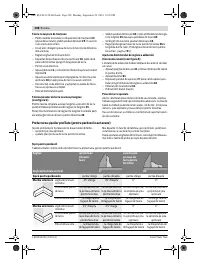
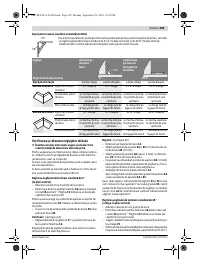
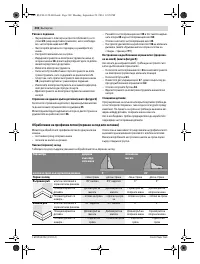
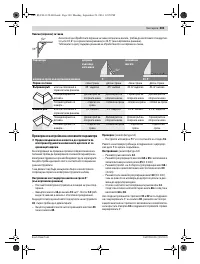
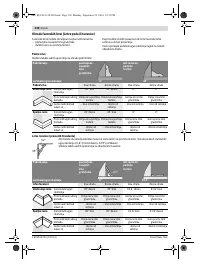
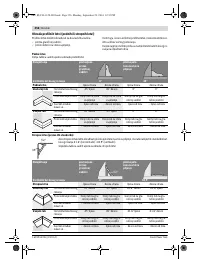
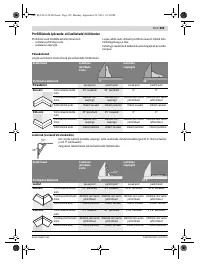
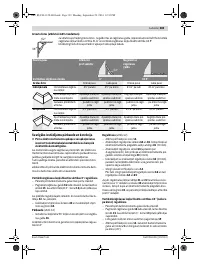
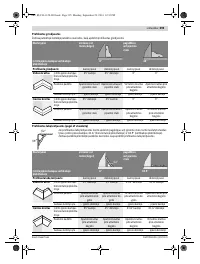
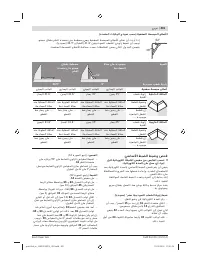
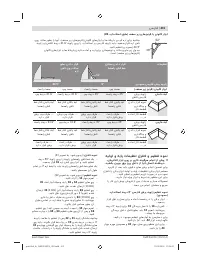
Sawing Profile Strips/Mouldings
(Floor and Ceiling Strips)
Profile strips/mouldings can be sawn in two different ways:
– Placed against the fence
– Lying flat on the saw table.
In addition, the cut can be perfomed with or without slide move-
ment depending on the width of the profile strip/moulding.
Always make trial cuts with the mitre angle setting first on
scrap wood.
OBJ_BUCH-1128-003.book Page 34 Monday, September 29, 2014 12:25 PM
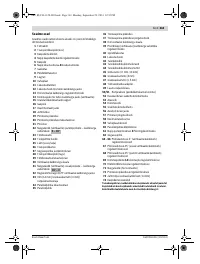
Содержание
- 238 Защищайте электроинструмент от дождя и сырости.
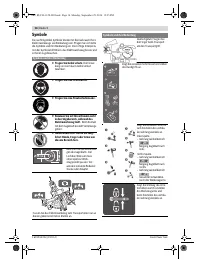
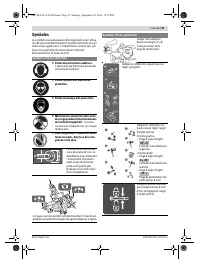
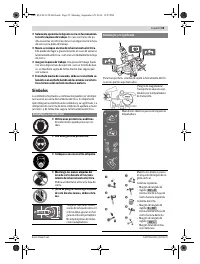
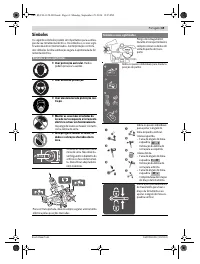
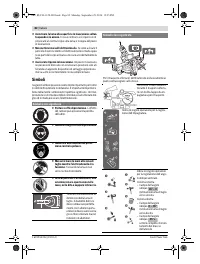
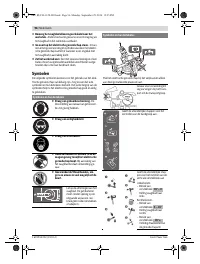
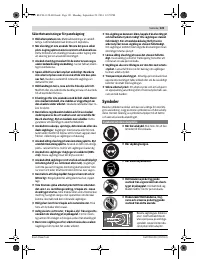
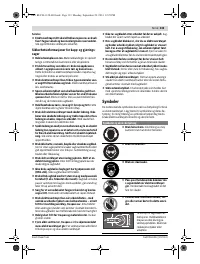
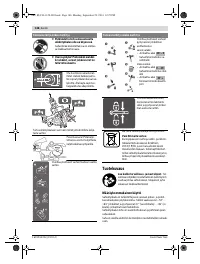
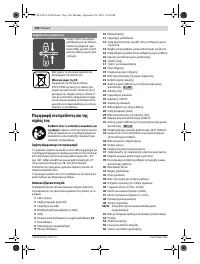
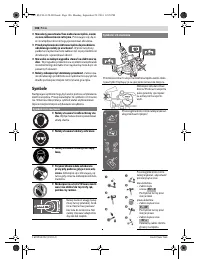
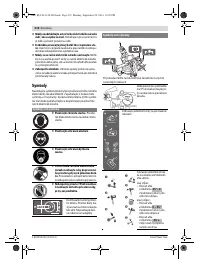
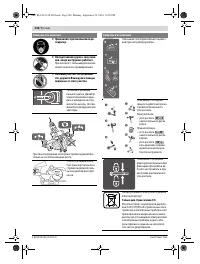
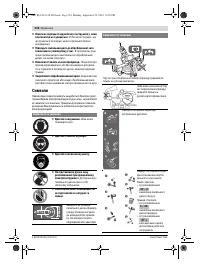
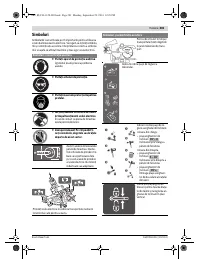
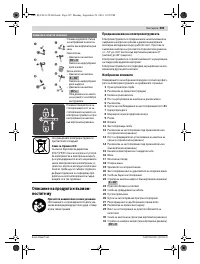
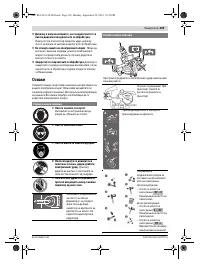
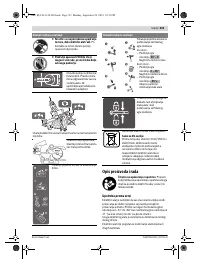
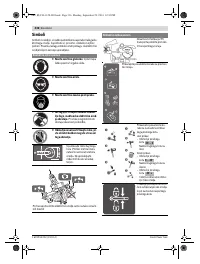
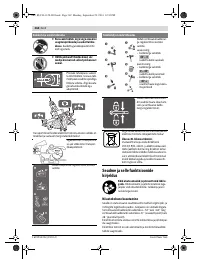
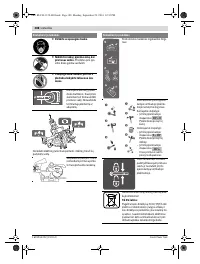
- 239 Держите Ваше рабочее место в чистоте.; Символы; Символы и их значение
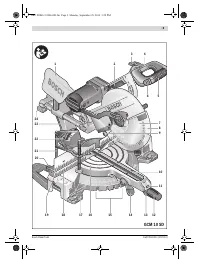
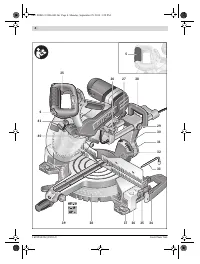
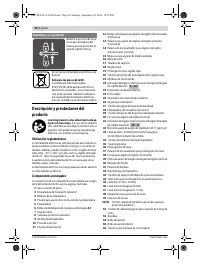
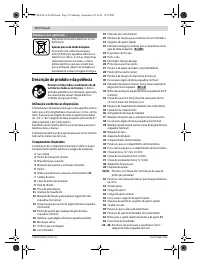
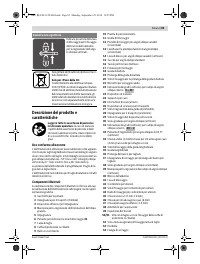
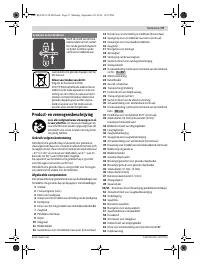
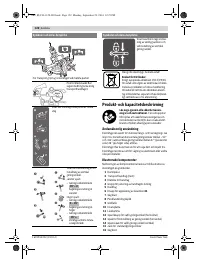
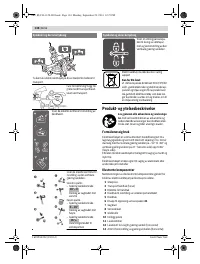
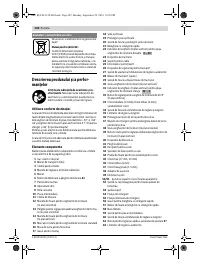
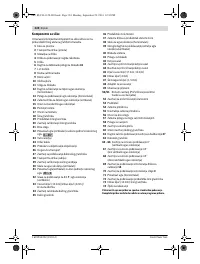
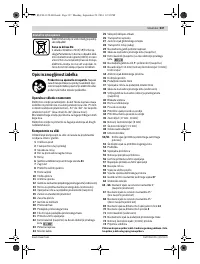
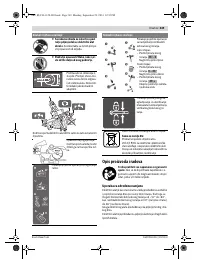
- 241 Описание продукта и услуг; Применение по назначению
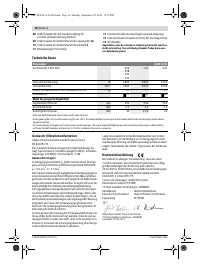
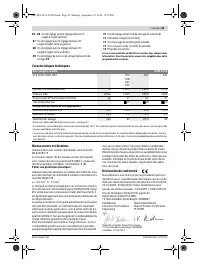
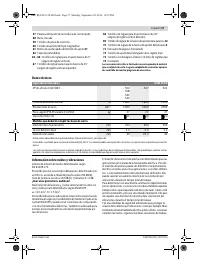
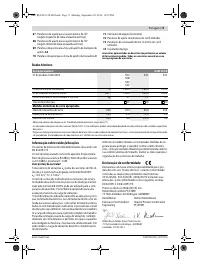
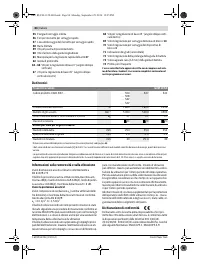
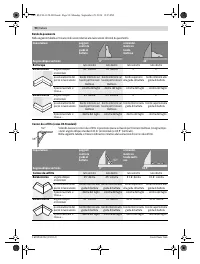
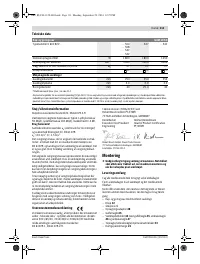
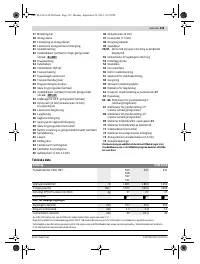
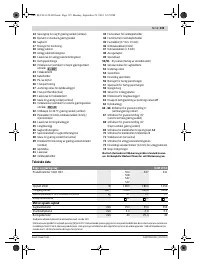
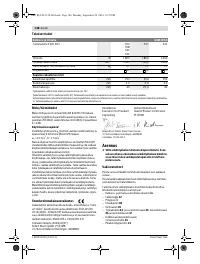
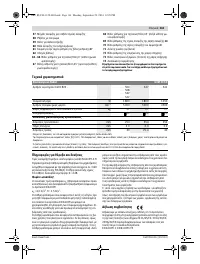
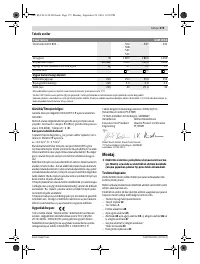
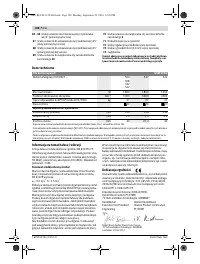
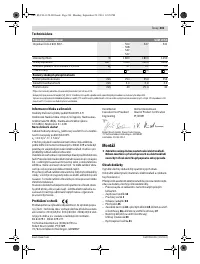
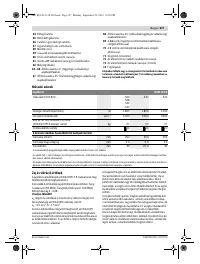
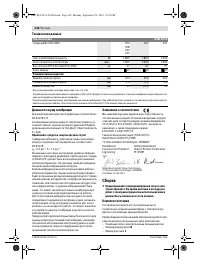
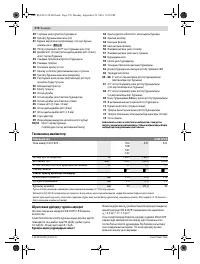
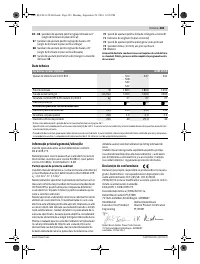
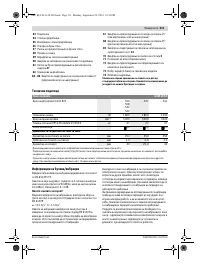
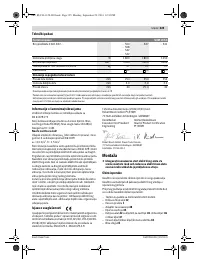
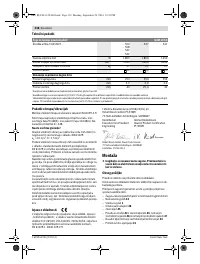
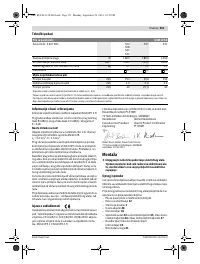
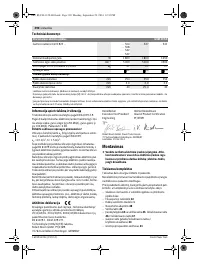
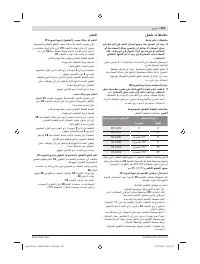
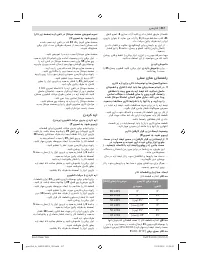
- 242 Технические данные; Применяйте средства защиты органов слуха!; Заявление о соответствии; Сборка; Комплект поставки; Панельная пила; Размеры пильных дисков
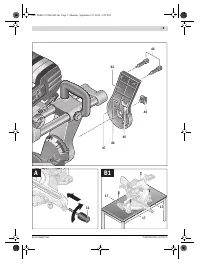
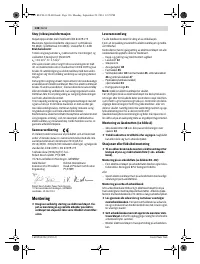
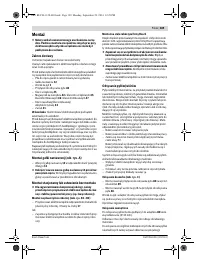
- 243 Стационарный или временный монтаж; Монтаж на верстаке производства Bosch; Отсос пыли и стружки; Внешняя система пылеотсоса
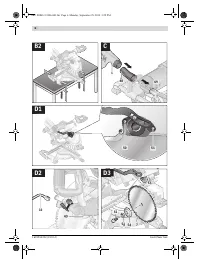
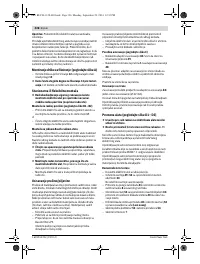
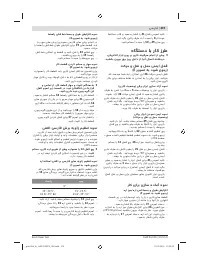
- 244 Демонтаж пильного диска; Работа с инструментом; Подготовка к эксплуатации
- 245 Настройка вертикального угла распила; угол распила
- 246 Включение электроинструмента; Угол распила
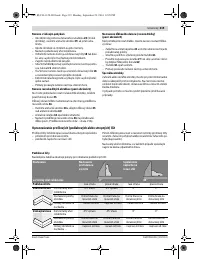
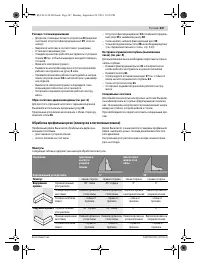
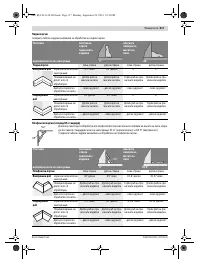
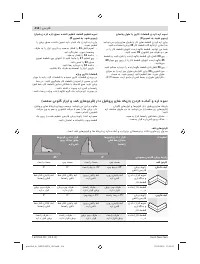
- 247 Резание с тяговым движением; Обработка профильных реек (плинтусов и потолочных планок); Плинтусы
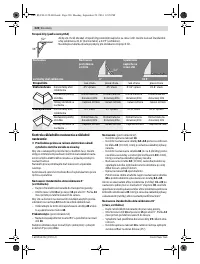
- 248 Основные настройки – контроль и коррекция; Настройка угла наклона в 0 °
- 250 Настройка упорной планки; Техобслуживание и сервис; Техобслуживание и очистка; Очистка; Принадлежности
- 251 Россия; Утилизация


