
Пилы торцовочные Bosch 0.601.B23.100 - инструкция пользователя по применению, эксплуатации и установке на русском языке. Мы надеемся, она поможет вам решить возникшие у вас вопросы при эксплуатации техники.
Если остались вопросы, задайте их в комментариях после инструкции.
"Загружаем инструкцию", означает, что нужно подождать пока файл загрузится и можно будет его читать онлайн. Некоторые инструкции очень большие и время их появления зависит от вашей скорости интернета.


34
| English
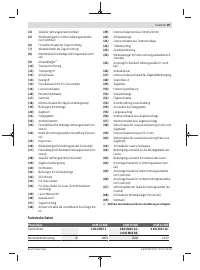
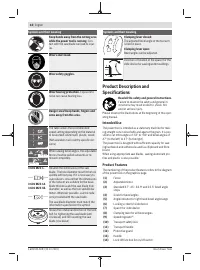
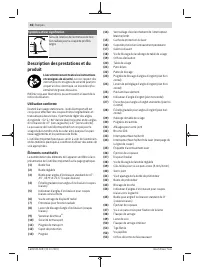
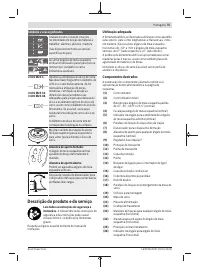
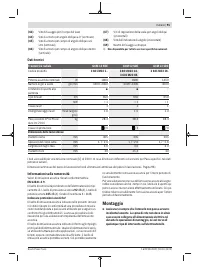
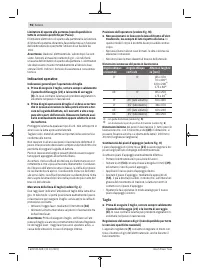
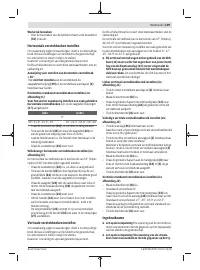
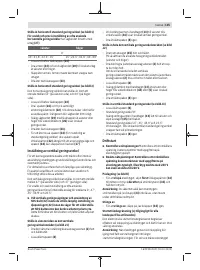
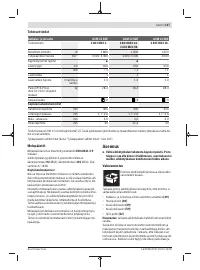
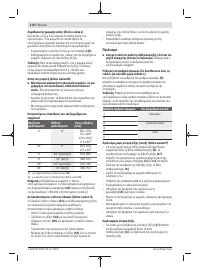
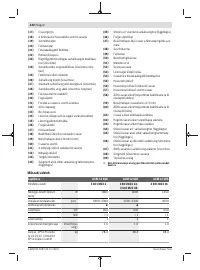
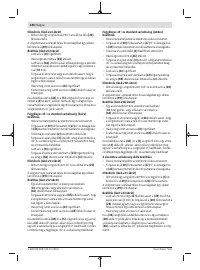
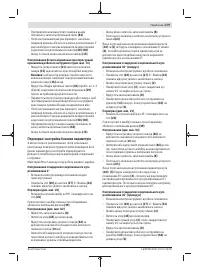
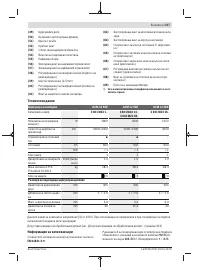
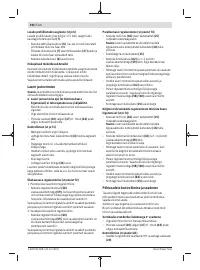
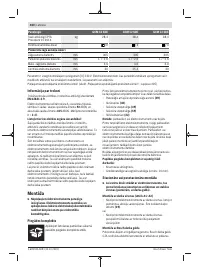
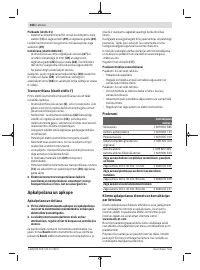
Sliding mitre saw
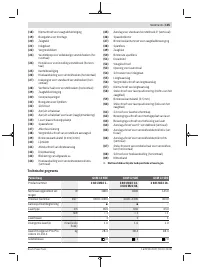
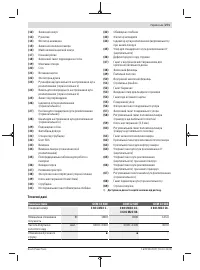
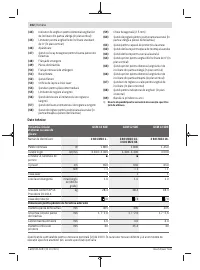
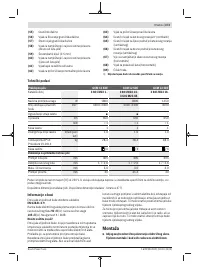
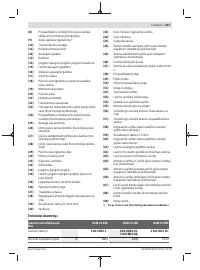
GCM 12 SDE
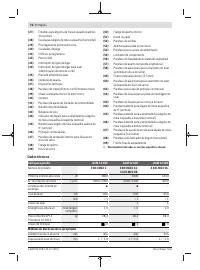
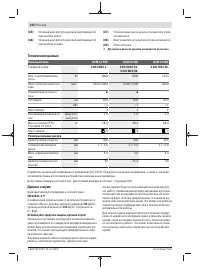
GCM 12 SDE
GCM 12 SDE
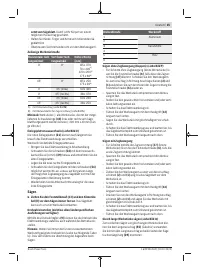
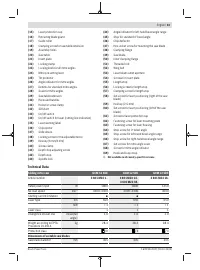
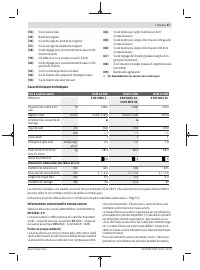
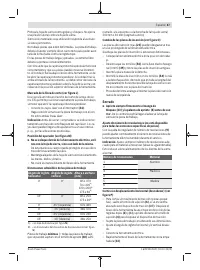
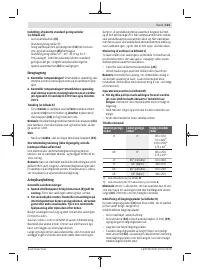
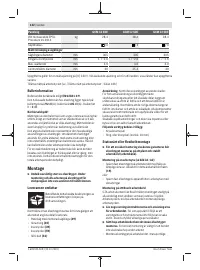
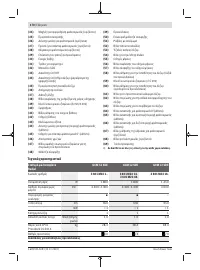
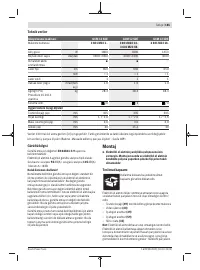
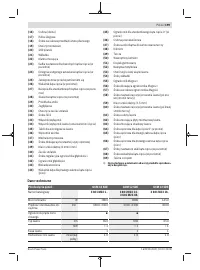
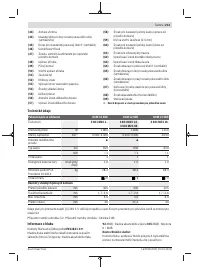
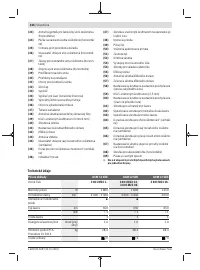
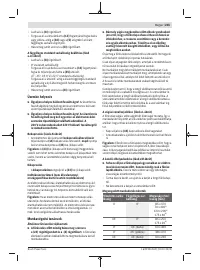
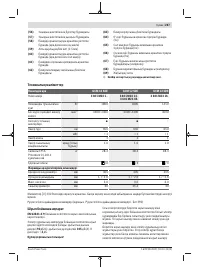
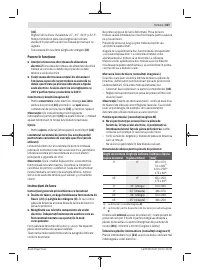
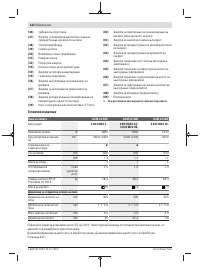
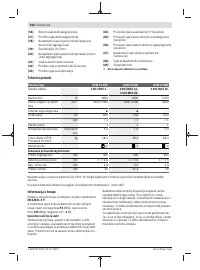
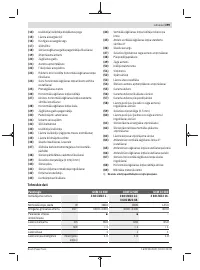
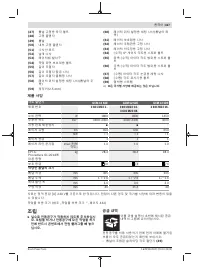
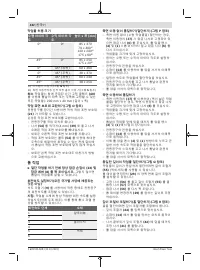
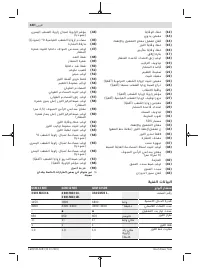
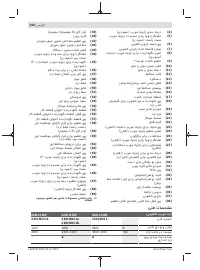
Base blade thickness
mm
1.7–2.6
1.7–2.6
1.7–2.6
Max. cutting width
mm
3.0
3.0
3.0
Hole diameter
mm
30
25.4
30
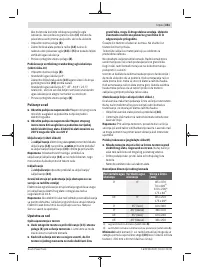
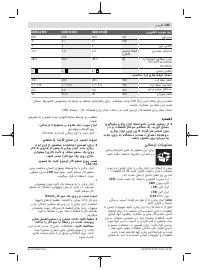
The specifications apply to a rated voltage [U] of 230 V. These specifications may vary at different voltages and in country-
specific models.
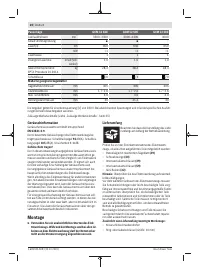
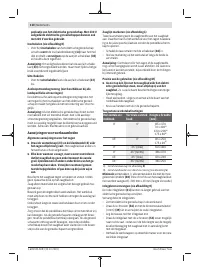
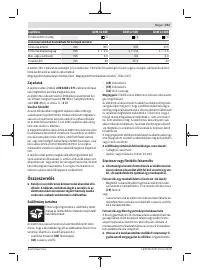
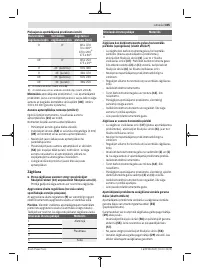
Permissible Workpiece Dimensions (see "Permissible workpiece dimensions", page 38)
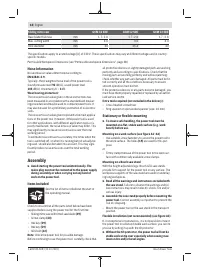
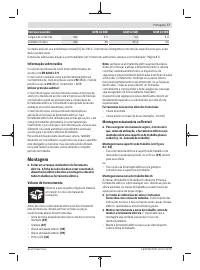
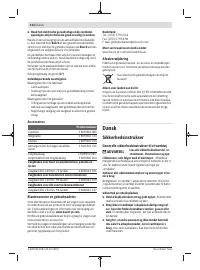
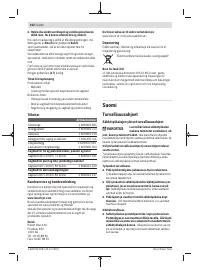
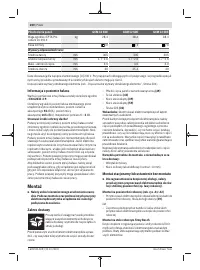
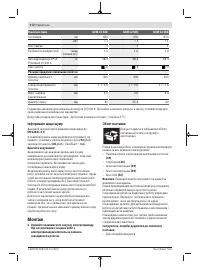
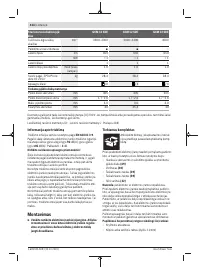
Noise Information
Noise emission values determined according to
EN 62841-3-9
.
Typically, the A-weighted noise level of the power tool is:
Sound pressure level
92
dB(A); sound power level
105
dB(A). Uncertainty K =
3
dB.
Wear hearing protection!
The noise emission value given in these instructions has
been measured in accordance with a standardised measur-
ing procedure and may be used to compare power tools. It
may also be used for a preliminary estimation of noise emis-
sions.
The noise emission value given represents the main applica-
tions of the power tool. However, if the power tool is used
for other applications, with different application tools or is
poorly maintained, the noise emission value may differ. This
may significantly increase noise emissions over the total
working period.
To estimate noise emissions accurately, the times when the
tool is switched off, or when it is running but not actually be-
ing used, should also be taken into account. This may signi-
ficantly reduce noise emissions over the total working
period.
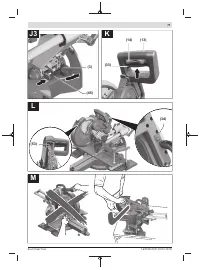
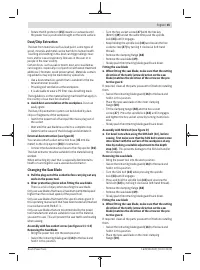
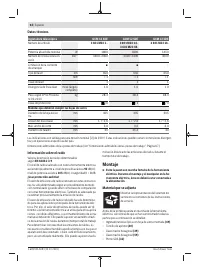
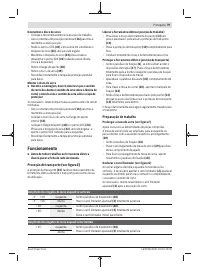
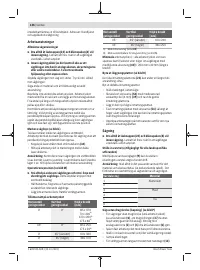
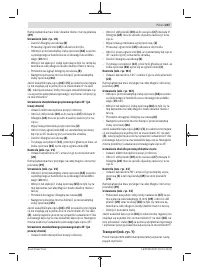
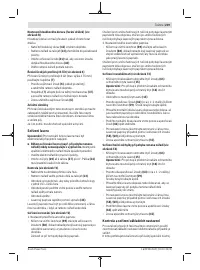
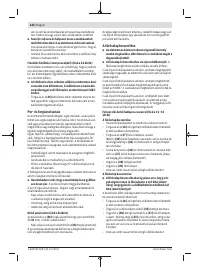
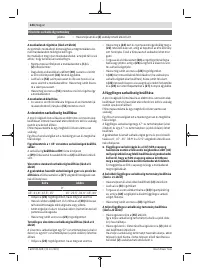
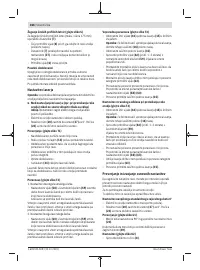
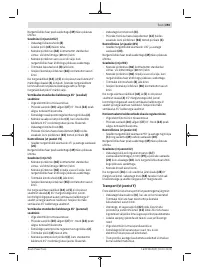
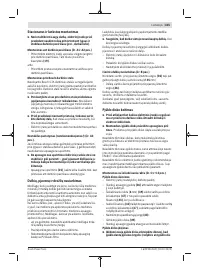
Assembly
u
Avoid starting the power tool unintentionally. The
mains plug must not be connected to the power supply
during assembly or when carrying out any kind of
work on the power tool.
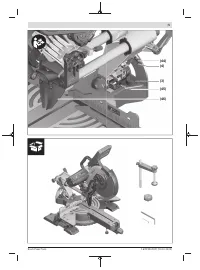
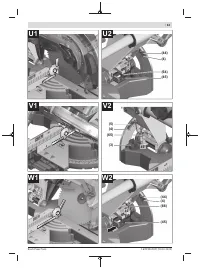
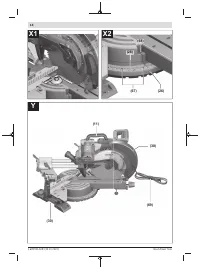
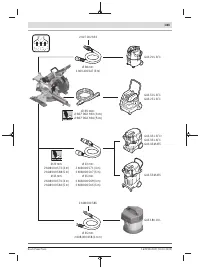
Items Included
See the list of items included at the start of
the operating manual.
Check to ensure that all the parts listed below have been
supplied before using the power tool for the first time:
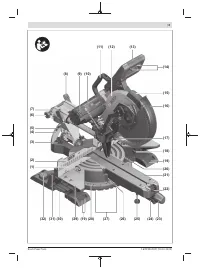
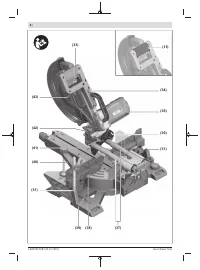
– Sliding mitre saw with fitted saw blade
(49)
– Screw clamp
(40)
– Hex key
(39)
– Hex key
(59)
– SDS bolt
(32)
Note:
Check the power tool for possible damage.
Before continuing to use the power tool, carefully check that
all protective devices or slightly damaged parts are working
perfectly and according to specifications. Check that the
moving parts are working perfectly and without jamming;
check whether any parts are damaged. All parts must be fit-
ted correctly and all the conditions necessary to ensure
smooth operation must be met.
If the protective devices or any parts become damaged, you
must have them properly repaired or replaced by an author-
ised service centre.
Extra tools required (not included in the delivery):
– Cross-headed screwdriver
– Ring spanner or open-ended spanner (size: 10 mm)
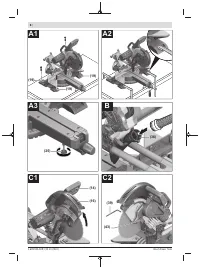
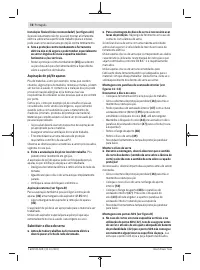
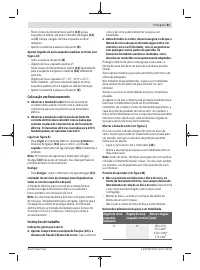
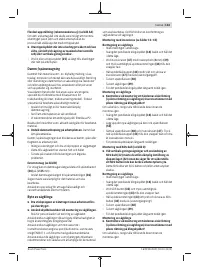
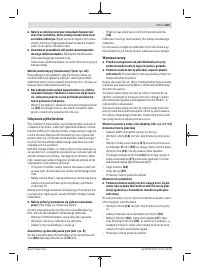
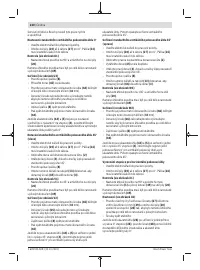
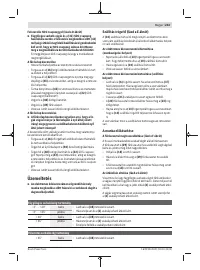
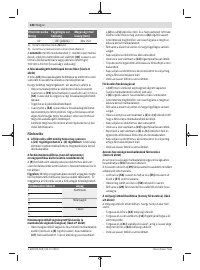
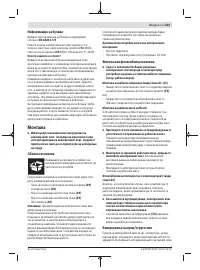
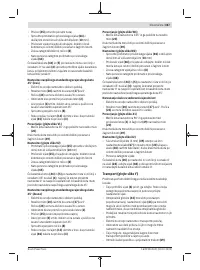
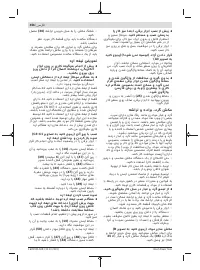
Stationary or flexible mounting
u
To ensure safe handling, the power tool must be
mounted on a flat, stable work surface (e.g. work
bench) before use.
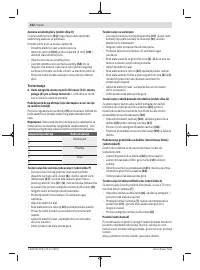
Mounting on a work surface (see figure A1−A2)
– Use suitable screw fasteners to secure the power tool to
the work surface. The holes
(19)
are used for this pur-
pose.
or
– Firmly clamp the base of the power tool to the work sur-
face with commercially available screw clamps.
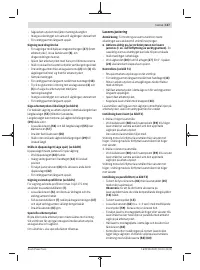
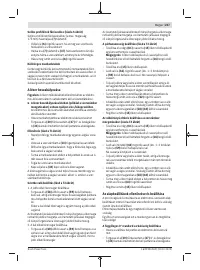
Mounting on a Bosch saw stand
With the height-adjustable legs, Bosch GTA saw stands
provide firm support for the power tool on any surface. The
workpiece supports of the saw stand are used for underlay-
ing long workpieces.
u
Read all the warnings and instructions included with
the saw stand.
Failure to observe the warnings and fol-
low instructions may result in electric shock, fire and/or
serious injury.
u
Assemble the saw stand properly before mounting the
power tool.
Correct assembly is important to prevent the
risk of collapsing.
– Mount the power tool on the saw stand in the transport
position.
Flexible installation (not recommended) (see figure A3)
If, in exceptional circumstances, it is not possible to mount
the power tool on a flat and stable work surface, you can im-
provise by setting it up with the tilt protector.
u
Without the tilt protector, the power tool will not be
stable and can tip over especially when sawing max-
imum mitre and/or bevel angles.
1 609 92A 5U9 | (20.10.2020)
Bosch Power Tools
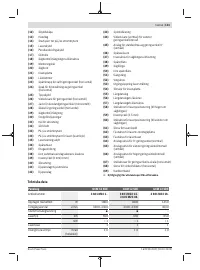
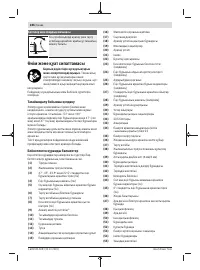
Содержание
- 253 Содержите рабочее место в чистоте.
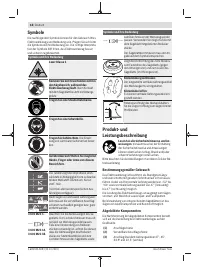
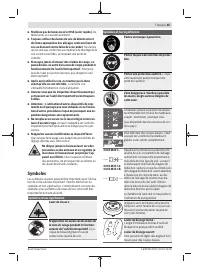
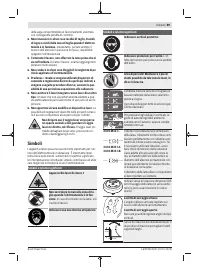
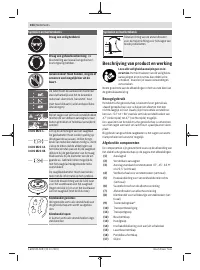
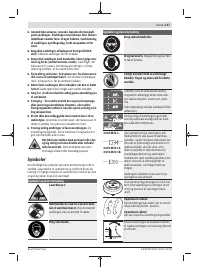
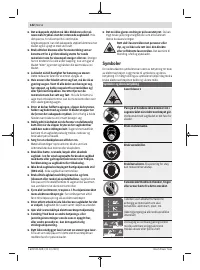
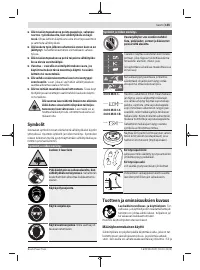
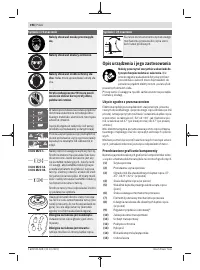
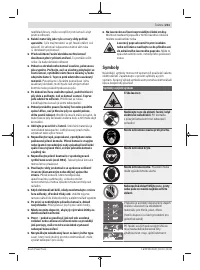
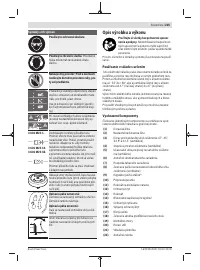
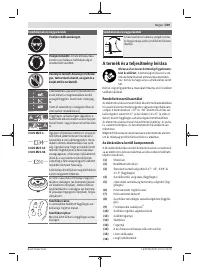
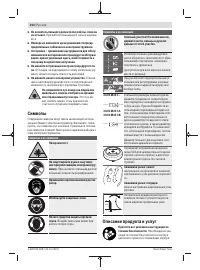
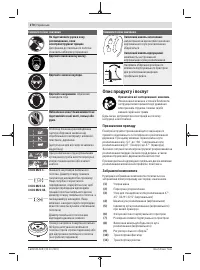
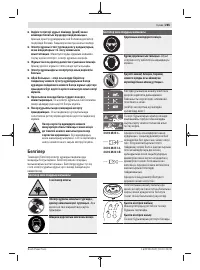
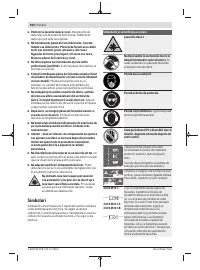
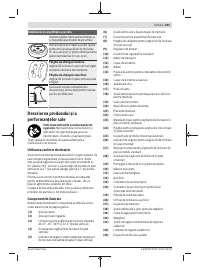
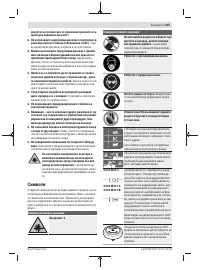
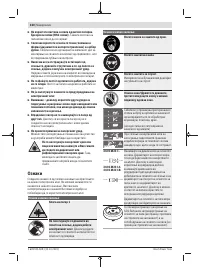
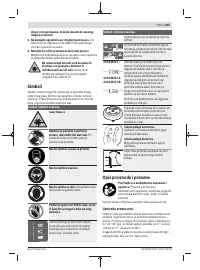
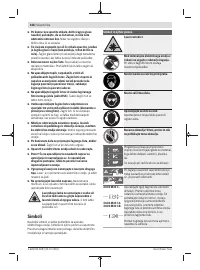
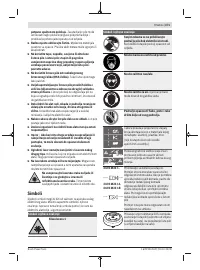
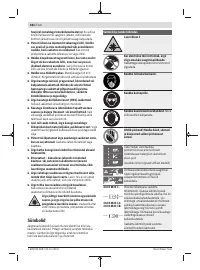
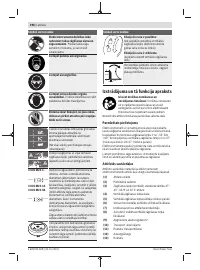
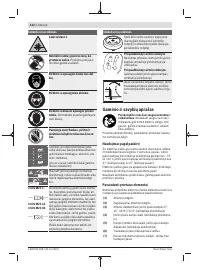
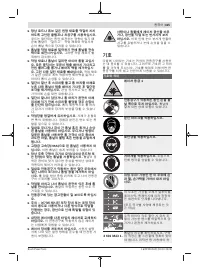
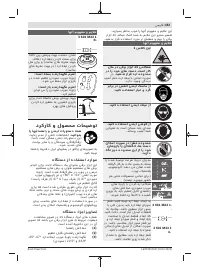
- 254 Не меняйте ничего в лазерном устройстве.; Символы; Символы и их значение; Описание продукта и услуг
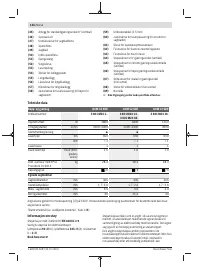
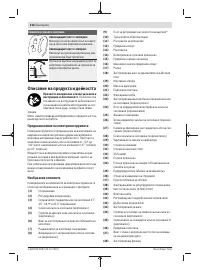
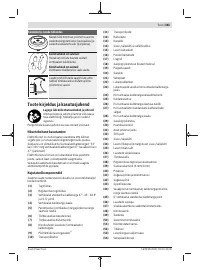
- 256 Технические данные; Панельная пила; Данные о шуме; Используйте средства защиты органов слуха!
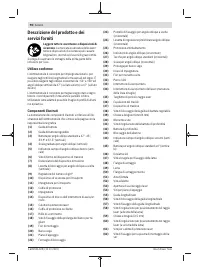
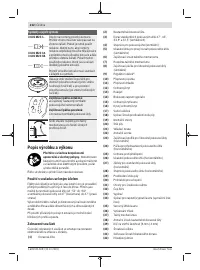
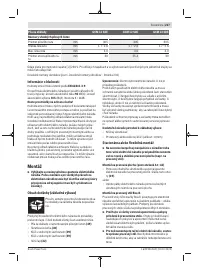
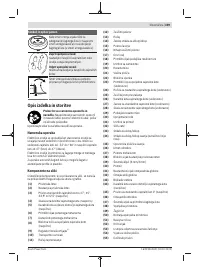
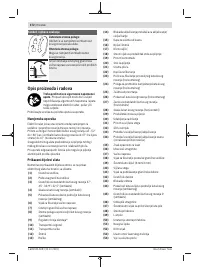
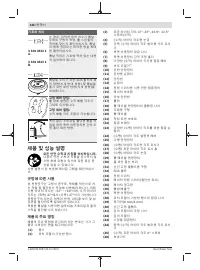
- 257 Сборка; Комплект поставки; Монтаж на верстаке производства Bosch; Удаление пыли и стружки; Избегайте скопления пыли на рабочем месте.
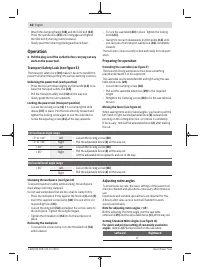
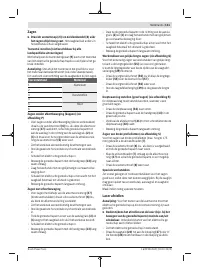
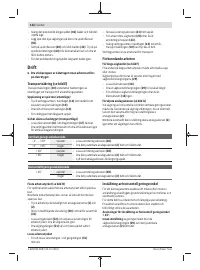
- 258 Замена пильного диска; Монтаж пильного диска; Работа с инструментом
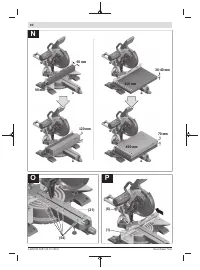
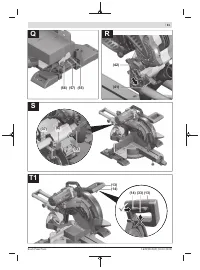
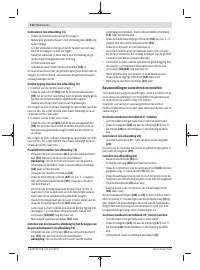
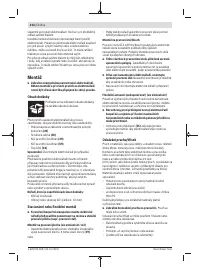
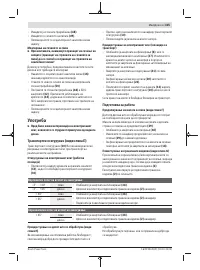
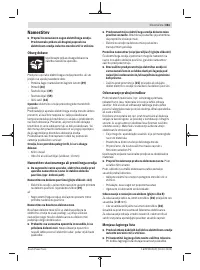
- 259 Подготовка эксплуатации; Вертикальный диапазон угла распила; Настройка горизонтального угла распила; слева
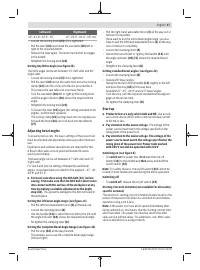
- 260 Настройка вертикального угла распила; Включение электроинструмента
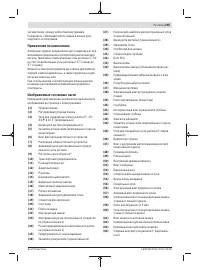
- 261 Указания по применению; Общие указания для пиления; Пиление
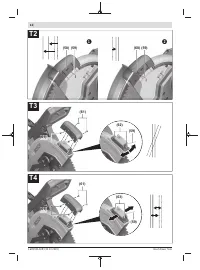
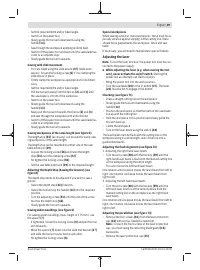
- 262 Юстирование лазера
- 263 Основные настройки – контроль и коррекция
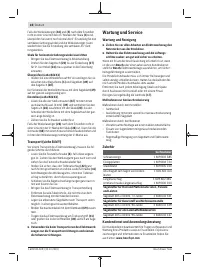
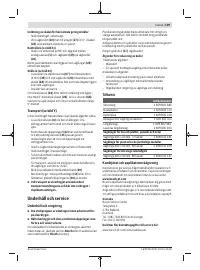
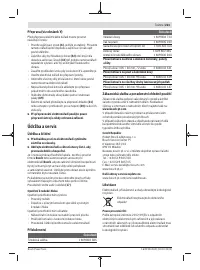
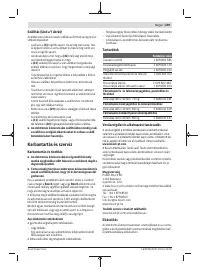
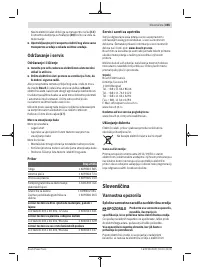
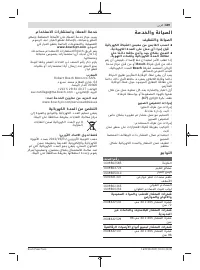
- 265 Техобслуживание и сервис; Техобслуживание и очистка; Принадлежности; Товарный номер
- 266 Россия; Утилизация; Українська; Вказівки з техніки безпеки; Загальні застереження для електроприладів; ДЖЕННЯ; електроінструментом.
Характеристики

Остались вопросы?Не нашли свой ответ в руководстве или возникли другие проблемы? Задайте свой вопрос в форме ниже с подробным описанием вашей ситуации, чтобы другие люди и специалисты смогли дать на него ответ. Если вы знаете как решить проблему другого человека, пожалуйста, подскажите ему :)


