Мультиварки Russell Hobbs 28270-56 - инструкция пользователя по применению, эксплуатации и установке на русском языке. Мы надеемся, она поможет вам решить возникшие у вас вопросы при эксплуатации техники.
Если остались вопросы, задайте их в комментариях после инструкции.
"Загружаем инструкцию", означает, что нужно подождать пока файл загрузится и можно будет его читать онлайн. Некоторые инструкции очень большие и время их появления зависит от вашей скорости интернета.


4
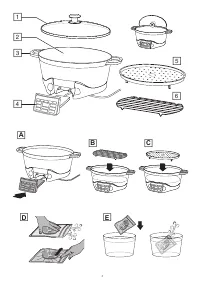
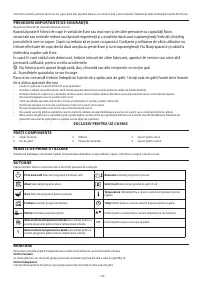
ASSEMBLY
The control panel can be removed when you are serving food or for when you are cleaning the unit.
To fit:
With the plug removed from the power socket, slide the conrtol panel into the front of the cooking pot (fig. A).
To remove:
Remove the mains plug from the power socket and then slide the control panel out from the cooking pot.
TEMPERATURE UNITS
To switch back and forth between °F and °C hold the
Temperature
button for 3 seconds.
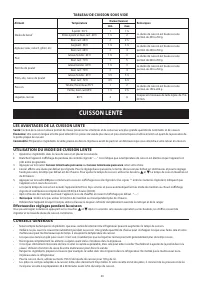
COOKING FUNCTIONS
Sear
: Use your multicooker to sauté, sear and fry.
Roast
: Perfect for roast joints using the included roasting rack.
Sous Vide
: Sous-vide is a method of cooking food inside a sealed pouch in a water bath at an accurately regulated temperature. Sealing the food in
pouches retains the juices and subtle flavours that would otherwise be lost during conventional cooking.
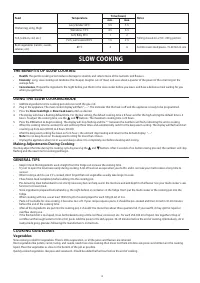
Slow Cook
: Perfect for casseroles, soups, stews, and combinations of meats and vegetables.
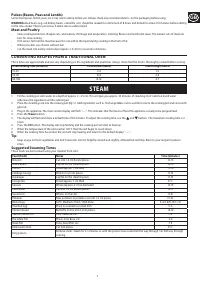
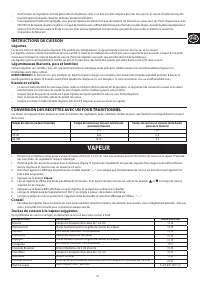
Steam
: Steam vegetables, fish, etc. using the included steaming rack.
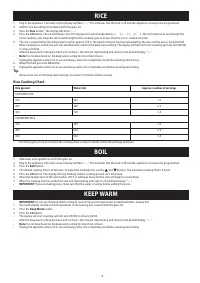
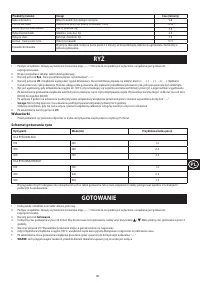
Rice
: Make perfect rice automatically.
Boil
: Use for boiling ingredients, making soups, making pasta etc.
Keep Warm
: Allows you to keep cooked food warm before serving.
SEAR
1. Plug in the appliance. The main control display will flash “----”. This indicates that the heat is off and the appliance is ready to be programmed.
2. Press the
Sear
button.
3. The display will flash and show a default time of 30 minutes.
4. To adjust the cooking time, use the
u
and
d
buttons. The maximum cooking time is 1 hour.
5. Press the
I/O
button. The display will stop flashing and the cooking pot will start to heat up.
6. When the temperature of the unit reaches approx. 220°C the time will begin to count down.
7. Add butter, oil, etc. to the cooking pot and use it in the same way as you would use a frying pan.
8. When finished, press the
I/O
button.
9. Unplug the appliance when not in use and always allow it to completely cool before cleaning and storing.
•
Do not use the lid when using the sear function.
ROAST
1. Place the roasting rack into the cooking pot and add the ingredients (fig. B).
2. Plug in the appliance. The main control display will flash “----”. This indicates that the heat is off and the appliance is ready to be programmed.
3. Press the
Roast
button.
4. The display will change to the default temperature of 204°C. To change the temperature, use the
u
and
d
buttons. The range is approx. 65 to 215°C.
5. Next, press the
Time
button. The default cooking time is 1 hour 30 minutes. To adjust the cooking time, use the
u
and
d
buttons. The maximum
cooking time is 20 hours.
6. Once you have set the temperature and time, press the
I/O
button. The display will stop flashing and cooking will start.
•
When the cooking time has ended, the unit will beep three times and automatically switch to the keep warm setting. The display will flash and start
counting up from zero (00:00) to 4 hours (04:00).
•
After the keep warm setting has been on for 4 hours, the unit will stop heating and return to the default display: “----”.
•
Note
: Do not keep foods on the keep warm setting for more than 4 hours.
•
Unplug the appliance when not in use and always allow it to completely cool before cleaning and storing.
Tips
•
The approximate maximum capacity for roasting is a 1.8–2.2 kg. chicken or a 1.3–1.8 kg. roast.
•
If you desire the deeper flavor of browned meat use the Sear function before roasting to brown the meat.
•
Always roast with the lid on. Open the lid as little as possible to ensure even cooking and to keep heat from escaping.
•
Using a meat thermometer can help significantly improve and give a more accurate end result.
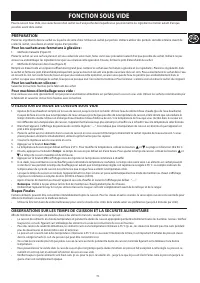
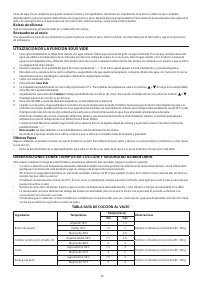
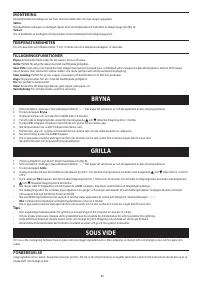
SOUS VIDE
For Sous Vide cooking you will need a bag or pouch to put the ingredients into from which you can remove as much of the air as possible, and then seal.
PREPARATION
Place the ingredients into your chosen bag or pouch. Use one bag per portion. Try to keep portions similar in size. Before sealing the bag, you need to
remove as much air out of it as possible.
For ‘Zipper lock’ style bags:
1. Hand Method (fig. D)
Содержание
- 79 ОБЖАРКА; Советы
- 80 ГОТОВКА В ВАКУУМЕ; ПОДГОТОВКА; Для силиконовых пакетов:; ИСПОЛЬЗОВАНИЕ РЕЖИМА ГОТОВКИ В ВАКУУМЕ; ЗАВЕРШЕНИЕ ОБРАБОТКИ
- 81 РУКОВОДСТВО ПО ПРИГОТОВЛЕНИЮ БЛЮД В ВАКУУМЕ; МЕДЛЕННОЕ ПРИГОТОВЛЕНИЕ; ПРЕИМУЩЕСТВА МЕДЛЕННОГО ПРИГОТОВЛЕНИЯ; Внесение изменений во время готовки; ОБЩИЕ РЕКОМЕНДАЦИИ
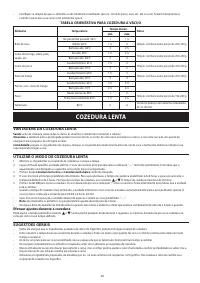
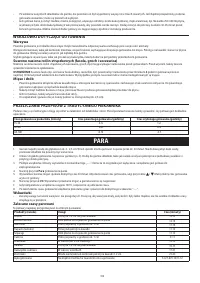
- 82 УКАЗАНИЯ ПО ПРИГОТОВЛЕНИЮ; Овощи; АДАПТАЦИЯ РЕЦЕПТОВ, ПРЕДНАЗНАЧЕННЫХ ДЛЯ ОБЫЧНОЙ ДУХОВКИ; ПАР
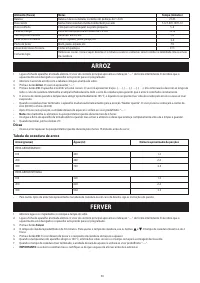
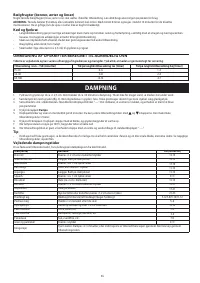
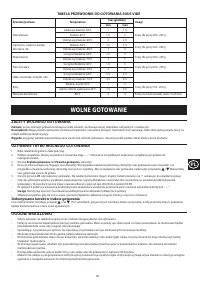
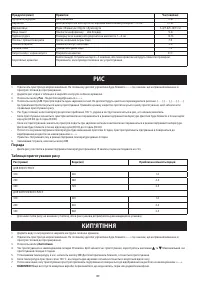
- 83 РИС; КИПЯЧЕНИЕ
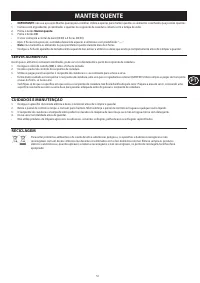
- 84 ПОДДЕРЖАНИЕ ТЕМПЕРАТУРЫ; ПОДАЧА ЕДЫ
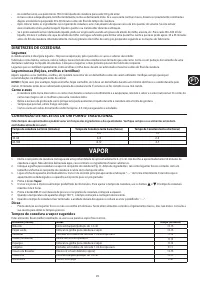
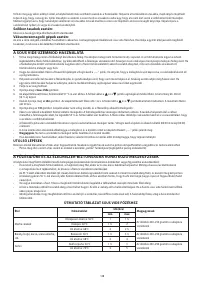
Характеристики

Остались вопросы?Не нашли свой ответ в руководстве или возникли другие проблемы? Задайте свой вопрос в форме ниже с подробным описанием вашей ситуации, чтобы другие люди и специалисты смогли дать на него ответ. Если вы знаете как решить проблему другого человека, пожалуйста, подскажите ему :)


