
Электропилы Bosch AKE 30 LI 0.600.837.100 - инструкция пользователя по применению, эксплуатации и установке на русском языке. Мы надеемся, она поможет вам решить возникшие у вас вопросы при эксплуатации техники.
Если остались вопросы, задайте их в комментариях после инструкции.
"Загружаем инструкцию", означает, что нужно подождать пока файл загрузится и можно будет его читать онлайн. Некоторые инструкции очень большие и время их появления зависит от вашей скорости интернета.


F 016 L70 758 | (22.11.10)
Bosch Power Tools
26
| English
A significantly reduced working period after
charging indicates that the battery is used
and must be replaced.
Observe the notes for disposal.
Battery Cooling (Active Air Cooling)
The fan control integrated in the battery
charger controls the temperature of the in-
serted battery. When the battery temperature
is above 30 ° C, a fan cools down the battery
to the optimal charging temperature. The
switched-on fan produces a fan noise.
The battery temperature is within the optimal
charging temperature range when the fan is
not running. Another reason for a non working
fan might be that it is defective. In this case,
the charging time of the battery might be ex-
tended.
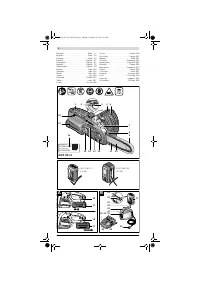
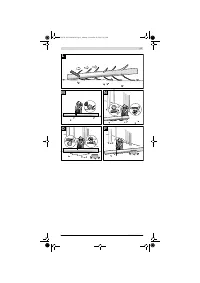
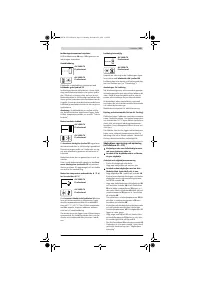
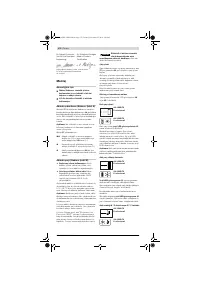
Mounting and Tensioning the Chain
Saw (see figures C1
–
C3)
f
Do not insert battery before the chain
saw is completely assembled.
f
Always wear protective gloves when han-
dling the chain.
Chain and Chain Bar Assembly
– Unpack all parts carefully.
– Place the chain saw on any suitable flat
surface.
f
Use only chains with a drive link thick-
ness of 1.1 mm.
– Slide the saw chain
11
in the slot around
the chain bar
10
. Ensure the saw chain is
in the correct running direction by compar-
ing the saw chain with the rotation symbol
27
on bar
10
.
– Fit the chain onto the drive sprocket
28
and guide the chain bar
10
, so that the fas-
tening bolt
29
and the two guide fins
32
fit
into the keyway of the chain bar
10
, and
that the chain tensioning pegs
30
fits into
the respective holes of the chain bar
10
.
If necessary, turn the chain tensioning
knob
15
to bring tensioning pegs
30
in
alignment with the hole in the chain bar
10
.
– Check if all parts are seated properly and
hold the chain bar and the chain in this po-
sition.
– Turn the chain tensioning knob
15
until all
the slack is taken up in the saw chain
11
.
– Fit the cover
13
exactly and take care that
the chain catch bolt
33
engages into the
groove of the cover plate
13
.
– Lightly tighten the cover
13
with the lock-
ing knob
12
.
– The chain is not yet tensioned. The saw
chain is tensioned as described in section
“Tensioning the Saw Chain”.
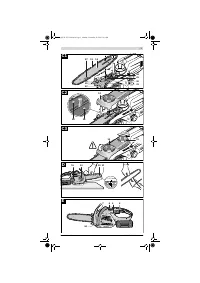
Tensioning the Saw Chain (see figure D)
Always check the chain tension before use, af-
ter the first cuts and regularly during use ap-
prox. every 10 minutes. Upon initial opera-
tion, new chains can lengthen considerably.
The chain life of the saw chain mainly de-
pends upon sufficient lubrication and correct
tensioning.
Avoid tensioning the chain if it is hot, as this
will cause the chain to become overtensioned
and face too tightly against the chain bar
when it cools down.
– Place the chain saw on any suitable flat
surface.
– Loosen locking knob
12
until it is just hold-
ing chain bar
10
in position (do not re-
move!).
– Check if the chain links are correctly locat-
ed in the slot around the chain bar
10
and
on the drive sprocket
28
.
– Turn chain tensioning knob
15
clockwise
until the correct chain tension is reached.
The turning action forces the chain bar
10
forward via the chain tensioning pegs
30
.
– The saw chain
11
is correctly tensioned
when it can be raised approx. 5 – 10 mm
from the chain bar in the centre. This
should be done by using one hand to raise
the saw chain against the weight of the ma-
chine.
– If the saw chain
11
is overtensioned, slight-
ly turn the chain tensioning knob
15
anti-
clockwise and re-check chain tension. Re-
adjust chain tension as described if neces-
sary.
– Tighten the cover
13
with the locking knob
12
.
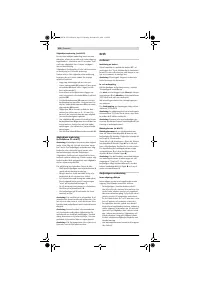
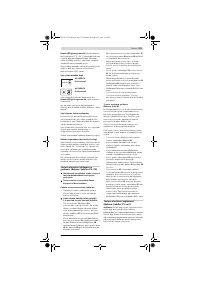
Saw-chain Lubrication
(see figures C1 and E)
Note:
The chain saw is not supplied filled with
oil. It is essential to fill with oil before use. Op-
erating the chain saw without chain oil or
when the oil level is below the minimum mark
will result in damage to the chain saw.
Chain life and cutting capacity depend on op-
timum lubrication. Therefore, the chain is au-
tomatically lubricated with chain oil during
operation via the oil outlet
31
.
Filling the oil reservoir:
– Set chain saw on any suitable surface with
the oil filler cap
4
facing upward.
– Clean area around the oil filler cap
4
with a
cloth and unscrew the cap.
– Add Bosch biodegradable chain saw oil un-
til oil level reads “max” on oil level gauge
7
.
– Avoid dirt or debris from entering the oil
reservoir. Screw on oil filler cap
4
again
and tighten.
– Run chainsaw for 30 seconds to “prime”
oil system.
Note:
To allow venting of the oil reservoir,
small breather channels are provided be-
tween the oil filler cap. To prevent leakage en-
sure chain saw is left in a horizontal position
(oil filler cap
4
uppermost) when not in use.
Note:
It is important to use only the recom-
mended biodegradable oil to avoid damage to
the chain saw. Never use recycled/old oil. Use
of non approved oil will invalidate the warran-
ty.
Note:
Oil becomes denser at lower tempera-
tures which decreases the flow rate of oil.
OBJ_BUCH-1275-002.book Page 26 Monday, November 22, 2010 1:10 PM
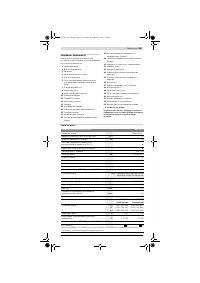
Содержание
- 237 г) При неправильном использовании из
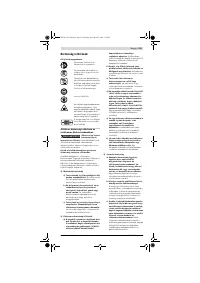
- 238 Не вскрывайте аккумулятор.
- 239 Описание функции; Применение по назначению
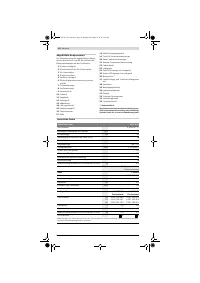
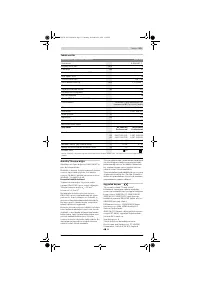
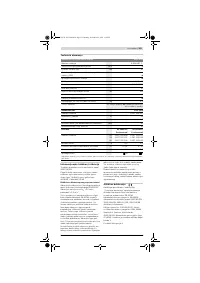
- 240 Технические данные; Аккумуляторная цепная пила
- 241 Заявление о соответствии; Сборка; Для Вашей безопасности; Учитывайте напряжение сети!
- 243 Работа с инструментом; Эксплуатация; Установка аккумулятора
- 244 выключения; Работа с цепной пилой; Перед пилением
- 246 Выполнении повалочного запила:
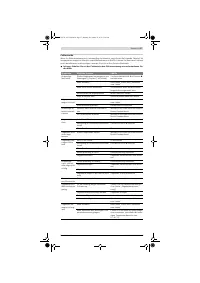
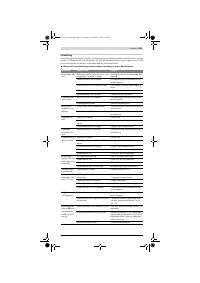
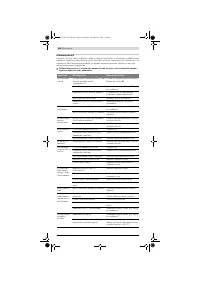
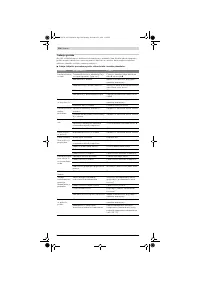
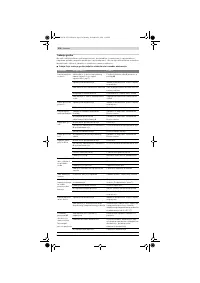
- 247 Индикатор контроля температуры; Поиск неисправностей; Проблема
- 248 Техобслуживание и сервис; Техобслуживание и очистка
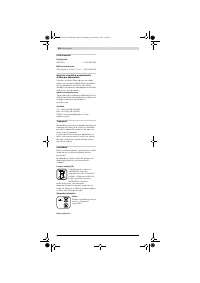
- 249 Принадлежности
- 250 Транспортировка


