Усилители Pioneer VSX-920 / VSX-1020 / VSX-1025 - инструкция пользователя по применению, эксплуатации и установке на русском языке. Мы надеемся, она поможет вам решить возникшие у вас вопросы при эксплуатации техники.
Если остались вопросы, задайте их в комментариях после инструкции.
"Загружаем инструкцию", означает, что нужно подождать пока файл загрузится и можно будет его читать онлайн. Некоторые инструкции очень большие и время их появления зависит от вашей скорости интернета.

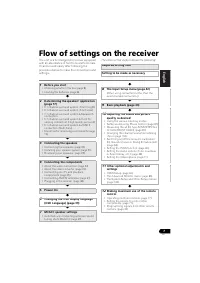

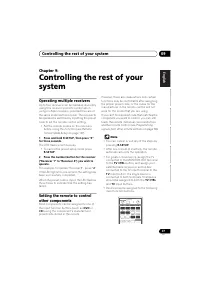


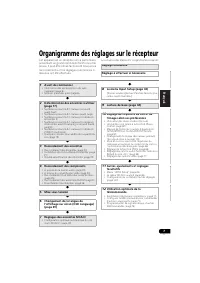
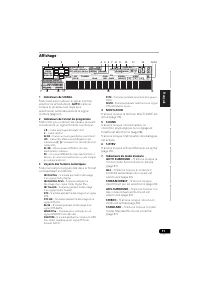


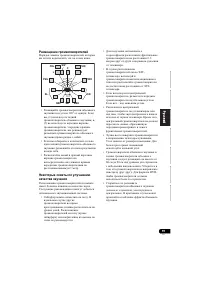


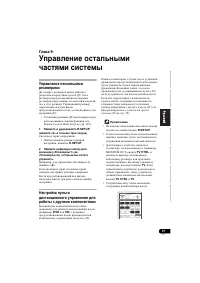


Controlling the rest of your system
09
78
En
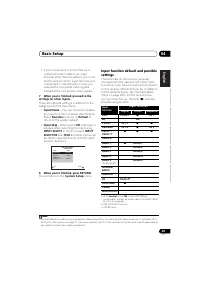
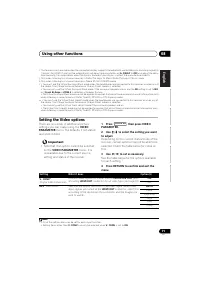
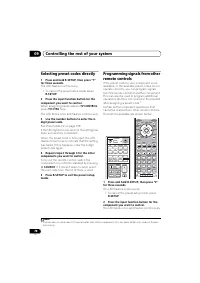
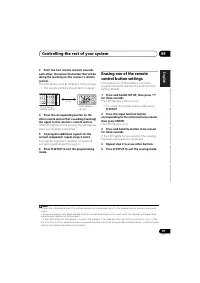
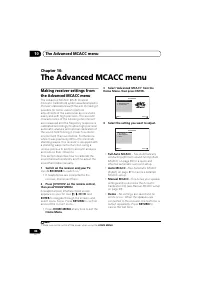
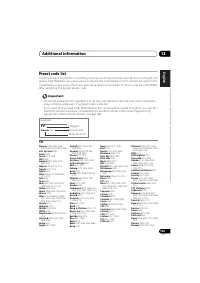
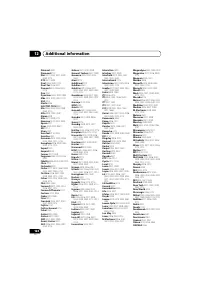
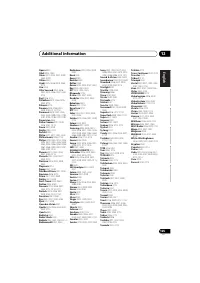
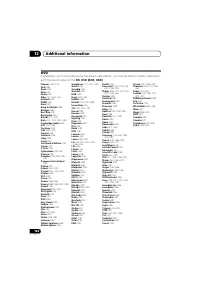
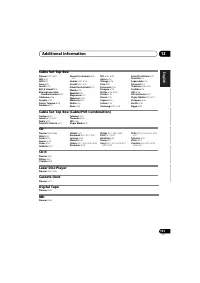
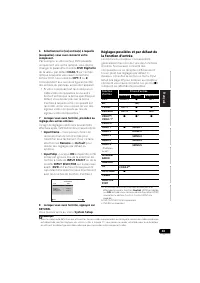
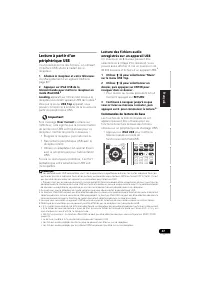
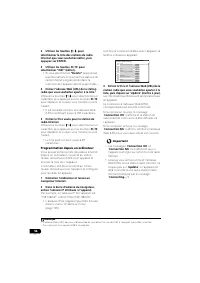
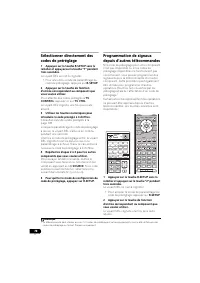
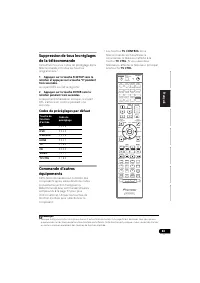
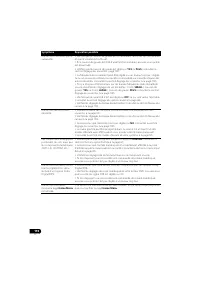
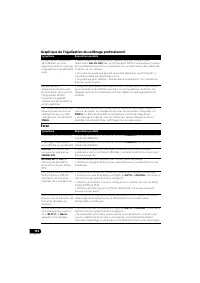
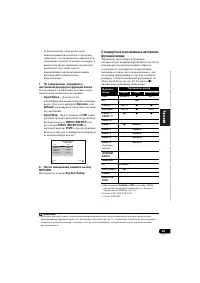
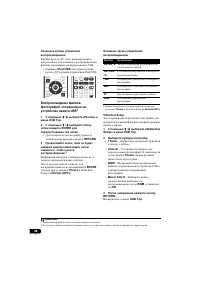
Selecting preset codes directly
1
Press and hold R.SETUP, then press “1”
for three seconds.
The LED flashes continuously.
• To cancel the preset setup mode press
R.SETUP
.
2
Press the input function button for the
component you want to control.
When assigning preset codes to
TV CONTROL
,
press
TV CTRL
here.
The LED blinks once and flashes continuously.
3
Use the number buttons to enter the 4-
digit preset code.
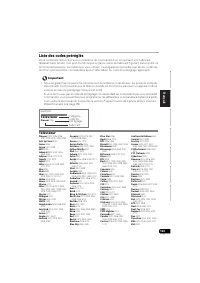
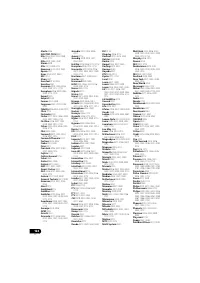
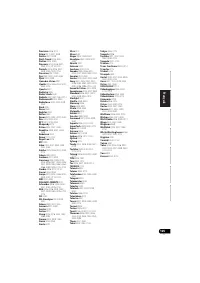
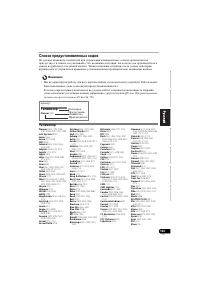
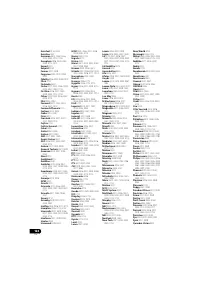
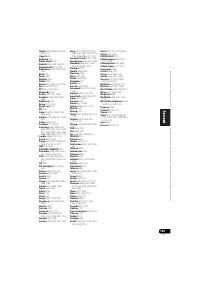
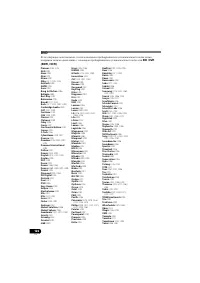
See
Preset code list
on page 123.
If the LED lights for one second, the setting has
been successfully completed.
When the preset code is fully input, the LED
flashes three times to indicate that the setting
has failed. If this happens, enter the 4-digit
preset code again.
4
Repeat steps 2 through 3 for the other
components you want to control.
To try out the remote control, switch the
component on or off (into standby) by pressing
SOURCE
. If it doesn’t seem to work, select
the next code from the list (if there is one).
5
Press R.SETUP to exit the preset setup
mode.
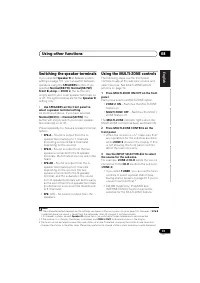
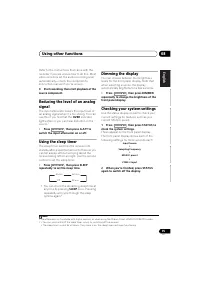
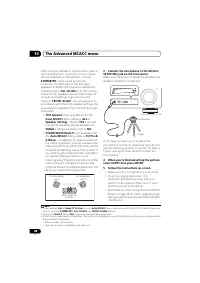
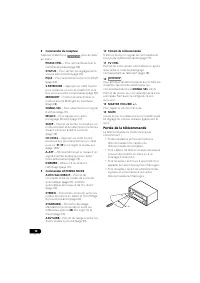
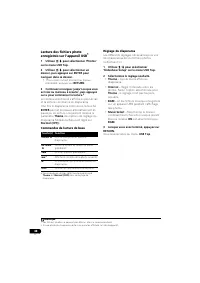
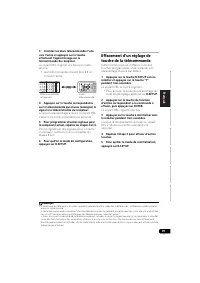
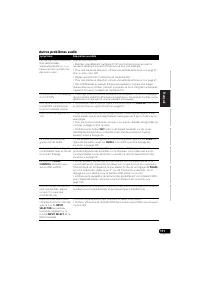
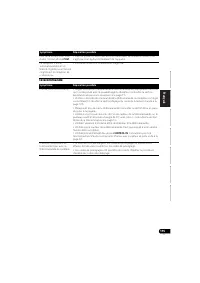
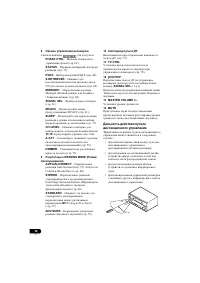
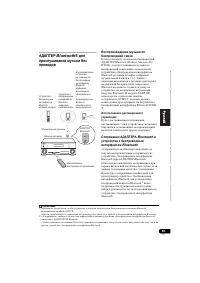
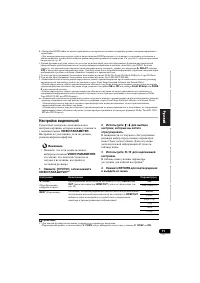
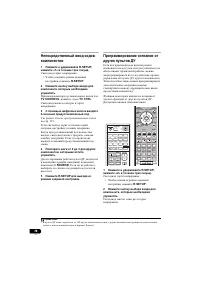
Programming signals from other
remote controls
If the preset code for your component is not
available, or the available preset codes do not
operate correctly, you can program signals
from the remote control of another component.
This can also be used to program additional
operations (buttons not covered in the presets)
after assigning a preset code.
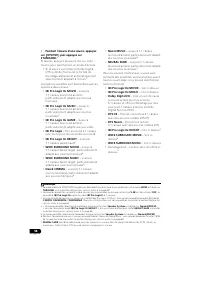
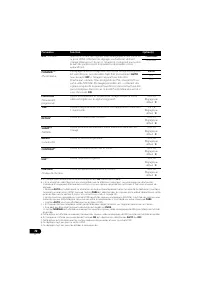
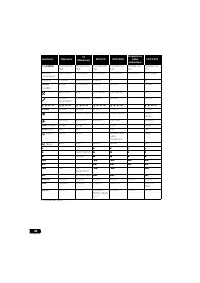
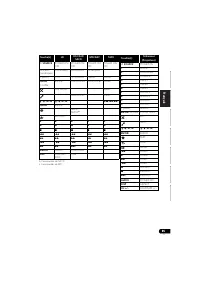
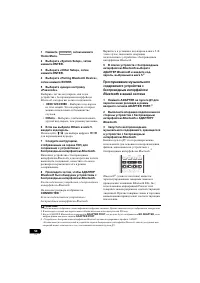
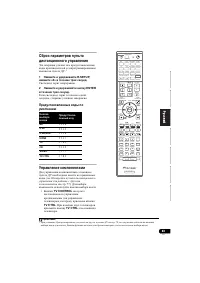
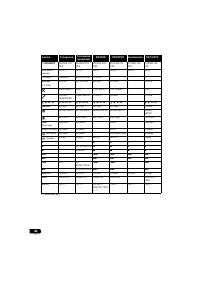
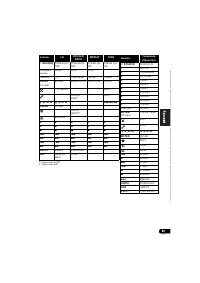
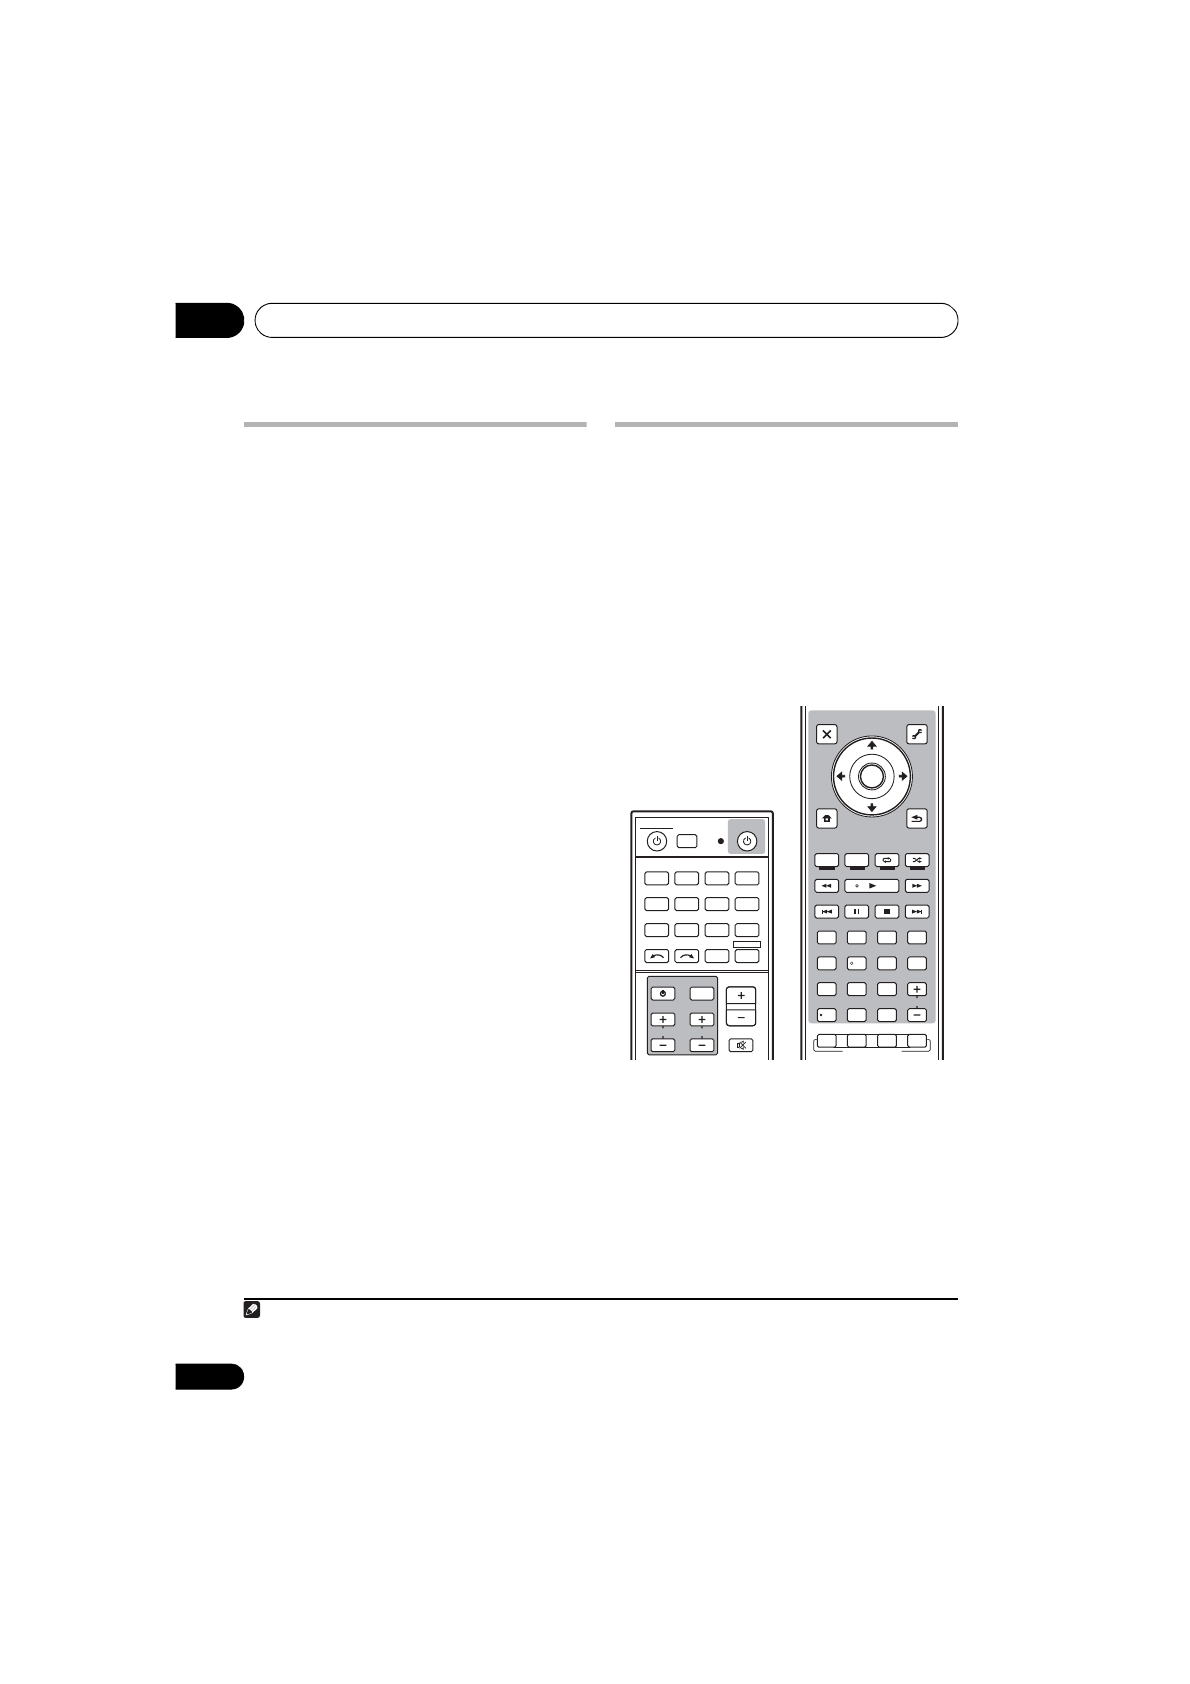
1
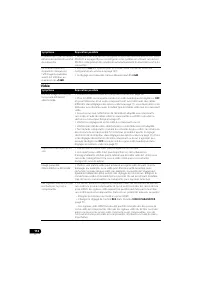
Certain buttons represent operations that
cannot be learned from other remote controls.
The buttons available are shown below:
1
Press and hold R.SETUP, then press “2”
for three seconds.
The LED flashes continuously.
• To cancel the preset setup mode press
R.SETUP
.
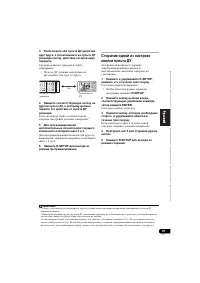
2
Press the input function button for the
component you want to control.
The LED blinks once and flashes continuously.
Note
1 The remote can store about 120 preset codes from other components (this has been tested with codes of Pioneer
format only).
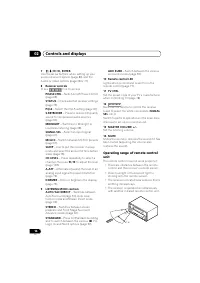
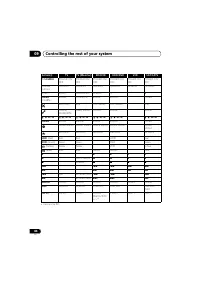
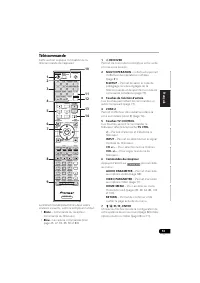
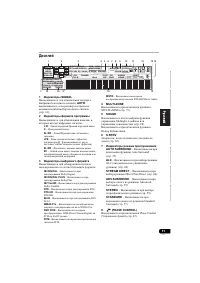
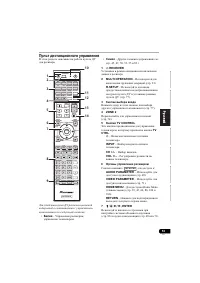
CH
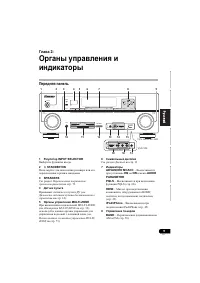
TV CONTROL
INPUT
INPUT SELECT
ZONE 2
iPod USB TUNER
VIDEO TV CTRL
ADAPTER
NET RADIO
CD
TV
BD
DVD
R.SETUP
SOURCE
RECEIVER MULTI
OPERATION
DVR/BDR
HDMI
RECEIVER
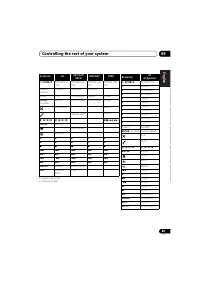
MUTE
MASTER
VOLUME
VOL
LISTENING MODE
AUTO / ALC /
DIRECT
STEREO
D.ACCESS
CH LEVEL A.ATT
DIMMER
SIGNAL SEL
S.RETRIEVER
MCACC
SLEEP
MIDNIGHT
TV / DTV
MPX
PQLS
PHASE CTRL
STATUS
PGM
iPod CTRL
HOME
MENU
TUNE
TUNE TOOLS
LIST
PRESET
TOP MENU
BAND
GUIDE
T.EDIT
VIDEO
PARAMETER
AUDIO
PARAMETER
ENTER
PRESET
RETURN
PTY
SEARCH
MENU
AUDIO
INFO
CLASS
ENTER
DISP
HDD
DVD
5
4
6
8
0
7
9
2
1
3
/ CLR
CH
STANDARD ADV SURR
VSX-1020_SYXCN.book 78 ページ
年
月
日 金曜日 午前9時
分


