
Газонокосилки STIGA MULTICLIP 547 D 298471848/ST2 - инструкция пользователя по применению, эксплуатации и установке на русском языке. Мы надеемся, она поможет вам решить возникшие у вас вопросы при эксплуатации техники.
Если остались вопросы, задайте их в комментариях после инструкции.
"Загружаем инструкцию", означает, что нужно подождать пока файл загрузится и можно будет его читать онлайн. Некоторые инструкции очень большие и время их появления зависит от вашей скорости интернета.


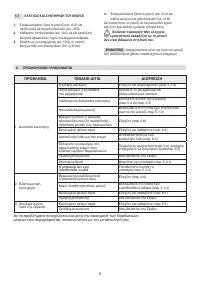


8
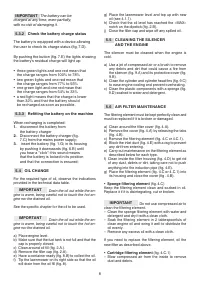
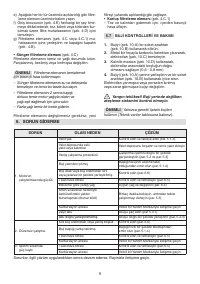
IMPORTANT
The battery can be
charged at any time, even partially,
with no risk of damaging it.
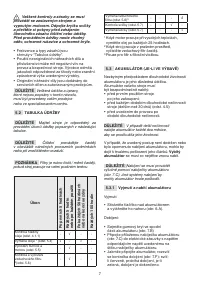
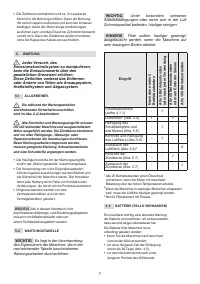
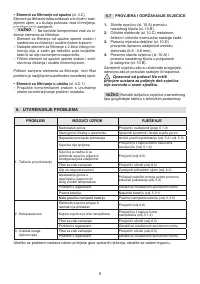
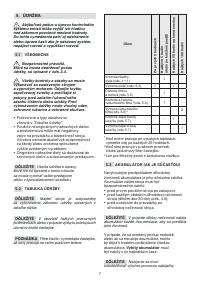
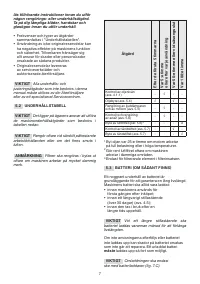
5.3.2
Check the battery charge status
The battery is equipped with a device allowing
the user to check its charge status (fig. 7.D).
By pushing the button (fig. 7.E) the lights showing
the battery's residual charge will light up:
•
three green lights and one red mean that
the charge ranges from 100% to 78%
•
two green lights and one red mean that
the charge ranges from 77% to 55%
•
one green light and one red mean that
the charge ranges from 54% to 33%
•
a red light means that the charge is lower
than 32% and that the battery should
be recharged as soon as possible.
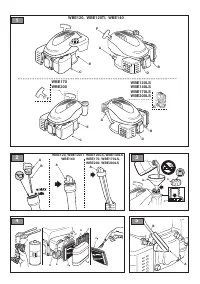
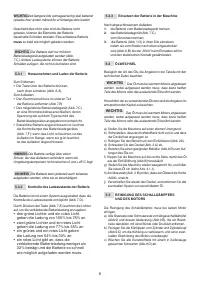
5.3.3
Refitting the battery on the machine
When recharging is completed:
1.
disconnect the battery from
the battery charger
2.
Disconnect the battery charger (fig.
7.C) from the mains power supply;
3.
insert the battery (fig. 1.G
)
in its housing
by pushing it downwards (fig. 6.B) until
you hear a "click": this sound means
that the battery is locked in its position
and that the connection is ensured;
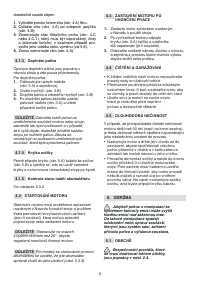
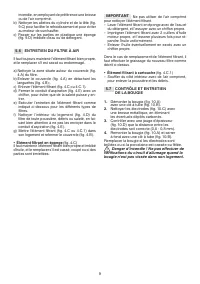
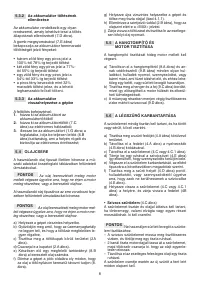
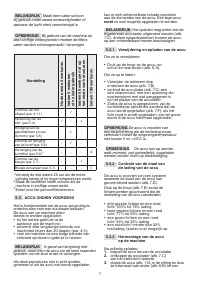
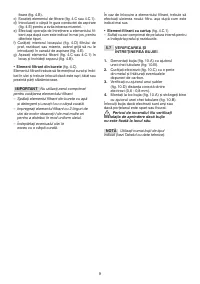
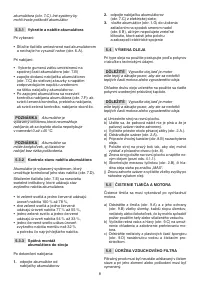
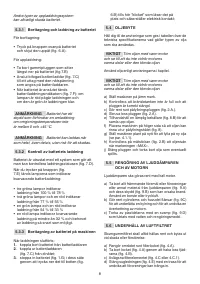
5.4 OIL CHANGE
For the required type of oil, observe the indications
provided in the technical data table.
IMPORTANT
Drain the oil out while the en
-
gine is warm, being careful not to touch the hot en-
gine nor the drained oil.
See the specific chapter for the oil to be used.
IMPORTANT
Drain the oil out while the en
-
gine is warm, being careful not to touch the hot en-
gine nor the drained oil.
a) Place engine level.
b) Make sure that the fuel tank is not full and that the
cap is properly closed.
c) Clean around oil fill (fig. 2.A.).
d) Remove the filler cap (fig. 2.A).
e) Have a container ready (fig. 8.B) to collect the oil.
f) Tip the lawnmower on its right side so that the oil
will drain from the oil fill (fig. 8).
g) Place the lawnmower level and top up with new
oil (see 4.1.1).
h) Check that the oil level has reached the «MAX»
notch on the dipstick (fig. 2.B).
j) Close the filler cap and wipe off any spilled oil.
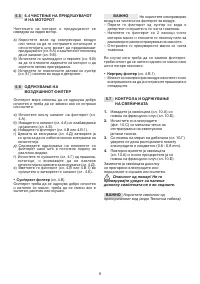
5.5 CLEANING THE SILENCER
AND THE ENGINE
The silencer must be cleaned when the engine is
cold.
a) Use a jet of compressed air or a brush to remove
any debris and dirt that could cause a fire from
the silencer (fig. 9.A) and its protective cover (fig.
9.B).
b) Clean the cylinder and cylinder head fins (fig. 9.C)
to ease engine cooling and prevent overheating.
c) Clean the plastic components with a sponge (fig.
9.D) soaked in water and detergent.
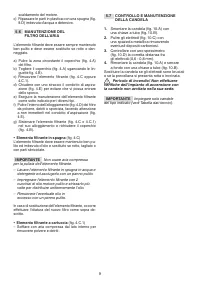
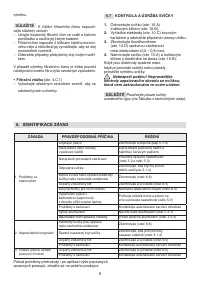
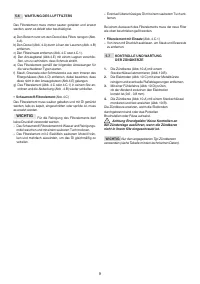
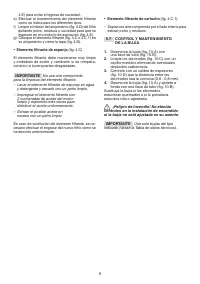
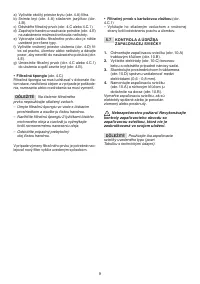
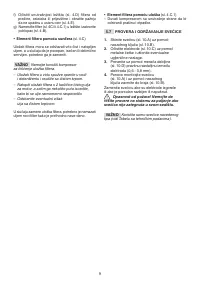
5.6 AIR FILTER MAINTENANCE
The filtering element must be kept perfectly clean and
must be replaced if it is broken or damaged.
a) Clean around the filter cover (fig. 4.A).
b) Remove the cover (fig. 4.A) by releasing the tabs
(fig. 4.B).
c) Remove the filtering element (fig. 4.C or 4.C.1).
d) Block the inlet duct (fig. 4.E) with a rag to prevent
any dirt from entering.
e) Carry out maintenance on the filtering element as
described below for each type.
f) Clean inside the filter housing (fig. 4.D) to get rid
of any dust, debris or dirt, taking care not to push
anything into the induction pipe (fig. 4.E).
g) Place the filtering element (fig. 4.C or 4.C.1) into
its housing and close the cover (fig . 4.B).
•
Sponge filtering element
(fig. 4.C)
Keep the filtering element clean and soaked in oil.
Replace it if it is disintegrating, cut or broken.
IMPORTANT
Do not use compressed air to
clean the filtering element.
– Clean the sponge filtering element with water and
detergent and dry it with a clean cloth.
– Soak the filtering element in 2 tablespoonfuls of
clean engine oil and wring it well to distribute the
oil evenly.
– Remove any excess oil with a clean cloth.
If you need to replace the filtering element, oil the
new filter as described above.
•
Cartridge filtering element
(fig. 4.C.1)
– Blow compressed air from the inside to remove
dust and debris.
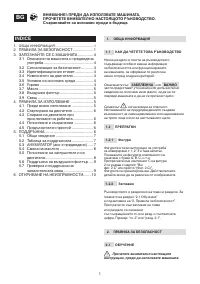
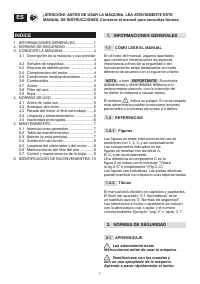
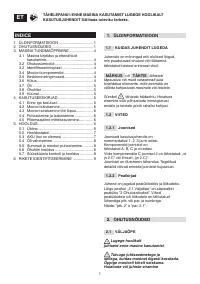
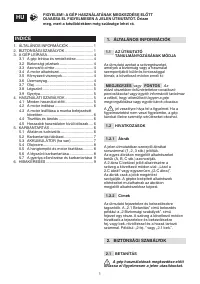
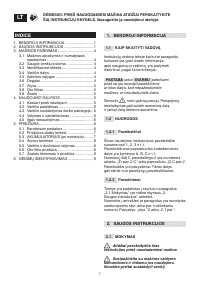
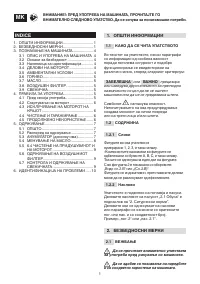
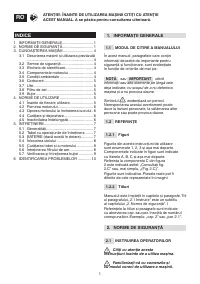
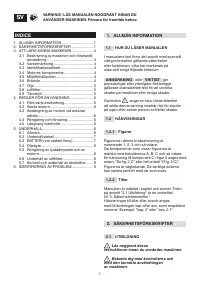
Содержание
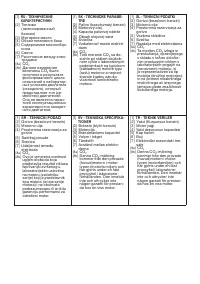
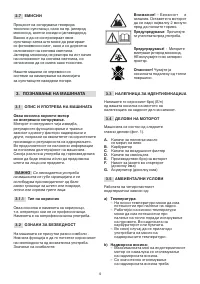
- 220 ИНФОРМАЦИЯ ОБЩЕГО ХАРАКТЕРА; ПРАВИЛА ТЕХНИКИ БЕЗОПАСНОСТИ; Внимательно прочитать данные
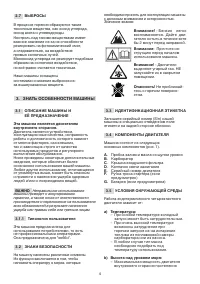
- 223 ВЫБРОСЫ; ЗНАТЬ ОСОБЕННОСТИ МАШИНЫ
- 224 ПРАВИЛА ЭКСПЛУАТАЦИИ
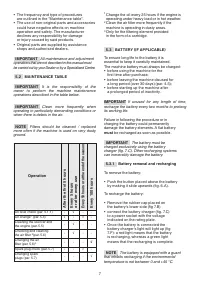
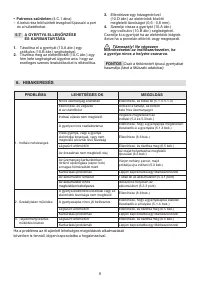
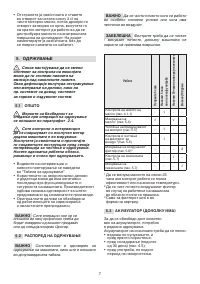
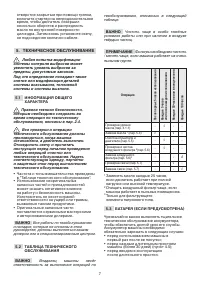
- 226 ТЕХНИЧЕСКОЕ ОБСЛУЖИВАНИЕ; ИНФОРМАЦИЯ ОБЩЕГО; Все работы по техобслуживанию; ТАБЛИЦА ТЕХНИЧЕСКОГО
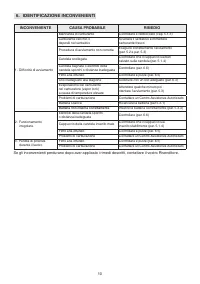
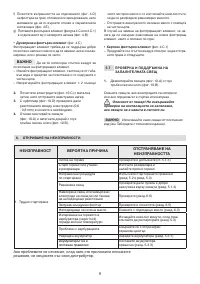
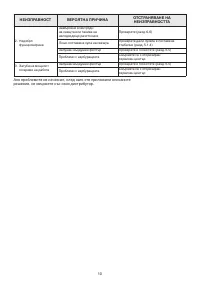
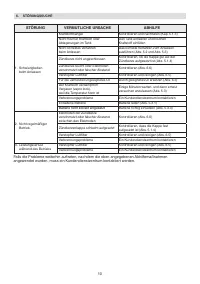
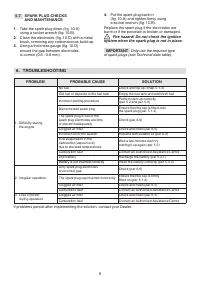
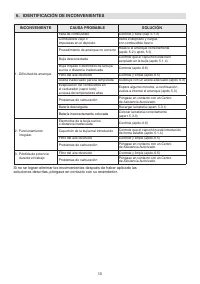
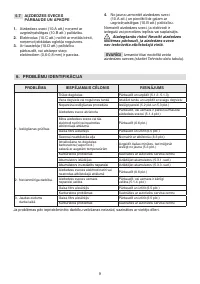
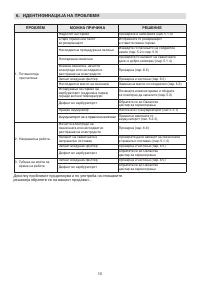
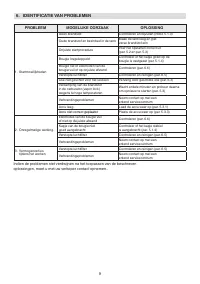
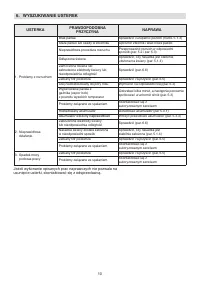
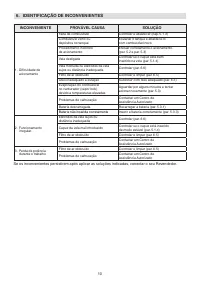
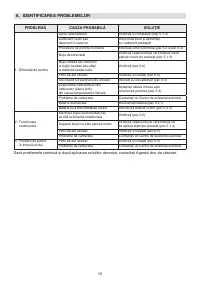
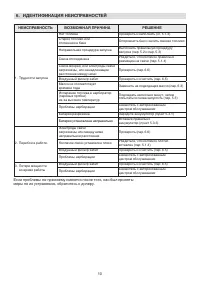
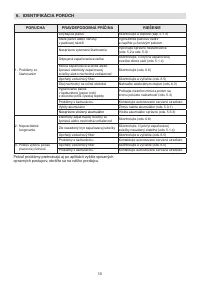
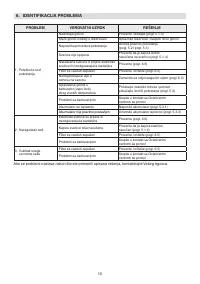
- 229 ИДЕНТИФИКАЦИЯ НЕИСПРАВНОСТЕЙ; НЕИСПРАВНОСТЬ; Если проблемы по-прежнему имеются после того, как был приняты


