
Пилы торцовочные Bosch GCM 216 - инструкция пользователя по применению, эксплуатации и установке на русском языке. Мы надеемся, она поможет вам решить возникшие у вас вопросы при эксплуатации техники.
Если остались вопросы, задайте их в комментариях после инструкции.
"Загружаем инструкцию", означает, что нужно подождать пока файл загрузится и можно будет его читать онлайн. Некоторые инструкции очень большие и время их появления зависит от вашей скорости интернета.


English |
27
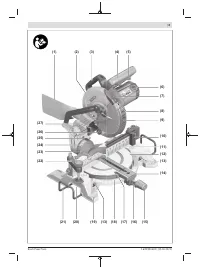
– To activate this, turn on the laser beam using the
switch
(30)
.
– Align your mark on the workpiece with the right-hand
edge of the laser line.
Note:
Before sawing, check whether the cutting line is still
indicated correctly. The laser beam can be misaligned due to
vibrations from intensive use, for example.
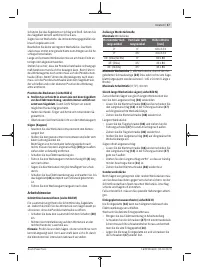
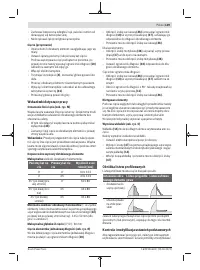
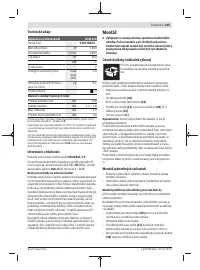
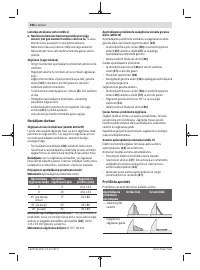
Permissible workpiece dimensions
Maximum
workpiece dimensions:
Mitre angle
Bevel angle
Height x width
[mm]
0°
0°
60 x 123
0°
45°
43 x 123
45° (left/right)
0°
60 x 80
45° (left)
45°
43 x 80
45° (right)
45°
35 x 80
Minimum workpiece
dimensions (= all workpieces that can
be secured left or right of the saw blade using the supplied
screw clamps
(22)
): 145 x 50 mm (length x width)
Maximum cutting depth
(0°/0°): 60 mm
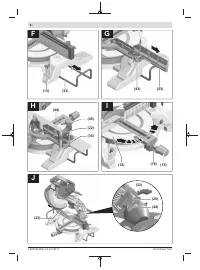
Sawing workpieces of the same length (see figure N)
The length gauge
(10)
can be used for easily sawing work-
pieces of the same length.
– Loosen the clamping screw
(46)
and move the length
gauge
(10)
in the guide rail
(37)
to the required work-
piece length.
– Retighten the clamping screw
(46)
.
Longer workpieces:
– Loosen the wing bolt
(36)
and pull out the guide rail
(37)
as far as it will go.
– Retighten the wing bolt
(36)
.
– Adjust the length gauge
(10)
to the required workpiece
length.
Sawing without a length gauge:
– Loosen the clamping screw
(46)
and move the length
gauge
(10)
in the guide rail
(37)
all the way out.
– Rotate the length gauge by 90°until it is flush with the
fence
(11)
.
– Retighten the clamping screw
(46)
.
Special workpieces
When sawing curved or round workpieces, these must be es-
pecially secured against slipping. At the cutting line, there
should be no gap between the workpiece, fence and saw
table.
If necessary, you will need to manufacture special fixtures.
Replacing insert plates (see figure O)
The insert plate
(14)
can become worn after long use of the
power tool.
Replace faulty insert plates.
– Bring the power tool into the work position.
– Unscrew the screws
(47)
using a commercially available
cross-headed screwdriver and remove the old insert
plate
(14)
.
– Insert the new insert plate and screw the screws
(47)
in
tight again.
Working on mouldings
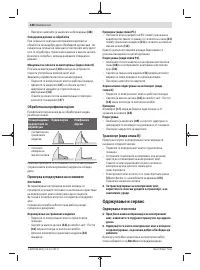
Mouldings can be sawn in two different ways:
Positioning of
workpiece
Base moulding
Crown moulding
– Placed against
the fence
– Lying flat on the
saw table
Always check the set mitre and/or bevel angle first by mak-
ing trial cuts in scrap wood.
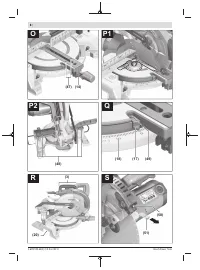
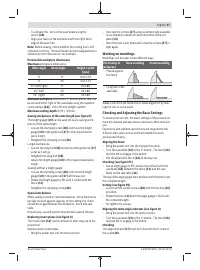
Checking and Adjusting the Basic Settings
To ensure precise cuts, the basic settings of the power tool
must be checked and adjusted as necessary after intensive
use.
Experience and suitable special tools are required for this.
A Bosch after-sales service point will handle this work
quickly and reliably.
Aligning the fence
– Bring the power tool into the transport position.
– Turn the saw table
(12)
to the 0° detent . The lever
(16)
must be felt to engage in the detent.
– Pull the adjustable fence
(23)
all the way out.
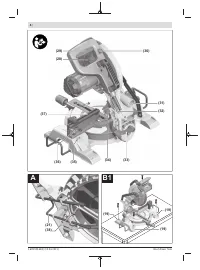
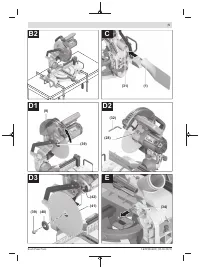
Checking (see figure P1)
– Set an angle gauge to 90° and position it flush with the
saw blade
(41)
between the fence
(11)
and the saw
blade on the saw table
(12)
.
The leg of the angle gauge must be flush with the fence over
the complete length.
Setting (see figure P2)
– Loosen all hex socket screws
(48)
with the hex key
(32)
provided.
– Rotate the fence
(11)
until the angle gauge is flush over
the complete length.
– Re-tighten the screws.
Aligning the mitre angle indicator (see figure Q)
– Bring the power tool into the work position.
– Turn the saw table
(12)
to the 0° detent . The lever
(16)
must be felt to engage in the detent.
Checking
The angle indicator
(17)
must be in line with the 0° mark of
the scale
(18)
.
Bosch Power Tools
1 609 92A 6DZ | (15.03.2021)
Содержание
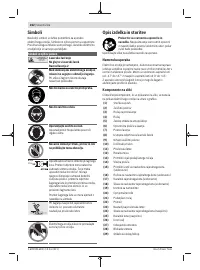
- 182 Указания по технике безопасности; ЖДЕНИЕ; Безопасность рабочего места
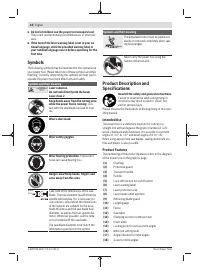
- 185 Символы; Символы и их значение; Используйте защитные очки.
- 186 Описание продукта и услуг; Применение по назначению; Торцовочная пила
- 187 Данные о шуме; Используйте средства защиты органов слуха!; Сборка; Комплект поставки
- 188 Стационарный или временный монтаж; Монтаж на верстаке производства Bosch; Удаление пыли и стружки; Избегайте скопления пыли на рабочем месте.
- 189 Монтаж пильного диска; Работа с инструментом; Подготовка эксплуатации; Снятие крепления детали
- 190 Включение электроинструмента
- 191 Указания по применению; Горизонтальный; Обработка профильных реек; Плинтусы; Основные настройки – контроль и коррекция; Настройка упорной планки
- 192 Техобслуживание и сервис; Техобслуживание и очистка; Принадлежности; Товарный номер
- 193 Утилизация; Українська; Вказівки з техніки безпеки; Загальні застереження для електроприладів; ДЖЕННЯ; електроінструментом.
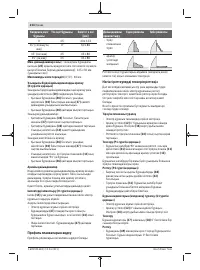
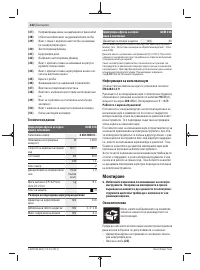
Характеристики

Остались вопросы?Не нашли свой ответ в руководстве или возникли другие проблемы? Задайте свой вопрос в форме ниже с подробным описанием вашей ситуации, чтобы другие люди и специалисты смогли дать на него ответ. Если вы знаете как решить проблему другого человека, пожалуйста, подскажите ему :)


