
Пилы торцовочные Bosch GCM 216 - инструкция пользователя по применению, эксплуатации и установке на русском языке. Мы надеемся, она поможет вам решить возникшие у вас вопросы при эксплуатации техники.
Если остались вопросы, задайте их в комментариях после инструкции.
"Загружаем инструкцию", означает, что нужно подождать пока файл загрузится и можно будет его читать онлайн. Некоторые инструкции очень большие и время их появления зависит от вашей скорости интернета.


26
| English
A Bosch after-sales service point will handle this work
quickly and reliably.
u
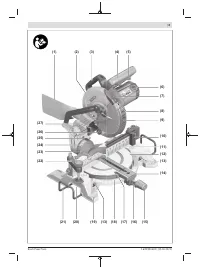
Always tighten the locking knob
(15) firmly before
sawing.
Otherwise the saw blade can become wedged in
the workpiece.
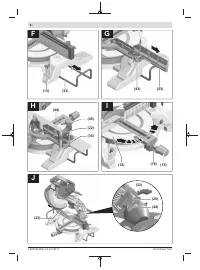
Adjusting mitre angles (see figure I)
The mitre angle can be set between 47° (left side) and 47°
(right side).
– Loosen the locking knob
(15)
if it is tightened.
– Pull the lever
(16)
upwards, turn the saw table
(12)
left
or right by the locking knob and set the required mitre
angle using the angle indicator
(17)
.
– Retighten the locking knob
(15)
.
For quick and precise setting of commonly used mitre
angles
, detents are provided on the saw table:
Left
Right
0°
45°; 30°; 22.5°; 15°
15°; 22.5°; 30°; 45°
– Loosen the locking knob
(15)
if it is tightened.
– Pull the lever
(16)
and rotate the saw table
(12)
left or
right to the required detent.
– Release the lever again. The lever must be felt to engage
in the detent.
– Retighten the locking knob
(15)
.
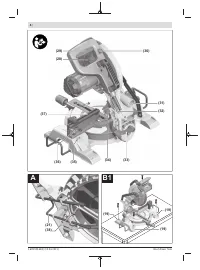
Setting Bevel Angles (see figure J)
The bevel angle can be set between 0° and 45°.
– Pull the adjustable fence
(23)
all the way out.
– Loosen the clamping handle
(33)
.
– Use the handle
(4)
to swivel the tool arm until the angle
indicator
(25)
shows the required bevel angle.
– Hold the tool arm in this position and retighten the clamp-
ing handle
(33)
.
End stops are provided on the housing
that enable the
standard angles of 0° and 45° to be set quickly and accur-
ately
.
Start-up
u
Products that are only sold in AUS and NZ:
Use a resid-
ual current device (RCD) with a nominal residual current
of 30 mA or less.
u
Pay attention to the mains voltage.
The voltage of the
power source must match the voltage specified on the
rating plate of the power tool.
u
Pay attention to the mains voltage. The voltage of the
power source must match the voltage specified on the
rating plate of the power tool. Power tools marked
with 230 V can also be operated with 220 V.
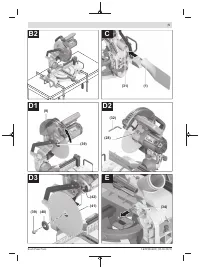
Switching on (see figure K)
– To
switch on
the power tool,
first
slide the lock-off
button
(5)
to the middle and
then
press and hold the on/
off switch
(29)
.
Note:
For safety reasons, the on/off switch
(29)
cannot be
locked; it must remain pressed during the entire operation.
Switching off
– To
switch off
, release the on/off switch
(29)
.
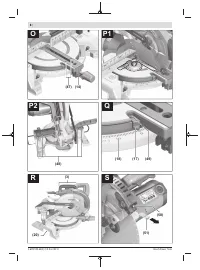
Sawing
General sawing instructions
u
Always tighten the locking knob
(15) and the clamp-
ing handle (33) firmly before sawing.
Otherwise the
saw blade can become wedged in the workpiece.
u
For all cuts, it must first be ensured that the saw blade
at no time can come in contact with the fence, screw
clamps or other machine parts. Remove any mounted
auxiliary stops or adjust them accordingly.
Protect the saw blade against impact and shock. Do not sub-
ject the saw blade to lateral pressure.
Only saw materials which are permitted within the scope of
the intended use.
Do not saw warped/bent workpieces. The workpiece must
always have a straight edge to face against the fence.
The free end of long and heavy workpieces must have some-
thing placed underneath it or be supported.
Make sure that the retracting blade guard operates properly
and that it can move freely. The retracting blade guard must
open when the tool arm is guided downwards. When the tool
arm is guided upwards, the retracting blade guard must
close again over the saw blade and lock in the uppermost po-
sition of the tool arm.
Position of the operator (see figure L)
u
Do not stand in line with the saw blade in front of the
power tool. Always stand to the side of the saw blade.
This protects your body against possible kickback.
– Keep hands, fingers and arms away from the rotating saw
blade.
– Do not reach one hand across the other when in front of
the tool arm.
Sawing (cutting)
– Firmly clamp the workpiece as appropriate for its dimen-
sions.
– Set the required mitre and/or bevel angle.
When sawing mitre angles from left to right, you must pull
the length stop
(10)
all the way out or remove it com-
pletely.
– Switch on the power tool.
– Slowly guide the tool arm downwards using the
handle
(4)
.
– Saw through the workpiece applying uniform feed.
– Switch off the power tool and wait until the saw
blade
(41)
has come to a complete stop.
– Slowly guide the tool arm upwards.
Practical advice
Marking the Cutting Line (see figure M)
A laser beam shows you the cutting line of the saw blade.
This allows for exact positioning of the workpiece for sawing,
without having to open the retracting blade guard.
1 609 92A 6DZ | (15.03.2021)
Bosch Power Tools
Содержание
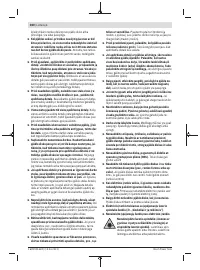
- 182 Указания по технике безопасности; ЖДЕНИЕ; Безопасность рабочего места
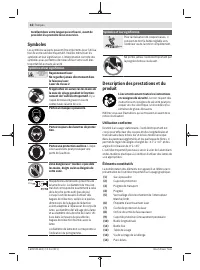
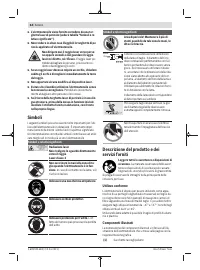
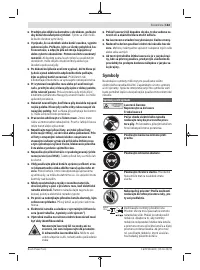
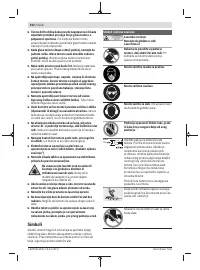
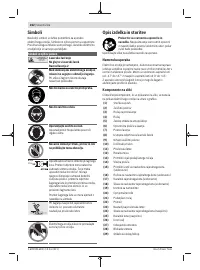
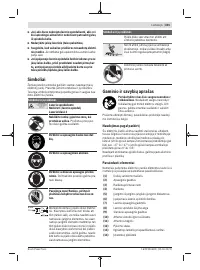
- 185 Символы; Символы и их значение; Используйте защитные очки.
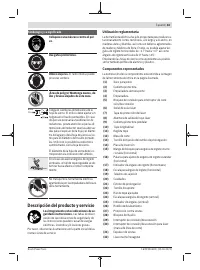
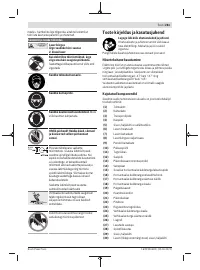
- 186 Описание продукта и услуг; Применение по назначению; Торцовочная пила
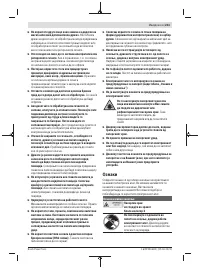
- 187 Данные о шуме; Используйте средства защиты органов слуха!; Сборка; Комплект поставки
- 188 Стационарный или временный монтаж; Монтаж на верстаке производства Bosch; Удаление пыли и стружки; Избегайте скопления пыли на рабочем месте.
- 189 Монтаж пильного диска; Работа с инструментом; Подготовка эксплуатации; Снятие крепления детали
- 190 Включение электроинструмента
- 191 Указания по применению; Горизонтальный; Обработка профильных реек; Плинтусы; Основные настройки – контроль и коррекция; Настройка упорной планки
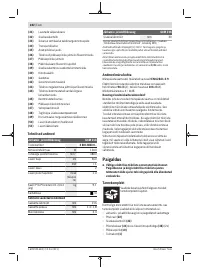
- 192 Техобслуживание и сервис; Техобслуживание и очистка; Принадлежности; Товарный номер
- 193 Утилизация; Українська; Вказівки з техніки безпеки; Загальні застереження для електроприладів; ДЖЕННЯ; електроінструментом.
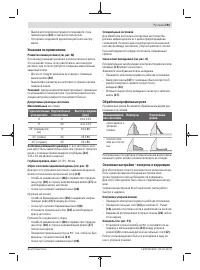
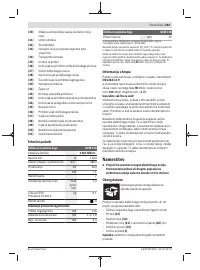
Характеристики

Остались вопросы?Не нашли свой ответ в руководстве или возникли другие проблемы? Задайте свой вопрос в форме ниже с подробным описанием вашей ситуации, чтобы другие люди и специалисты смогли дать на него ответ. Если вы знаете как решить проблему другого человека, пожалуйста, подскажите ему :)


