Диктофоны Olympus DS-7000 - инструкция пользователя по применению, эксплуатации и установке на русском языке. Мы надеемся, она поможет вам решить возникшие у вас вопросы при эксплуатации техники.
Если остались вопросы, задайте их в комментариях после инструкции.
"Загружаем инструкцию", означает, что нужно подождать пока файл загрузится и можно будет его читать онлайн. Некоторые инструкции очень большие и время их появления зависит от вашей скорости интернета.


12
EN
C
S
D
A
DE
ES
F
R
NL
P
L
RU
S
V
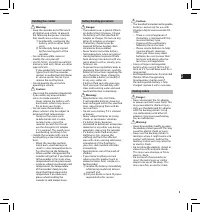
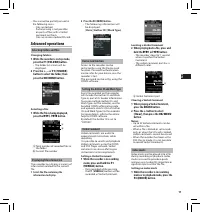
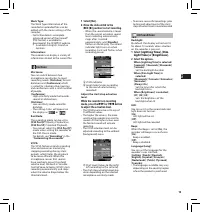
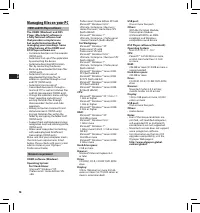
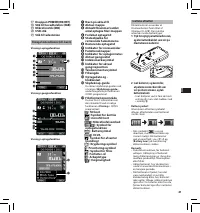
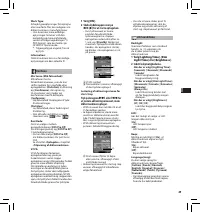
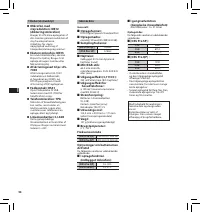
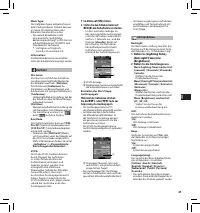
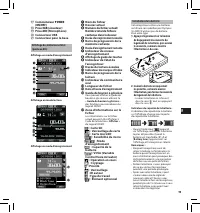
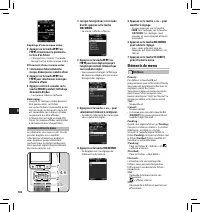
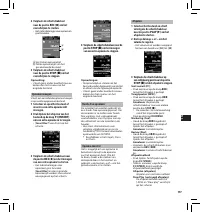
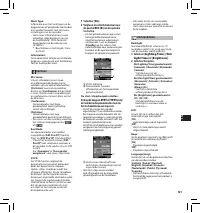
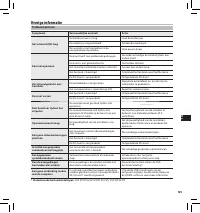
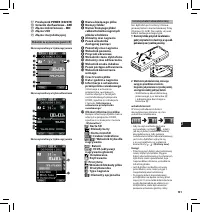
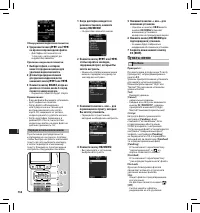
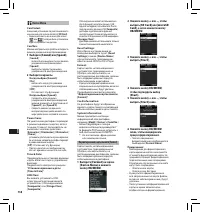
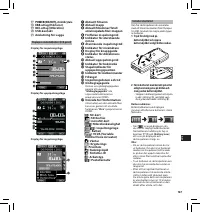
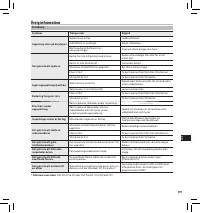
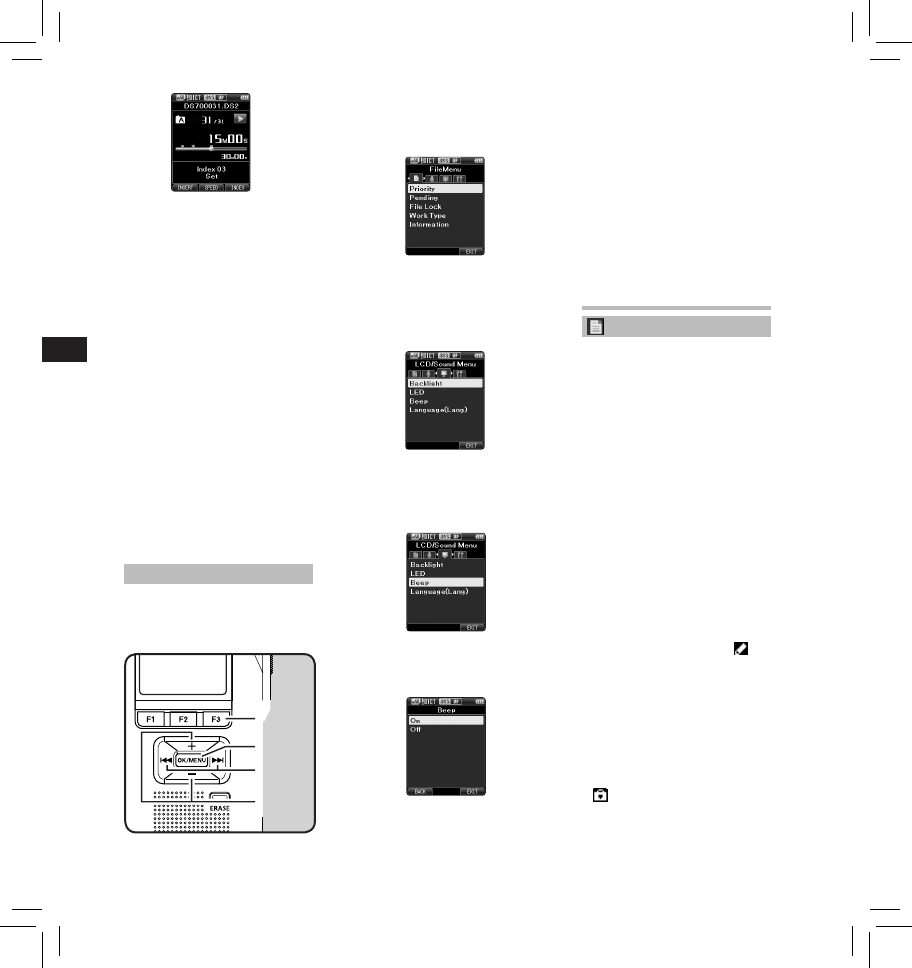
Menu items
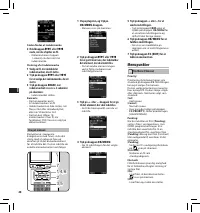
File Menu
Priority:
By default, the
F2
button is
programmed with the Priority
function. The setting can also be
performed from the menu.
You can set a priority level on each
file recorded. You can select “High” or
“Normal”. The default is Normal level.
[
Set
]:
High level.
[
Cancel
]:
Normal level.
• Each time the
F2
(
PRIORITY
) button
is pressed the Priority level will
change (High/Normal).
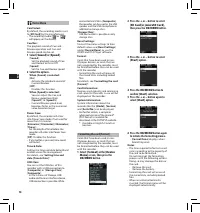
Pending:
When you set [
Pending
] to the file,
the file becomes “Pending file”. If
“Download file” is set to “Finished file”
by ODMS software, the [
Pending
] file
is not transferred and only [
Finished
]
file (edited file) will be transferred
to your PC.
[
Pending
]:
Sets to a file of “Editing” and [
]
will appear on the display.
[
Finished
]:
Sets to a file of “already edited”.
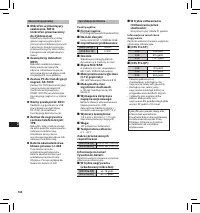
File Lock:
The File lock function allows you to
prevent important files from being
accidentally erased.
[
On
]:
Locks the file and prevents it from
being erased.
[
] will appear on the display.
[
Off
]:
Unlocks the file and allows it to be
erased.
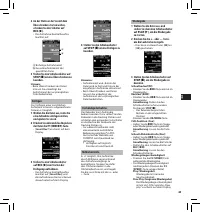
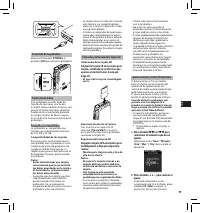
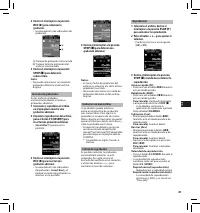
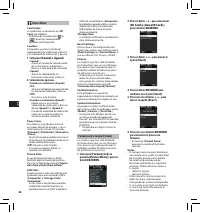
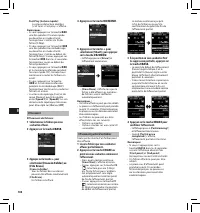
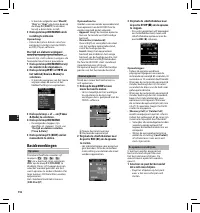
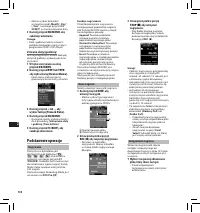
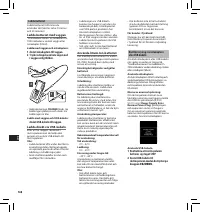
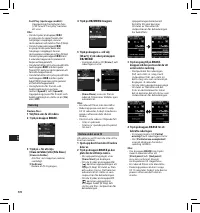
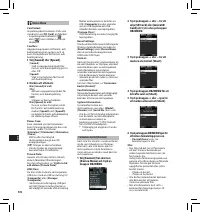
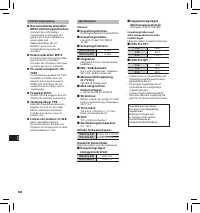
2
Press the
9
or
0
button to
move to the tab that contains the
item you want to set.
• You can change the menu display
by moving the settings tab cursor.
3
Press the
+
or
−
button to move to
the item you want to set.
• Move to the menu item you want
to set.
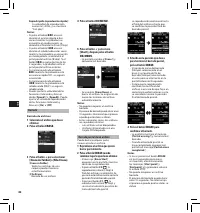
4
Press the
OK/MENU
button.
• Move to the setting of the
selected item.
5
Press the
+
or
–
button to change
the setting.
• Pressing the
0
button without
pressing the
OK/MENU
button
will cancel the settings and return
you to the previous screen.
6
Press the
OK/MENU
button to
complete the setting.
• You will be informed that the
settings have been established
via the screen.
7
Press the
F3 (EXIT )
button to close
the menu screen.
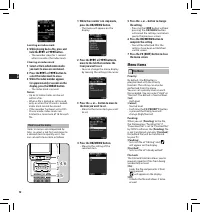
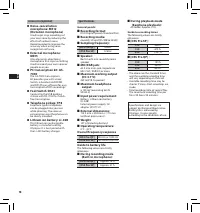
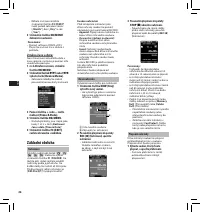
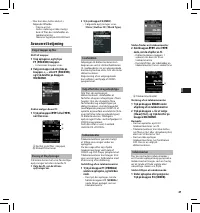
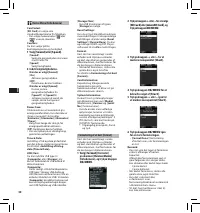
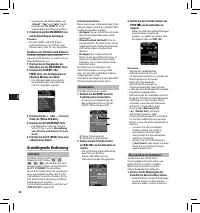
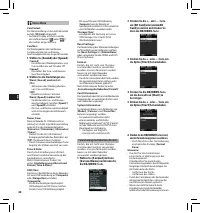
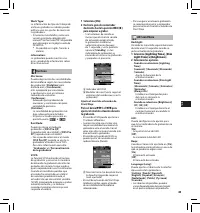
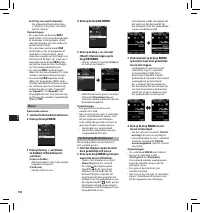
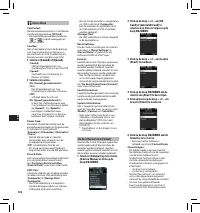
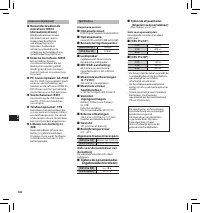
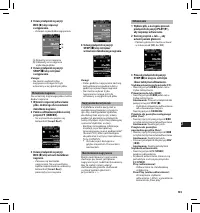
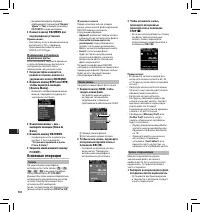
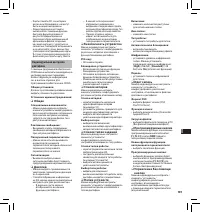
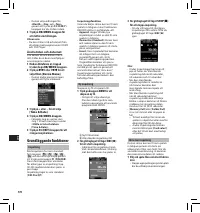
How to use the menu
Items in menus are categorized by
tabs, so select a tab first and move to
a desired item to quickly set it. You
can set each menu item as follows.
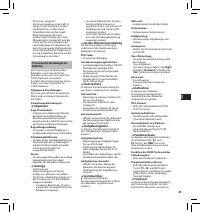
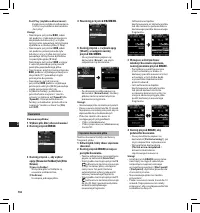
1, 4, 6
7
2
3, 5
1, 4, 6
7
2
3, 5
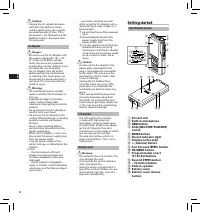
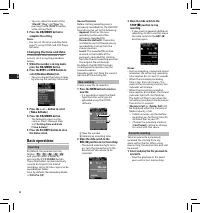
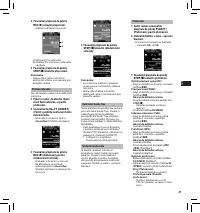
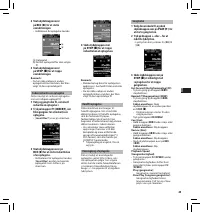
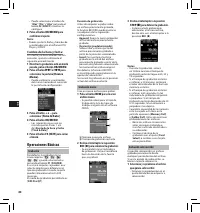
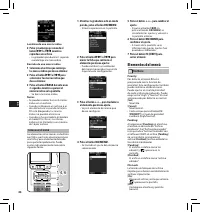
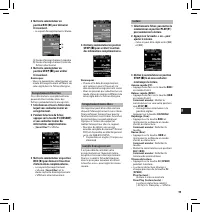
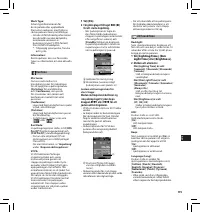
1
While the recorder is in stop mode,
press the
OK/MENU
button.
• The menu will appear on the
display.
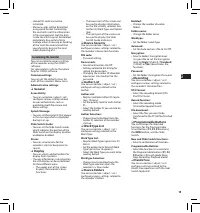
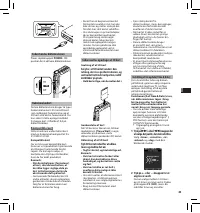
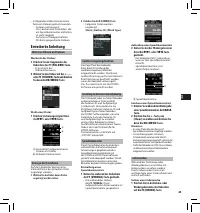
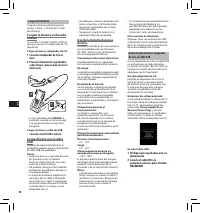
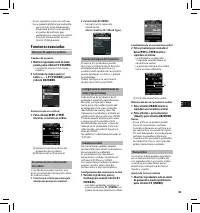
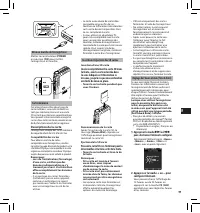
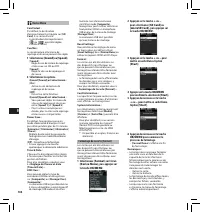
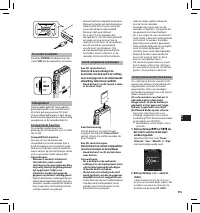
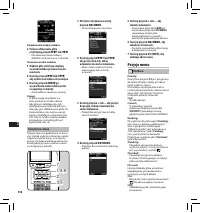
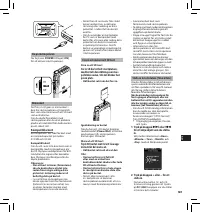
Locating an index mark
2
While playing back a file, press and
hold the
9
or
0
button.
• The recorder stops for 1 second
when it reaches the index mark.
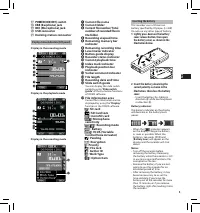
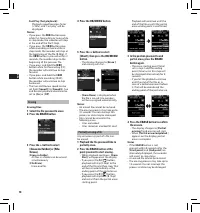
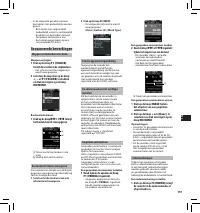
Clearing an index mark
1
Select a file in which index marks
you want to erase are contained.
2
Press the
9
or
0
button to
select the index mark to erase.
3
While the index number appears
for approximately 2 seconds on the
display, press the
ERASE
button.
• The index mark is erased.
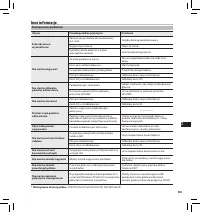
Notes:
• Up to 32 index marks can be set
within a file.
• When a file is locked or set to read-
only, or when the SD card is locked,
index mark cannot be erased.
• If the recorder has been set to DSS
Classic mode, index marks are
limited to a maximum of 16 for each
file.
Содержание
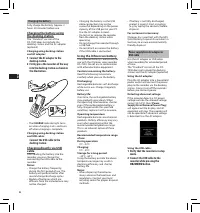
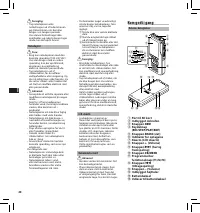
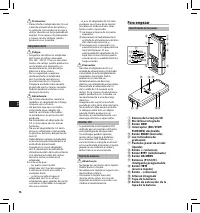
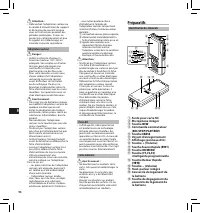
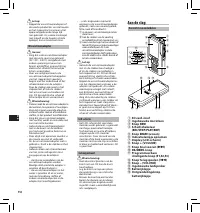
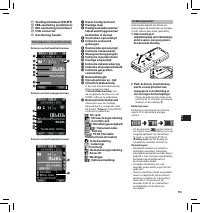
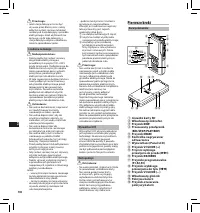
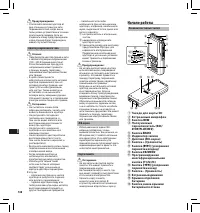
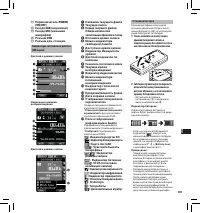
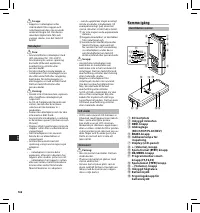
- 148 Начало работы; Названия составных частей
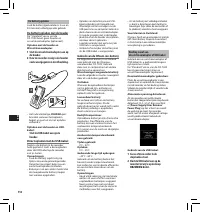
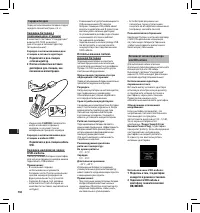
- 150 Зарядка батареи; Подключите к док-станции кабель
- 151 Совместимые карты
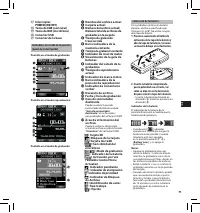
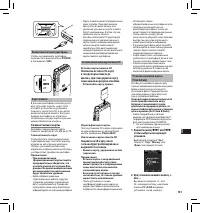
- 152 Основные операции
- 155 Расширенные операции
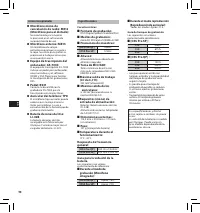
- 156 Пункты меню
- 160 Минимальные требования
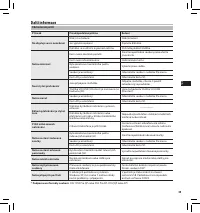
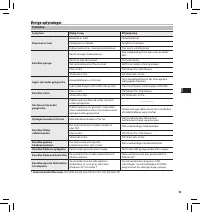
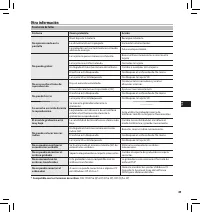
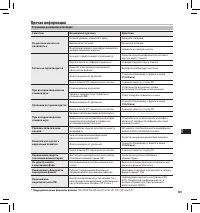
- 161 Прочая информация; Устранение возможных неполадок
- 162 Спецификации
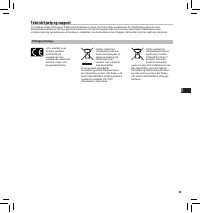
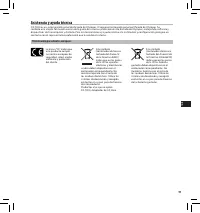
- 163 Техническая помощь и обслуживание; Для покупателей в Европе:

