Пилы торцовочные Bosch GTM 12 JL - инструкция пользователя по применению, эксплуатации и установке на русском языке. Мы надеемся, она поможет вам решить возникшие у вас вопросы при эксплуатации техники.
Если остались вопросы, задайте их в комментариях после инструкции.
"Загружаем инструкцию", означает, что нужно подождать пока файл загрузится и можно будет его читать онлайн. Некоторые инструкции очень большие и время их появления зависит от вашей скорости интернета.


English |
39
Bosch Power Tools
1 609 92A 1T0 | (28.10.15)
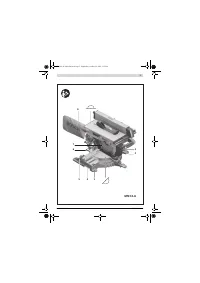
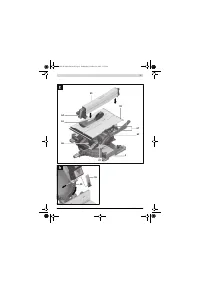
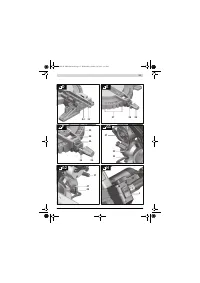
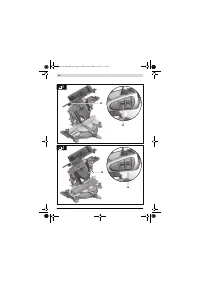
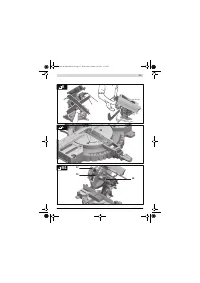
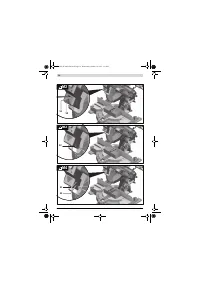
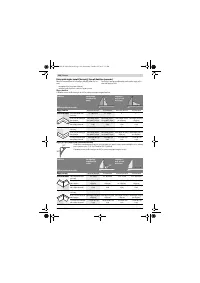
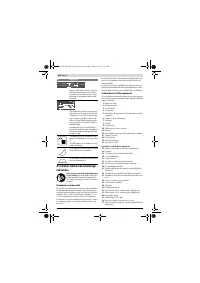
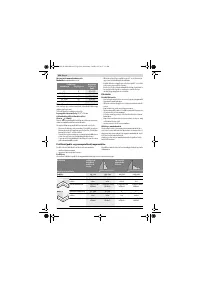
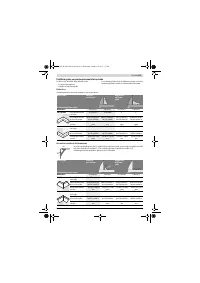
Product Features
The numbering of the components shown refers to the repre-
sentation of the power tool on the graphic pages.
1
OFF button
2
ON button
3
Mounting holes
4
Recessed handles
5
Allen key (size 6 mm)/slotted screwdriver
6
Tilt-protector bar
7
Saw blade
8
Dust bag
9
Chip ejector
10
Locking screw of lever
11
11
Bracket
12
Hex socket screw for mounting of saw blade
13
Spindle lock
14
Clamping flange
15
Interior clamping flange
16
Laser lens cover
Chop and Mitre Saw Features
17
Release button of the tool arm
18
Handle
19
Laser unit/Laser radiation outlet
20
Retracting blade guard
21
Material clamp
22
Saw table of the chop and mitre saw
23
Scale for mitre angle
24
Insert plate
25
Locking knob for various mitre angles
26
Mitre detent lever
27
Detents for standard mitre angles
28
Mounting holes for material clamp
29
Saw-table extension
30
Fence
31
Adjustable fence
32
Stop screw for 33.9 ° bevel angle (vertical)
33
Stop bolt for 33.9 ° bevel angle (vertical)
34
Lighting unit
35
Light switch (“Light”)
36
Switch for marking of cutting line (“Laser”)
37
Bevel lock lever
38
Transport safety-lock
39
Hex socket screws (6 mm) of the fence
40
Laser warning label
41
Hex socket screws of the saw table extension
42
Threaded rod
43
Wing bolt
44
Locking screw of the adjustable fence
45
Locking bracket
46
Fine scale
47
Indicator for bevel angle
48
Scale for bevel angle
49
Screws for insert plate
50
Rubber cap (front)
51
Adjustment screw for laser position
(parallelism)
52
Adjustment screw for laser position (flush levelling)
53
Rubber cap (side)
54
Adjustment screw for laser position
(lateral deviation)
55
Screw for fine scale
56
Screw for bevel angle indicator
57
Allen screw (size 3 mm) for standard bevel angle 0 ° (ver-
tical)
58
Allen screw (size 3 mm) for standard bevel angle 45 °
(vertical)
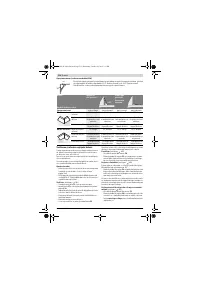
Table Saw Features
59
Saw table of the table saw
60
Riving knife
61
Parallel guide
62
Push stick
63
Blade guard
64
Clamping handle of the parallel guide
65
Scale for clearance of the saw blade to the parallel guide
66
Lower saw blade cover
67
Pins for attachment of the hold-down stick
68
Clamping lever
69
Clearance indicator
70
Screw for parallel guide clearance indicator
71
Guide of the parallel guide
72
Adjustment screw for tightening tension of guide
71
73
Screws inside the glide pad of the parallel guide
74
Set screws of the parallel guide
Material stop
75
Clamping screw of the material stop
76
Drill holes for material stop
77
Material stop *
* Accessories shown or described are not part of the standard de-
livery scope of the product. A complete overview of accessories
can be found in our accessories program.
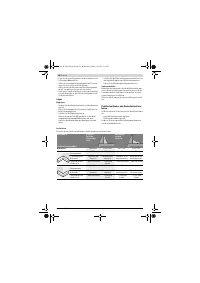
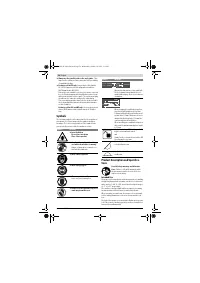
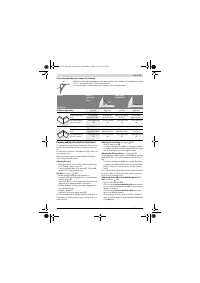
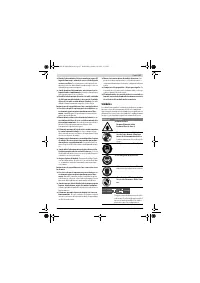
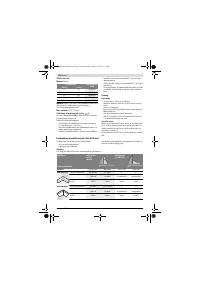
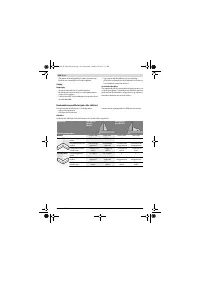
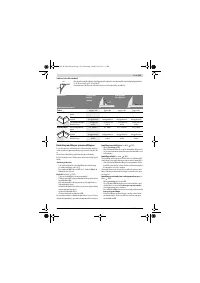
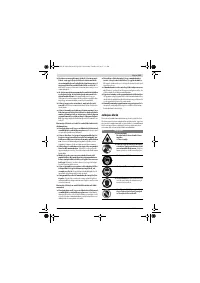
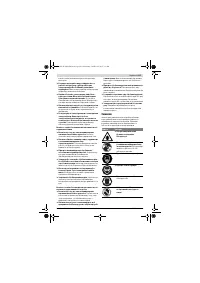
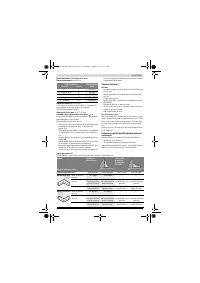
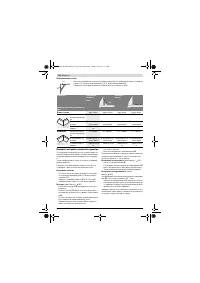
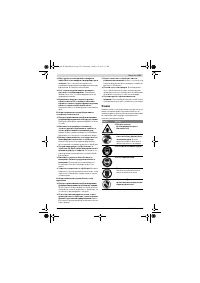
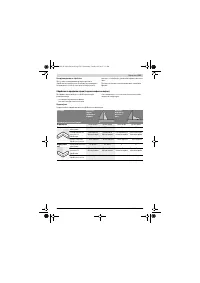
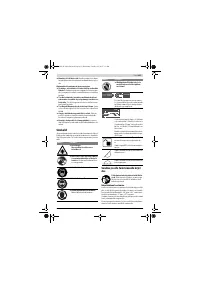
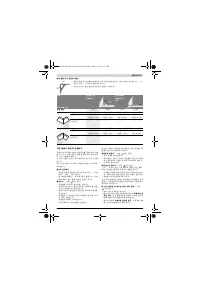
Noise Information
Sound emission values determined according to
EN 61029-2-11.
Typically the A-weighted noise levels of the product are:
Sound pressure level 91 dB(A); Sound power level
104 dB(A). Uncertainty K = 3 dB.
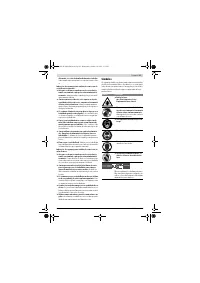
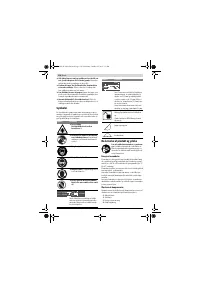
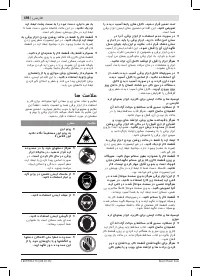
Wear hearing protection!
OBJ_BUCH-1688-006.book Page 39 Wednesday, October 28, 2015 3:13 PM
Содержание
- 275 Безопасность людей
- 276 Не становитесь на электроинструмент.
- 277 Всегда распиливайте только одну деталь.; Символы; Применение по назначению; Символ
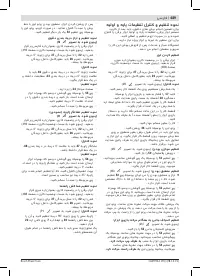
- 278 Изображенные составные части; Части торцовочно-усовочной пилы
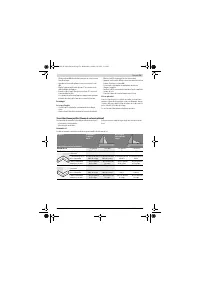
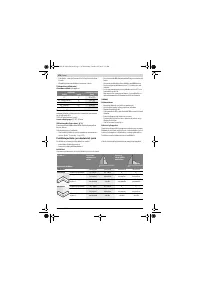
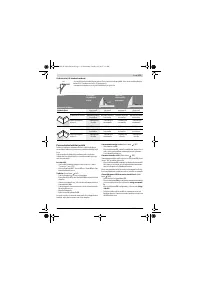
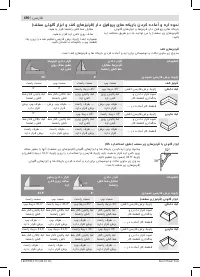
- 279 Продольный упор; Технические данные; Применяйте средства защиты органов слуха!; Монтаж и транспорт; Комплект поставки; Комбинированная пила; Размеры пильных дисков
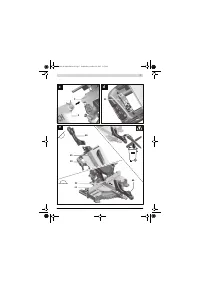
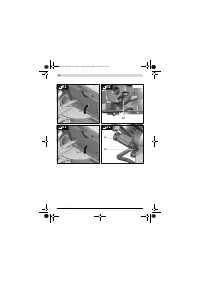
- 280 Монтаж на верстаке производства Bosch; Отсос пыли и стружки; Избегайте скопления пыли на рабочем месте.; Монтаж отдельных частей
- 281 Демонтаж пильного диска
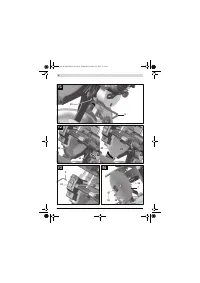
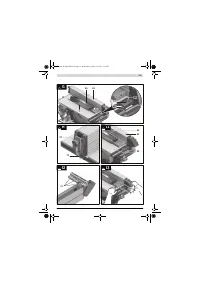
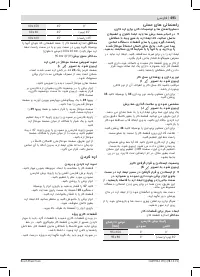
- 282 Подготовка к эксплуатации; Отпустите; Настройка угла распила; Регулировка с помощью шкалы точной настройки
- 283 Включение электроинструмента; Угол распила
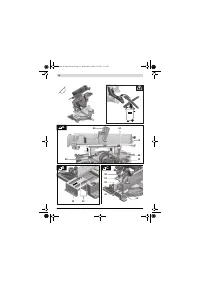
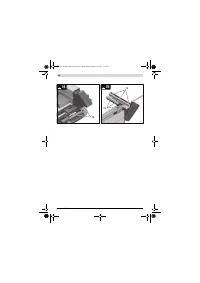
- 284 Пиление; Торцование
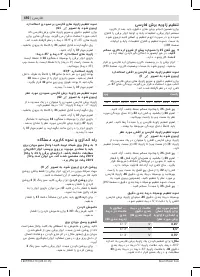
- 285 Основные настройки – контроль и коррекция; Настройки
- 286 Настройка упорной планки
- 287 симальная высота детали; Включения
- 288 Указания по применению; Общие указания для пиления; Выполнение прямых пропилов
- 289 Техобслуживание и сервис; Техобслуживание и очистка; Очистка; Принадлежности; Россия
- 290 Беларусь; Утилизация
Характеристики

Остались вопросы?Не нашли свой ответ в руководстве или возникли другие проблемы? Задайте свой вопрос в форме ниже с подробным описанием вашей ситуации, чтобы другие люди и специалисты смогли дать на него ответ. Если вы знаете как решить проблему другого человека, пожалуйста, подскажите ему :)


