
Бензопилы Hitachi CS33EDT - инструкция пользователя по применению, эксплуатации и установке на русском языке. Мы надеемся, она поможет вам решить возникшие у вас вопросы при эксплуатации техники.
Если остались вопросы, задайте их в комментариях после инструкции.
"Загружаем инструкцию", означает, что нужно подождать пока файл загрузится и можно будет его читать онлайн. Некоторые инструкции очень большие и время их появления зависит от вашей скорости интернета.


14
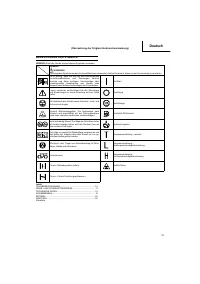
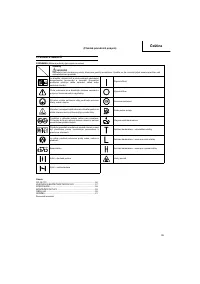
English
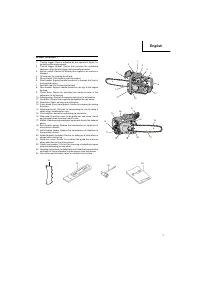
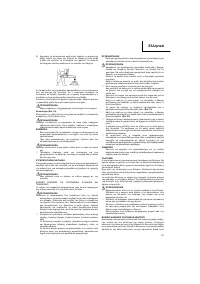
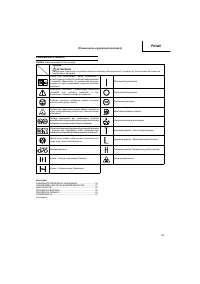
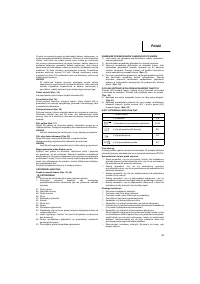
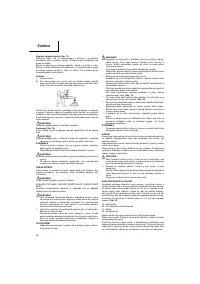
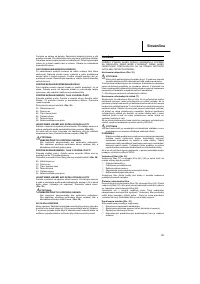
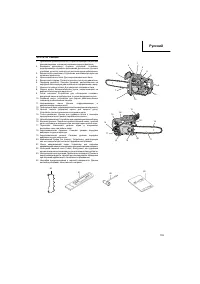
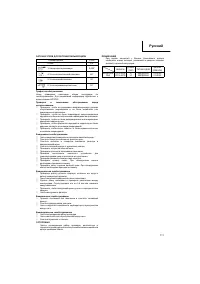
41. Top plate
42. Working corner
43. Side plate
44. Gullet
45. Heel
46. Chassis
47. Rivet hole
48. Toe
49. Depth gauge
50. Correct angle on top plate (degree of angle depends on chain
type)
51. Slightly protruding “hook ” or point (cur ve on non-chisel chain)
52. Top of depth gauge at correct height below top plate
53. Front of depth gauge rounded o
ff
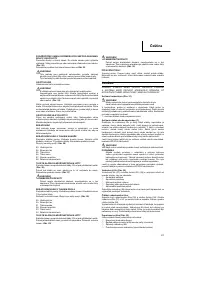
LOWERING
DEPTH
GAUGES
WITH
A
FILE
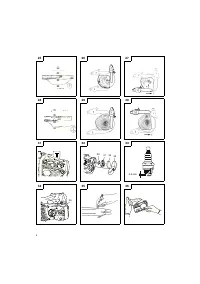
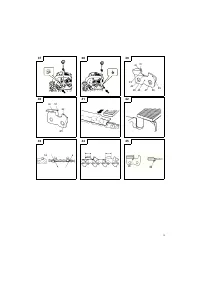
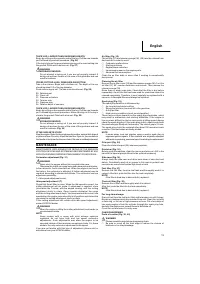
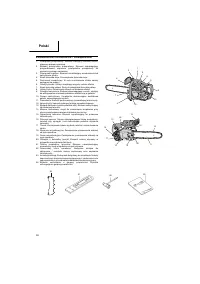
1) If you sharpen your cutters with a
fi
le holder, check and lower the
depth.
2) Check depth gauges ever y third sharpening.
3) Place depth gauge tool on cutter. If depth gauge projects,
fi
le
it level with the top of the tool. Always
fi
le from the inside of the
chain toward an outside cutter. (
Fig.
41
)
4) Round
o
ff
front corner to maintain original shape of depth gauge
after using depth gauge tool. Always follow the recommended
depth gauge setting found in the maintenance or operator
manual for your saw. (
Fig.
42
)
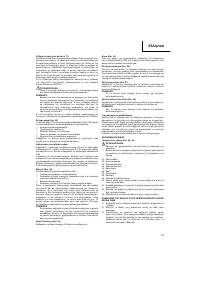
GENERAL
INSTRUCTIONS
FOR
FILING
CUT TERS
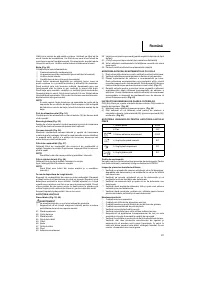
File (54) cutter on one side of the chain from the inside out. File on
for ward stroke only. (
Fig.
43
)
5) Keep all cutters the same length. (
Fig.
44
)
6) File enough to remove any damage to cutting edges (side plate
(55) and top plate (56)) of cutter. (
Fig.
45
)
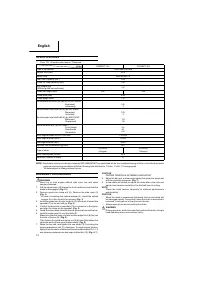
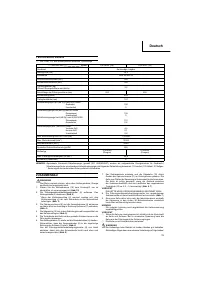
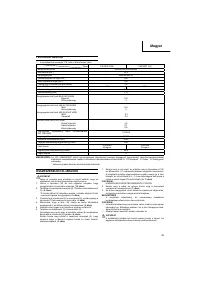
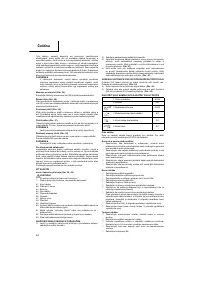
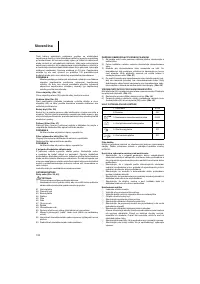
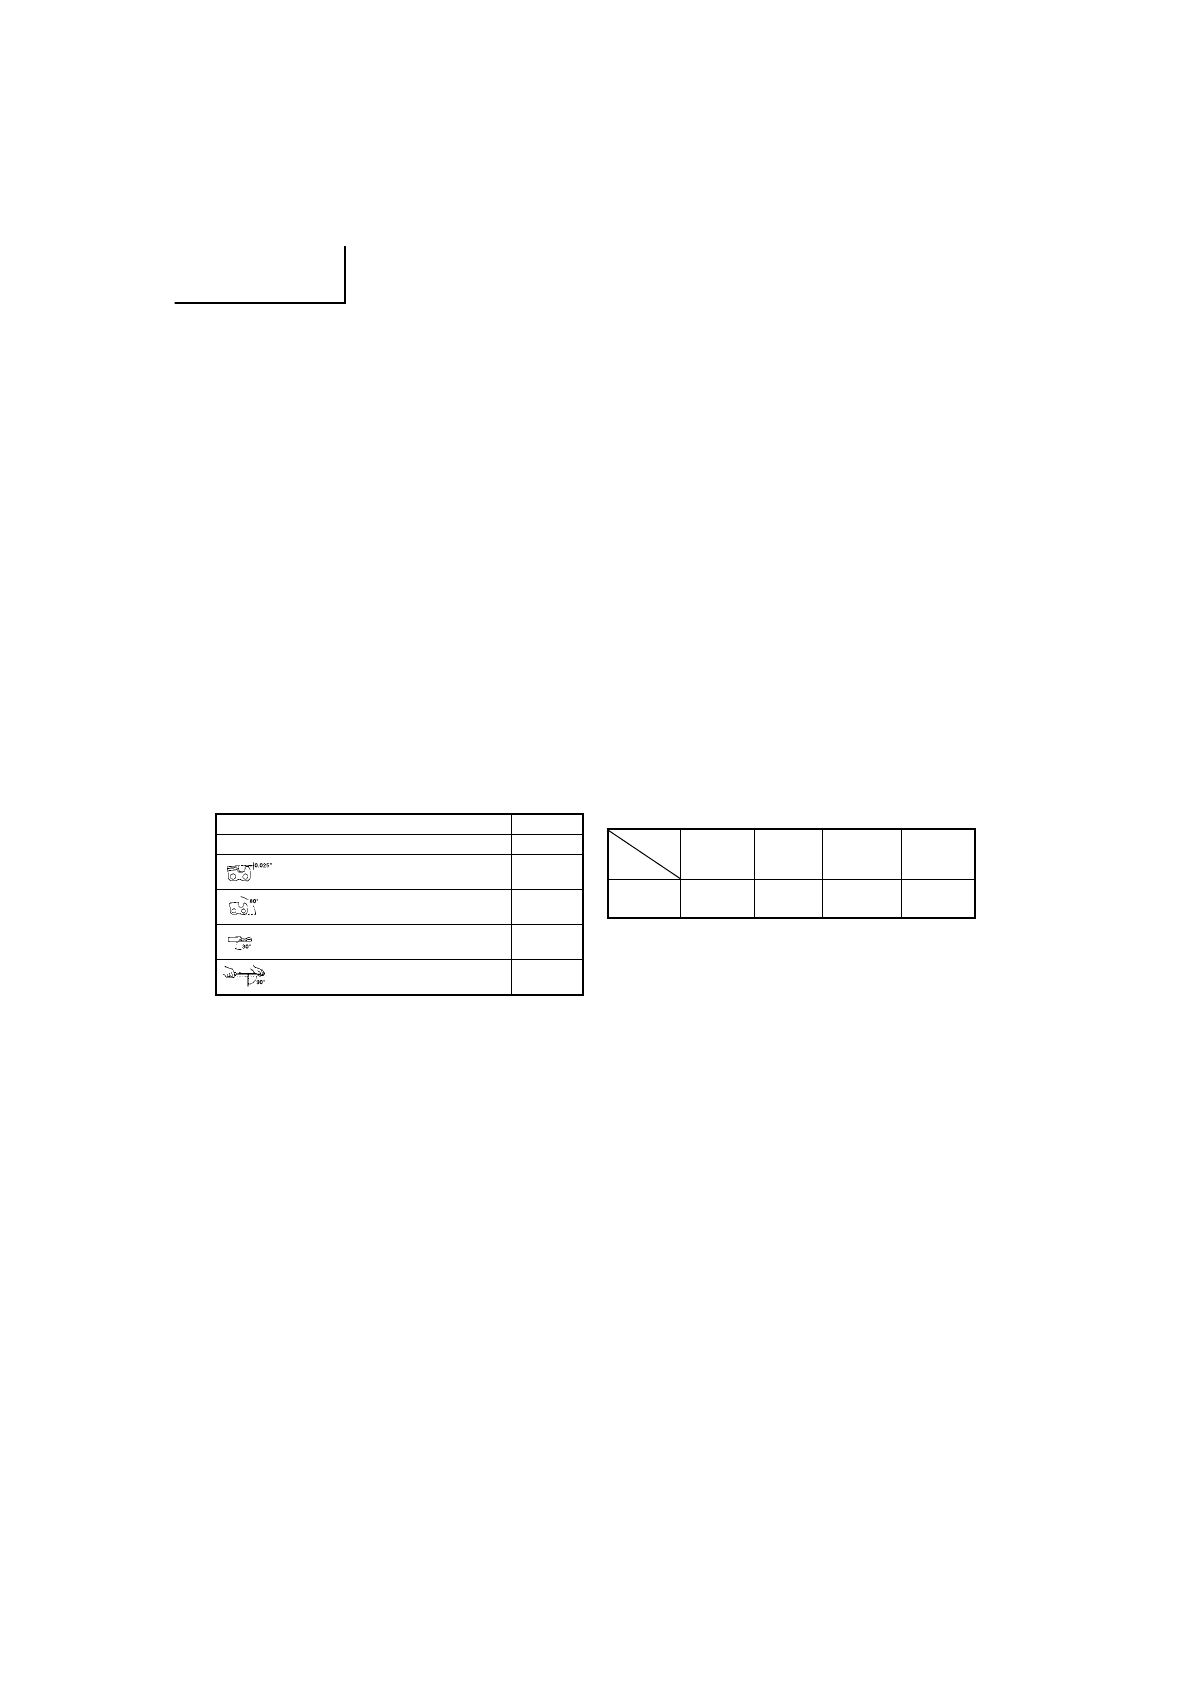
SHARPENING
ANGLES
FOR
SHARPENING
SAW
CHAIN
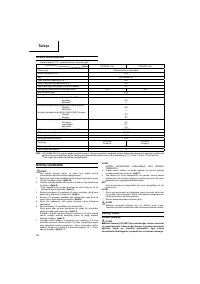
1. Par t Number
91VG
2. Pitch
3/8”
3. Depth Gauge Setting
0.025"
4. Side Plate Filing Angle
80°
5. Top Plate Angle
30°
6. File Guide Angle
90°
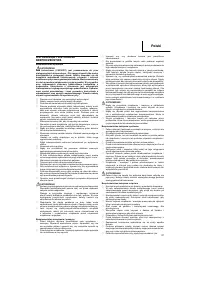
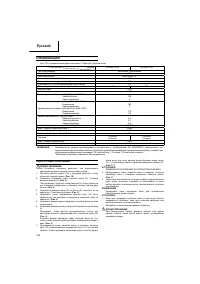
Maintenance
schedule
Below you will
fi
nd some general maintenance instructions. For
fur ther information please contact HITACHI dealer.
Inspection
and
service
before
use
○
Check that no peel-o
ff
, degradation, or damage is obser ved in
the Anti-vibration rubber members, and no loosening or damage
is obser ved in their
fi
xtures.
○
Check that no damage is obser ved in the Anti-vibration springs,
and no loosening or damage is obser ved in their
fi
xtures.
○
Check that no deformation or damage is obser ved in the front
and rear handles.
○
Check that the
fi
xtures for front and rear handles are su
ffi
ciently
tightened and free of damage.
○
Check that bolts, nuts, etc. used for each par t are su
ffi
ciently
tightened and free of damage.
Daily
maintenance
○
Clean the exterior of the unit.
○
Clean the chain oil
fi
lter por t.
○
Clean the groove and oil
fi
lter por t in the guide bar.
○
Clean the side case of saw dust.
○
Check that the saw chain is sharp.
○
Check that the bar nuts are su
ffi
ciently tightened.
○
Make sure that the chain transpor t guard is undamaged and that
it can be securely
fi
tted.
○
Check that nuts and screws are su
ffi
ciently tightened.
Especially inspect the bolt of mu
ffl
er and ensure that they are
properly tightened before star ting engine. Should any of the
bolts be loose, retighten them immediately. Failure to do so
could result in serious hazard.
○
Check the tip of the bar. Please exchange it for the new one
when it is worn out.
○
Check the band of chain brake. Please exchange it for the new
one when it is worn out.
Weekly
maintenance
○
Check the recoil star ter, especially cord and return spring.
○
Clean the exterior of the spark plug.
○
Remove the spark plug and check the electrode gap. Adjust it to
0.6 mm or change the spark plug.
○
Check that the air intake at the recoil star ter is not clogged.
○
Clean the air
fi
lter.
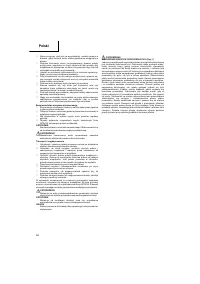
Monthly
maintenance
○
Rinse the fuel tank with gasoline, and clean fuel
fi
lter.
○
Clean chain oil
fi
lter.
○
Clean the exterior of the carburetor and the space around it.
Quarterly
maintenance
○
Clean the cooling
fi
ns on the cylinder.
○
Clean the fan and the space around it.
○
Clean the mu
ffl
er of carbon.
CAUTION
Cleaning of cylinder
fi
ns, fan and mu
ffl
er shall be done by a
HITACHI Authorized Ser vice Center.
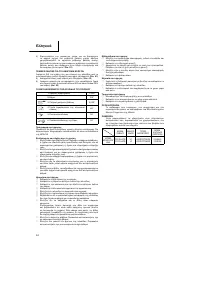
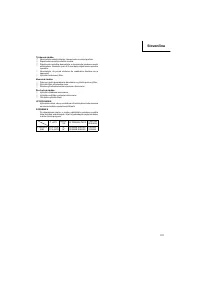
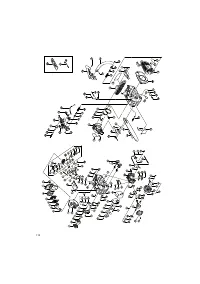
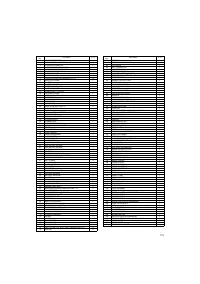
NOTE
When ordering the par ts to your nearest dealer, please use the
item numbers showing on the par ts breakdown section in this
instruction.
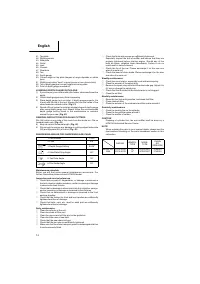
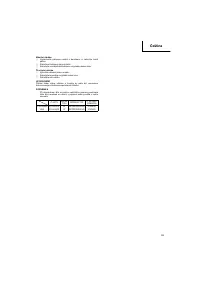
BAR NO.
LENGTH-
T YPE
NOSE-
T YPE
CHAIN
NO.
(OREGON)
MODEL NO.
E&S
PO12-50CR
PO14-50CR
12
″
14
″
SPROCKET
SPROCKET
91VG045
91VG052
000Book̲CS33EDT̲EE.indb 14
000Book̲CS33EDT̲EE.indb 14
2011/08/06 8:57:20
2011/08/06 8:57:20


