
Сверлильные станки Bosch PBD 40 - инструкция пользователя по применению, эксплуатации и установке на русском языке. Мы надеемся, она поможет вам решить возникшие у вас вопросы при эксплуатации техники.
Если остались вопросы, задайте их в комментариях после инструкции.
"Загружаем инструкцию", означает, что нужно подождать пока файл загрузится и можно будет его читать онлайн. Некоторые инструкции очень большие и время их появления зависит от вашей скорости интернета.


22
| English
1 619 929 L21 | (12.9.13)
Bosch Power Tools
– Briefly and quickly press the On/Off switch
13
.
The machine and the display are switched off immediately.
Note:
The power tool is now currentless. All current set-
tings are deleted.
– To restart the operation of the machine afterwards, the
On/Off switch
13
must be reset to position “
0
”.
Afterwards, the machine can be switched on again (On/Off
switch
13
in position
).
Restarting Protection
The restarting protection prevents uncontrolled starting of
the machine after a power failure (e.g., when the mains plug is
pulled during operation).
– To restart the operation of the machine afterwards, the
On/Off switch
13
must be reset to position
.
Afterwards, the machine can be switched on again (On/Off
switch
13
in position
).
Temperature Dependent Overload Protection
When using the machine as intended for, it cannot be subject
to overload. In case of excessive loading or when exceeding
the allowable operating temperature, the electronics switch
the machine off until it is in the optimal operating-tempera-
ture range again.
– To restart the operation of the machine afterwards, the
On/Off switch
13
must be reset to position
.
Afterwards, the machine can be switched on again (On/Off
switch
13
in position
).
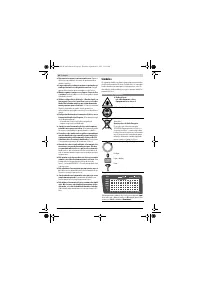
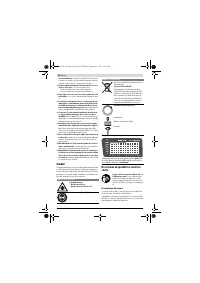
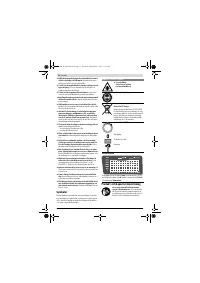
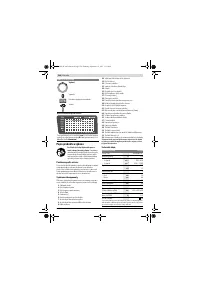
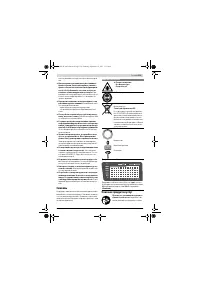
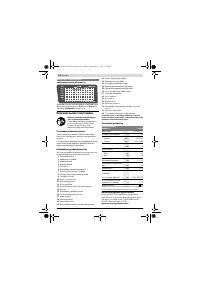
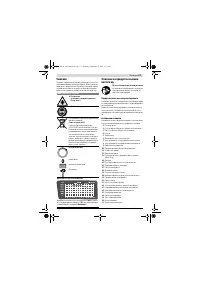
Adjusting the Speed
Set the correct speed before beginning to work. The
speed must be appropriate for the drilling diameter
and the material being drilled.
When the speed is set in-
correctly, the application tool can become caught or jam in
the workpiece.
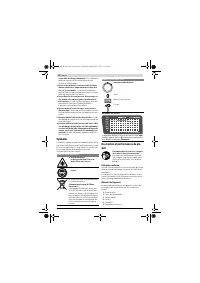
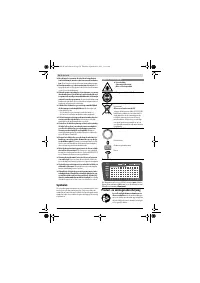
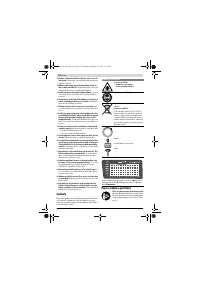
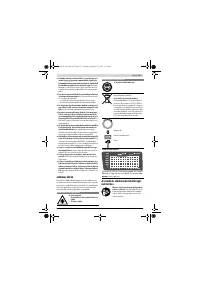
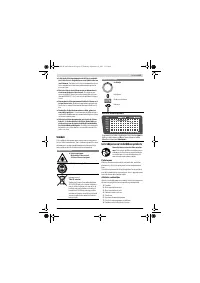
When adjusting the appropriate speed, please refer to the
speed diagram
6
.
The diagram provides the speed (
rpm
) to be set dependent
on the drill bit diameter (
Ø
in mm) for the materials
Steel
and
Aluminium
.
Gear selection, mechanical
Actuate the gear selector 21 only when the machine is at
a standstill.
Two speed ranges can be preselected with the gear selector
21
.
1st gear:
Low speed range; for working with large drilling diameters.
2nd gear:
High speed range; For working with small drilling diameters.
– Set the gear selector
21
to the desired position.
Note:
If the gear selector
21
cannot be turned to the stop,
turn the drill chuck a little.
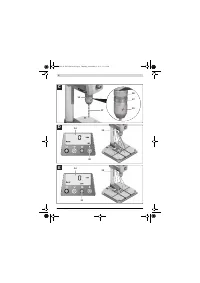
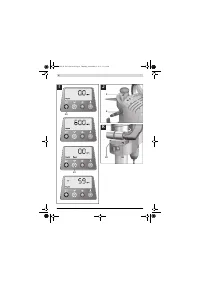
Electronic Speed Control (see figure H)
With the speed regulator
15
, the speed of the machine can be
variably adjusted.
– To
start the machine
, turn the On/Off switch
13
to
position
.
– Press button
32
until “
Speed
” is indicated on the display.
– Turn the speed regulator
15
until the desired speed is indi-
cated on display
14
.
Working Advice
General Information
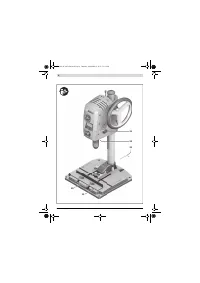
Before drilling, make sure that the quick-clamping device
3
,
the parallel guide
19
or the machine vice (accessory) are firm-
ly clamped/tightened.
When the drill bit comes out of the workpiece, it can become
caught or jam in the workpiece, and drag the workpiece along.
Therefore, reduce the feed at the end of the drilling phase.
If the application tool should become blocked, switch the ma-
chine off. Allow the application tool and the workpiece to cool
down. Remove the drilling chips/swarf. Determine the cause
of the application tool's jam and correct it.
Special Notes on Drilling in Metal
Centre-punch metal workpieces.
Pilot-drill when drilling diameters in excess of 10 mm.
To improve your work, use cutting oil (e.g. Bosch universal
cutting oil) to cool the drilling.
Position of the Operator
Position yourself in front of the machine.
This ensures a
good view of the drilling location.
– Keep your hands and fingers away from the rotating appli-
cation tool.
– Do not stand in front of the motor unit with crossed arms.
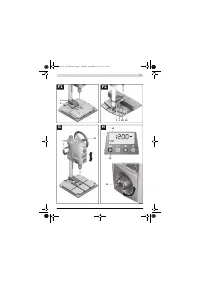
Drilling
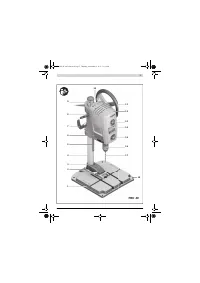
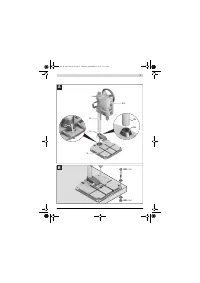
– Place the workpiece on base plate
1
.
– Adjust the height of the motor unit (see “Adjusting the
Height of the Motor Unit”, page 21).
– Align the workpiece with help of the laser cross (see “Cor-
rectly positioning the workpiece”, page 21).
– Firmly clamp the workpiece (see “Clamping the Work-
piece”, page 21).
– Adjust the appropriate speed (see “Adjusting the Speed”,
page 22).
– Switch on the machine.
– For drilling, turn handwheel
11
with uniform feed until the
desired drilling depth is reached (see “Indicating the Drill-
ing Depth”, page 22).
– Once the desired drilling depth is reached, guide hand-
wheel
11
back until the motor unit is back in the starting
position.
– Switch the power tool off.
Indicating the Drilling Depth (see figure I)
The current drilling depth can be indicated on the display
14
.
– After the speed has been set, press button
32
until
“
Depth
” is indicated on the display.
– Adjust the height of the motor unit (see “Adjusting the
Height of the Motor Unit”, page 21).
– Carefully allow the drill-bit tip to slightly touch the work-
piece.
– Press button
33
to set the zero point.
The indication “
Reset
” is shown on display
14
.
OBJ_BUCH-1183-006.book Page 22 Thursday, September 12, 2013 11:11 AM
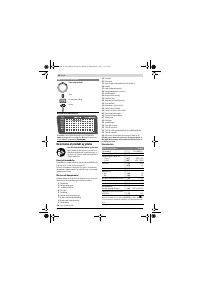
Содержание
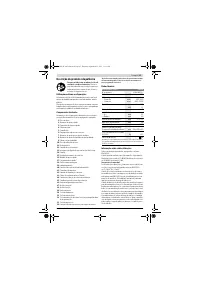
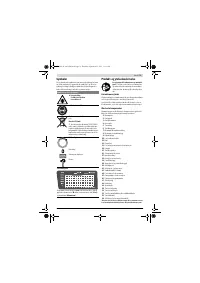
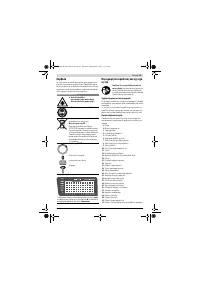
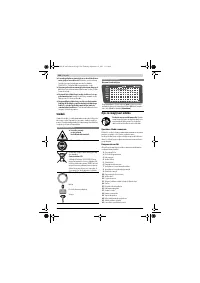
- 139 Символы
- 140 Применение по назначению
- 141 Заявление о соответствии; Сборка; Комплект поставки
- 142 Работа с инструментом; Подготовка к эксплуатации; Включение электроинструмента
- 143 Установка числа оборотов
- 144 Транспортировка; Техобслуживание и сервис; Техобслуживание и очистка
- 145 Утилизация; Українська; Вказівки з техніки безпеки; Загальні застереження для електроприладів
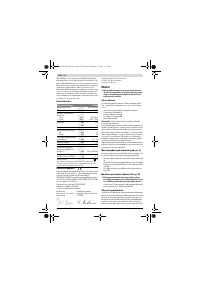
Характеристики

Остались вопросы?Не нашли свой ответ в руководстве или возникли другие проблемы? Задайте свой вопрос в форме ниже с подробным описанием вашей ситуации, чтобы другие люди и специалисты смогли дать на него ответ. Если вы знаете как решить проблему другого человека, пожалуйста, подскажите ему :)


