Электропилы Bosch KEO - инструкция пользователя по применению, эксплуатации и установке на русском языке. Мы надеемся, она поможет вам решить возникшие у вас вопросы при эксплуатации техники.
Если остались вопросы, задайте их в комментариях после инструкции.
"Загружаем инструкцию", означает, что нужно подождать пока файл загрузится и можно будет его читать онлайн. Некоторые инструкции очень большие и время их появления зависит от вашей скорости интернета.


English |
13
Bosch Power Tools
F 016 L70 773 | (27.6.11)
Vibration total values a
h
(triax vector sum) and uncer-
tainty K determined according to EN 60745:
Cutting board: a
h
= 19 m/s
2
, K = 6.0 m/s
2
,
Cutting wooden beam: a
h
= 20 m/s
2
, K = 3.0 m/s
2
.
The vibration emission level given in this information
sheet has been measured in accordance with a stand-
ardised test given in EN 60745 and may be used to
compare one tool with another. It may be used for a
preliminary assessment of exposure.
The technical specifications of the power tool deviate
from the test criteria laid out in the standardised test
given in EN 60745.
The declared vibration emission level represents the
main applications of the tool. However if the tool is
used for different applications, with different accesso-
ries or poorly maintained, the vibration emission may
differ. This may significantly increase the exposure lev-
el over the total working period.
An estimation of the level of exposure to vibration
should also take into account the times when the tool
is switched off or when it is running but not actually
doing the job. This may significantly reduce the expo-
sure level over the total working period.
Identify additional safety measures to protect the op-
erator from the effects of vibration such as: maintain
the tool and the accessories, keep the hands warm, or-
ganisation of work patterns.
Declaration of Conformity
We declare under our sole responsibility that the prod-
uct described under “Technical Data” is in conformity
with the following standards or standardization docu-
ments: EN 60745 (battery powered products) and
EN 60335 (battery chargers) according to the provi-
sions of the directives 2006/95/EC, 2004/108/EC,
2006/42/EC.
Technical file (2006/42/EC) at:
Bosch Lawn and Garden Ltd., PT-LG/EAE,
Stowmarket, Suffolk IP14 1EY, England
09
Robert Bosch GmbH, Power Tools Division
D-70745 Leinfelden-Echterdingen
21.06.2011
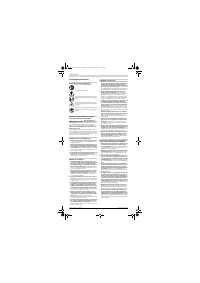
Mounting and Operation
Starting
f
Before any work on the machine (e. g. mainte-
nance, changing the tool, etc.) as well as during its
transport and storage, lock the On/Off switch in
the off position.
There is danger of injury when the
On/Off switch is unintentionally actuated.
Battery Charging
f
Do not use other battery chargers.
The supplied
battery charger is designed for the Lithium-Ion bat-
tery in your machine.
f
Observe the mains voltage!
The voltage of the pow-
er supply must correspond with the data given on
the nameplate of the battery charger. Battery charg-
ers marked with 230 V can also be operated with
220 V.
f
The voltage range of the charger is 100 – 240 V. En-
sure that the plug matchs the outlet.
Note:
The battery is supplied partially charged. To en-
sure full capacity of the battery, completely charge the
battery before using your power tool for the first time.
The lithium-ion battery can be charged at any time
without reducing its service life. Interrupting the
charging procedure does not damage the battery.
The “Electronic Cell Protection (ECP)” protects the
lithium ion battery against deep discharging. When the
battery is run down or discharged, the garden product
is shut off by means of a protective circuit: The garden
product no longer operates.
Do not continue to press the
On/Off switch after the machine
has been automatically switched
off.
The battery can be damaged.
Plug the mains plug of the battery charger into a sock-
et outlet and the charger plug into the socket on the
rear side of the handle, in one way only.
The charging procedure starts as soon as the charger
plug of the battery charger is inserted into the socket .
The battery charge-control indicator indicates the
charging progress. During the charging process, the in-
dicator
flashes green
. When the battery charge-con-
trol indicator
lights up green continuously
, the bat-
tery is fully charged.
During the charging procedure, the handle of the ma-
chine warms up. This is normal.
Disconnect the battery charger from the mains supply
when not using it for longer periods.
The power tool cannot be used during the charge pro-
cedure; it is not defective when inoperative during the
charging procedure.
f
Protect the battery charger against moisture!
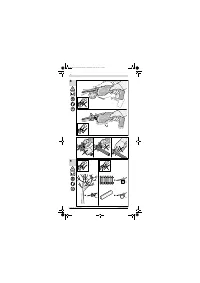
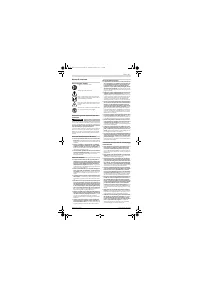
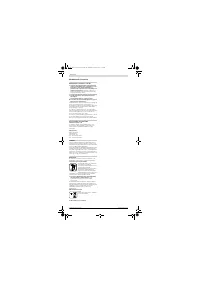
Working Advice
f
When mounting the saw blade, wear protective
gloves.
Danger of injury when touching the saw
blade.
f
When changing the saw blade, take care that the
saw blade holder is free of material residue, e. g.
wood or metal shavings.
f
When sawing light building materials, observe the
statutory provisions and the recommendations of
the material suppliers.
f
While sawing, hold the machine firmly with one
hand by the handle.
f
While sawing, do not touch the hook, the blade or
the air vents.
f
After sawing blade may be hot, please let it cool
down before touching it.
Selecting a Saw Blade
Use only saw blades suitable for the material being
worked.
An overview of recommended saw blades can be
found at the beginning of these instructions. Do not
use other blades than recommended.
Use a thin saw blade for narrow curve cuts.
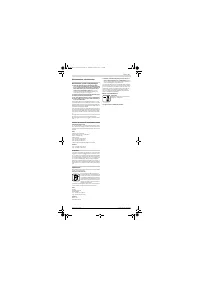
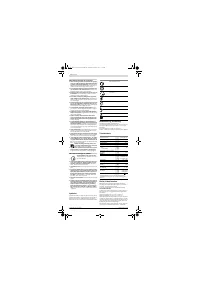
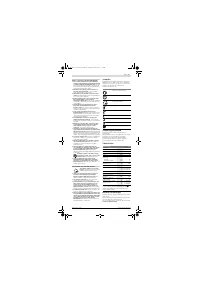
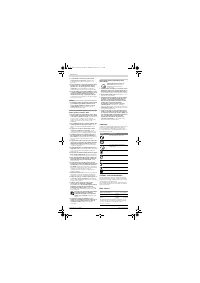
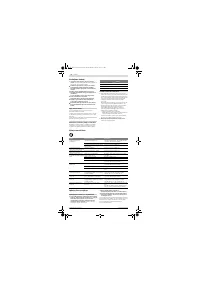
Battery Charge-control Indication
The battery charge-control indicator indicates the
charge condition of the battery for a few seconds
when the On/Off switch is pressed through halfway of
fully.
Dust/Chip Extraction
f
Dusts from materials such as lead-containing coat-
ings, some wood types, minerals and metal can be
harmful to one’s health. Touching or breathing-in
the dusts can cause allergic reactions and/or lead
to respiratory infections of the user or bystanders.
Certain dusts, such as oak or beech dust, are con-
sidered as carcinogenic, especially in connection
with wood-treatment additives (chromate, wood
preservative). Materials containing asbestos may
only be worked by specialists.
– Provide for good ventilation of the working place.
– It is recommended to wear a P2 filter-class respi-
rator.
Observe the relevant regulations in your country for
the materials to be worked.
f
Prevent dust accumulation at the workplace.
Dusts can easily ignite.
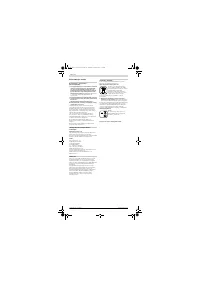
Dr. Egbert Schneider
Senior Vice President
Engineering
Dr. Eckerhard Strötgen
Head of Product
Certification
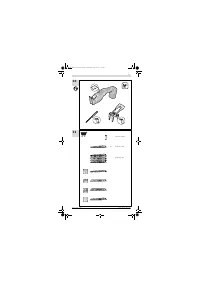
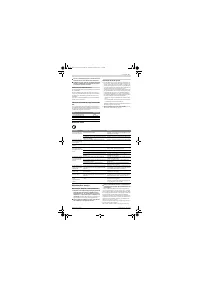
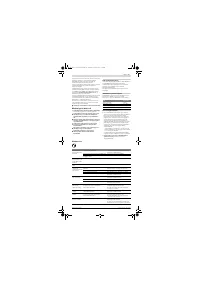
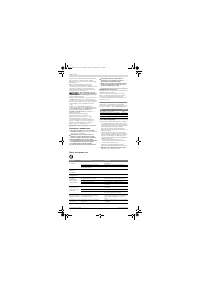
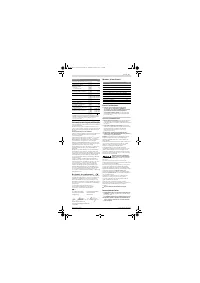
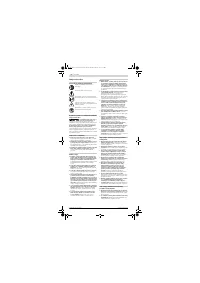
Action
Figure
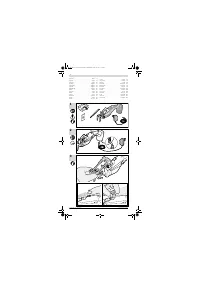
Delivery Scope
1
Battery Charging
2
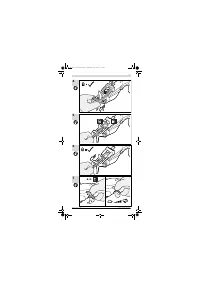
Mounting the Hook
3
Checking if the Hook fits correctly
4
Inserting/Replacing the Saw Blade
5
Checking if the Blade is connected
6
Starting
7
Controlling the Stroke Rate
7
Working Advice
8
–
9
Maintenance and Cleaning
10
Selecting Accessories/Spare Parts
11
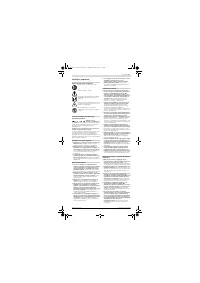
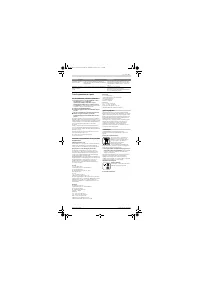
LED
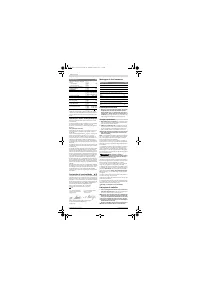
Capacity
Continuous lighting, green
≥
35 %
Flashing light, green
15
–
35 %
Flashing light, red
5
–
15 %
Continuous lighting, red
≤
5 %
WARNING
OBJ_DOKU-25917-001.fm Page 13 Monday, June 27, 2011 7:47 AM


