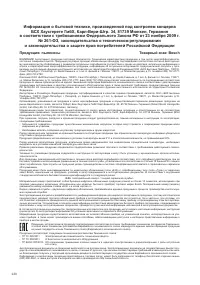
Пылесос Bosch BGB 75A59 - инструкция пользователя по применению, эксплуатации и установке на русском языке. Мы надеемся, она поможет вам решить возникшие у вас вопросы при эксплуатации техники.
Если остались вопросы, задайте их в комментариях после инструкции.
"Загружаем инструкцию", означает, что нужно подождать пока файл загрузится и можно будет его читать онлайн. Некоторые инструкции очень большие и время их появления зависит от вашей скорости интернета.


43
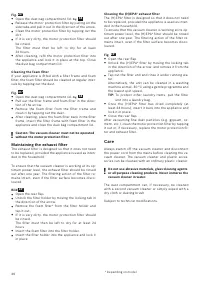
(H)EPA*- Filt
e
r nach kompl
e
tt
e
r Trocknung
(mind.24h) wi
e
d
e
r in das G
e
rät
e
ins
e
tz
e
n und v
e
r-
ri
e
g
e
ln.
H
e
ckklapp
e
schli
e
ß
e
n.
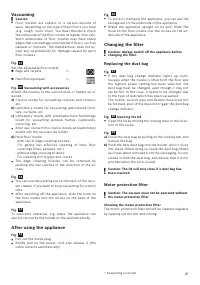
Nach d
e
m Aufsaug
e
n f
e
in
e
r Staubpar tik
e
l (wi
e
z.B.
Gips, Z
e
m
e
nt, usw.), Motorschutzfilt
e
r durch Ausklop -
f
e
n r
e
inig
e
n,
e
v tl. Motorschutzfilt
e
r und Ausblasfilt
e
r
austausch
e
n.
Pflege
Vor j
e
d
e
r R
e
inigung d
e
s Staubsaug
e
rs, muss di
e
s
e
r
ausg
e
schalt
e
t und d
e
r N
e
tzst
e
ck
e
r g
e
zog
e
n w
e
rd
e
n.
Staubsaug
e
r und Zub
e
hör t
e
il
e
aus Kunststoff könn
e
n
mit
e
in
e
m hand
e
lsüblich
e
n Kunststoffr
e
inig
e
r g
e
pfl
e
gt
w
e
rd
e
n.
!
Keine Scheuermittel, Glas- oder Allzweckreiniger
verwenden. Staubsauger niemals in Wasser tauchen.
D
e
r Staubraum kann b
e
i B
e
dar f mit
e
in
e
m zw
e
it
e
n
Staubsaug
e
r ausg
e
saugt, od
e
r
e
infach mit
e
in
e
m tro -
ck
e
n
e
n Staubtuch / Staubpins
e
l g
e
r
e
inigt w
e
rd
e
n.
T
e
chnisch
e
Änd
e
rung
e
n vorb
e
halt
e
n.
en
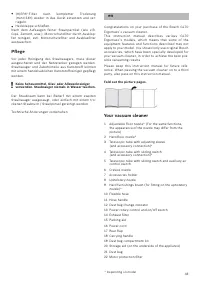
Congratulations on your purchas
e
of th
e
Bosch GL70
Ergoma x x`x vacuum cl
e
an
e
r.
This instruction manual d
e
scrib
e
s various GL70
Ergoma x x`x mod
e
ls, which m
e
ans that som
e
of th
e
e
quipm
e
nt f
e
atur
e
s and functions d
e
scrib
e
d may not
apply to your mod
e
l. You should only us
e
original Bosch
acc
e
ssori
e
s, which hav
e
b
ee
n sp
e
cially d
e
v
e
lop
e
d for
your vacuum cl
e
an
e
r, in ord
e
r to achi
e
v
e
th
e
b
e
st pos-
sibl
e
vacuuming r
e
sults.
Pl
e
as
e
k
ee
p this instruction manual for futur
e
r
e
f
e
-
r
e
nc
e
. Wh
e
n passing th
e
vacuum cl
e
an
e
r on to a third
par ty, also pass on this instruction manual.
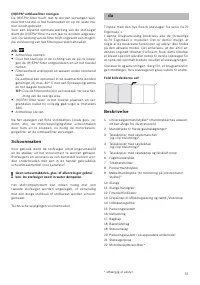
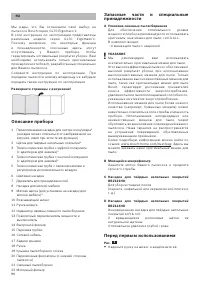
Fold out the picture pages.
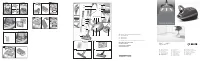
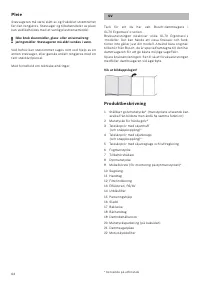
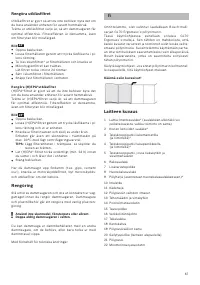
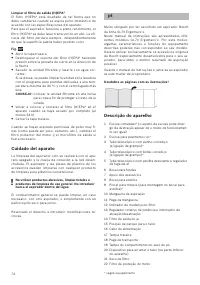
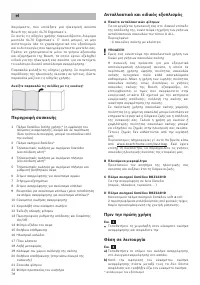
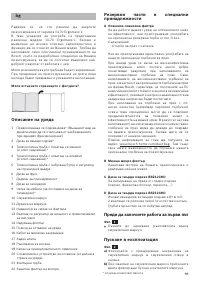
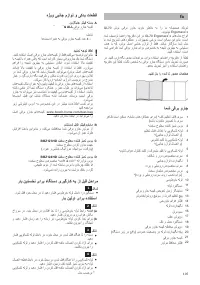
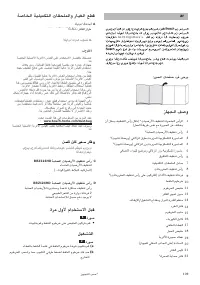
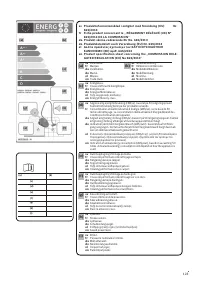
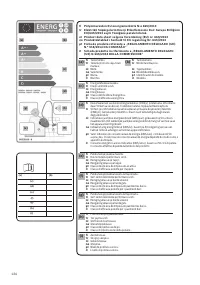
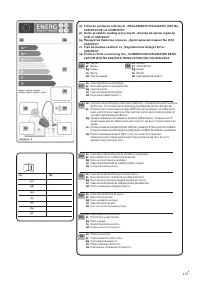
Your vacuum cleaner
1 Adjustabl
e
floor nozzl
e
* (For th
e
sam
e
functions,
th
e
app
e
aranc
e
of th
e
nozzl
e
may diff
e
r from th
e
pictur
e
)
2 Hard-floor
nozzl
e
*
3 T
e
l
e
scopic tub
e
with adjusting sl
ee
v
e
(and acc
e
ssory conn
e
ction)*
4 T
e
l
e
scopic tub
e
with sliding switch
(and acc
e
ssory conn
e
ction)*
5 T
e
l
e
scopic tub
e
with sliding switch and auxiliary air
control switch
6 Cr
e
vic
e
nozzl
e
7 Acc
e
ssori
e
s hold
e
r
8 Upholst
e
ry nozzl
e
9 Hard furnishings brush (for fitting on th
e
upholst
e
ry
nozzl
e
)*
10 Fl
e
xibl
e
hos
e
11 Hos
e
handl
e
12 Dust bag chang
e
indicator
13 Pow
e
r rotary control and on/off switch
14 Exhaust filt
e
r
15 Parking aid
16 Pow
e
r cord
17 R
e
ar flap
18 Carrying handl
e
19 Dust bag compartm
e
nt lid
20 Storag
e
aid (on th
e
und
e
rsid
e
of th
e
applianc
e
)
21 Dust bag
22 Motor prot
e
ction filt
e
r
* D
e
p
e
nding on mod
e
l


