Измерительные приборы Bosch GLL 2-15 G + LB10 - инструкция пользователя по применению, эксплуатации и установке на русском языке. Мы надеемся, она поможет вам решить возникшие у вас вопросы при эксплуатации техники.
Если остались вопросы, задайте их в комментариях после инструкции.
"Загружаем инструкцию", означает, что нужно подождать пока файл загрузится и можно будет его читать онлайн. Некоторые инструкции очень большие и время их появления зависит от вашей скорости интернета.


English |
13
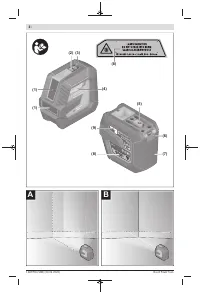
(7)
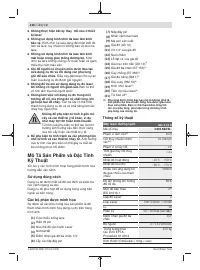
Battery compartment cover
(8)
Laser warning label
(9)
Serial number
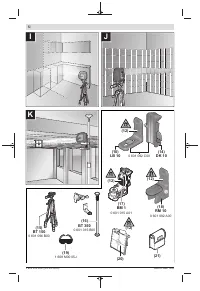
(10)
Holder (LB 10)
(11)
1/4" screw of the holder
(12)
Magnet
(13)
Screw hole of the holder
(14)
Ceiling clip (DK 10)
A)
(15)
Tripod (BT 150)
A)
(16)
Telescopic shaft (BT 350)
A)
(17)
Universal holder (BM 1)
A)
(18)
Rotating mount (RM 10)
A)
(19)
Laser goggles
A)
(20)
Laser target plate
A)
(21)
Protective bag
A)
A)
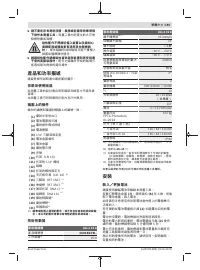
Accessories shown or described are not included with the
product as standard. You can find the complete selection of
accessories in our accessories range.
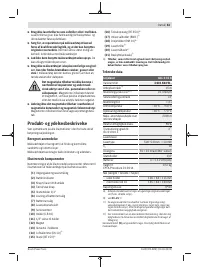
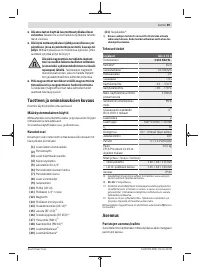
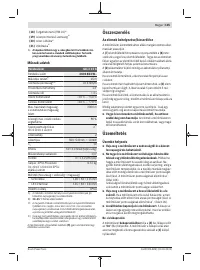
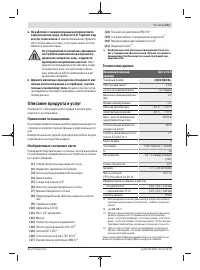
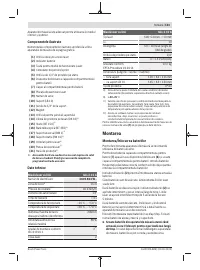
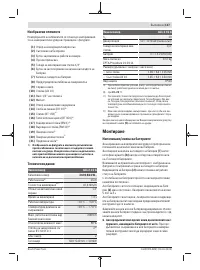
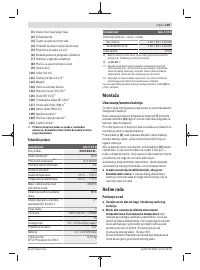
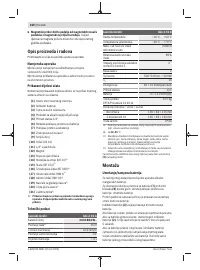
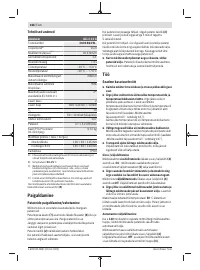
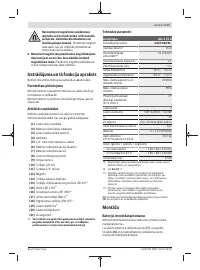
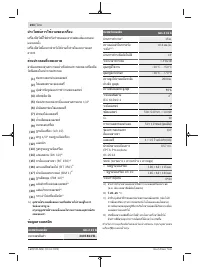
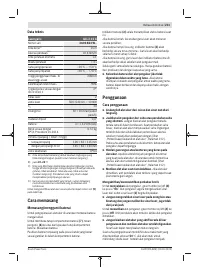
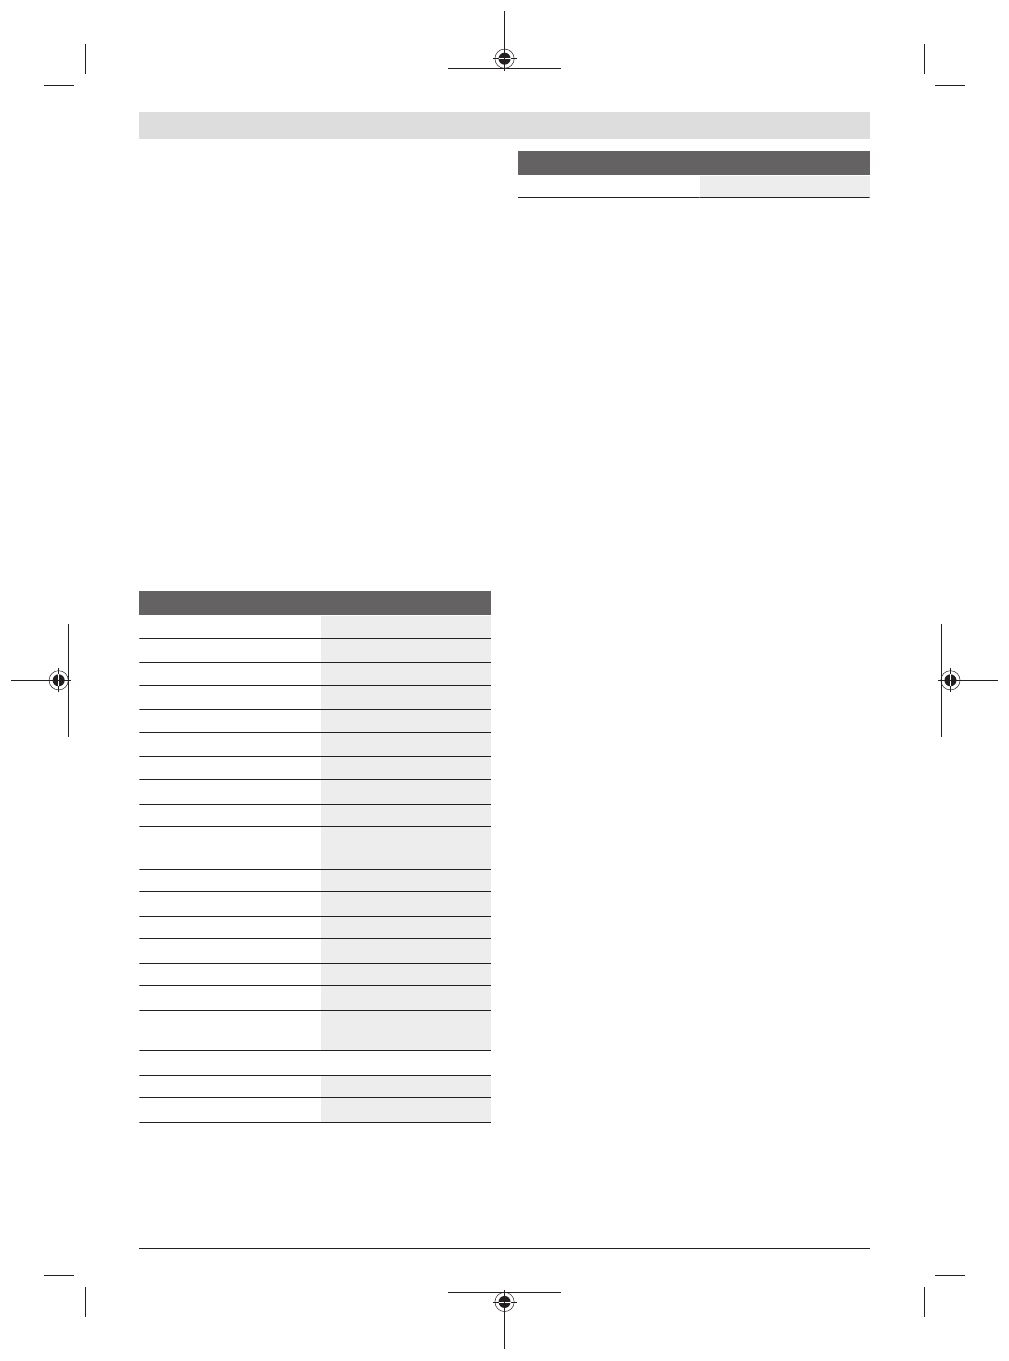
Technical Data
Line laser
GLL 2-15 G
Article number
3 601 K63 W..
Working range
A)
15 m
Levelling accuracy
B)C)
±0.3 mm/m
Self-levelling range
±4°
Levelling time
< 4 s
Operating temperature
–10 °C to +50 °C
Storage temperature
–20 °C to +70 °C
Max. altitude
2000 m
Relative air humidity max.
90%
Pollution degree according to
IEC 61010-1
2
D)
Laser class
2
Laser type
500−540 nm, < 10 mW
C
6
10
Divergence
50 × 10 mrad (full angle)
Tripod mount
1/4"
Batteries
4 × 1.5 V LR6 (AA)
Weight according to
EPTA-Procedure 01:2014
0.57 kg
Dimensions (length × width × height)
– Without holder
126 × 63 × 115 mm
– With holder LB 10
145 × 63 × 134 mm
Line laser
GLL 2-15 G
Protection rating
IP 64
A) The working range may be reduced by unfavourable environ-
mental conditions (e.g. direct sunlight).
B) At
20–25
°C
C) The values stated presuppose normal to favourable environ-
mental conditions (e.g. no vibration, no fog, no smoke, no direct
sunlight). Extreme fluctuations in temperature can cause devi-
ations in accuracy.
D) Only non-conductive deposits occur, whereby occasional tem-
porary conductivity caused by condensation is expected.
The serial number
(9)
on the type plate is used to clearly identify your
measuring tool.
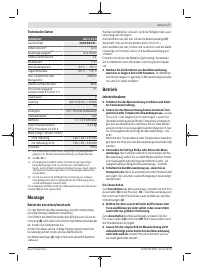
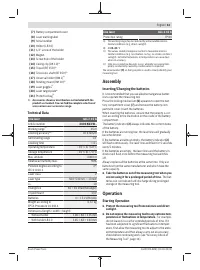
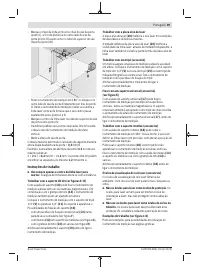
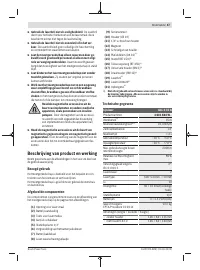
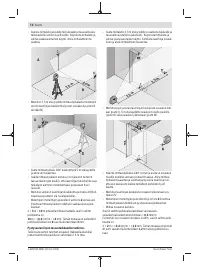
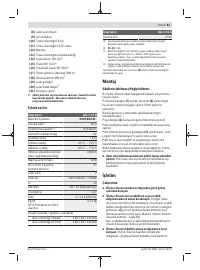
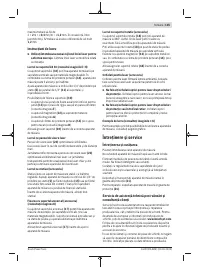
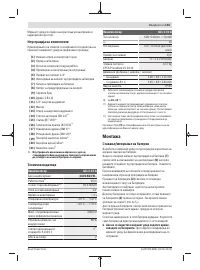
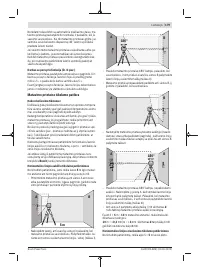
Assembly
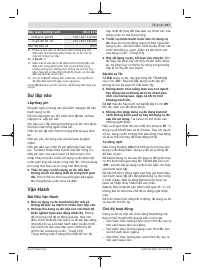
Inserting/Changing the batteries
It is recommended that you use alkaline manganese batter-
ies to operate the measuring tool.
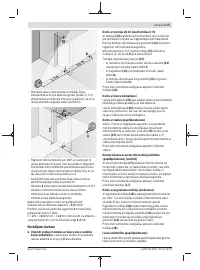
Press the locking mechanism
(6)
upwards to open the bat-
tery compartment cover
(7)
and remove the battery com-
partment cover. Insert the batteries.
When inserting the batteries, ensure that the polarity is cor-
rect according to the illustration on the inside of the battery
compartment.
The battery indicator
(2)
always indicates the current status
of the battery.
If the batteries are running low, the laser lines will gradually
become dimmer.
If the batteries are almost empty, the battery indicator
(2)
will flash continuously. The laser lines will flash for 5 seconds
every 5 minutes.
If the batteries are empty, the laser lines and the battery in-
dicator will flash once before the measuring tool switches
off.
Always replace all the batteries at the same time. Only use
batteries from the same manufacturer and which have the
same capacity.
u
Take the batteries out of the measuring tool when you
are not using it for a prolonged period of time.
The bat-
teries can corrode and self-discharge during prolonged
storage in the measuring tool.
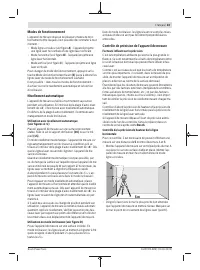
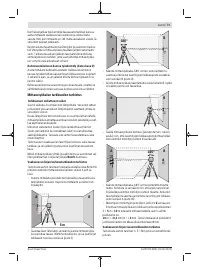
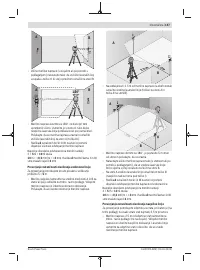
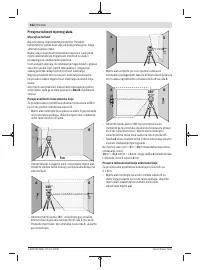
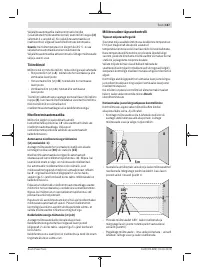
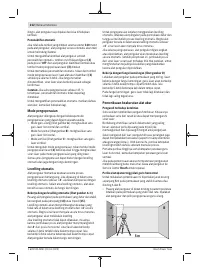
Operation
Starting Operation
u
Protect the measuring tool from moisture and direct
sunlight.
u
Do not expose the measuring tool to any extreme tem-
peratures or fluctuations in temperature.
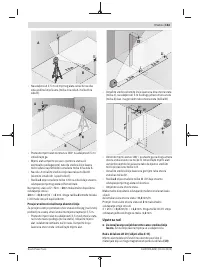
For example,
do not leave it in a car for extended periods of time. If it
has been subjected to significant fluctuations in temper-
ature, first allow the measuring tool to adjust to the ambi-
ent temperature and then always carry out an accuracy
check before continuing work (see "Accuracy Check of
the Measuring Tool", page 14).
Bosch Power Tools
1 609 92A 5EM | (20.03.2020)
Содержание
- 111 Описание продукта и услуг; Применение по назначению
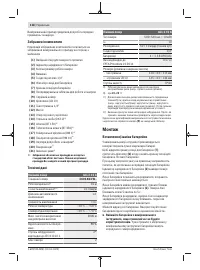
- 112 Сборка; Вставка/замена батареек; Работа с инструментом; Включение инструмента
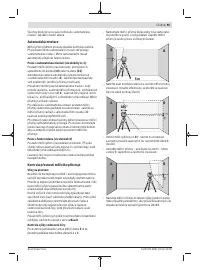
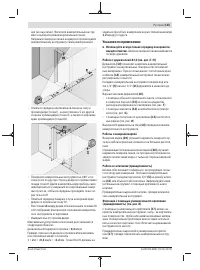
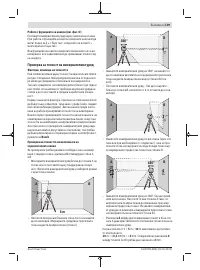
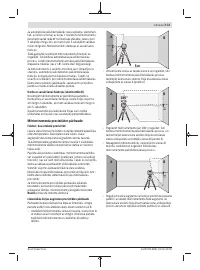
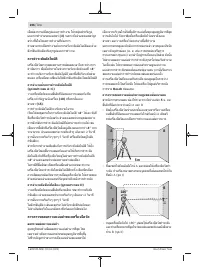
- 113 Автоматическое нивелирование
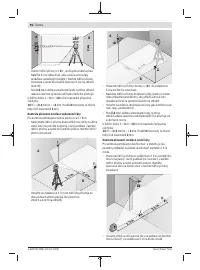
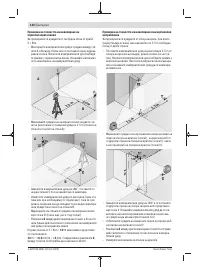
- 115 Указания по применению
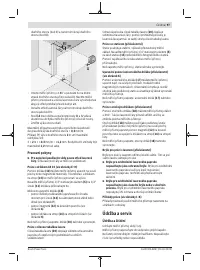
- 116 Техобслуживание и сервис; Техобслуживание и очистка
- 117 Утилизация; Українська; Вказівки з техніки безпеки; Опис продукту і послуг; Призначення приладу
Характеристики

Остались вопросы?Не нашли свой ответ в руководстве или возникли другие проблемы? Задайте свой вопрос в форме ниже с подробным описанием вашей ситуации, чтобы другие люди и специалисты смогли дать на него ответ. Если вы знаете как решить проблему другого человека, пожалуйста, подскажите ему :)


