
Роутеры Zyxel NBG-418N v2 - инструкция пользователя по применению, эксплуатации и установке на русском языке. Мы надеемся, она поможет вам решить возникшие у вас вопросы при эксплуатации техники.
Если остались вопросы, задайте их в комментариях после инструкции.
"Загружаем инструкцию", означает, что нужно подождать пока файл загрузится и можно будет его читать онлайн. Некоторые инструкции очень большие и время их появления зависит от вашей скорости интернета.
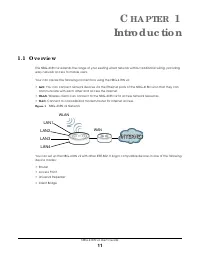


Chapter 1 Introduction
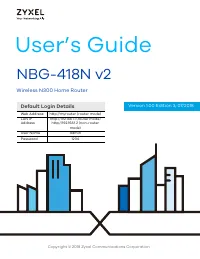
NBG-418N v2 User’s Guide
14
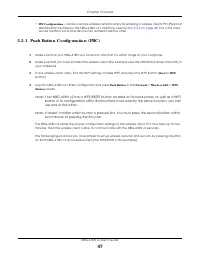
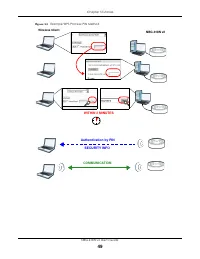
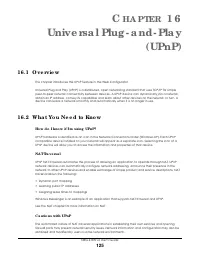
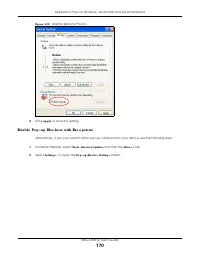
Depending on the devices you have, you can either press a button (recommended) on the device
itself, or in its configuration utility or enter a PIN (a unique Personal Identification Number that allows one
device to authenticate the other) in each of the two devices. When WPS is activated on a device, it has
two minutes to find another device that also has WPS activated. Then, the two devices connect and set
up a secure network by themselves.
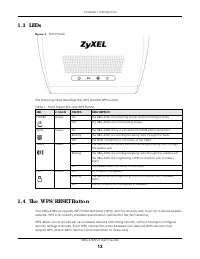
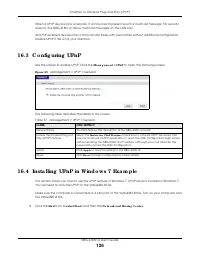
The
WPS/ RESET
single button is located at the back panel of the NBG-418N v2.
1 .4 .1 Using the WPS/ RESET Butto n
1
Make sure the power LED is on.
2
Press the
WPS/ RESET
button within 3 seconds to turn on the WPS function
3
Press the
WPS/ RESET
button for longer than 10 seconds to restart/reboot the NBG-418N v2 back to its
factory-default configurations.
For more information on using
WPS/ RESET
, see
Section 5.3 on page 46
.
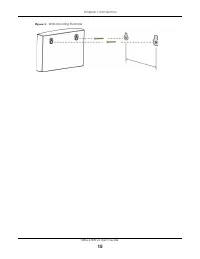
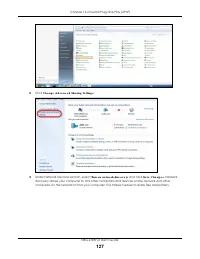
1 .5 Wa ll Mo unting
You may need screw anchors if mounting on a concrete or brick wall.
1
Select a position free of obstructions on a wall strong enough to hold the weight of the device.
2
Mark two holes on the wall at the appropriate distance apart for the screws.
Be c a re ful to a vo id d a m a g ing p ip e s o r c a b le s lo c a te d insid e the wa ll
whe n d rilling ho le s fo r the sc re ws.
3
If using screw anchors, drill two holes for the screw anchors into the wall. Push the anchors into the full
depth of the holes, then insert the screws into the anchors. Do not insert the screws all the way in - leave
a small gap of about 0.5 cm.
If not using screw anchors, use a screwdriver to insert the screws into the wall. Do not insert the screws all
the way in - leave a gap of about 0.5 cm.
4
Make sure the screws are fastened well enough to hold the weight of the NBG-418N v2 with the
connection cables.
5
Align the holes on the back of the NBG-418N v2 with the screws on the wall. Hang the NBG-418N v2 on
the screws.
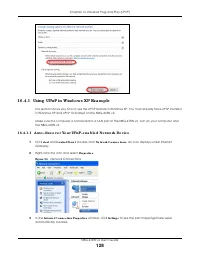
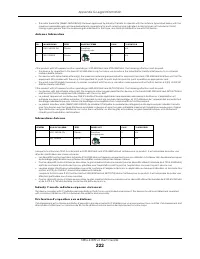
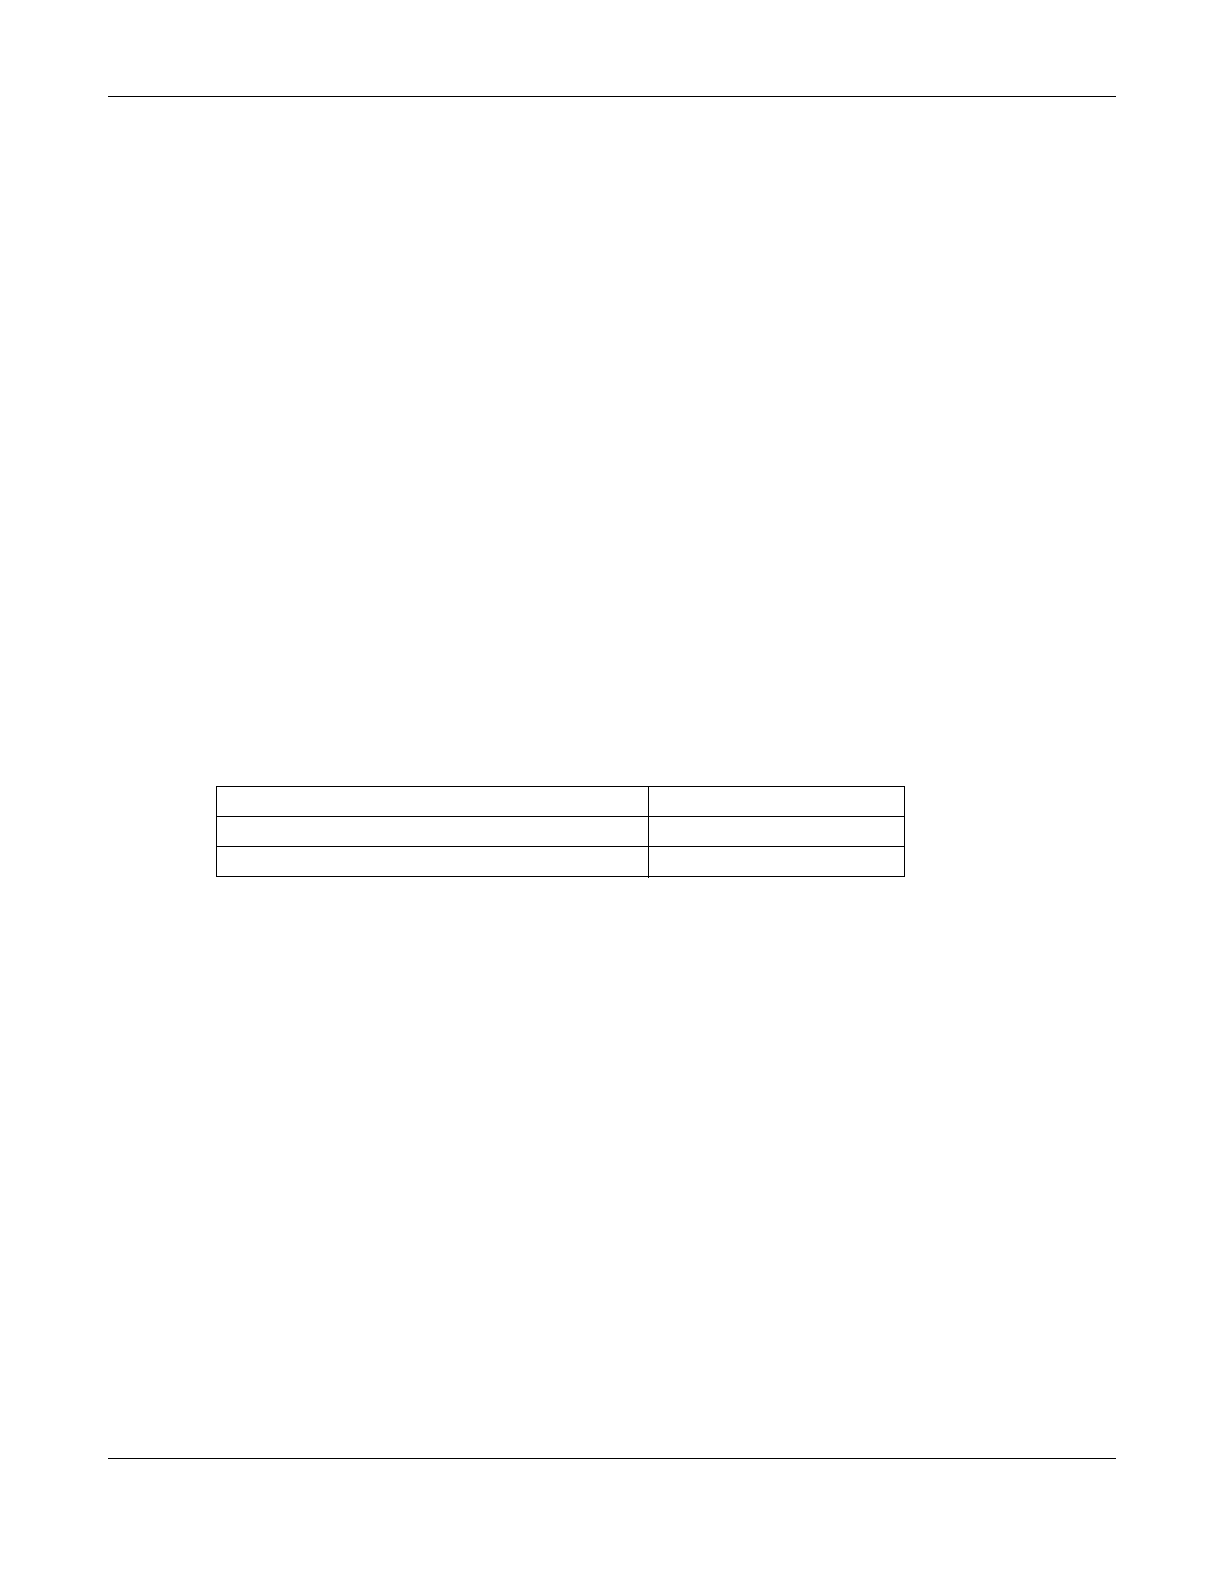
Table 2 Wall Mounting Information
Distance between holes
10.50 cm
M4 Screws
Two
Screw anchors (optional)
Two
Характеристики

Остались вопросы?Не нашли свой ответ в руководстве или возникли другие проблемы? Задайте свой вопрос в форме ниже с подробным описанием вашей ситуации, чтобы другие люди и специалисты смогли дать на него ответ. Если вы знаете как решить проблему другого человека, пожалуйста, подскажите ему :)


