Кухонные комбайны Bosch MUM 59M55 - инструкция пользователя по применению, эксплуатации и установке на русском языке. Мы надеемся, она поможет вам решить возникшие у вас вопросы при эксплуатации техники.
Если остались вопросы, задайте их в комментариях после инструкции.
"Загружаем инструкцию", означает, что нужно подождать пока файл загрузится и можно будет его читать онлайн. Некоторые инструкции очень большие и время их появления зависит от вашей скорости интернета.


24
en
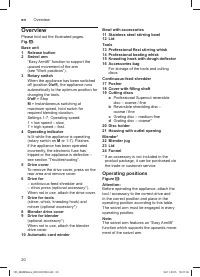
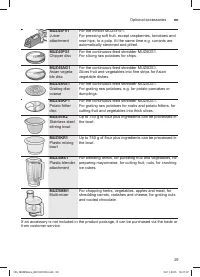
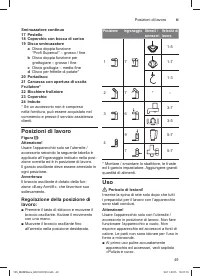
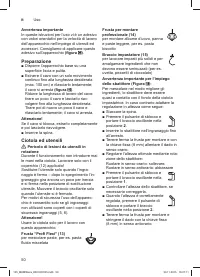
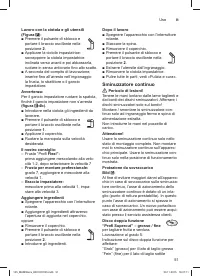
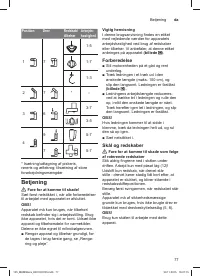
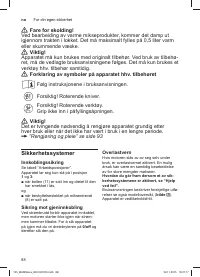
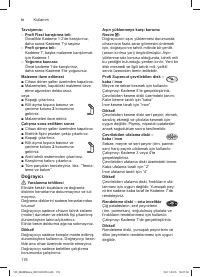
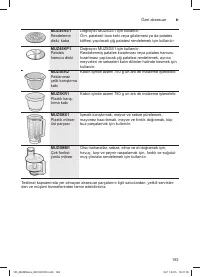
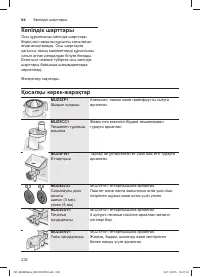
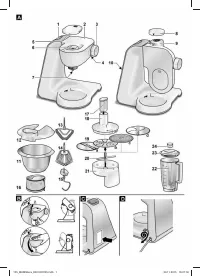
Bowl and tools
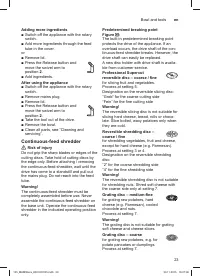
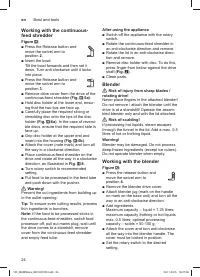
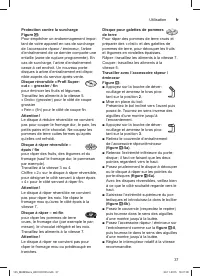
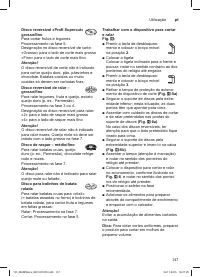
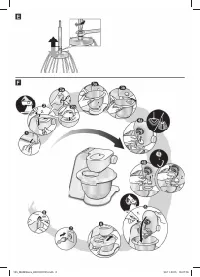
Working with the continuous-
feed shredder
Figure
H
:
■ Press the Release button and
move the swivel arm to
position
2
.
■ Insert the bowl:
Tilt the bowl forwards and then set it
down. Turn anti-clockwise until it locks
into place.
■ Press the Release button and
move the swivel arm to
position
3
.
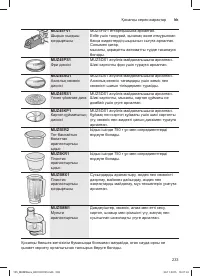
■ Remove drive cover from the drive of the
continuous-feed shredder
(Fig.
H
-5a)
.
■ Hold disc holder at the lower end, ensur
-
ing that the two tips are face up.
■ Carefully place the required slicing or
shredding disc onto the tips of the disc
holder
(Fig.
H
-6a)
. In the case of reversi
-
ble discs, ensure that the required side is
face up.
■ Grip disc holder at the upper end and
insert into the housing
(Fig.
H
-6b)
.
■ Attach the cover (note mark) and turn all
the way in a clockwise direction.
■ Place continuous-feed shredder on the
drive and rotate all the way in a clockwise
direction, as illustrated in
Fig.
H
-8
.
■ Turn rotary switch to recommended
setting.
■ Put food to be processed in the feed tube
and push down with the pusher.
W
Warning!
Prevent the cut ingredients from building up
in the outlet opening.
Tip:
To ensure even cutting results, process
thin ingredients in bunches.
Note:
If the food to be processed sticks in
the continuous-feed shredder, switch food
processor off, pull out mains plug, wait until
the drive comes to a standstill, remove
cover from the continuous-feed shredder
and empty feed tube.
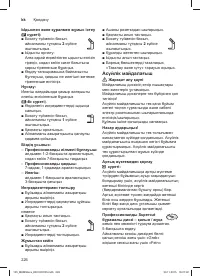
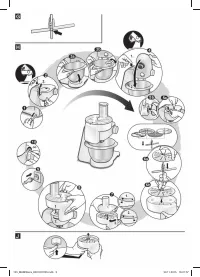
After using the appliance
■ Switch off the appliance with the rotary
switch.
■ Rotate the continuous-feed shredder in
an anti-clockwise direction and remove.
■ Rotate the lid in an anti-clockwise direc
-
tion and remove.
■ Remove disc holder with disc. To do this,
press finger from below against the drive
shaft
(Fig.
J
)
.
■ Clean parts.
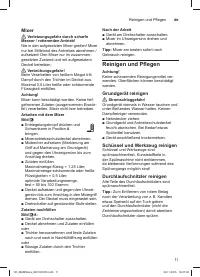
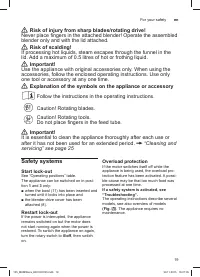
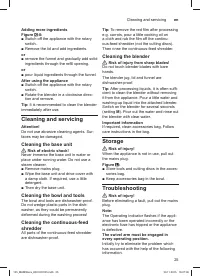
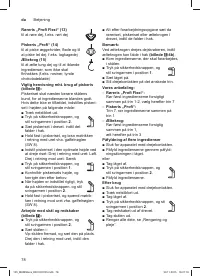
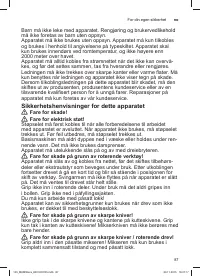
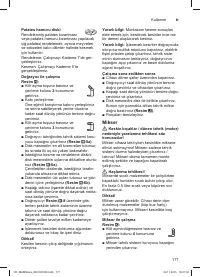
Blender
W
Risk of injury from sharp blades /
rotating drive!
Never place fingers in the attached blender!
Do not remove / attach the blender until the
drive is at a standstill! Operate the assem
-
bled blender only and with the lid attached.
W
Risk of scalding!
If processing hot liquids, steam escapes
through the funnel in the lid. Add a max. 0.5
litres of hot or frothing liquid.
Warning!
Blender may be damaged. Do not process
deep-frozen ingredients (except ice cubes).
Do not operate blender when empty.
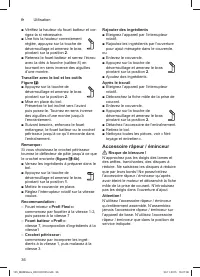
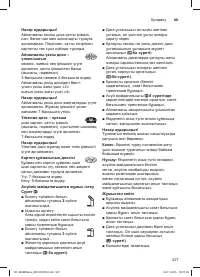
Working with the blender
Figure
K
:
■ Press the release button and
move the swivel arm to
position
4
.
■ Remove the blender drive cover.
■ Attach blender jug (mark on the handle
on mark on the base unit) and turn all the
way in an anti-clockwise direction.
■ Add ingredients.
Maximum capacity – liquid = 1.25 litres;
maximum capacity frothing or hot liquids
max. 0.5 litres; optimal processing
capacity – solids = 50-100 g;
■ Attach the cover and turn anti-clockwise
all the way into the blender handle. The
cover must be locked in position.
■ Set the rotary switch to the desired
setting.
125_MUM59xxx_8001027205.indb 24
30.11.2015 16:07:06
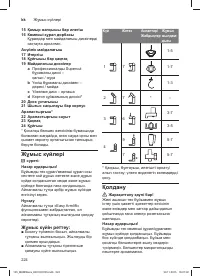
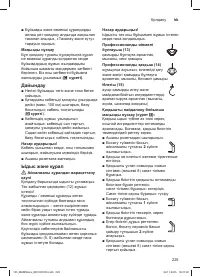
Содержание
- 202 Общие указания по технике безопасности; Опасность поражения током!; Указания по технике безопасности для данного; Опасность травмирования!
- 203 Опасность травмирования об острые лезвия ножа!; «Чистка и
- 204 Системы безопасности; Блокировка включения; Комплектный обзор
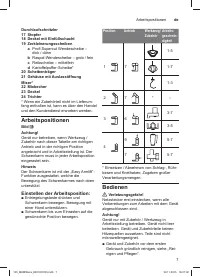
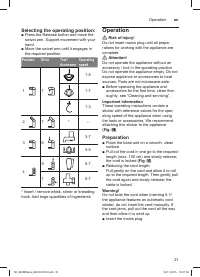
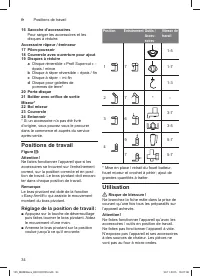
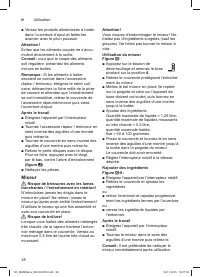
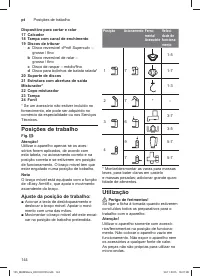
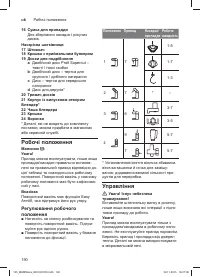
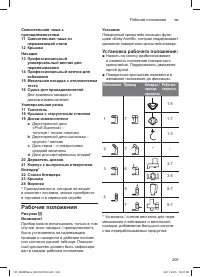
- 205 Рабочие положения; Установка рабочего положения:
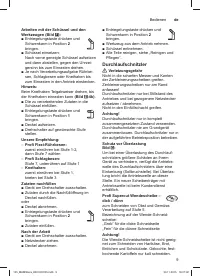
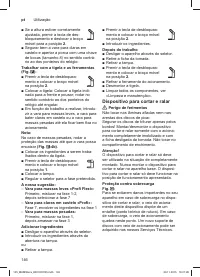
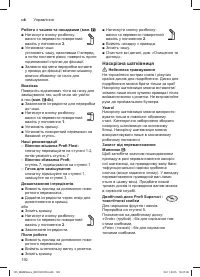
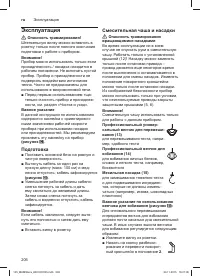
- 206 Эксплуатация; Подготовка
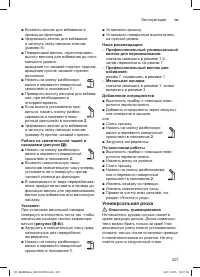
- 207 Универсальная резка
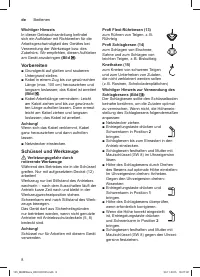
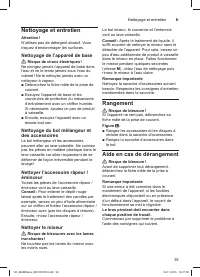
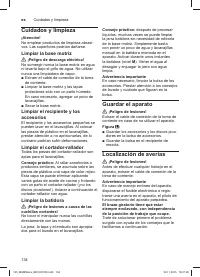
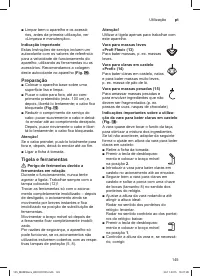
- 210 Чистка и уход; Очистка основного прибора; Хранение
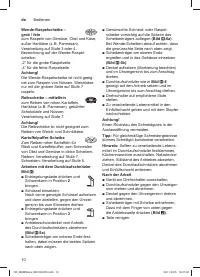
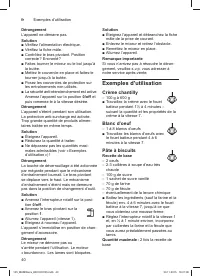
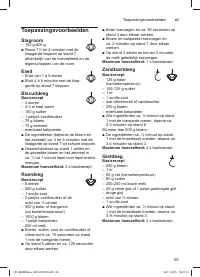
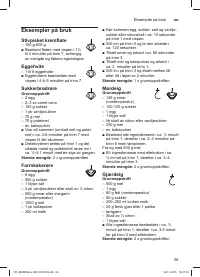
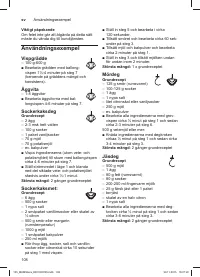
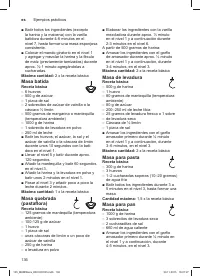
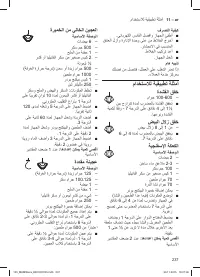
- 211 Примеры использования; Взбитые сливки
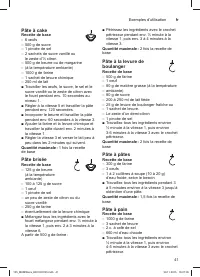
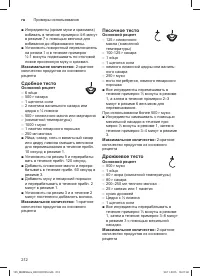
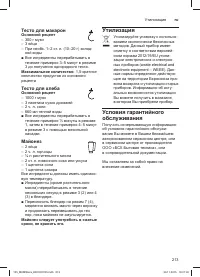
- 213 Тесто для макарон; Тесто для хлеба; Майонез; Утилизация
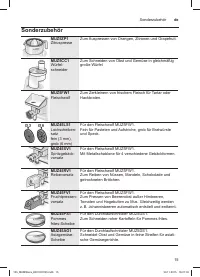
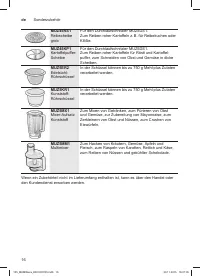
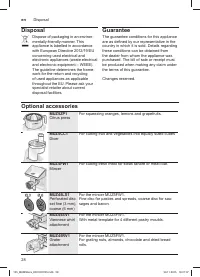
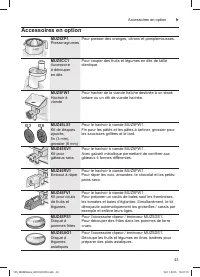
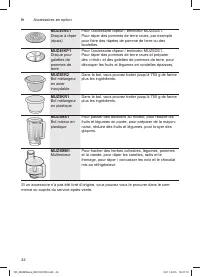
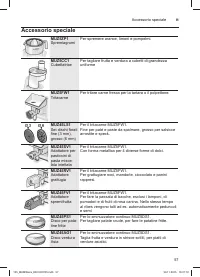
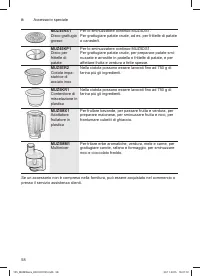
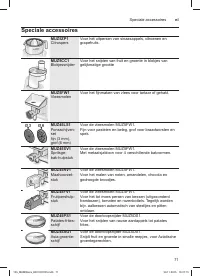
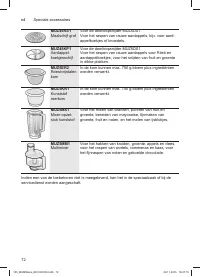
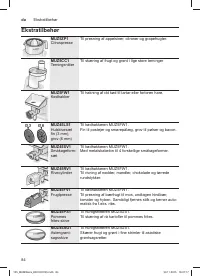
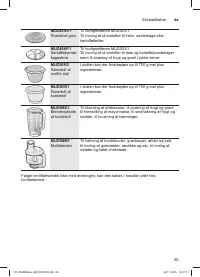
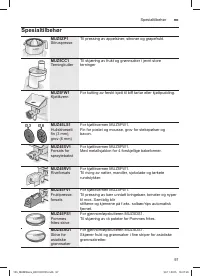
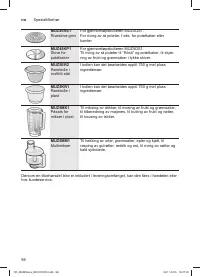
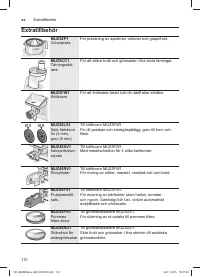
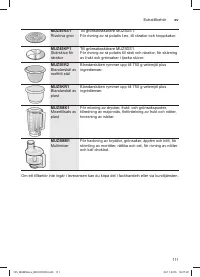
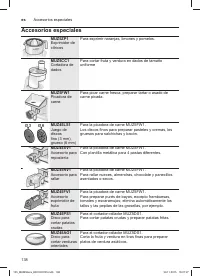
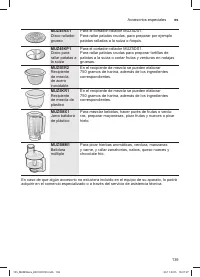
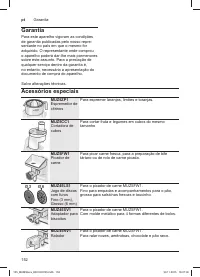
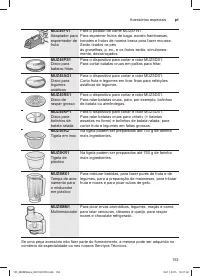
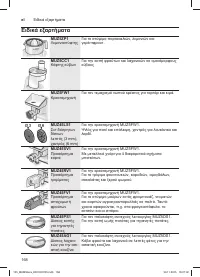
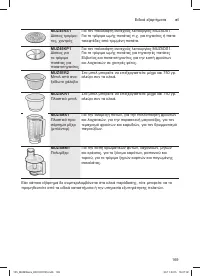
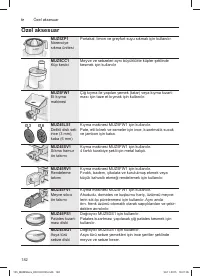
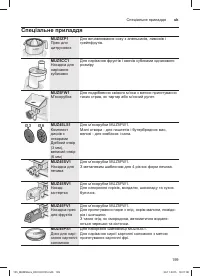
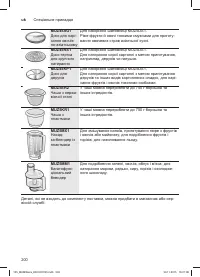
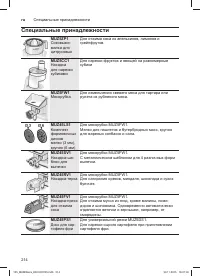
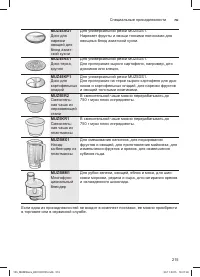
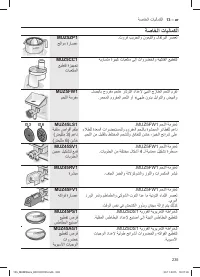
- 214 Специальные принадлежности
- 218 No 261-ФЗ, законодательства о техническом регулировании


