Краскораспылители Bosch PFS 55 - инструкция пользователя по применению, эксплуатации и установке на русском языке. Мы надеемся, она поможет вам решить возникшие у вас вопросы при эксплуатации техники.
Если остались вопросы, задайте их в комментариях после инструкции.
"Загружаем инструкцию", означает, что нужно подождать пока файл загрузится и можно будет его читать онлайн. Некоторые инструкции очень большие и время их появления зависит от вашей скорости интернета.


English |
17
Bosch Power Tools
1 609 92A 0AA | (14.10.13)
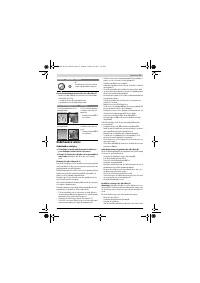
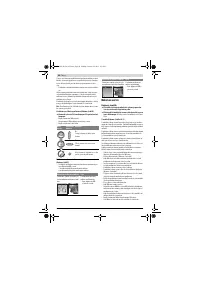
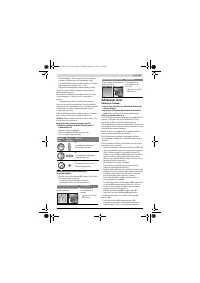
When the spraying pattern is perfect, start the spray job.
or
When the spraying result is not satisfactory or when no paint
comes out, please continue as described under “Correction of
Malfunctions” on page 18.
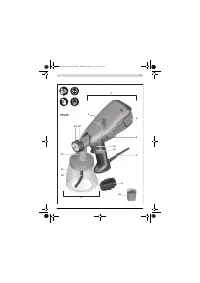
Filling in Spray Material (see figures B1
–
B2)
Before any work on the machine itself, pull the mains
plug.
– Unscrew the container
11
from the spray gun.
– Turn the suction tube
10
so that the spray material can be
sprayed with almost no residue:
– Fill the spray material into the container and screw the con-
tainer firmly to the spray gun.
Starting Operation
Observe correct mains voltage! The voltage of the pow-
er source must agree with the voltage specified on the
nameplate of the machine. Power tools marked with
230 V can also be operated with 220 V.
Pay attention that the power tool cannot draw in dust
or other contamination during operation.
Switching On
To save energy, only switch the fine-spray system on when
you are using it.
– Plug the mains plug into a socket outlet.
– Grasp the power tool and point it at the spray surface.
The power tool is equipped with a two-step trigger switch
16
.
The first step starts the turbine. The second step transports
the spraying material.
– Pull the trigger switch
16
until spraying material starts to
come out.
Switching Off
– Release the trigger switch
16
.
– Pull the mains plug from the socket outlet.
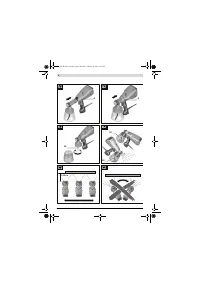
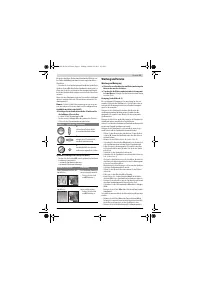
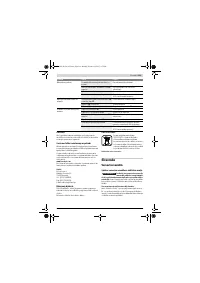
Working Advice
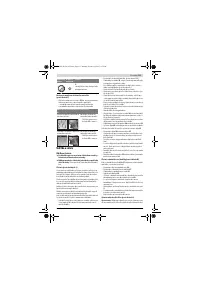
Spraying (see figures C – D)
Note:
Observe the wind direction when operating the power
tool outdoors.
– Firstly, carry out a test-spray run and adjust the spray pat-
tern and the spray material quantity according to the spray
material. (For adjustments, see the following sections)
– Be absolutely sure to hold the spray gun at a consistent dis-
tance of 5 – 15 cm perpendicular to the spray object.
– Begin the spraying procedure outside the target area.
– Move the spray gun evenly cross-wise or up-and-down, de-
pending on the spray pattern setting.
An even surface quality is achieved when the paths overlap
by 4 – 5 cm.
– Avoid interruptions within the spray surface.
Guiding the spray gun evenly will provide uniform surface
quality.
Non-uniform clearance and spray angle lead to heavy forma-
tion of paint mist and thus to an uneven surface.
– End the spraying procedure outside the target area.
Never completely empty the container for the spray material
by spraying. If the suction tube is no longer immersed in the
spray material, the spray jet will be interrupted and this will
result in an inconsistent surface.
When coating material builds up on the nozzle and air cap,
clean both parts with the corresponding solvent.
Note:
Only place down the power tool on a level and clean sur-
face so that it can not tip over.
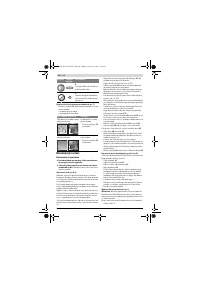
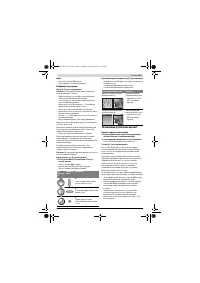
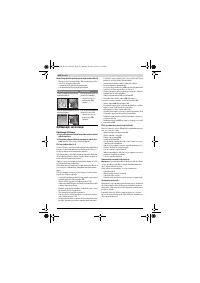
Adjusting the Spray Pattern (see figure E)
Never actuate the trigger switch 16 while adjusting the
air cap 13.
– Loosen the union nut
14
.
– Turn the air cap
13
to the requested position.
– Firmly retighten the union nut.
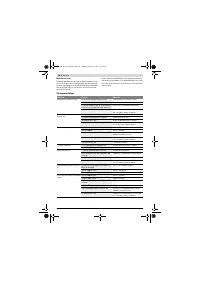
Adjusting the Spraying Capacity (see figure F)
– To adjust the requested spraying capacity, turn the thumb-
wheel
15
:
–
: Min. spraying capacity,
+
: Max. spraying capacity.
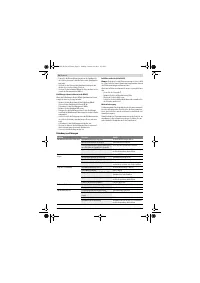
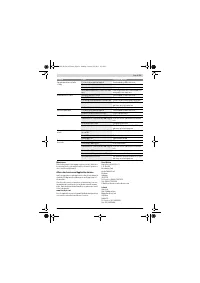
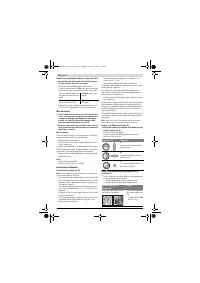
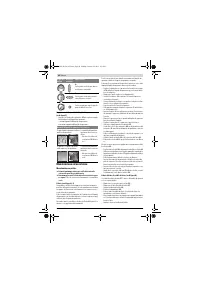
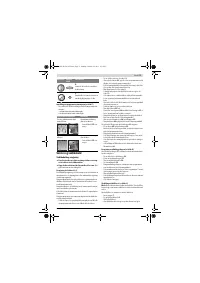
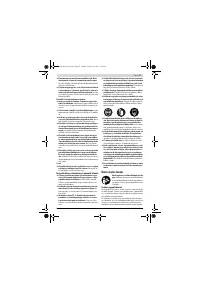
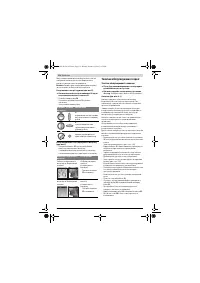
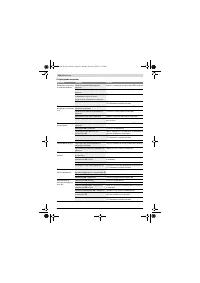
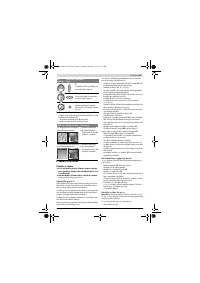
For spray jobs on horizontal
surfaces/objects
toward the
front
in nozzle
direction
For spray jobs overhead
toward the
rear
in handle
direction
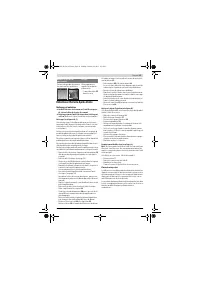
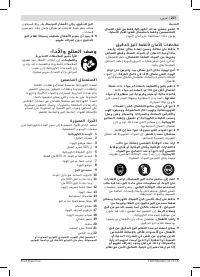
Air cap
Spray jet
pattern
Application
A
Vertical flat jet for horizontal
working direction
B
Horizontal flat jet for vertical
working direction
C
Round jet for corners, edges and
hard to reach locations
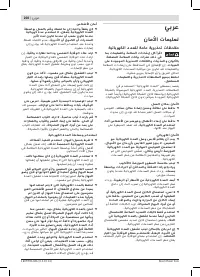
Spraying capacity
Adjustment
Too much material on target area: The spraying capacity
must be reduced.
– Turn the thumbwheel
15
in direction
–
.
Not enough material on target ar-
ea:
The spraying capacity
must be increased.
– Turn the thumbwheel
15
in direction
+
.
OBJ_BUCH-670-003.book Page 17 Monday, October 14, 2013 4:53 PM
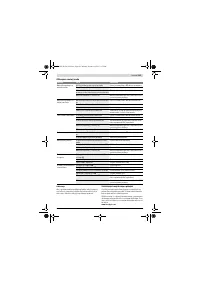
Содержание
- 122 Описание продукта и услуг; Применение по назначению; Технические данные
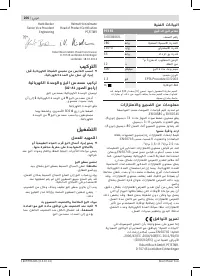
- 123 Заявление о соответствии; Сборка; Подготовка к эксплуатации
- 124 Указания по применению
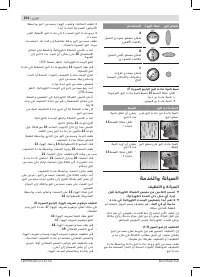
- 125 Техобслуживание и сервис; Техобслуживание и очистка
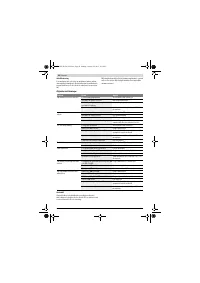
- 126 Устранение неисправностей
- 127 Утилизация; Українська; Вказівки з техніки безпеки; Загальні застереження для електроприладів
Характеристики

Остались вопросы?Не нашли свой ответ в руководстве или возникли другие проблемы? Задайте свой вопрос в форме ниже с подробным описанием вашей ситуации, чтобы другие люди и специалисты смогли дать на него ответ. Если вы знаете как решить проблему другого человека, пожалуйста, подскажите ему :)


