
Пилы торцовочные Bosch 0.601.B19.100 - инструкция пользователя по применению, эксплуатации и установке на русском языке. Мы надеемся, она поможет вам решить возникшие у вас вопросы при эксплуатации техники.
Если остались вопросы, задайте их в комментариях после инструкции.
"Загружаем инструкцию", означает, что нужно подождать пока файл загрузится и можно будет его читать онлайн. Некоторые инструкции очень большие и время их появления зависит от вашей скорости интернета.


28
| English
1 609 92A 04K | (31.10.12)
Bosch Power Tools
Prevent dust accumulation at the workplace.
Dusts can
easily ignite.
The dust/chip extraction can be blocked by dust, chips or
workpiece fragments.
– Switch the machine off and pull the mains plug from the
socket outlet.
– Wait until the saw blade has come to a complete stop.
– Determine the cause of the blockage and correct it.
External Dust Extraction
For dust extraction, a vacuum hose (size Ø 35 mm) can also
be connected to the dust ejector
2
.
– Connect the vacuum hose with the sawdust ejector
2
.
The vacuum cleaner must be suitable for the material being
worked.
When vacuuming dry dust that is especially detrimental to
health or carcinogenic, use a special vacuum cleaner.
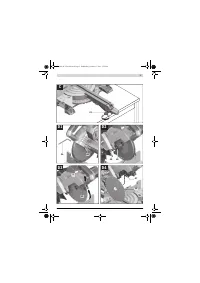
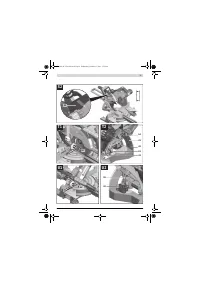
Changing the Saw Blade (see figures D1
–
D4)
When mounting the saw blade, wear protective gloves.
Danger of injury when touching the saw blade.
Use only saw blades whose maximum permitted speed is
higher than the no-load speed of the power tool.
Use only saw blades that correspond with the characteristic
data given in these operation instructions and that are tested
and marked in accordance with EN 847-1.
Use only saw blades recommended by the tool manufacturer,
and suitable for sawing the materials to be cut.
Removing the Saw Blade
– Bring the power tool into the working position.
– Turn Allen screw
45
with the Allen key (5 mm)
34
and at
the same time press the spindle lock
44
until it engages.
– Hold the spindle lock
44
pressed and unscrew the Allen
screw
45
in clockwise direction (left-hand thread!).
– Remove the clamping flange
46
.
– Press locking switch
9
and swing back the retracting blade
guard
11
to the stop.
– Hold the retracting blade guard in this position and remove
the saw blade
12
.
– Slowly guide the retracting blade guard downward again.
Mounting the Saw Blade
If required, clean all parts to be mounted prior to assembly.
– Press locking switch
9
, swing back the retracting blade
guard
11
to the stop and hold it in this position.
– Place the new saw blade onto the interior clamping flange
47
.
When mounting the saw blade, pay attention that the
cutting direction of the teeth (arrow direction on the
saw blade) corresponds with the direction of the arrow
on the blade guard!
– Slowly guide the retracting blade guard downward again.
– Place on the clamping flange
46
and the screw
45
.
Press the spindle lock
44
until it engages and tighten the
screw turning in anticlockwise direction.
Operation
Before any work on the machine itself, pull the mains
plug.
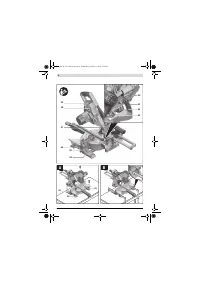
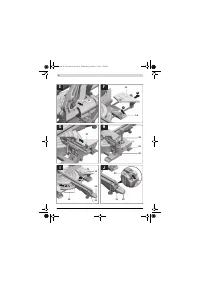
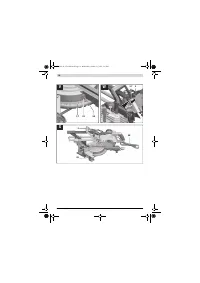
Transport Safety (see figure E)
The transport safety-lock
37
enables easier handling of the
machine when transporting to various working locations.
Releasing the Machine (Working Position)
– Push the tool arm by the handle
8
down a little in order to
relieve the transport safety-lock
37
.
– Pull the transport safety-lock
37
completely outward.
– Guide the tool arm slowly upward.
Securing the Machine (Transport Position)
– Loosen the locking screw
33
if tightened. Pull the tool arm
completely to the front and tighten the locking screw
again.
– Screw adjusting screw
4
completely upward.
– To lock the saw table
15
, tighten the locking knob
20
.
– Press locking switch
9
and slowly guide the tool arm down-
ward by the handle
8
.
– Guide the tool arm downward until the transport safety-
lock
37
can be pushed completely inward.
Preparing for Operation
Extending the Saw Table (see figure F)
Long workpieces must be underlaid or supported at their free
end.
The saw table can be extended left and right with the saw-ta-
ble extensions
13
.
– Push clamping lever
16
upward.
– Pull out the saw-table extension
13
to the desired length.
– To lock the saw-table extension, push clamping lever
16
down again.
Moving the Fence (see figure G)
When sawing bevel angles, the adjustable fence
27
must be
pulled outward or removed completely.
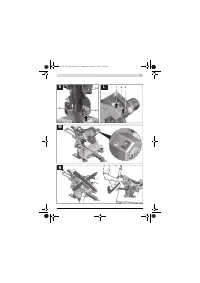
Clamping the Workpiece (see figure H)
To ensure optimum working safety, the workpiece must al-
ways be firmly clamped.
Do not saw workpieces that are too small to clamp.
– Press the workpiece firmly against the fence
14
.
– Insert the material clamp
29
provided into one of the holes
35
intended for it.
– Adapt the threaded rod
48
of the screw clamp to the work-
piece height.
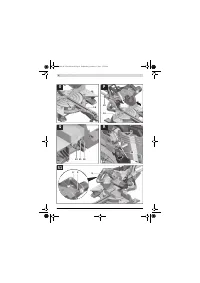
Mitre/Bevel Angle
Vertical
Horizontal
– 2 ° – 47 °
≤ 44 °
(rightward)
–
Loosen
locking screw
28
.
– Pull the adjustable fence
27
completely outward.
0 ° – 47 °
≥ 45 °
(rightward)
–
Remove
locking screw
28
.
– Pull the adjustable fence
27
completely outward.
– Remove the adjustable fence
upward.
OBJ_BUCH-1736-002.book Page 28 Wednesday, October 31, 2012 3:55 PM
Содержание
- 198 Применение электроинструмента и обращение с ним
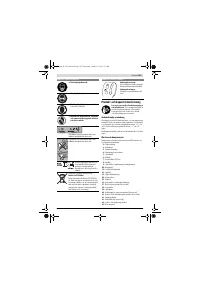
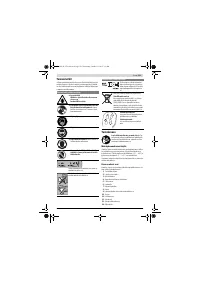
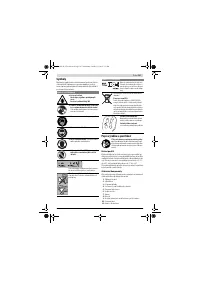
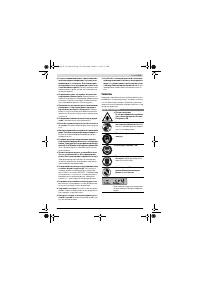
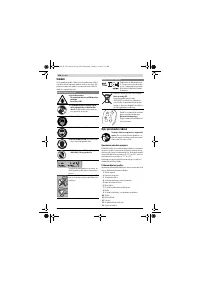
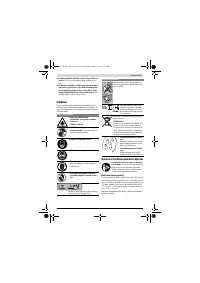
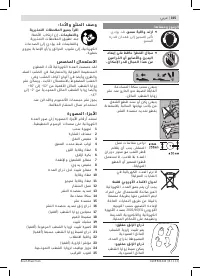
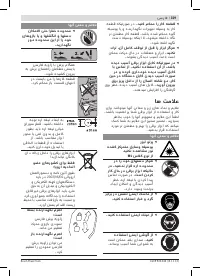
- 199 Закрепляйте заготовку.; Символы; Символы и их значение
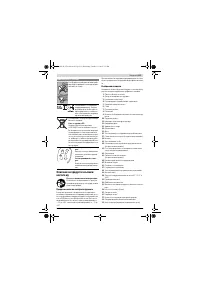
- 200 Описание продукта и услуг; Применение по назначению; Зажимной рычаг зажат:
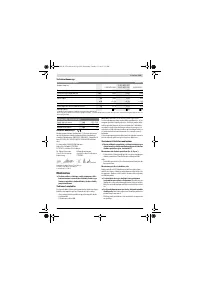
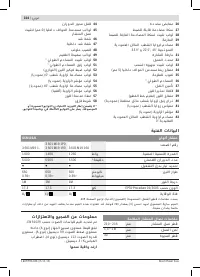
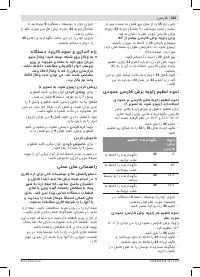
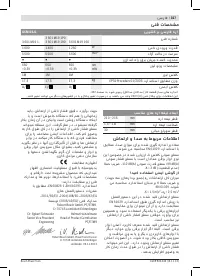
- 201 Технические данные; Применяйте средства защиты органов слуха!; Заявление о соответствии; Панельная пила; Размеры пильных дисков
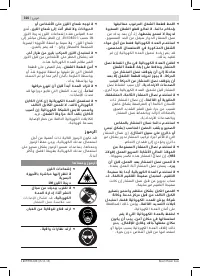
- 202 Сборка; Комплект поставки; Монтаж на верстаке производства Bosch; Отсос пыли и стружки; Избегайте скопления пыли на рабочем месте.
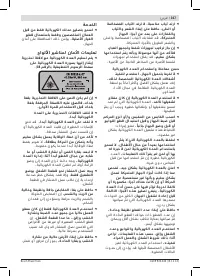
- 203 Демонтаж пильного диска; Работа с инструментом; Подготовка к эксплуатации; Угол распила
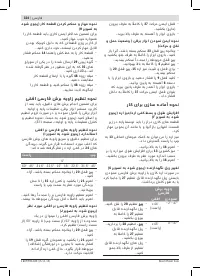
- 204 Настройка горизонтального угла распила; слева
- 205 Указания по применению; Общие указания для пиления; Пиление; Резание с тяговым движением
- 206 Специальные заготовки; Основные настройки; Настройка угла наклона в 0
- 207 Техобслуживание и сервис; Техобслуживание и очистка; Очистка; Принадлежности; Товарный No
- 208 Россия; Утилизация
Характеристики

Остались вопросы?Не нашли свой ответ в руководстве или возникли другие проблемы? Задайте свой вопрос в форме ниже с подробным описанием вашей ситуации, чтобы другие люди и специалисты смогли дать на него ответ. Если вы знаете как решить проблему другого человека, пожалуйста, подскажите ему :)


