
Краскораспылители Bosch 0.603.207.300 - инструкция пользователя по применению, эксплуатации и установке на русском языке. Мы надеемся, она поможет вам решить возникшие у вас вопросы при эксплуатации техники.
Если остались вопросы, задайте их в комментариях после инструкции.
"Загружаем инструкцию", означает, что нужно подождать пока файл загрузится и можно будет его читать онлайн. Некоторые инструкции очень большие и время их появления зависит от вашей скорости интернета.


18
| English
1 609 92A 1LB | (16.11.15)
Bosch Power Tools
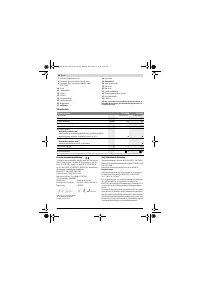
Robert Bosch Power Tools GmbH
70538 Stuttgart, GERMANY
Stuttgart, 01.01.2017
Assembly
Before any work on the machine itself, pull the mains
plug.
Ensure that the spray gun and base unit are assembled
completely and with all seals.
Only this will ensure the
function and safety of the fine-spray system.
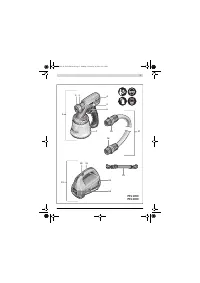
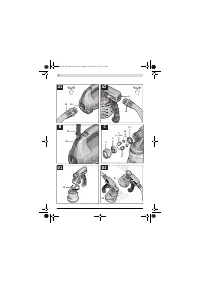
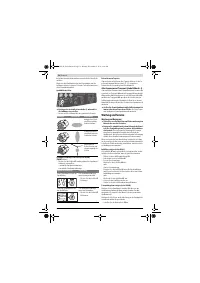
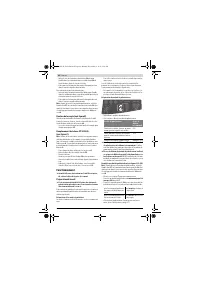
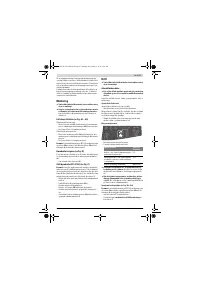
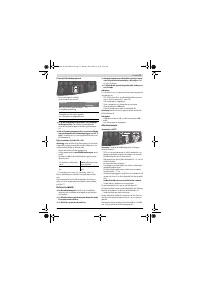
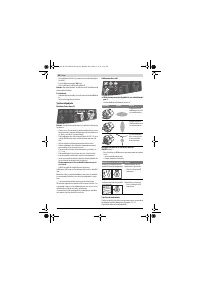
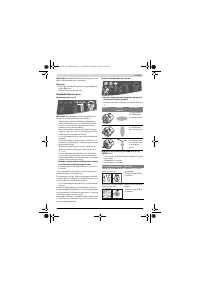
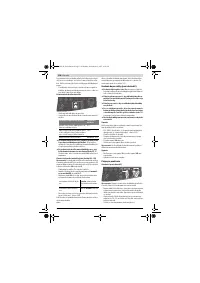
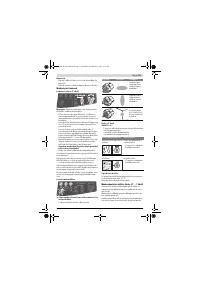
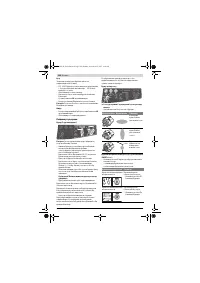
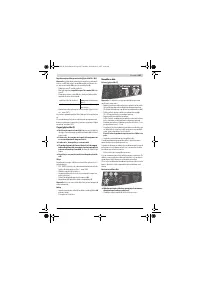
Connecting the Air Hose (see figures A1 – A2)
Connecting the base unit:
– Insert a bayonet lock
18
of the air hose securely into the
slots in the base unit port
24
according to the arrow marks.
– Turn the bayonet lock a quarter turn clockwise.
Connecting to the spray gun:
– Insert the second bayonet lock
18
of the air hose securely
into the slots in the spray gun port
4
according to the arrow
marks.
– Turn the bayonet lock a quarter turn clockwise.
Note:
Remove the air hose
17
before pouring in spray materi-
al (quarter turn of the bayonet lock
18
counterclockwise; pull
the bayonet lock
18
out of the port
4
).
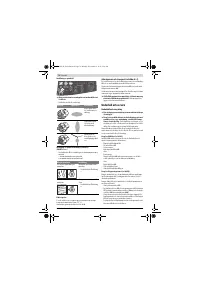
Fastening the Carrying Strap (see figure B)
In order to reach all surfaces to be sprayed and maintain flex-
ibility, you can sling on the base unit with the carrying strap
22
.
– Attach one strap end to each eyelet
25
.
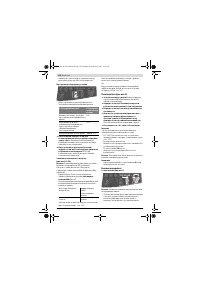
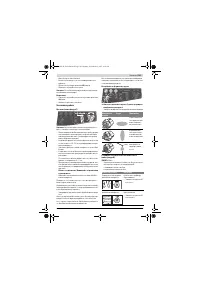
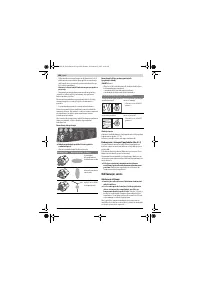
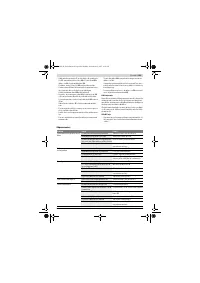
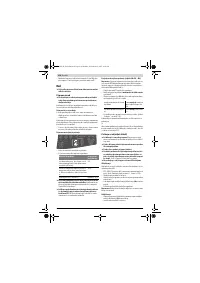
Changing the Nozzle Cap (PFS 2000)
(see figure C)
Note:
Check the spray material by stirring it before selecting
the nozzle cap. Thin-viscosity material (e.g. wood paint) or di-
luted material can be sprayed better with the grey nozzle cap
8
. Thicker-viscosity material (e.g. wood lacquer or wall paint)
can be sprayed better with the white nozzle cap
9
.
– To change the nozzle cap, unscrew the union nut
3
.
– Pull off the air cap
2
and the gasket
11
.
– Unscrew the mounted nozzle cap.
When doing so, ensure that the O-ring
10
remains on the
nozzle cap.
– Screw the required nozzle cap into the thread in the spray
gun.
– Put the air cap
2
with the gasket
11
on the nozzle cap and
tighten it with the union nut
3
.
Operation
Before any work on the machine itself, pull the mains
plug.
Preparing for Operation
Spraying on the sides of water bodies (lakes, rivers,
etc.) or neighbouring surfaces in the direct catchment
area is not permitted.
When purchasing paint, varnish and spray material, pay at-
tention to their environmental compatibility.
Preparing the Spray Surface
The spray surface must be clean, dry and grease-free.
– Roughen smooth surfaces and then remove the sanding
dust.
When spraying, all non-covered surfaces can be soiled by the
spray mist. Therefore, thoroughly prepare the area around
the surface to be sprayed:
– Cover or mask off floors, furnishings, doors, windows as
well as door and window frames, etc.
Preparing the Spray Material
– Stir the spray material thoroughly.
– Dilute the spray material if necessary.
When diluting, pay attention that the spray material
and the diluting agent correspond.
When using a faulty
diluting agent, lumps can develop that can lead to clogging
of the spray gun.
When diluting the spray material, make sure that the
flash point of the mixture is above 55 °C again after di-
luting.
Diluting e.g. solvent-based lacquers lowers the
flash point.
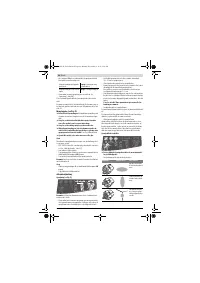
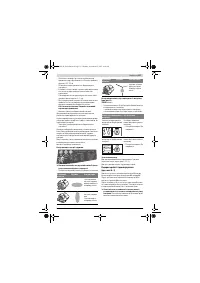
Filling in Spray Material (see figures D1 – D2)
Note:
Remove the air hose
17
before pouring in spray materi-
al (quarter turn of the bayonet lock
18
counterclockwise; pull
the bayonet lock
18
out of the port
4
).
– Unscrew the container
7
from the spray gun.
– Pour the spray material into the container
7
up to no more
than the 800 mark
.
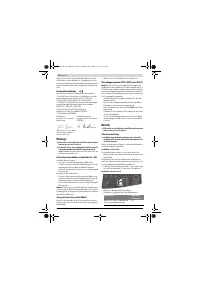
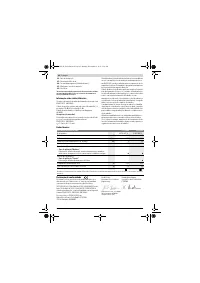
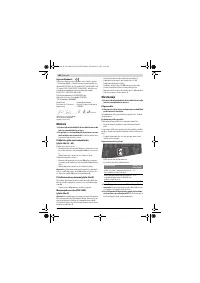
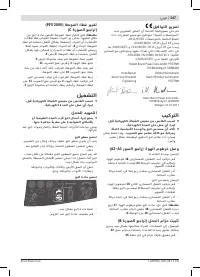
Henk Becker
Executive Vice President
Engineering
Helmut Heinzelmann
Head of Product Certification
PT/ETM9
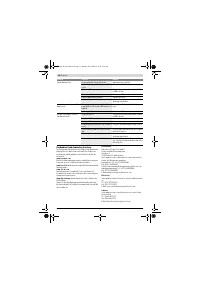
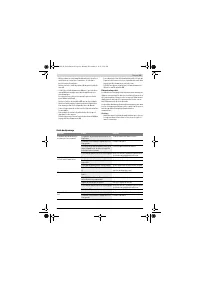
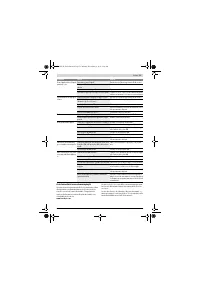
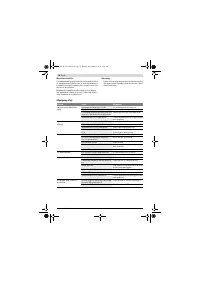
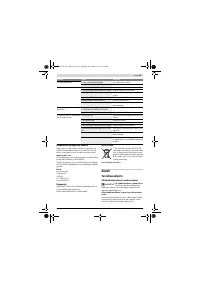
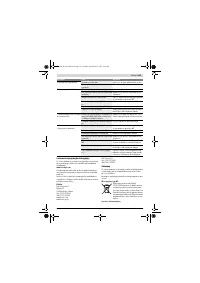
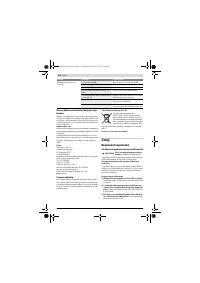
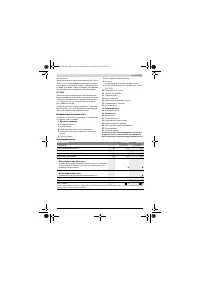
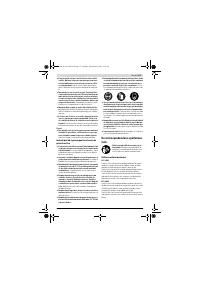
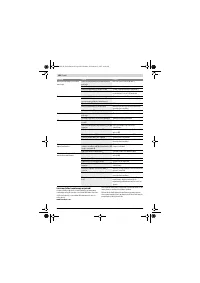
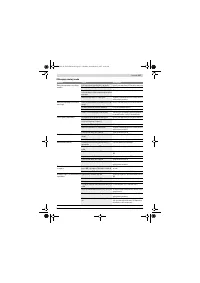
Spray material
Recommended
dilution
Wood stains, oils, glazes, impregna-
tions, anti-rust primers
0 %
Solvent-dilutable or water-dilutable
lacquers, primers, radiator lacquers,
thick-coat glazes
10 %
Emulsion paint, latex paint
minimum 10 %
OBJ_BUCH-2216-004.book Page 18 Monday, November 16, 2015 9:14 AM
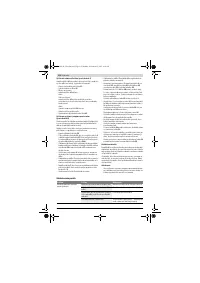
Содержание
- 143 Указания по безопасности; Безопасность рабочего места
- 144 Сервис; Описание продукта и услуг; Применение по назначению
- 145 Изображенные составные части; Пульверизатор
- 146 Заявление о соответствии; Пользуйтесь средствами защиты органов слуха!; Сборка
- 147 Работа с инструментом; Подготовка к эксплуатации; Распыляемый материал
- 148 Указания по применению; Настройка рисунка распыления
- 149 Техобслуживание и сервис; Техобслуживание и очистка; Утилизация материала
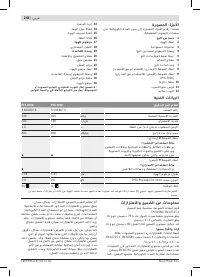
- 150 Устранение неисправностей; Проблема
- 151 Россия; Беларусь; Утилизация
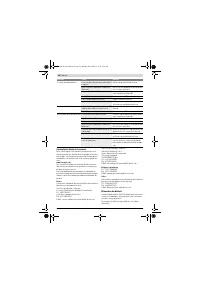
Характеристики

Остались вопросы?Не нашли свой ответ в руководстве или возникли другие проблемы? Задайте свой вопрос в форме ниже с подробным описанием вашей ситуации, чтобы другие люди и специалисты смогли дать на него ответ. Если вы знаете как решить проблему другого человека, пожалуйста, подскажите ему :)


