Краскораспылители Ryobi P620 - инструкция пользователя по применению, эксплуатации и установке на русском языке. Мы надеемся, она поможет вам решить возникшие у вас вопросы при эксплуатации техники.
Если остались вопросы, задайте их в комментариях после инструкции.
"Загружаем инструкцию", означает, что нужно подождать пока файл загрузится и можно будет его читать онлайн. Некоторые инструкции очень большие и время их появления зависит от вашей скорости интернета.


3
English
EN
FR
DE
ES
IT
NL
PT
DA
SV
FI
NO
RU
PL
CS
HU
RO
LV
LT
ET
HR
SL
SK
UK
BG
TR
EL
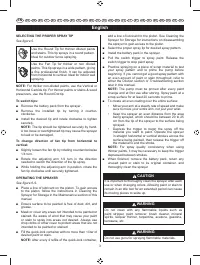
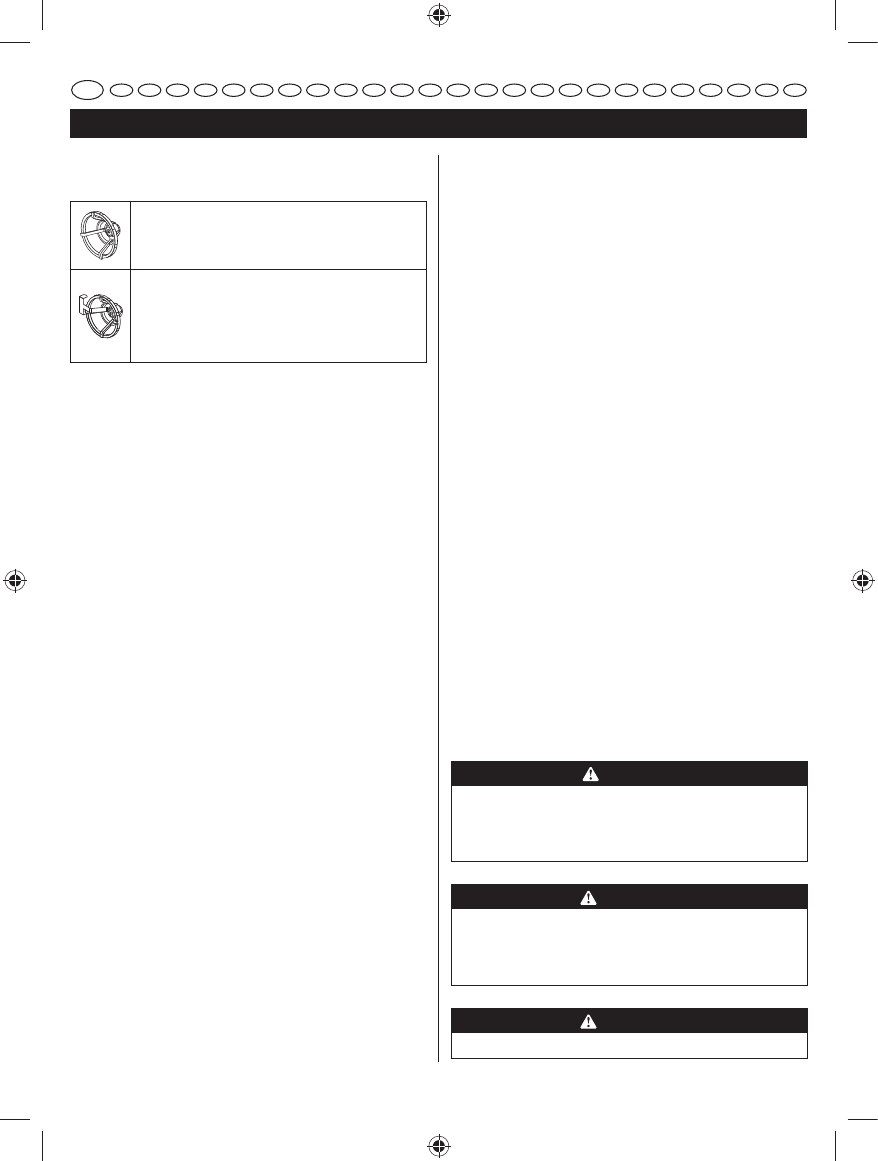
SELECTING THE PROPER SPRAY TIP
6HH¿JXUH
Use the Round Tip for thinner diluted paints
and stains. This tip sprays in a round pattern.
Ideal for outdoor fence spraying.
Use the Fan Tip for thicker or non diluted
paints. This tip sprays in a wide pattern, giving
D ¿QH SURIHVVLRQDO ¿QLVK ,W FDQ EH DGMXVWHG
from horizontal to vertical. Ideal for indoor wall
spraying.
NOTE:
For thicker non-diluted paints, use the Vertical or
Horizontal Carbide tip. For thinner paints or stains & wood
preservers, use the Round Dot tip.
To switch tips:
Ŷ
Remove the battery pack from the sprayer.
Ŷ
Remove the installed tip by turning it counter-
clockwise.
Ŷ
Install the desired tip and rotate clockwise to tighten
securely.
NOTE:
The tip should be tightened securely by hand.
A too loose or overtightened tip may cause the sprayer
to leak or be damaged.
To change direction of fan tip from horizontal to
vertical:
Ŷ
Slightly loosen the fan tip by rotating counterclockwise
WXUQ
Ŷ 5RWDWH WKH DGMXVWLQJ DUP WXUQ LQ WKH GLUHFWLRQ
needed to switch the direction of the tip spray.
Ŷ :KLOHKROGLQJWKHDGMXVWLQJDUPLQSRVLWLRQURWDWHWKH
fan tip clockwise until securely tightened.
OPERATING THE SPRAYER
6HH¿JXUH
Ŷ
Place a line of lubricant on the piston. To gain access
to the piston, follow the instructions in Cleaning the
Sprayer for Storage in the Maintenance section of this
manual.
Ŷ
Ensure surface to be painted is free of dust, dirt, and
grease.
Ŷ
Mask or cover any areas not intended to be painted or
stained. Be aware of wind that may cause your paint
or stain to spray into areas not desired. Always use
drop cloths or other cover to protect areas that are not
intended to be painted or stained.
Ŷ
Fill the quick-lock container with no more than 1 liter of
desired paint or stain.
NOTE:
After every 4 refills of the quick-lock container,
add a line of lubricant to the piston. See Cleaning the
Sprayer for Storage for instructions on disassembling
the sprayer to gain access to the piston.
Ŷ
Select the proper spray tip for desired spray pattern.
Ŷ
Install the battery pack in the sprayer.
Ŷ
Pull the switch trigger to spray paint. Release the
switch trigger to stop paint spray.
Ŷ
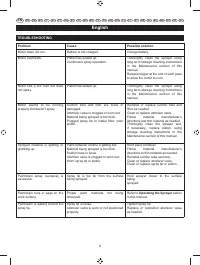
Practice spraying on a piece of scrap material to test
your spray pattern and to prime the pump before
beginning. If you cannot get a good spray pattern with
an even amount of paint or stain throughout, refer to
either the Dilution section or Troubleshooting section
later in this manual.
NOTE:
The pump must be primed after every paint
change and at first use after storing. Spray paint at a
scrap surface for at least 20 seconds to prime.
Ŷ
To create an even coating over the entire surface:
Move your arm at a steady rate of speed and make
VXUHWRPRYH\RXUHQWLUHDUPQRWMXVW\RXUZULVW
Keep the sprayer an even distance from the area
being sprayed, which should be between 20 to 25
cm from the tip of the sprayer to the surface being
sprayed.
Depress the trigger to begin the spray off the
material you want to paint. Operate the sprayer
in straight horizontal or vertical strokes across the
surface being painted, then release the trigger off
the material to end the stroke.
NOTE:
For spray quality consistency when using
thinner paints, it may be necessary to keep the trigger
depressed between strokes.
Ŷ
When finished, remove the battery pack, return any
unused paint or stain to its original container, and
thoroughly clean the sprayer.
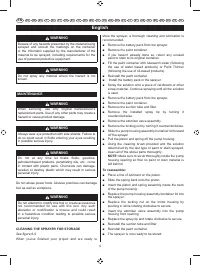
CAUTION
It is important to thoroughly clean the sprayer after each
use or when changing colors. Allowing paint or stain to
remain in an idle tool for an extended period can cause
its moving pieces to seize up.
WARNING
'R QRW FOHDQ ZLWK DQ\ ÀDPPDEOH OLTXLGV VXFK DV
paint stripper, paint remover, brush cleaner, mineral
spirits, lacquer thinner, turpentine, acetone, gasoline,
kerosene, etc.
WARNING
'RQRWXVHJXQVIRUVSUD\LQJÀDPPDEOHPDWHULDOV
Характеристики

Остались вопросы?Не нашли свой ответ в руководстве или возникли другие проблемы? Задайте свой вопрос в форме ниже с подробным описанием вашей ситуации, чтобы другие люди и специалисты смогли дать на него ответ. Если вы знаете как решить проблему другого человека, пожалуйста, подскажите ему :)

