Шлифмашины Bosch GWS GWS 24 230 LVI - инструкция пользователя по применению, эксплуатации и установке на русском языке. Мы надеемся, она поможет вам решить возникшие у вас вопросы при эксплуатации техники.
Если остались вопросы, задайте их в комментариях после инструкции.
"Загружаем инструкцию", означает, что нужно подождать пока файл загрузится и можно будет его читать онлайн. Некоторые инструкции очень большие и время их появления зависит от вашей скорости интернета.


28
| English
1 609 929 L56 | (4.6.08)
Bosch Power Tools
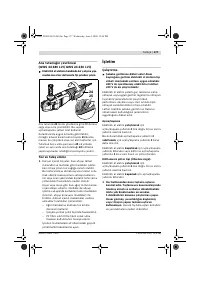
Note:
The encoding keys on the protection
guard
6
ensure that only a protection guard that
fits the machine type can be mounted.
Protection Guard for Cutting
f
For cutting metal, always work with the pro-
tection guard for cutting 14.
f
For cutting stone, always work with the cut-
ting guide with dust extraction protection
guard 21.
The protection guard for cutting
14
is mounted
in the same manner as the protection guard for
sanding
6
.
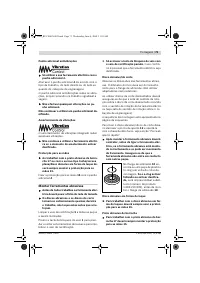
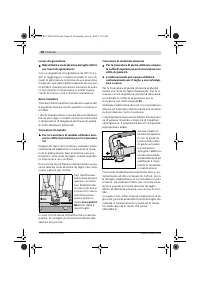
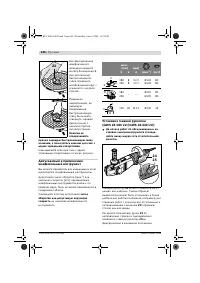
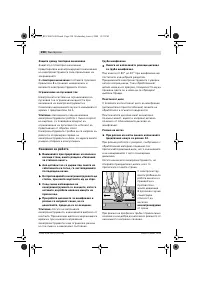
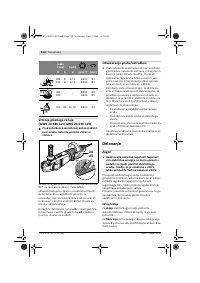
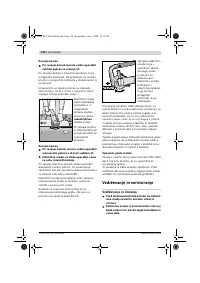
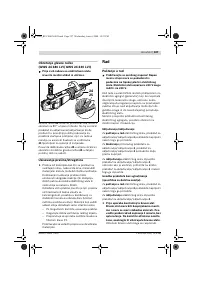
Vibration-dampening Auxiliary Handle
f
Operate your machine only with the auxilia-
ry handle 4.
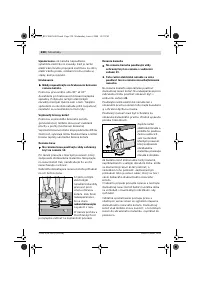
Screw the auxiliary handle
4
on the right or left
of the machine head depending on the working
method.
The vibration-dampening auxiliary handle reduc-
es the vibrations, making operation more com-
fortable and secure.
f
Do not make any alterations to the auxiliary
handle.
Do not continue to use an auxiliary handle if it
is damaged.
Vibration Damper
The integrated vibration damper reduces occur-
ring vibrations.
f
Do not continue to use the power tool when
the damping element is damaged.
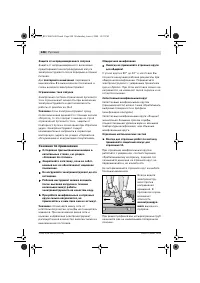
Hand Guard
f
For operations with the rubber sanding
plate 17 or with the cup brush/wheel
brush/flap disc, always mount the hand
guard 15.
The hand guard
15
is fastened with the auxiliary
handle
4
.
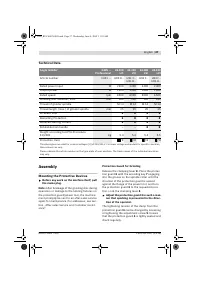
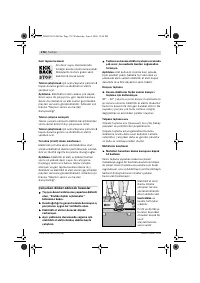
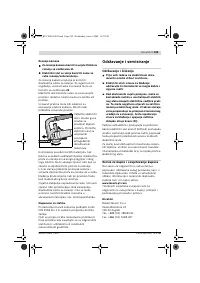
Mounting the Grinding Tools
f
Before any work on the machine itself, pull
the mains plug.
f
Grinding and cutting discs become very hot
while working; do not touch until they have
cooled.
Clean the grinder spindle
5
and all parts to be
mounted.
For clamping and loosening the grinding tools,
lock the grinder spindle with the spindle lock
button
1
.
f
Actuate the spindle lock button only when
the grinder spindle is at a standstill.
Other-
wise, the machine may become damaged.
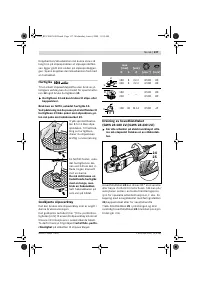
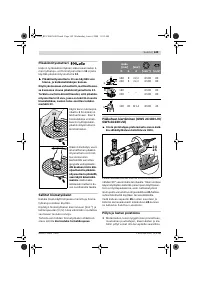
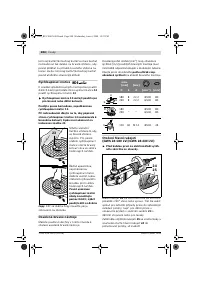
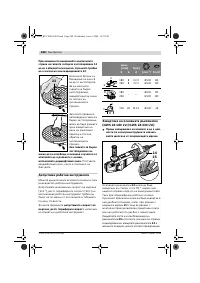
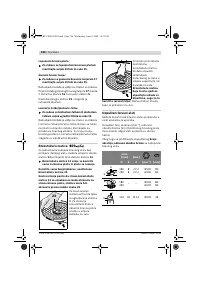
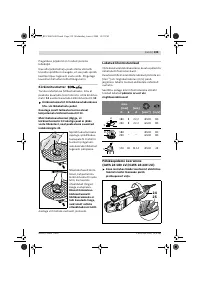
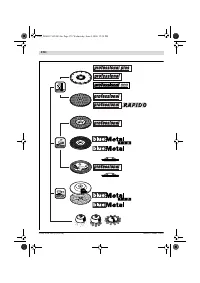
Grinding/Cutting Disc
Pay attention to the dimensions of the grinding
tools. The mounting hole diameter must fit the
mounting flange without play. Do not use reduc-
ers or adapters.
When using diamond cutting discs, pay atten-
tion that the direction-of-rotation arrow on the
diamond cutting disc and the direction of rota-
tion of the machine (see direction-of-rotation ar-
row on the machine head) agree.
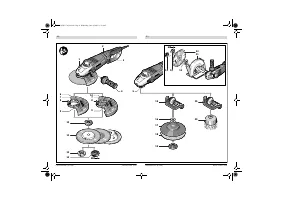
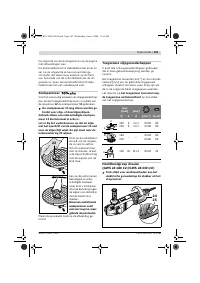
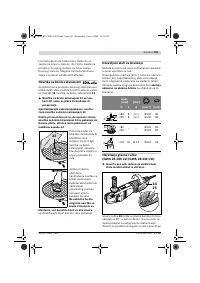
See graphics page for the mounting sequence.
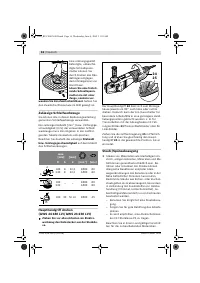
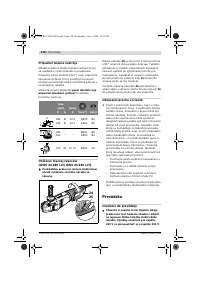
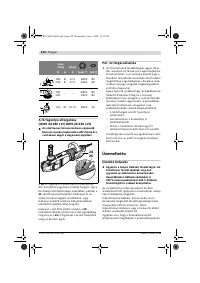
To fasten the grinding/cutting disc, screw on
the clamping nut
12
and tighten with the two-
pin spanner; see Section “
Quick-clamping Nut
”.
f
After mounting the grinding tool and before
switching on, check that the grinding tool is
correctly mounted and that it can turn free-
ly. Make sure that the grinding tool does
not graze against the protection guard or
other parts.
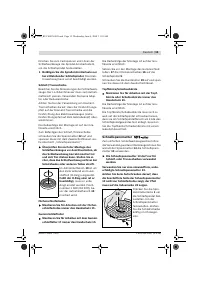
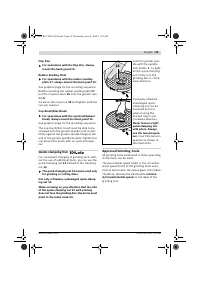
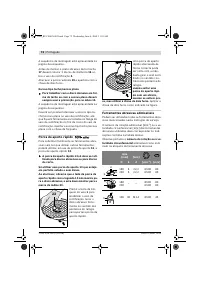
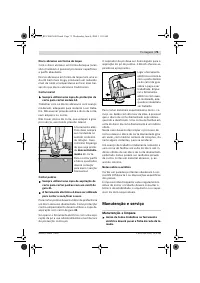
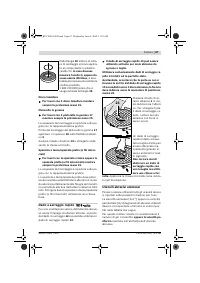
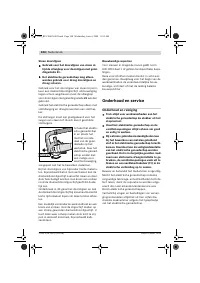
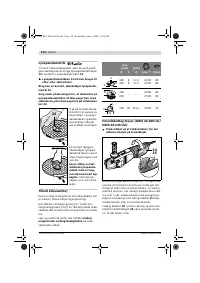
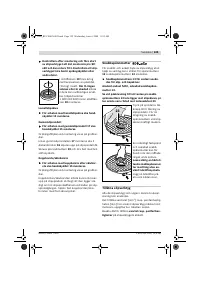
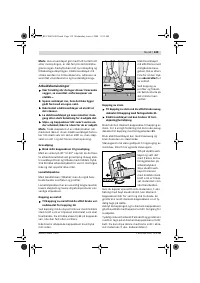
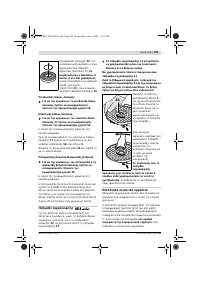
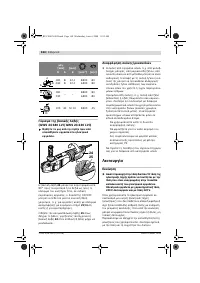
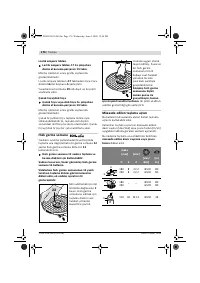
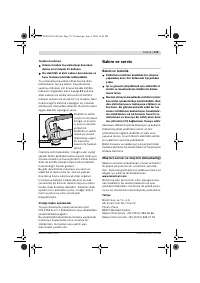
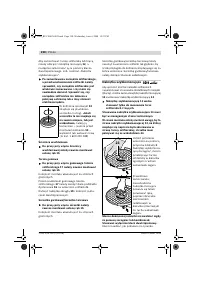
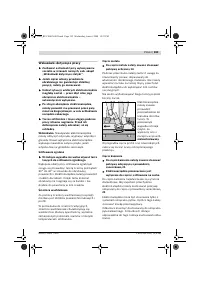
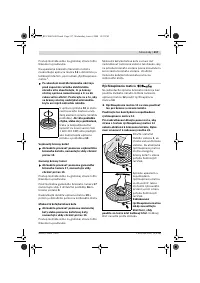
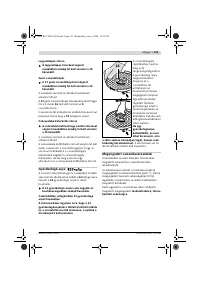
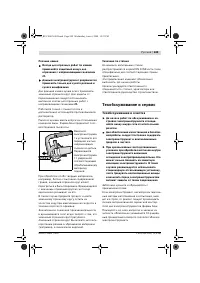
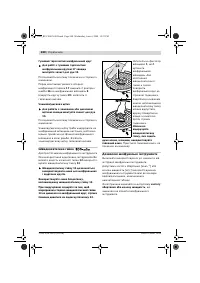
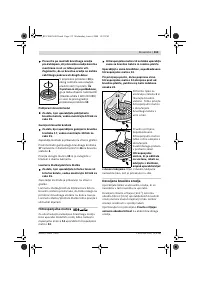
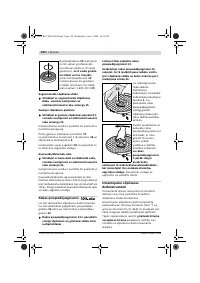
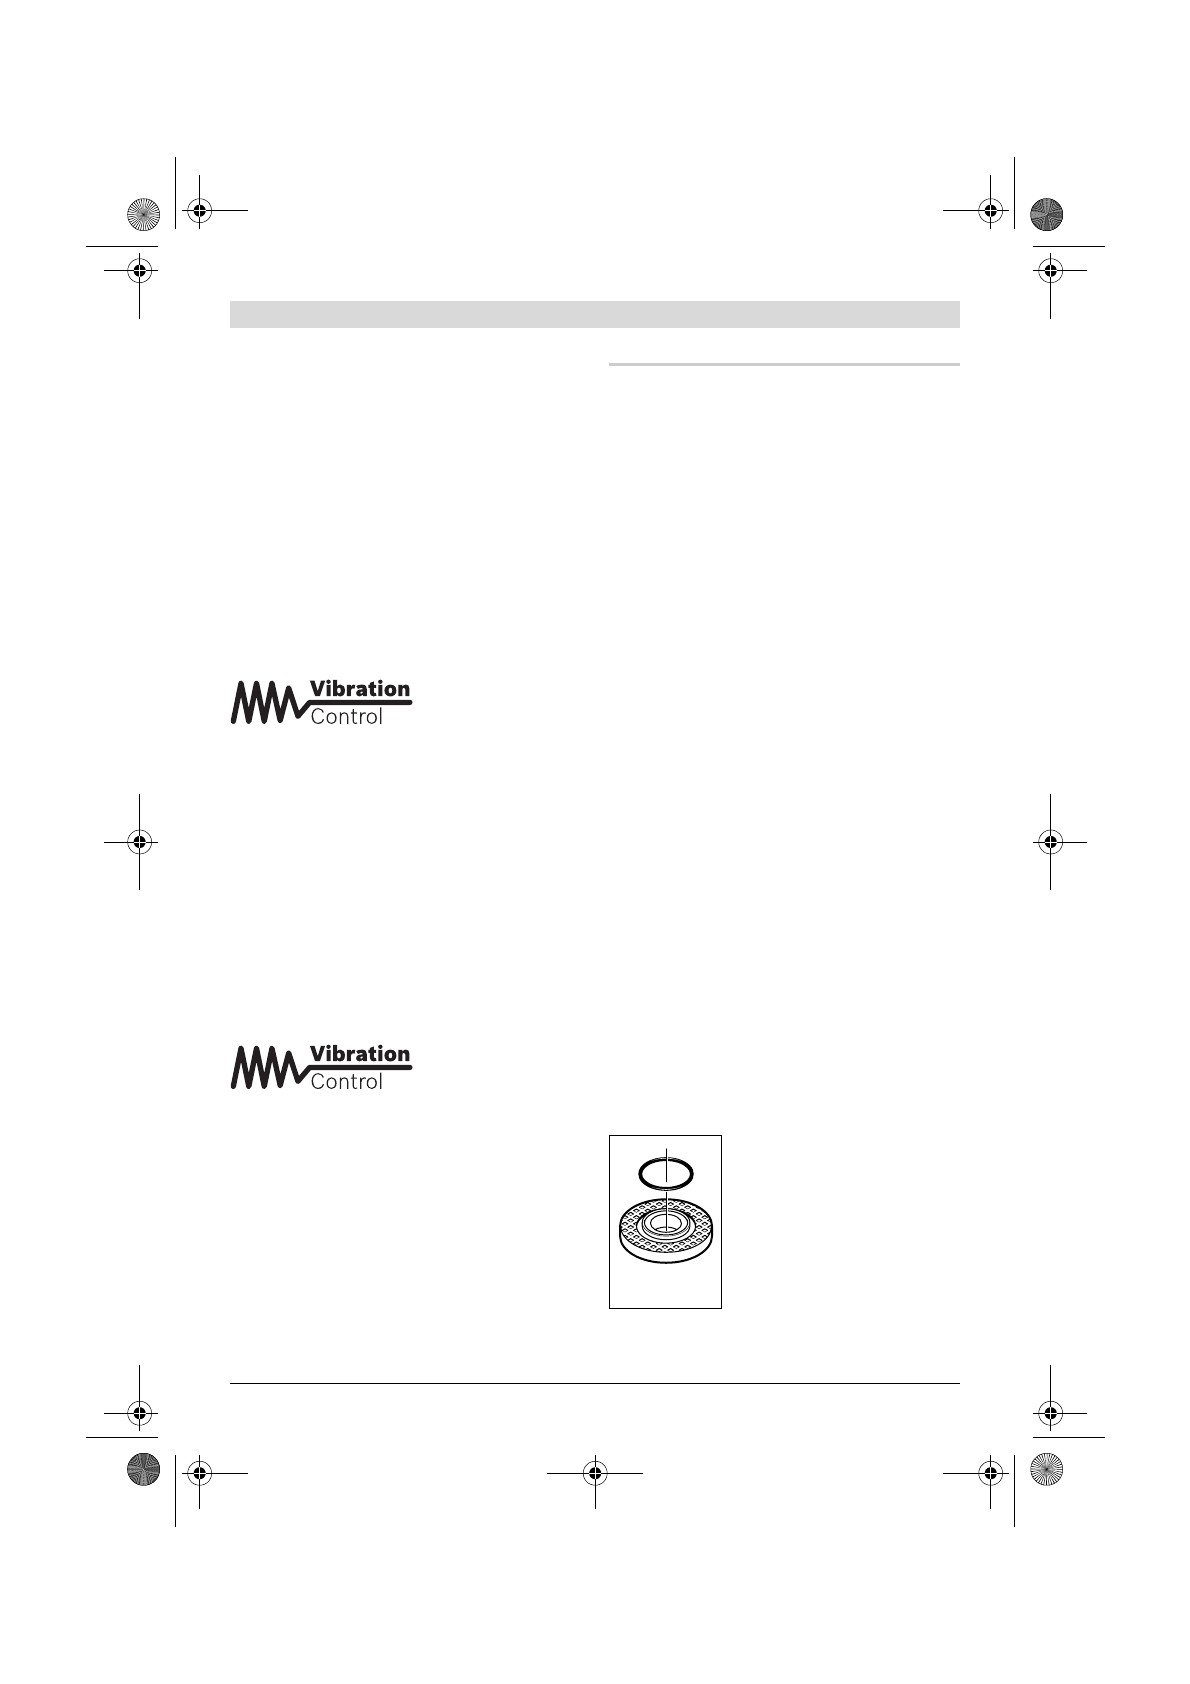
An O-ring (plastic part) is in-
serted in the mounting flange
10
around the centring collar.
If the O-ring is missing or is
damaged,
it must in all cases
be replaced (article number
1 600 210 039) before the
mounting flange
10
is mount-
ed.
OBJ_BUCH-429-005.book Page 28 Wednesday, June 4, 2008 11:55 AM
Содержание
- 237 а) Ремонт Вашего электроинструмента
- 238 частиц и частиц материала.
- 240 Применяйте защитный очки.
- 241 Держите Ваше рабочее место в чистоте.; Описание функции; Применение по назначению; Применяйте средства защиты органов слуха!
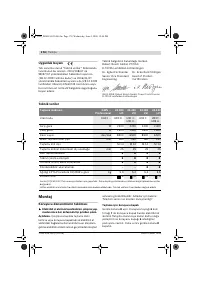
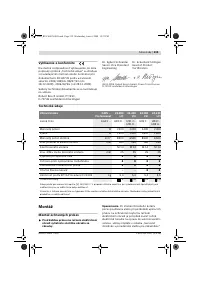
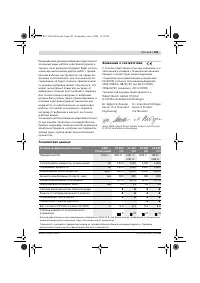
- 242 Заявление о соответствии
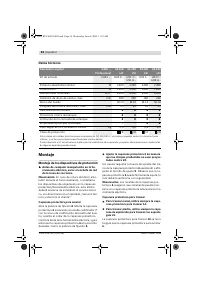
- 243 Сборка; Установка защитных устройств; Защитный кожух для шлифования
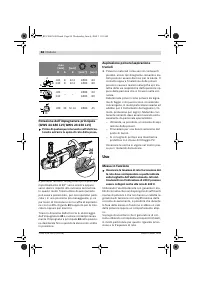
- 244 Шлифовальный круг/oтрезной круг; Лепестковый шлифовальный круг; Быстрозажимная гайка
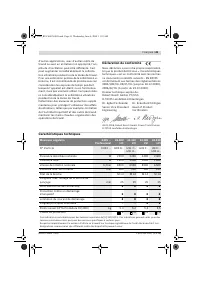
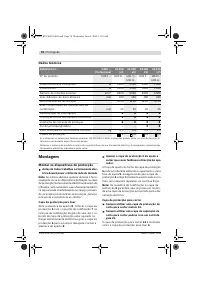
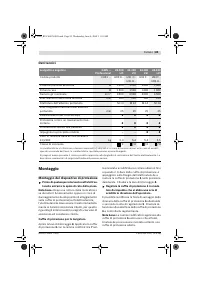
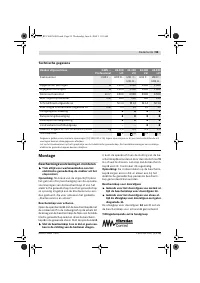
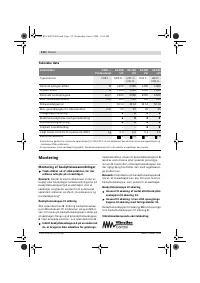
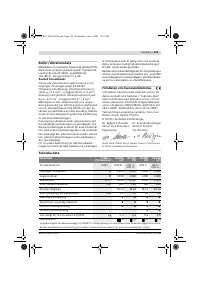
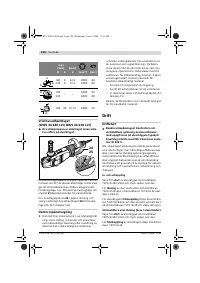
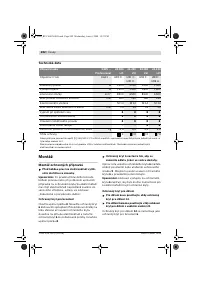
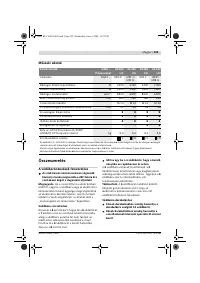
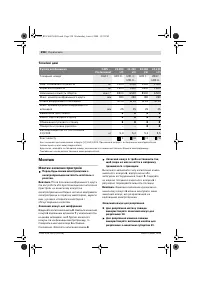
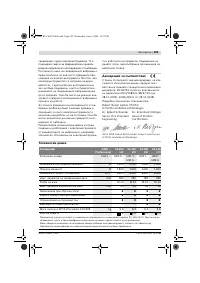
- 245 число
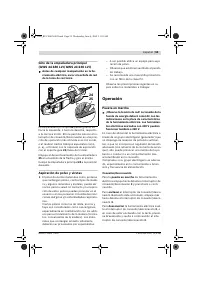
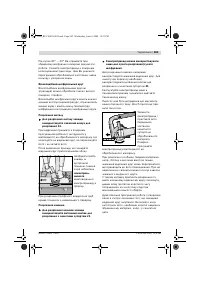
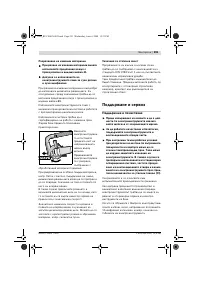
- 246 Отсос пыли и стружки; Работа с инструментом; Включение электроинструмента
- 247 Указания по применению
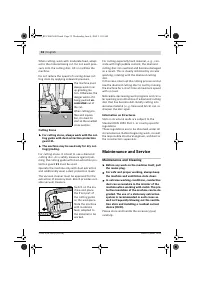
- 248 Резание камня; Техобслуживание и сервис; Техобслуживание и очистка
- 249 Россия; Утилизация


