
Триммеры Ryobi ONE+ OLT1831 3000728 - инструкция пользователя по применению, эксплуатации и установке на русском языке. Мы надеемся, она поможет вам решить возникшие у вас вопросы при эксплуатации техники.
Если остались вопросы, задайте их в комментариях после инструкции.
"Загружаем инструкцию", означает, что нужно подождать пока файл загрузится и можно будет его читать онлайн. Некоторые инструкции очень большие и время их появления зависит от вашей скорости интернета.


16
English (Original instructions)
EN
FR
DE
ES
IT
PT
NL
SV
DA
NO
FI
HU
CS
RU
RO
PL
SL
HR
ET
LT
LV
SK
BG
Keep the trimmer tilted toward the area being cut; this
is the best cutting area.
The trimmer cuts when passing the unit from left to
right. This will avoid throwing debris at the operator.
Avoid cutting in the dangerous area shown in figure
10.
Use the tip of the string to do the cutting; do not force
string head into uncut grass.
Wire and picket fences cause extra string wear, even
breakage. Stone and brick walls, curbs, and wood may
wear string rapidly.
Avoid trees and shrubs. Tree bark, wood moldings,
siding, and fence posts can easily be damaged by the
string.
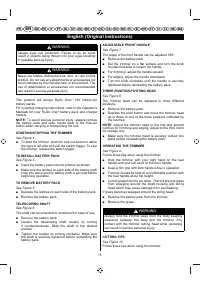
ADVANCING STRING
NOTE:
The trimmer is equipped with an auto-feed head.
Bumping the head to try to advance the line will damage
the trimmer and void the warranty.
With the trimmer running, release the switch trigger.
Wait two seconds, and press the switch trigger.
NOTE:
The string will extend approximately 1/4 in. with
each stop and start of the switch trigger until the string
2")#&"0$&"*"'8$&%/$&"82)00-"°"#$%2#$%//*)-"
Resume trimming.
ADVANCING THE STRING MANUALLY
See Figure 11.
Remove the battery pack.
Push the black button located on the string head while
pulling on string to manually advance the string.
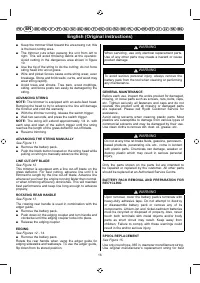
LINE CUT-OFF BLADE
See Figure 12.
This trimmer is equipped with a line cut-off blade on the
82)00 -"°"#$%2 Ë%2 "0$ #$$('8 )-4)'#" *('" '$(* ($ (0
trimmed to length by the line cut-off blade. Advance line
whenever you hear the engine running faster than normal,
%2;&"'$2(++('8"/w#("'#M-(+('(0&"06&(0;(**+)('$)('
best performance and keep line long enough to advance
properly.
ROTATING REAR HANDLE
See Figure 13.
The rotating rear handle is used in combination with the
edger guide.
Remove the battery pack.
Push down on the edging coupler and turn handle end
clockwise until the edging coupler locks into place.
Release the edging coupler.
EDGING
See Figures 12 - 14.
Remove the battery pack.
Rotate the rear handle when using the edger guide for
edging sidewalks and walkways. To use the edger guide,
°([-%;'/2%+($00$%2"-[%0($(%'
WARNING
When servicing, use only identical replacement parts.
Use of any other parts may create a hazard or cause
product damage.
WARNING
To avoid serious personal injury, always remove the
battery pack from the tool when cleaning or performing
any maintenance.
GENERAL MAINTENANCE
Before each use, inspect the entire product for damaged,
missing, or loose parts such as screws, nuts, bolts, caps,
etc. Tighten securely all fasteners and caps and do not
operate this product until all missing or damaged parts
are replaced. Please call Ryobi Customer Service for
assistance.
Avoid using solvents when cleaning plastic parts. Most
plastics are susceptible to damage from various types of
commercial solvents and may be damaged by their use.
Use clean cloths to remove dirt, dust, oil, grease, etc.
WARNING
±%'%$)$)'M$(+"*"$2)@"°(-08)0%*('"["$2%*"+
based products, penetrating oils, etc., come in contact
with plastic parts. Chemicals can damage, weaken or
destroy plastic which may result in serious personal
injury.
Only the parts shown on the parts list are intended to
be repaired or replaced by the customer. All other parts
should be replaced at an Authorised Service Centre.
BATTERY PACK REMOVAL AND PREPARATION FOR
RECYCLING
WARNING
Upon removal, cover the battery pack’s terminals with
heavy-duty adhesive tape. Do not attempt to destroy
or disassemble battery pack or remove any of its
components. Lithium-ion and nickel-cadmium batteries
must be recycled or disposed of properly. Also, never
touch both terminals with metal objects and/or body
parts as short circuit may result. Keep away from
children. Failure to comply with these warnings could
2"0*$('w2")'-1%20"2(%0('!2M
SPOOL REPLACEMENT
See Figure 15.
0"%'*M2%'-$M["¾À('-()+"$"2+%'%w*)+"'$0$2('8
Use original manufacturer’s replacement string for best


