Кухонные комбайны Philips HR7766 - инструкция пользователя по применению, эксплуатации и установке на русском языке. Мы надеемся, она поможет вам решить возникшие у вас вопросы при эксплуатации техники.
Если остались вопросы, задайте их в комментариях после инструкции.
"Загружаем инструкцию", означает, что нужно подождать пока файл загрузится и можно будет его читать онлайн. Некоторые инструкции очень большие и время их появления зависит от вашей скорости интернета.

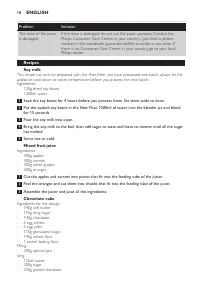


safety features
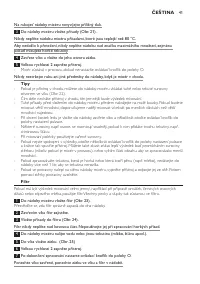
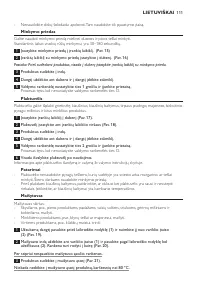
thermal safety cut-out
This appliance is equipped with a thermal safety cut-out that automatically cuts off the power supply
to the appliance in case of overheating.
If the appliance stops running:
1
Remove the mains plug from the wall socket.
2
Let the appliance cool down for 1 hour.
3
Put the mains plug back into the wall socket.
4
Switch on the appliance again.
Please contact your Philips dealer or an authorised Philips ser vice centre if the thermal safety
cut-out is activated too often.
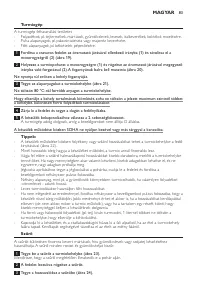
Built-in safety lock
This feature ensures that you can only switch on the appliance if you have assembled the blender
jar, the bowl or the meat mincer correctly on the motor unit. If the blender, food processor, juicer
or meat mincer is assembled correctly (see chapter ‘Using the appliance’), the built-in safety lock will
be unlocked.
Before first use
Thoroughly clean the par ts that come into contact with food before you use the appliance for the
first time (see chapter ‘Cleaning’).
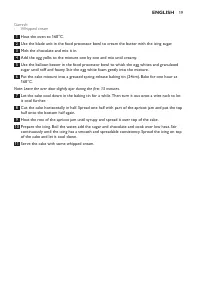
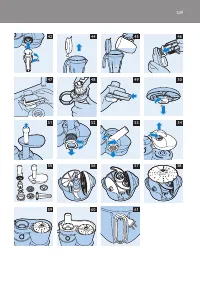
using the appliance
Food processor
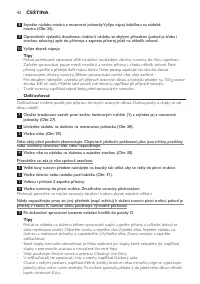
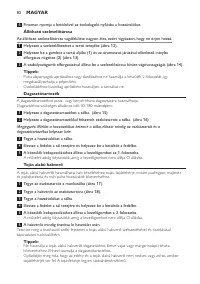
1
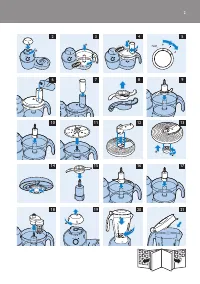
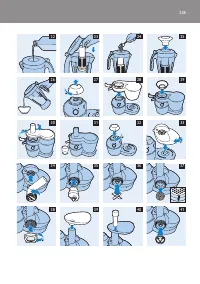
Place the screw cap on the motor unit (1) and turn it clockwise to fix it (2) (Fig. 2).
2
Put the bowl on the motor unit (1) and turn it clockwise to fix it (2) (Fig. 3).
3
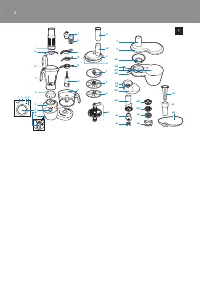
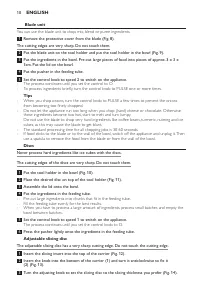
Put the tool holder with the desired accessory in the bowl (blade unit, kneading accessory,
balloon beater or one of the discs). See the appropriate section below.
4
When you use the blade unit, the kneading accessory or the balloon beater, put the
ingredients to be processed in the bowl.
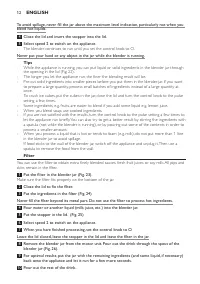
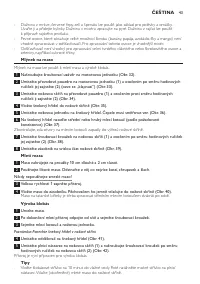
5
Put the lid on the bowl (1). Turn the lid clockwise (2) to fix it (‘click’) (Fig. 4).
Make sure that the dot on the lid and the dot on the bowl are directly opposite each other. The
projection of the lid completes the shape of the handgrip.
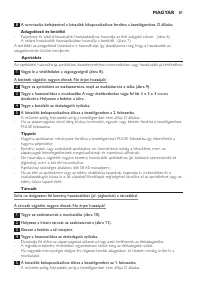
6
When you use one of the discs, add the ingredients through the feeding tube and push them
down with the pusher.
7
Turn the control knob to speed 1 or 2 to switch on the appliance. (Fig. 5)
To process ingredients ver y briefly, turn the control knob to PULSE one or more times.
8
When you have finished processing, turn the control knob to O to switch off the appliance.
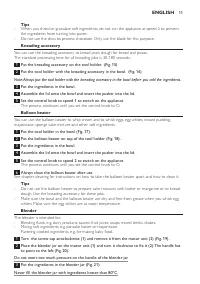
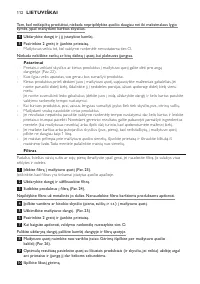
Feeding tube and pusher
- Use the feeding tube to add liquid and/or solid ingredients. (Fig. 6)
- Use the pusher to push solid ingredients down the feeding tube. (Fig. 7)
You can also use the pusher to close the feeding tube. This prevents ingredients from escaping
through the feeding tube.
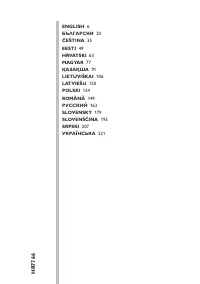
EnglisH
9
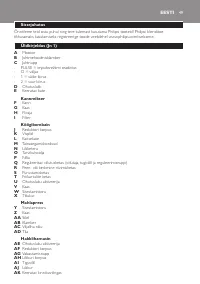
Содержание
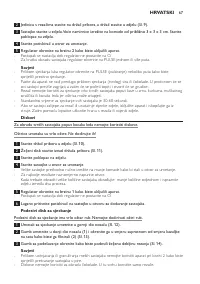
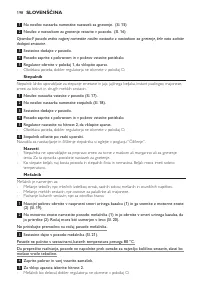
- 166 Выньте вилку сетевого шнура из розетки электросети.; Встроенный фиксатор
- 167 будет дополнять форму ручки.; камера подачи и толкатель; выпадение продуктов из камеры.; ножевой блок; ингредиентов или приготовления пюре.; советы
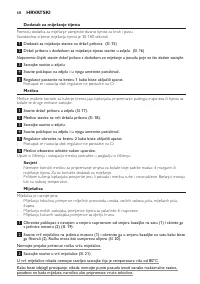
- 168 добавлением ингредиентов.
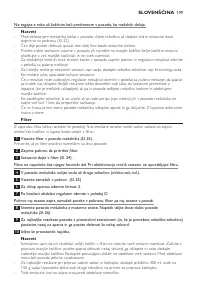
- 169 круглая насадка для взбивания; Поместите ингредиенты в чашу.; используйте насадку для теста.; Блендер; Блендер предназначен для:
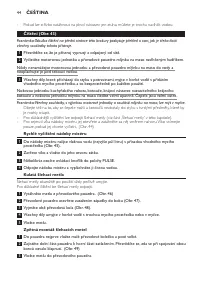
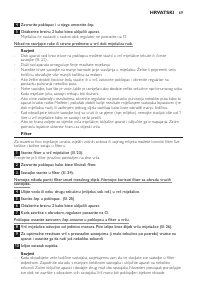
- 170 Фильтр; Закройте крышку, чтобы зафиксировать положение фильтра.
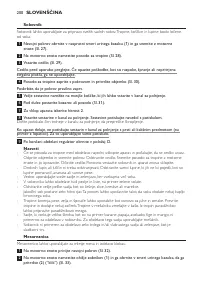
- 171 соковыжималка; Поставьте стакан или кувшин под носиком выхода сока (Рис. 31); Соберите соковыжималку, можно снова приступать к работе.
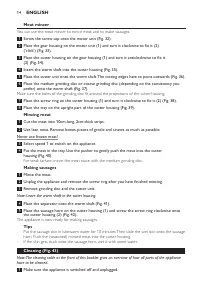
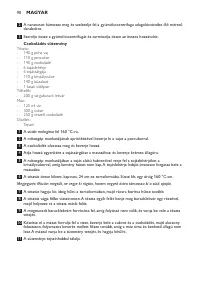
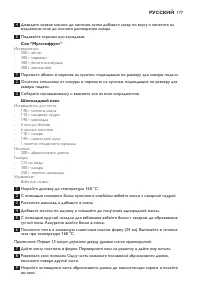
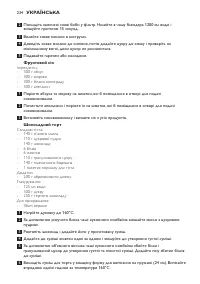
- 172 Разрежьте мясо на кусочки длиной 10 см, толщиной 2 см.; Приготовление колбас; Снимите диск с отверстиями и нож.
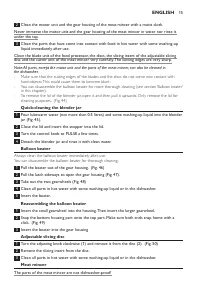
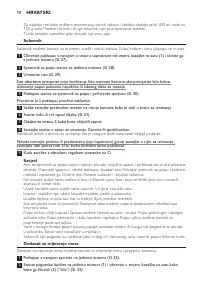
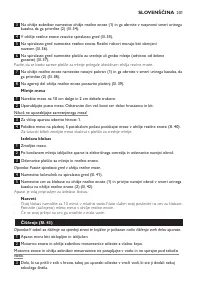
- 173 в загрузочную горловину.; Быстрая очистка кувшина блендера; Снимите ёмкость блендера и промойте её чистой водой.; Разберите круглую насадку для взбивания, чтобы лучше очистить ее.
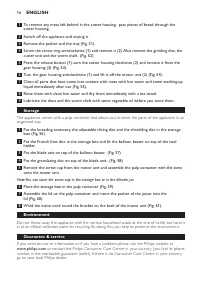
- 174 компактно хранить части прибора.
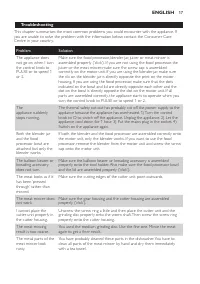
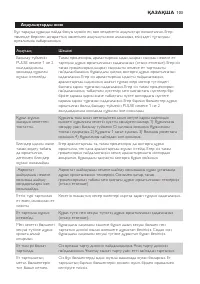
- 175 двигателя контейнер для мякоти с фильтром.; защита окружающей среды; Проблема
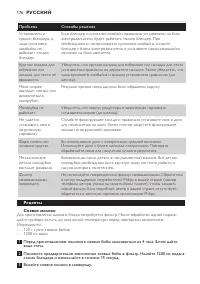
- 176 рецепты; стакан блендера и измельчайте в течение 15 секунд.


