
Автокресла Chicco Seat Up 012 Red Passion - инструкция пользователя по применению, эксплуатации и установке на русском языке. Мы надеемся, она поможет вам решить возникшие у вас вопросы при эксплуатации техники.
Если остались вопросы, задайте их в комментариях после инструкции.
"Загружаем инструкцию", означает, что нужно подождать пока файл загрузится и можно будет его читать онлайн. Некоторые инструкции очень большие и время их появления зависит от вашей скорости интернета.


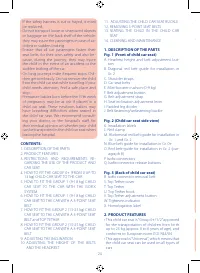


27
26
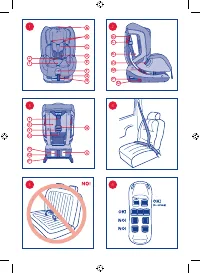
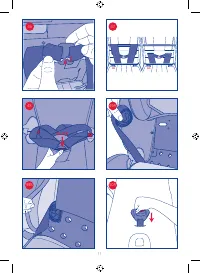
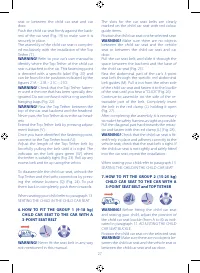
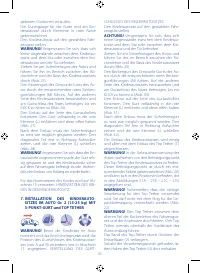
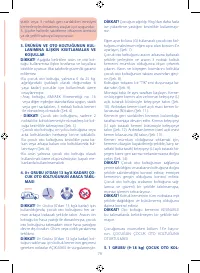
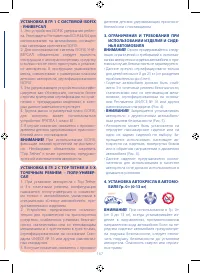
complies with UNI/ECE Regulation no. 16 or
other equivalent standards (Fig. 4).
•
WARNING!
Never fit the child car seat to a
seat that is only equipped with a 2-point seat
belt (Fig. 5).
• The child car seat can be fitted on the front
passenger seat or any of the back seats. Nev-
er use this child car seat on side-facing or
rear-facing car seats (Fig. 6).
• This product is expressly intended to be used
only as a child car seat; it should not be used
indoors.
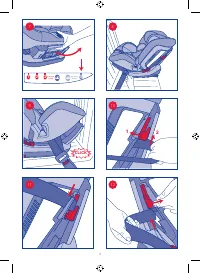
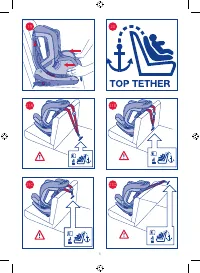
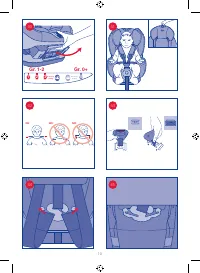
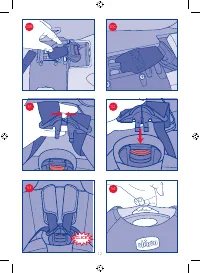
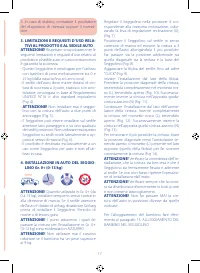
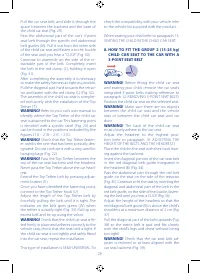
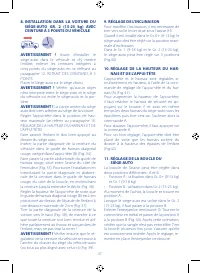
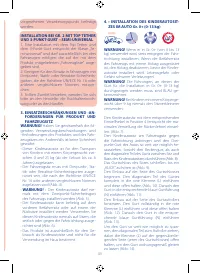
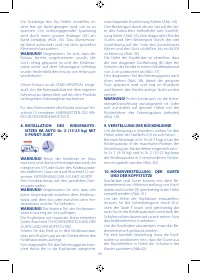
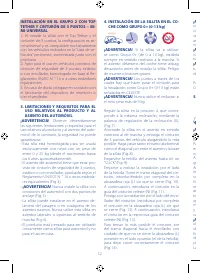
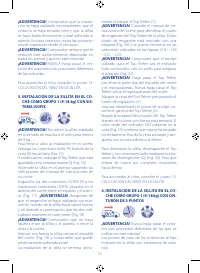
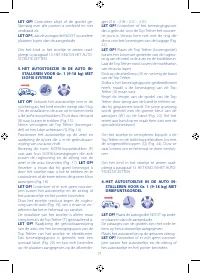
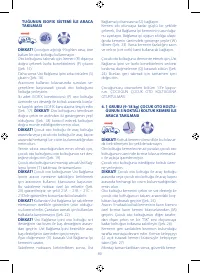
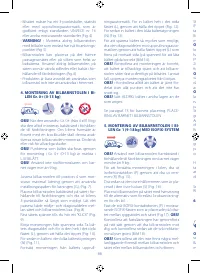
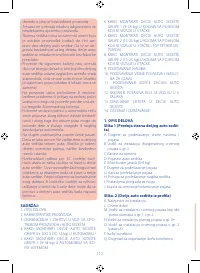
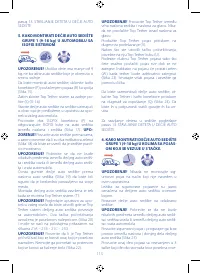
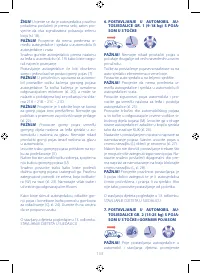
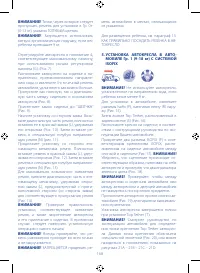
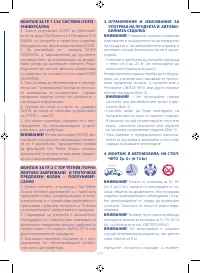
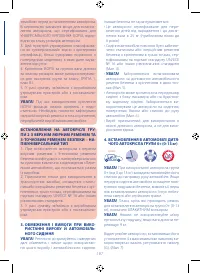
4. HOW TO FIT THE GROUP 0+ (FROM 0 UP
TO 13 kg) CHILD CAR SEAT IN THE CAR
A
IRBAG
WARNING!
When it is used for Group 0+
(from 0 up to 13 kg), always fit the child car
seat in a rearward-facing direction. If the front
seat of the car is equipped with an airbag, de-
activate the airbag before fitting the child car
seat. Death or serious injury hazard.
WARNING!
The points through which the
seat belt must pass for fitting the Group 0+
seat (from 0 up to 13 kg) are highlighted in
LIGHT BLUE.
WARNING!
Never use the booster cushion if
the child weighs over 9 kg.
Adjust the child car seat to position 4, the
maximum angle of inclination, using the incli-
nation adjustment lever (G), (Fig. 7).
Position the child car seat so that it faces the
rear of the car and extract the car’s 3-point
seat belt, pulling it out as fare as possible.
Pass the abdominal and diagonal sections be-
tween the seat and the base of the child car
seat (Fig. 8).
Fasten the buckle of the seat until you hear a
“CLICK” (Fig. 9).
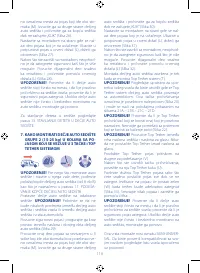
Begin assembly on the same side as the buck-
le. Take the diagonal portion of the belt and
insert completely in the red clamp (L), holding
it open (Fig. 10). Then insert the belt in the
specific light blue belt guide (N) (fig. 11).
Continue to assemble on the side of the re-
tractable part of the belt. Completely insert
the belt in the red clamp (L), holding it open
(Fig. 12). Then insert the belt in the specific
light blue belt guide (N) (Fig. 13).
To make the belt as tight as possible, pull the
diagonal portion towards the retractor hold-
ing open the clamp (L) on the opposite side
(that of the buckle) so the belt can slide cor-
rectly (Fig. 14).
WARNING!
Check that the child car seat is fit-
ted firmly in place and adheres correctly to the
vehicle seat; check that the seat belt is tight. If
the child car seat is not tightly and safely fitted
into the car seat, repeat the installation.
WARNING!
Always check that the seat belt
is distributed evenly at all points and that it is
not twisted.
WARNING!
NEVER fit the car seat belt in any
way not mentioned in these instructions.
When seating your child refer to paragraph 13.
SEATING THE CHILD IN THE CHILD CAR SEAT
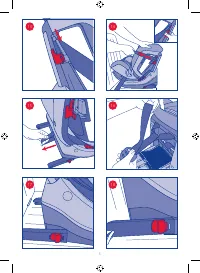
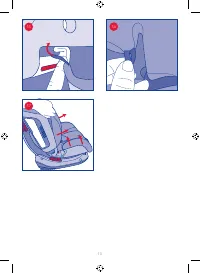
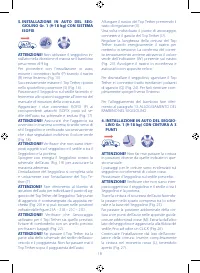
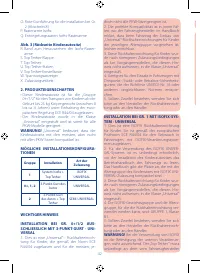
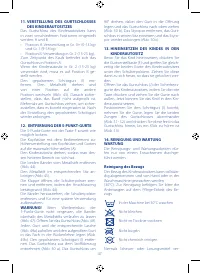
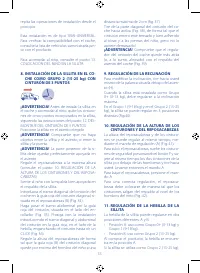
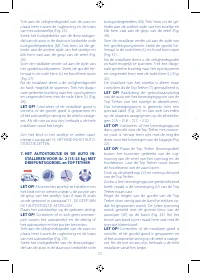
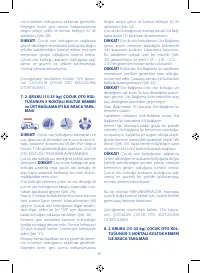
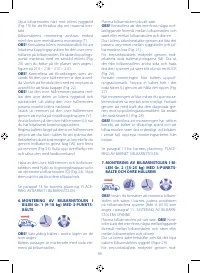
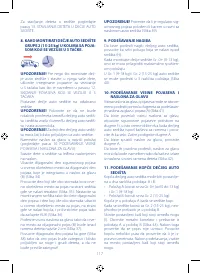
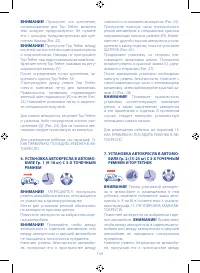
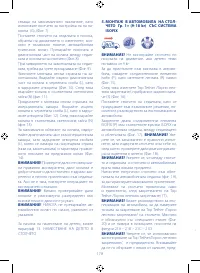
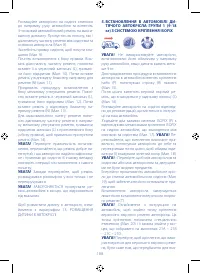
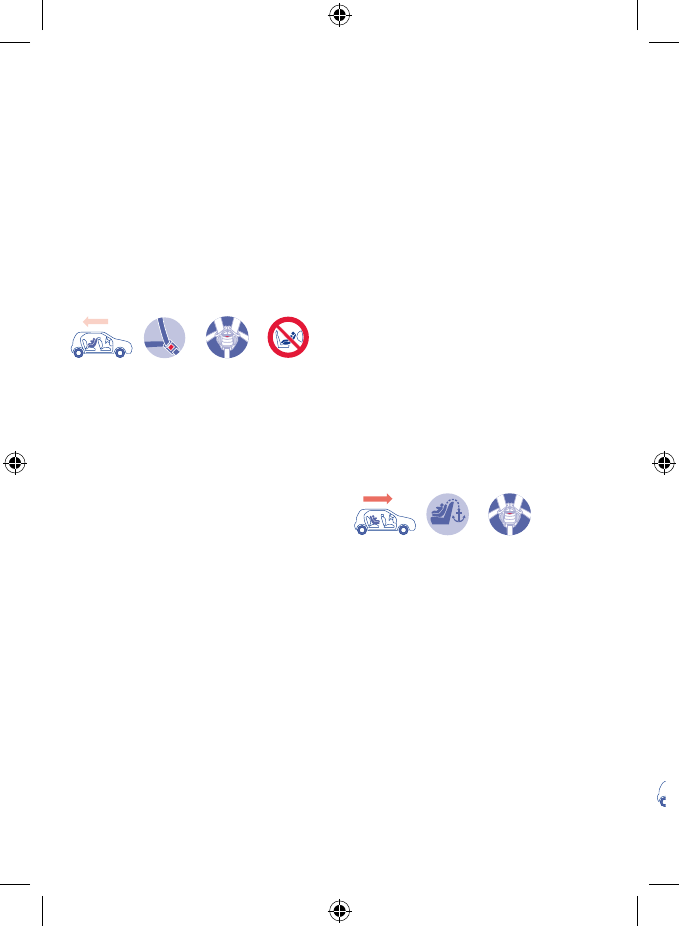
5. HOW TO FIT THE GROUP 1 (9-18 kg)
CHILD CAR SEAT TO THE CAR WITH THE
ISOFIX SYSTEM
WARNING!
If the child weighs less than 9 kg
do not use a front-facing car seat.
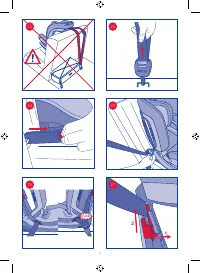
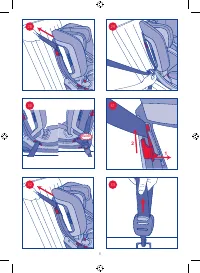
To fit the car seat, remove the Isofix connec-
tors (P) by pulling belt (R) towards the exterior
(Fig. 15).
Then remove the Top Tether from the rear cov-
er (S) (Fig. 16).
Position the child car seat on the seat making
reference to the options suggested in your
car’s user manual.
Fasten the two ISOFIX connectors (P) to the
corresponding ISOFIX hooks on the car seat
between the backrest and the seat (Fig. 17).
WARNING!
Pull the car seat towards you and
then check that the two indicators are green
(Fig. 18) to make sure that the seat has been
installed correctly.
WARNING!
Make sure there are no objects
between the child car seat and the vehicle
seat or between the child car seat and car
door.
Push the child car seat firmly against the back-
rest of the car seat (Fig. 19) to make sure it is
securely in place.
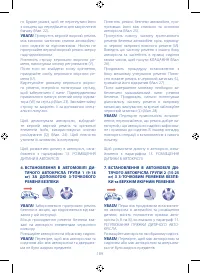
The assembly of the child car seat is complet-
ed exclusively with the installation of the Top
Tether ( T ).
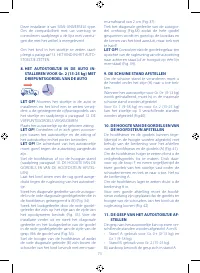
WARNING!
Refer to your car’s user manual to
identify where the Top Tether of the child car
sear is attached to the car. This fastening point
is denoted with a specific label (Fig. 20) and
can be found in the positions indicated by the
figures 21A – 21B – 21C – 21D.
WARNING!
Check that the Top Tether fasten-
er used is the one that has been specially des-
ignated. Do not confuse it with a ring used for
hanging bags (Fig. 22).
WARNING!
Pass the Top Tether between the
top of the car seat backrest and the headrest.
Never pass the Top Tether above the car head-
rest.
Extend the Top Tether belt by pressing adjust-
ment button ( V ).
Once you have identified the fastening point,
connect to the Top Tether hook (U).
Adjust the length of the Top Tether belt by
forcefully pulling the belt until it is tight. The
indicator on the belt goes green ( W ) when
the tether is suitably tight (Fig. 23). Roll up any
excess belt and tie up using the velcro.
To disassemble the child car seat, unhook the
Top Tether and the Isofix connectors by press-
ing the release buttons (Q) (Fig. 24). To put
them back in completely push them inwards.
When seating your child refer to paragraph 13.
SEATING THE CHILD IN THE CHILD CAR SEAT
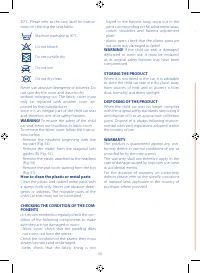
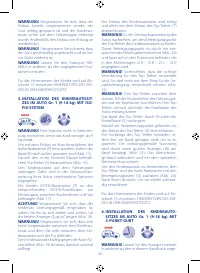
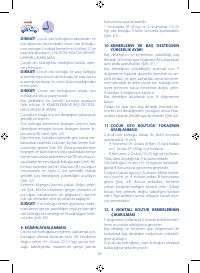
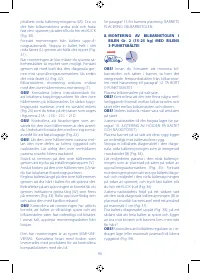
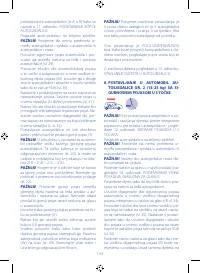
6. HOW TO FIT THE GROUP 1 (9-18 kg)
CHILD CAR SEAT TO THE CAR WITH A
3-POINT SEAT BELT
WARNING!
Never fit the seat belt in any way
not mentioned in this manual.


