Точки доступа NETGEAR WAC510 Smart Cloud AC1300 6, 2xGE LAN / WAN - инструкция пользователя по применению, эксплуатации и установке на русском языке. Мы надеемся, она поможет вам решить возникшие у вас вопросы при эксплуатации техники.
Если остались вопросы, задайте их в комментариях после инструкции.
"Загружаем инструкцию", означает, что нужно подождать пока файл загрузится и можно будет его читать онлайн. Некоторые инструкции очень большие и время их появления зависит от вашей скорости интернета.


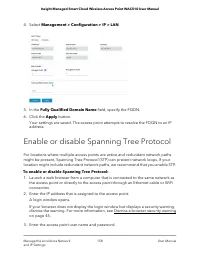


Enable or disable inter-VLAN routing
The information in this section applies only when the system mode of the access point
is Router mode (see Change the system mode to Router mode or AP mode on page
177).
By default, inter-VLAN routing is enabled and clients of different WiFi networks (each
with a unique VLAN) can communicate with each other. You can select the VLANs that
participate in inter-VLAN routing. For added security, you can disable inter-VLAN routing
so that clients of different WiFi networks (each with a unique VLAN) cannot communicate
with each other.
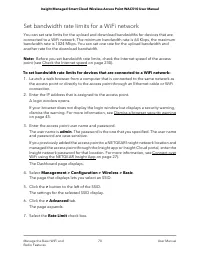
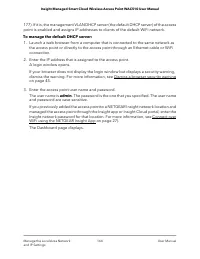
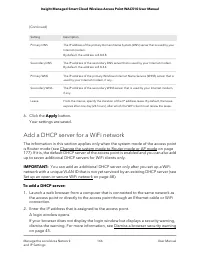
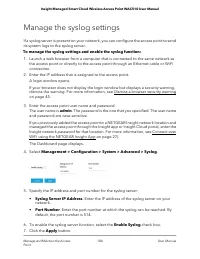
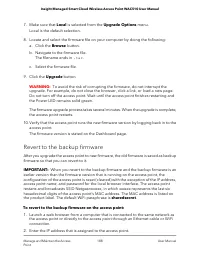
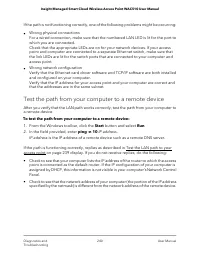
To enable or disable inter-VLAN routing:
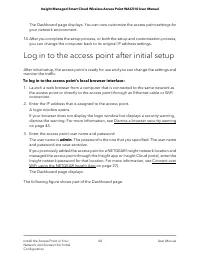
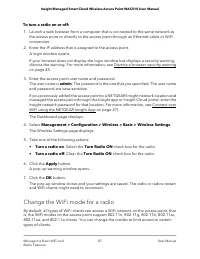
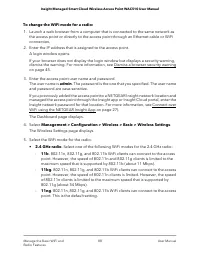
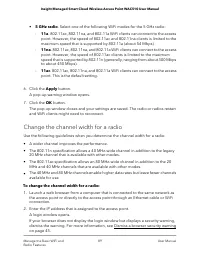
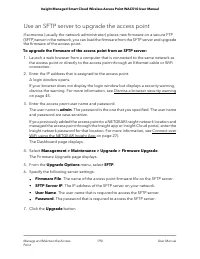
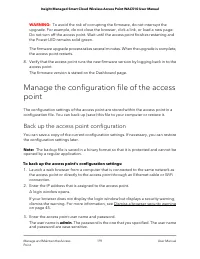
1. Launch a web browser from a computer that is connected to the same network as
the access point or directly to the access point through an Ethernet cable or WiFi
connection.
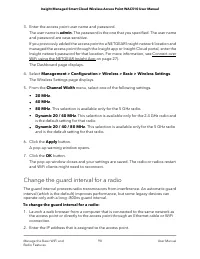
2. Enter the IP address that is assigned to the access point.
A login window opens.
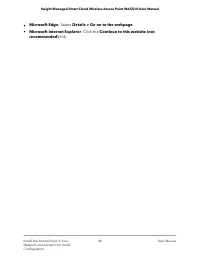
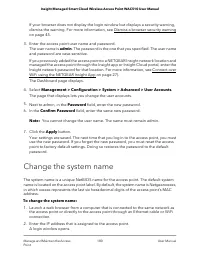
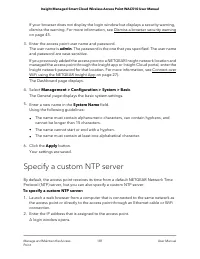
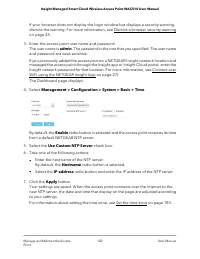
If your browser does not display the login window but displays a security warning,
dismiss the warning. For more information, see Dismiss a browser security warning
on page 45.
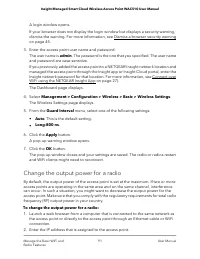
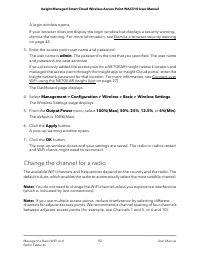
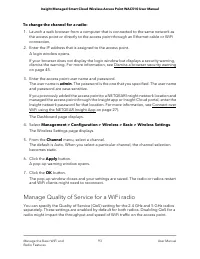
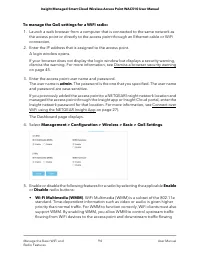
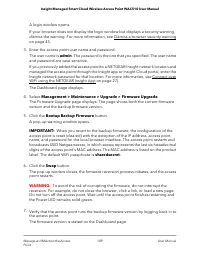
3. Enter the access point user name and password.
The user name is admin. The password is the one that you specified. The user name
and password are case-sensitive.
If you previously added the access point to a NETGEAR Insight network location and
managed the access point through the Insight app or Insight Cloud portal, enter the
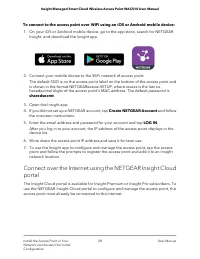
Insight network password for that location. For more information, see Connect over
WiFi using the NETGEAR Insight App on page 27).
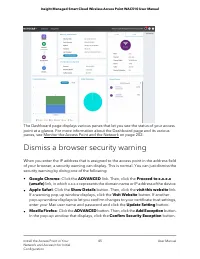
The Dashboard page displays.
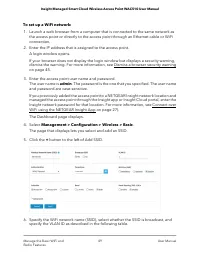
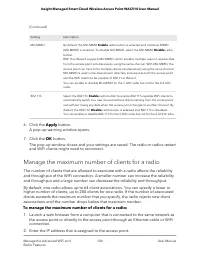
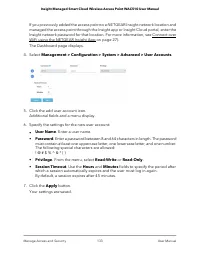
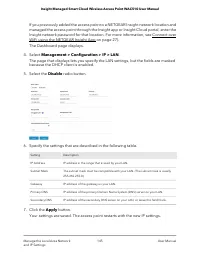
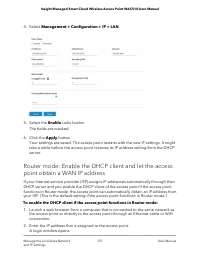
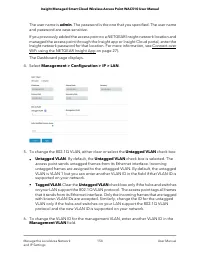
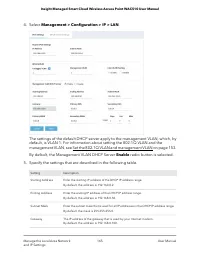
4. Select Management > Configuration > IP > LAN > Inter VLAN Settings.
The inter-VLAN routing options displays.
5. Enable or disable inter-VLAN routing by doing the following:
•
To enable inter-VLAN routing, do the following:
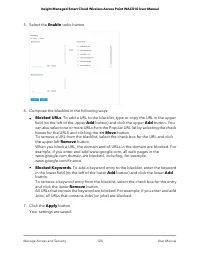
a. Select the Enable radio button.
Inter-VLAN routing is enabled. This is the default setting.
b. To specify the VLANs that must participate in inter-VLAN routing, select or
clear the check boxes for the individual VLANs.
If you did not create any VLANs, only the default VLAN (with ID 1) displays.
User Manual
172
Manage the Local Area Network
and IP Settings
Insight Managed Smart Cloud Wireless Access Point WAC510 User Manual
Характеристики

Остались вопросы?Не нашли свой ответ в руководстве или возникли другие проблемы? Задайте свой вопрос в форме ниже с подробным описанием вашей ситуации, чтобы другие люди и специалисты смогли дать на него ответ. Если вы знаете как решить проблему другого человека, пожалуйста, подскажите ему :)
