Видеокамеры JVC GR-PD1 - инструкция пользователя по применению, эксплуатации и установке на русском языке. Мы надеемся, она поможет вам решить возникшие у вас вопросы при эксплуатации техники.
Если остались вопросы, задайте их в комментариях после инструкции.
"Загружаем инструкцию", означает, что нужно подождать пока файл загрузится и можно будет его читать онлайн. Некоторые инструкции очень большие и время их появления зависит от вашей скорости интернета.


EN
37
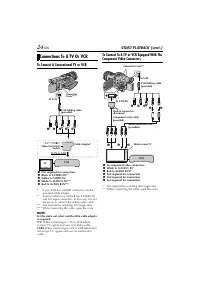
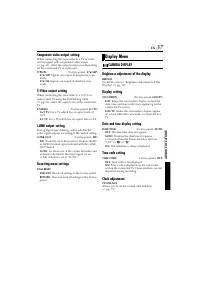
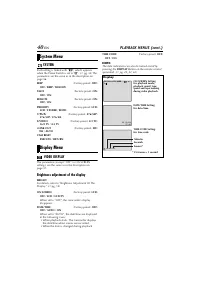
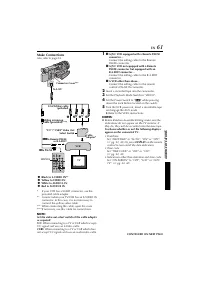
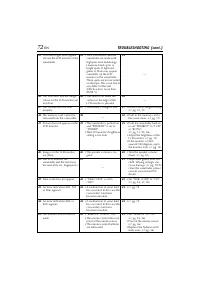
Component video output setting
When connecting the camcorder to a TV or video
unit equipped with component video inputs
(
pg. 24), select the output picture size depending
on the connected TV or video unit.
Y/Pb/Pr
(Factory-preset:
576/50P
)
576/50P
: Signals are output in progressive scan
mode.
576/50i
: Signals are output in interlace scan
mode.
S-Video output setting
When connecting the camcorder to a 4:3 TV or
wide-screen TV using the S/AV/Editing cable
(
pg. 24), select the aspect ratio of the connected
TV.
S/VIDEO
(Factory-preset:
4:3 TV
)
16:9 TV
: For a TV which has an aspect ratio of
16:9.
4:3 TV
: For a TV which has an aspect ratio of 4:3.
i.LINK output setting
During digital tape dubbing, select whether the
video signal outputs according to the Switch setting.
i.LINK OUT
(Factory-preset:
SW
)
SW
: Normally, set to this position. Outputs the DV
or MPEG2 format signal selected with the i.LINK
OUT Switch.
AUTO
: For future use. If the connected video unit
automatically detects the input signal via an
i.LINK connector, set to “AUTO”.
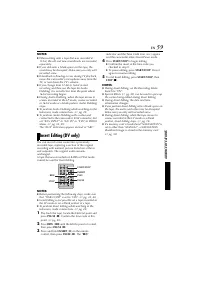
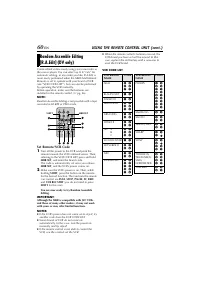
Resetting menu settings
CAM RESET
EXECUTE
: Resets all settings to the factory-preset.
RETURN
: Does not reset all settings to the factory-
preset.
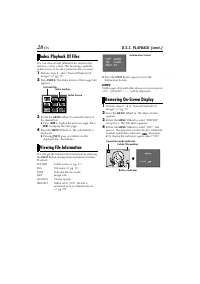
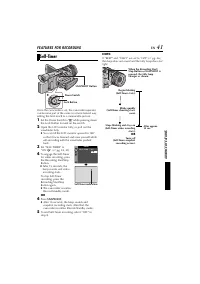
CAMERA DISPLAY
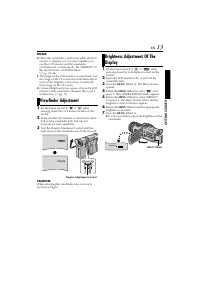
Brightness adjustment of the display
BRIGHT
For details, refer to “Brightness Adjustment Of The
Display” (
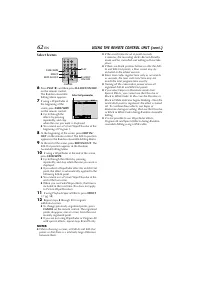
Display setting
ON SCREEN
(Factory-preset:
LCD/TV
)
LCD
: Keeps the camcorder’s display (except the
date, time and time code) from appearing on the
connected TV screen.
LCD/TV
: Makes the camcorder’s display appear
on screen when the camcorder is connected to a
TV.
Date and time display setting
DATE/TIME
(Factory-preset:
AUTO
)
OFF
: The date/time does not appear.
AUTO
: Displays the date/time for approx.
5 seconds when the Power Switch is set from
“OFF” to “
A
” or “
M
”.
ON
: The date/time is always displayed.
Time code setting
TIME CODE
(Factory-preset:
OFF
)
OFF
: Time code is not displayed.
ON
: Time code is displayed on the camcorder
and on the connected TV. Frame numbers are not
displayed during recording.
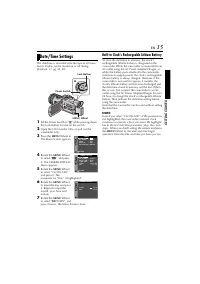
Clock adjustment
CLOCK ADJ.
Allows you to set the current date and time.
(
Display Menu


