Соковыжималки Zelmer 486 - инструкция пользователя по применению, эксплуатации и установке на русском языке. Мы надеемся, она поможет вам решить возникшие у вас вопросы при эксплуатации техники.
Если остались вопросы, задайте их в комментариях после инструкции.
"Загружаем инструкцию", означает, что нужно подождать пока файл загрузится и можно будет его читать онлайн. Некоторые инструкции очень большие и время их появления зависит от вашей скорости интернета.


77
(i)
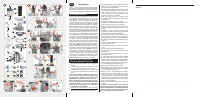
in the bowl insert
(3)
is located in the inner in
(h)
of the
bowl
(2)
.
3
Put the ilter
(4)
inside and check if it is well mounted and
rotates easily.
4
Install the lid
(5)
so that the outer in
(g)
of the bowl
(2)
is
in the notch of the lid
(5)
.
5
Pay attention to assemble the parts correctly. The outer
in
(g)
of the bowl
(2)
should be in one line with the notch in
the lid
(5)
.
6
Pull the locking bar
(6)
up, so that the rolls moved into
grooves of the lid
(5)
from position
2
to position
1
(you will
hear a characteristic clicking sound).
7
Each time insert a bowl for small fruit
(7)
on the feeder
opening of the cover
(5)
.
8
Put the pusher
(8)
into the chute so that the V-shaped
hole was put on the knife inside the chute.
9
Put the pulp collector
(12)
under the lid
(5)
in the following
way: lean the collector and place it under the insert
(3)
and
lid
(5)
, then push it towards the motor
(1)
.
10
Put the juice collector
(9)
so that the juice spout
(f)
was
inside the collector
(9)
.
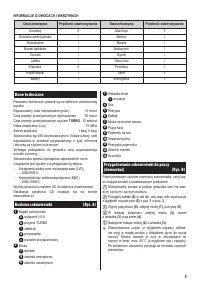
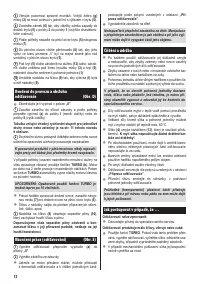
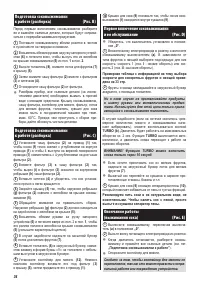
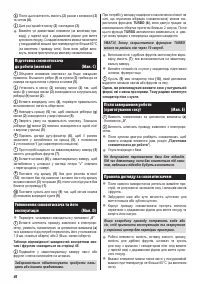
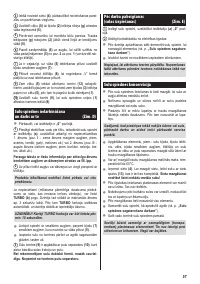
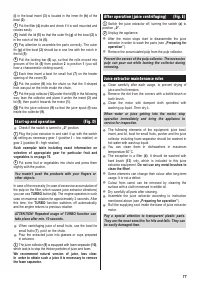
Start-up and operation
(Fig. D)
Check if the switch is turned to
●
„0”
position.
1
Plug the juice extractor in and start it up with the switch
(a)
setting as necessary gear 1 (position
I
– low rotation) or
gear 2 (position
II
– high rotation).
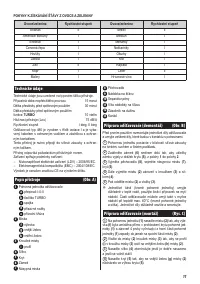
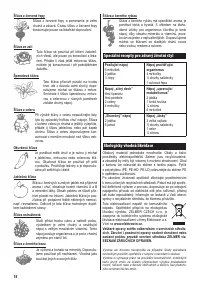
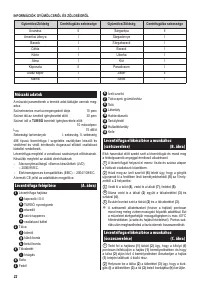
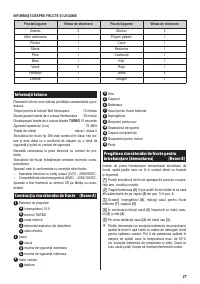
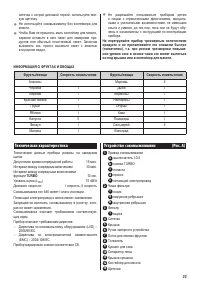
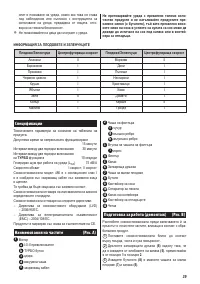
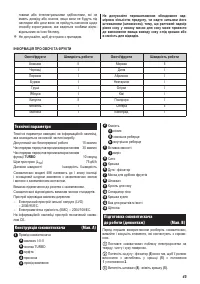
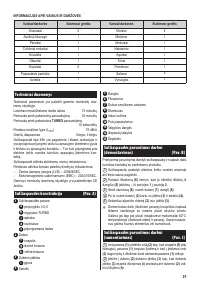
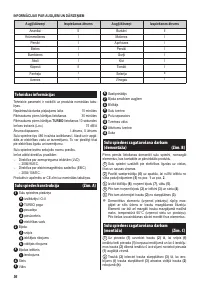
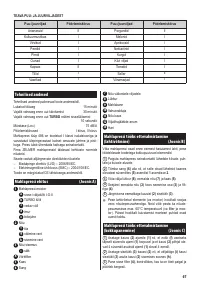
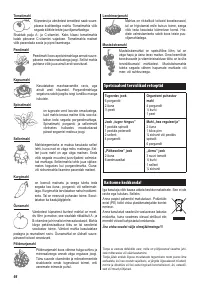
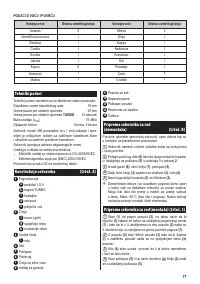
Such exemplar table including exact information on
selection of appropriate gear for particular fruit and
vegetables is on page 76.
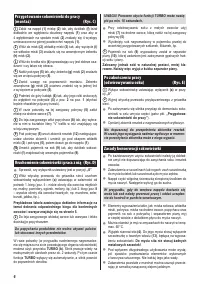
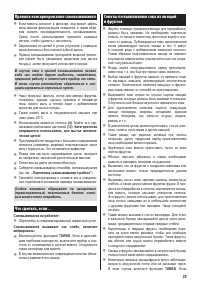
2
Put some fruit or vegetables into chute and press them
slightly with the pusher.
You mustn’t push the products with your ingers or
other objects.
In case of the necessity (In case of excessive accumulation of
the pulp on the ilter, which causes juice extractor vibrations)
you can use
TURBO
button
(b)
. The engine operates in such
case on maximal rotation for approximately 2 seconds. After
this time, the
TURBO
function switches off automatically,
and the engine returns to previous rotation.
ATTENTION! Repeated usage of TURBO function can
take place after min. 10 seconds.
When centrifuging juice of small fruits, use the bowl for
●
small fruits
(7)
, put it on the chute.
Pour the extracted juice into glasses or cups prepared
●
in advance.
3
The juice collector
(9)
is equipped with foam separator
(10)
,
which task is to stop the thicker particles of juice and foam.
We recommend natural version of juice, less clear.
In order to obtain such a juice it is necessary to remove
the foam separator.
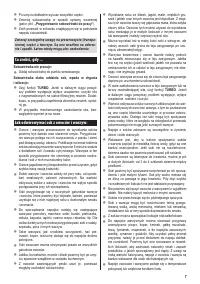
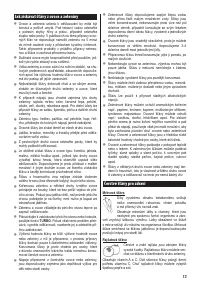
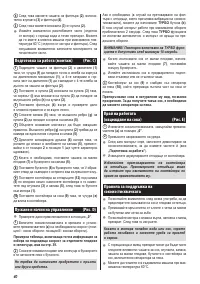
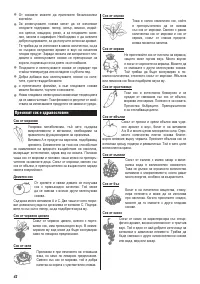
After operation ( juice centrifuging)
(Fig. E)
1
Switch the juice extractor off, turning the switch
(a)
to
position
„0”
.
2
Unplug the appliance.
After the motor stops start to disassemble the juice
●
extractor in order to wash the parts (see
„Preparing for
operation”
).
Remove the accumulated pulp from the pulp collector.
●
Prevent the excess of the pulp collector. The excessive
pulp can pour out while leaning the collector during
removing.
Juice extractor maintenance rules
Clean carefully after each usage, to prevent drying of
●
juice and fruit remains.
Remove the dirt from the corners with a bottle brush or
●
tooth brush.
Clean the motor with damped cloth sprinkled with
●
washing up liquid. Then dry it.
When water or juice getting into the motor, stop
operation immediately and bring the appliance to
service for inspection.
The following elements of the equipment: juice bowl,
●
insert, and lid, bowl for small fruits, pusher and the juice
collector including foam separator should be washed in
hot water with wash-up liquid.
You can clean them in dishwashers in maximum
●
temperature 60°C.
The exception is a ilter
●
(4)
. It should be washed with
hard brush
(13)
only, which is included to this juice
extractor equipment.
Do not use any metal brushes to
clean the ilter!
Some elements can change their colour after long-term
●
usage. It is not a defect.
Colour from carrot can be removed by cleaning the
●
surface with a cloth immersed in edible oil.
Dry carefully all parts after cleaning.
●
Assemble the juice extractor according to instruction
●
mentioned above (see
„Preparing for operation”
).
Roll the supplying cord inside the base of juice extractor
●
motor.
Pay a special attention to transparent plastic parts.
They are the most sensitive for hits and falls. They can
be easily damaged then.
Характеристики

Остались вопросы?Не нашли свой ответ в руководстве или возникли другие проблемы? Задайте свой вопрос в форме ниже с подробным описанием вашей ситуации, чтобы другие люди и специалисты смогли дать на него ответ. Если вы знаете как решить проблему другого человека, пожалуйста, подскажите ему :)


