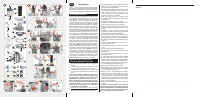
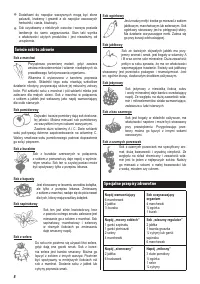
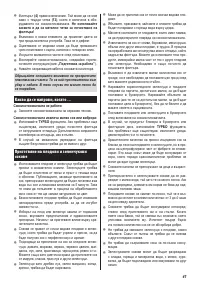
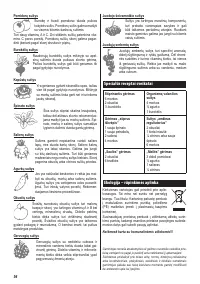
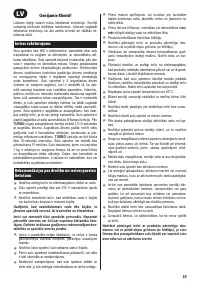
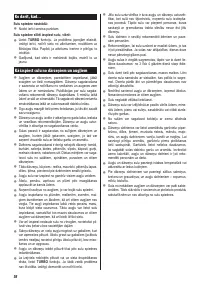
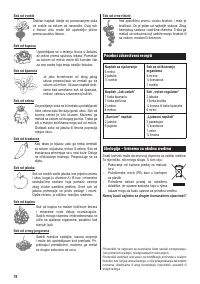
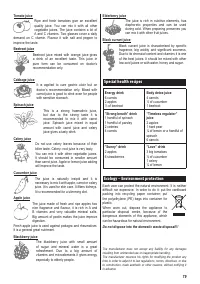
Соковыжималки Zelmer 486 - инструкция пользователя по применению, эксплуатации и установке на русском языке. Мы надеемся, она поможет вам решить возникшие у вас вопросы при эксплуатации техники.
Если остались вопросы, задайте их в комментариях после инструкции.
"Загружаем инструкцию", означает, что нужно подождать пока файл загрузится и можно будет его читать онлайн. Некоторые инструкции очень большие и время их появления зависит от вашей скорости интернета.


76
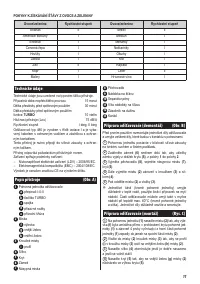
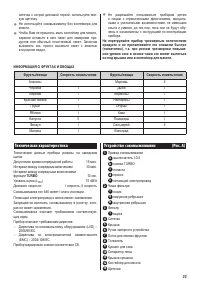
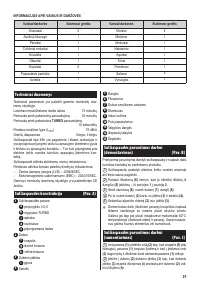
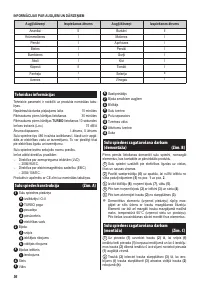
Speciications
The technical parameters are quoted on the nameplate of
the product.
Admissible time of non-stop operation
15 minutes
An interval between repeated operation
30 minutes
An interval between repeated
TURBO
usage 10 seconds
Noise generated by the appliance (L
WA
)
75 dB/A
Speed range:
I gear, II gear
The juice extractor type 486 is built in I class insulation and
it is equipped with supplying cord with grounding wire and
grounding plug.
It must be plugged into grounded receptacle.
The juice extractor meets applicable norms requirements.
The appliance meets the requirements of the directives:
Low voltage electrical device (LVD) – 2006/95/EC.
–
Electromagnetic compatibility (EMC) – 2004/108/EC.
–
Wyrób oznaczono znakiem CE na tabliczce znamionowej.
The product is marked with CE symbol on the nameplate.
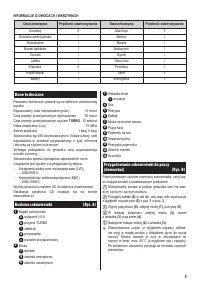
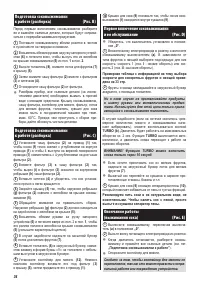
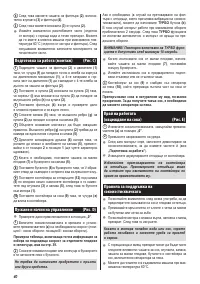
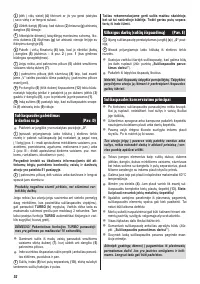
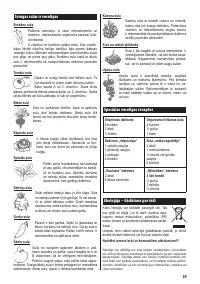
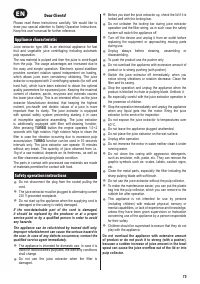
Part names
(Fig. A)
1
Juice extractor motor
a
I-0-II switch
b
TURBO button
c
skimmer
d
vacuum cup
e
supply cord
2
Bowl
f
juice spout
g
outer in
h
inner in
3
Bowl insert
i
notch
4
Filter
5
Lid
6
Locking bar
7
Bowl for small fruits
8
Pusher
9
Juice collector
10
Foam separator
11
Lid of collector
12
Pulp collector
13
Brush
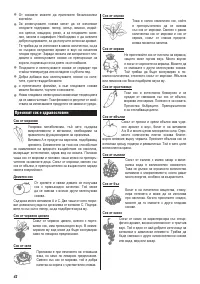
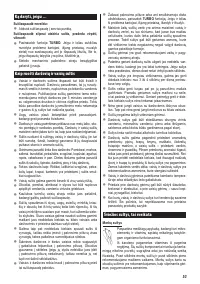
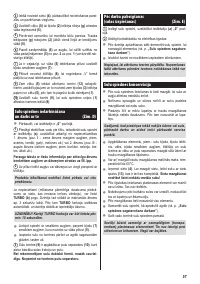
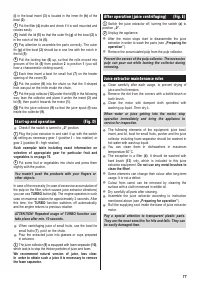
Preparations for operation
(disassembling)
(Fig. B)
Disassemble the juice extractor before irst usage and clean
the parts in contact with processed product.
1
Place the juice extractor near the socket on the irm,
clean and dry surface.
2
Pull down the locking bar
(6)
so that the tracks moved
out of grooves of the lid
(5)
from position
1
to position
2
.
3
Take the pusher
(8)
out and remove the bowl
(7)
and
lid
(5)
.
4
Then remove the bowl
(2)
including the insert
(3)
and
ilter
(4)
.
5
Then, disassemble the insert
(3)
from the bowl
(2)
.
Wash the disassembled parts (apart from the motor)
●
carefully in hot water and wash-up liquid. You can clean
them in dishwasher in max temp. 60ºC (apart from the
motor and ilter). After drying carefully start assembling
the clean parts.
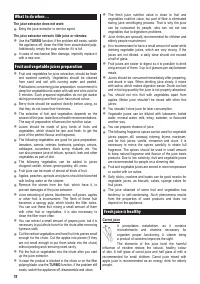
Preparations for operation
(assembling)
(Fig. C)
1
Align the bowl
(2)
to the motor
(1)
, so that the juice spout
(f)
was placed exactly in the casing
(1)
groove and 4 buckles
from the upper part of the motor
(1)
were placed inside the
4 grooves in the bottom of the bowl
(2)
.
2
Insert the bowl insert
(3)
to the bowl
(2)
so that the notch
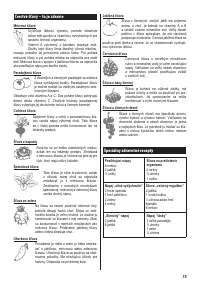
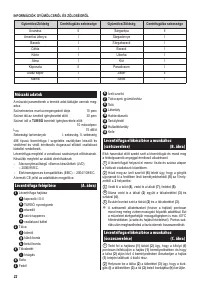
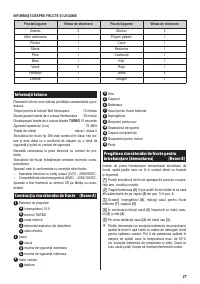
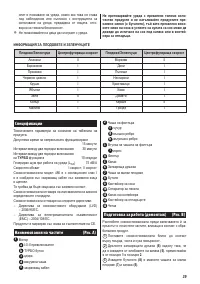
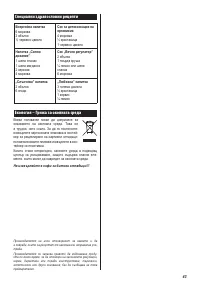
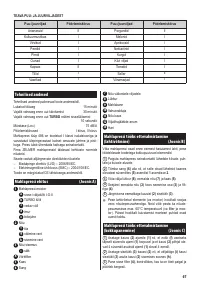
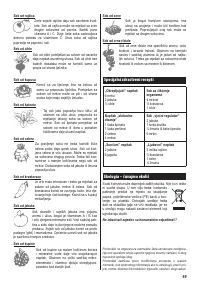
INFORMATION ON FRUIT AND VEGETABLES
Fruit/vegetables
Centrifuging speed
Fruit/vegetables
Centrifuging speed
Pineapples
II
Carrots
II
Blueberries
I
Melons
I
Peaches
I
Apricots
I
Beetroots
I
Nectarines
I
Pears
I
Cucumbers
I
Apples
I
Kiwi
I
Cabbage
II
Tomatoes
I
Fennel
I
Celery
II
Raspberries
I
Grapes
I
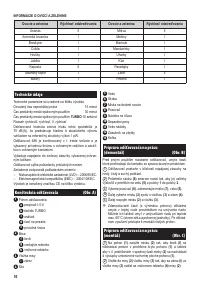
Характеристики

Остались вопросы?Не нашли свой ответ в руководстве или возникли другие проблемы? Задайте свой вопрос в форме ниже с подробным описанием вашей ситуации, чтобы другие люди и специалисты смогли дать на него ответ. Если вы знаете как решить проблему другого человека, пожалуйста, подскажите ему :)


