Измерительные приборы Bosch GLM 150 - инструкция пользователя по применению, эксплуатации и установке на русском языке. Мы надеемся, она поможет вам решить возникшие у вас вопросы при эксплуатации техники.
Если остались вопросы, задайте их в комментариях после инструкции.
"Загружаем инструкцию", означает, что нужно подождать пока файл загрузится и можно будет его читать онлайн. Некоторые инструкции очень большие и время их появления зависит от вашей скорости интернета.


24
| English
1 609 92A 0KT | (23.4.14)
Bosch Power Tools
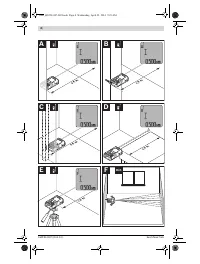
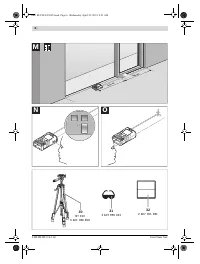
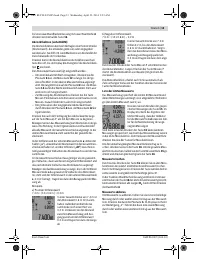
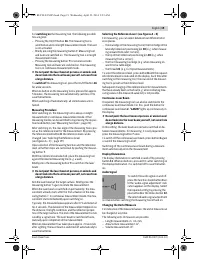
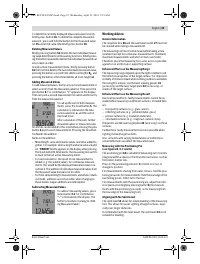
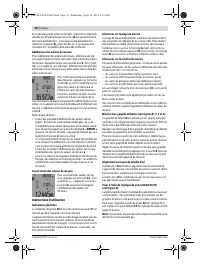
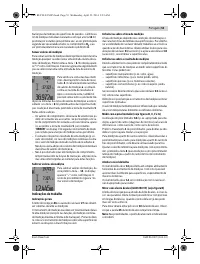
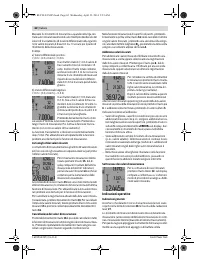
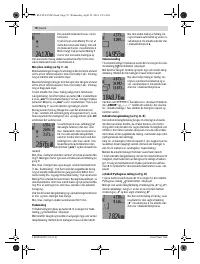
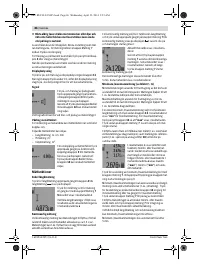
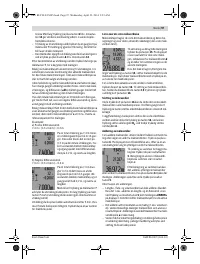
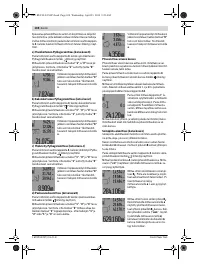
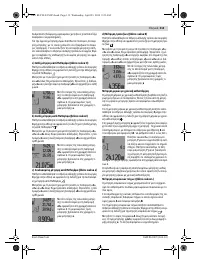
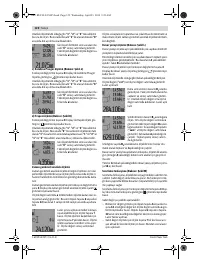
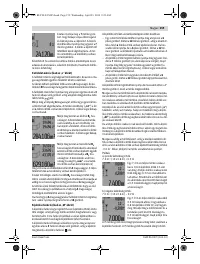
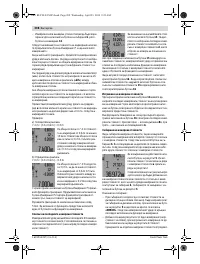
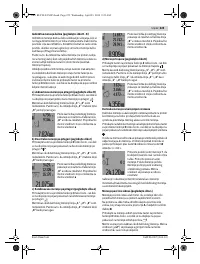
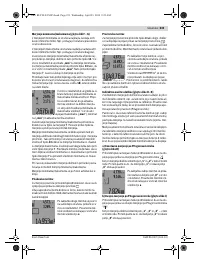
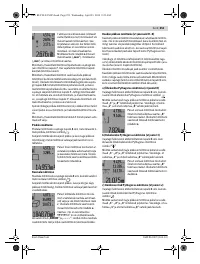
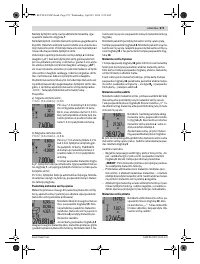
Sighting with the Optical Sight (GLM 250 VF)
(see figure N)
The sighting line through the optical sight and the laser beam
run parallel to each other. This allows for precise sighting over
long distances, when the laser dot is no longer visible with the
naked eye.
For sighting, view through the viewfinder of the optical sight
10
. Take care that the optical sight window
25
is not obstruct-
ed and clean.
Note:
For close vicinities, the actual and the displayed target
point are not identical.
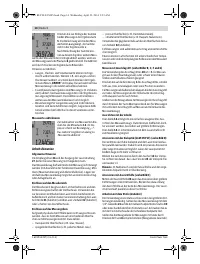
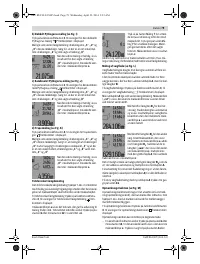
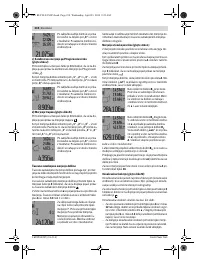
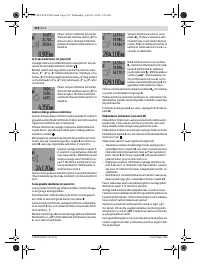
Sighting with the Alingment Aid (see figure O)
The alignment aid
24
supports sighting over larger distances.
For this, view alongside the alignment aid on the side of the
measuring tool. The laser beam runs parallel to this sighting
line.
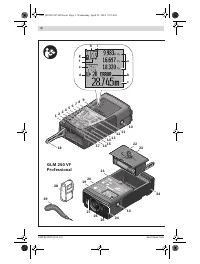
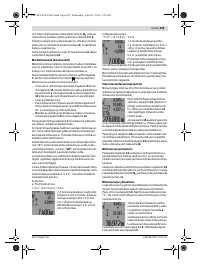
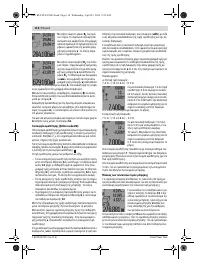
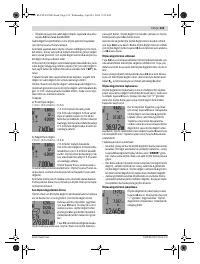
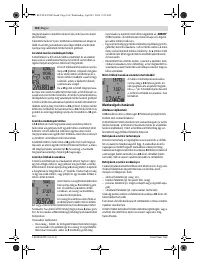
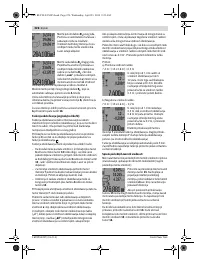
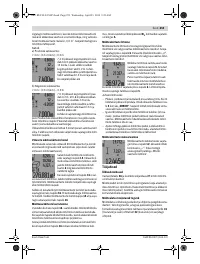
Working with the Tripod (Accessory)
The use of a tripod is particularly necessary for larger distanc-
es. Position the measuring tool with the 1/4" thread
21
onto
the quick-change plate of the tripod
30
or a commercially
available camera tripod. Tighten the measuring tool with the
locking screw of the quick-change plate.
Set the corresponding reference level for measurement with
a tripod by pushing button
8
(the reference level is the
thread).
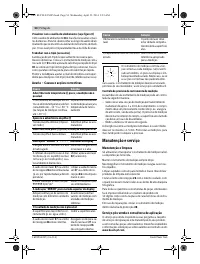
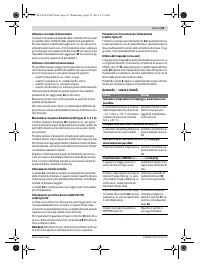
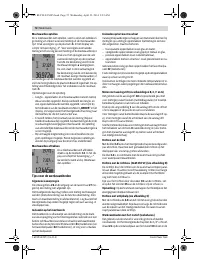
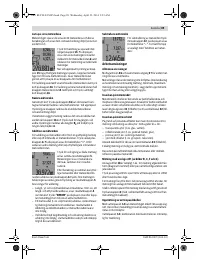
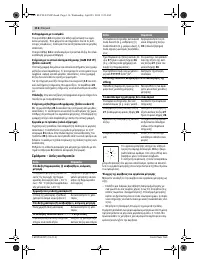
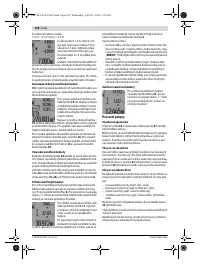
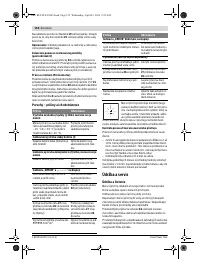
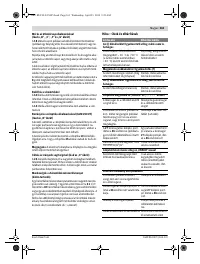
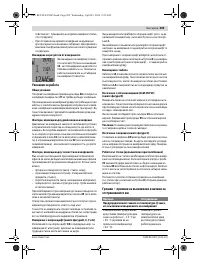
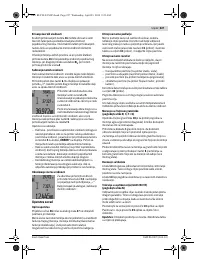
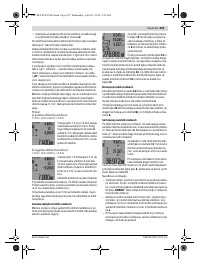
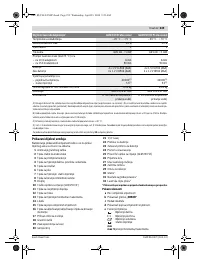
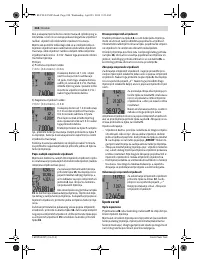
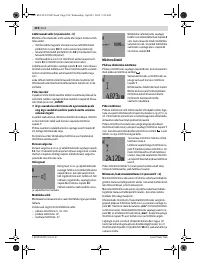
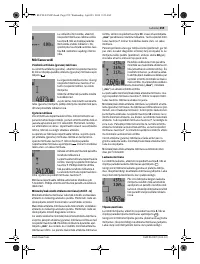
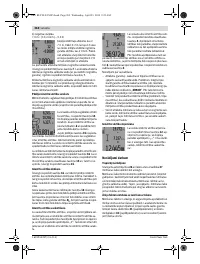
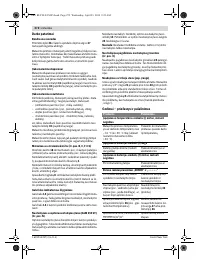
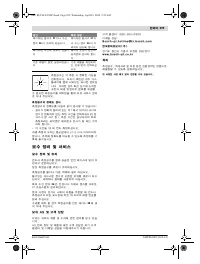
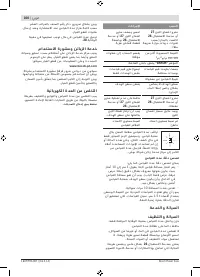
Troubleshooting – Causes and Corrective
Measures
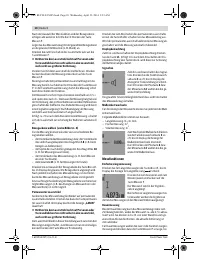
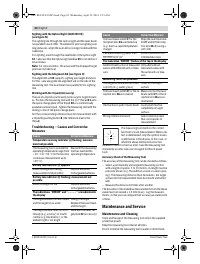
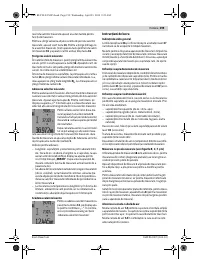
The measuring tool monitors the correct
function for each measurement. When a de-
fect is determined, only the symbol shown
aside flashes in the display. In this case, or
when the above mentioned corrective
measures cannot correct an error, have the measuring tool
checked by an after-sales service agent for Bosch power
tools.
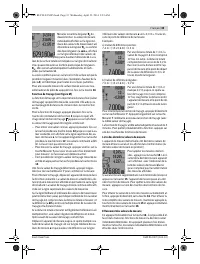
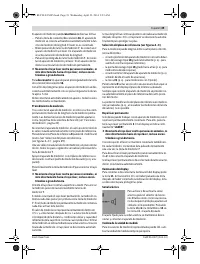
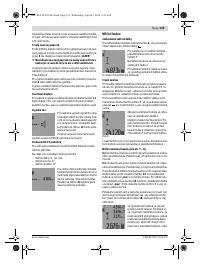
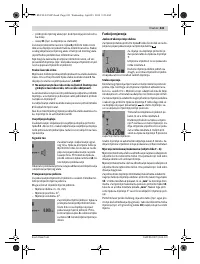
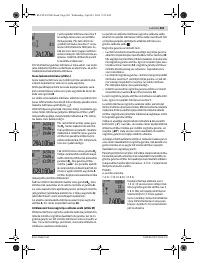
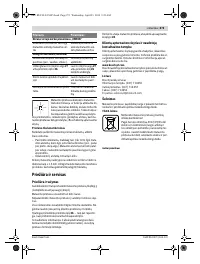
Accuracy Check of the Measuring Tool
The accuracy of the measuring tool can be checked as follows:
– Select a permanently unchangeable measuring section
with a length of approx. 1 to 10 metres; its length must be
precisely known (e. g. the width of a room or a door open-
ing). The measuring distance must be indoors; the target
surface for the measurement must be smooth and reflect
well.
– Measure the distance 10 times after another.
The deviation of the individual measurements from the mean
value must not exceed ± 1.5 mm (max.). Log the measure-
ments, so that you can compare their accuracy at a later point
of time.
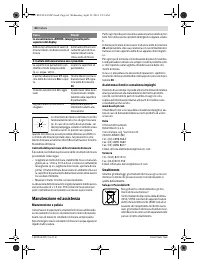
Maintenance and Service
Maintenance and Cleaning
Store and transport the measuring tool only in the supplied
protective pouch.
Keep the measuring tool clean at all times.
Do not immerse the measuring tool in water or other fluids.
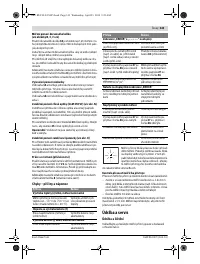
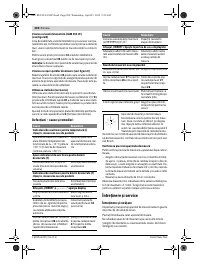
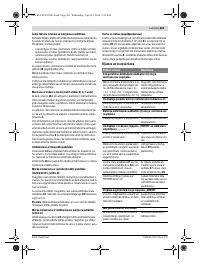
Cause
Corrective Measure
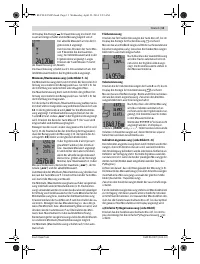
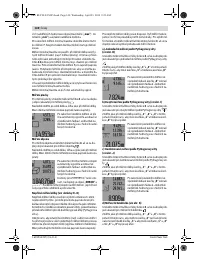
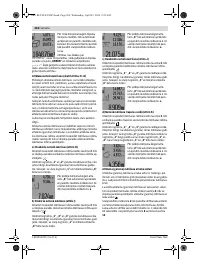
Temperature warning indicator (i) flashing; measure-
ment not possible
The measuring tool is outside the
operating temperature range from
– 10 ° C to + 50 ° C (in the function
continuous measurement up to
+ 40 ° C).
Wait until the measuring
tool has reached the
operating temperature
Battery low indicator (f) appears
Battery voltage decreasing
(measurement still possible)
Replace batteries/
rechargeable batteries
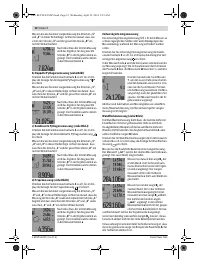
Battery low indicator (f) flashing; measurement not
possible
Battery voltage too low
Replace batteries/
rechargeable batteries
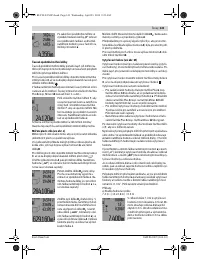
The indications “ERROR” and “– – – – – ” are indicated in
the display
The angle between the laser beam
and the target is too acute.
Enlarge the angle
between the laser beam
and the target
The target surface reflects too in-
tensely (e. g. a mirror) or insuffi-
ciently (e. g. black fabric), or the
ambient light is too bright.
Work with the laser tar-
get plate
32
(accessory)
The laser beam outlet
27
or the
reception lens
26
are misted up
(e. g. due to a rapid temperature
change).
Wipe the laser beam out-
let
27
and/or the recep-
tion lens
26
dry using a
soft cloth
Calculated value is greater than
999 999 m/m
2
/m
3
.
Divide calculation into
intermediate steps
The indication “ERROR” flashes at the top in the display
Addition/Subtraction of measured
values with different units of mea-
sure
Only add/subtract
measured values with
the same units of mea-
sure
Measuring result not plausible
The target surface does not reflect
correctly (e. g. water, glass).
Cover off the target
surface
The laser beam outlet
27
or the re-
ception lens
26
are covered.
Make sure that the laser
beam outlet
27
or the re-
ception lens
26
are un-
obstructed
Obstruction in path of laser beam Laser point must be
completely on target
surface.
Wrong reference level set
Select reference level
that corresponds to
measurement
Cause
Corrective Measure
OBJ_BUCH-947-005.book Page 24 Wednesday, April 23, 2014 9:23 AM
Содержание
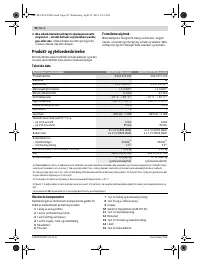
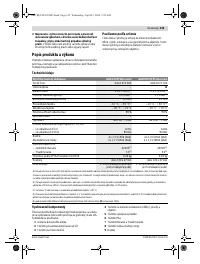
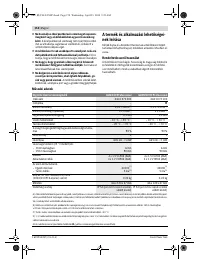
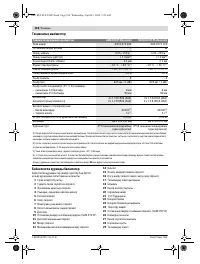
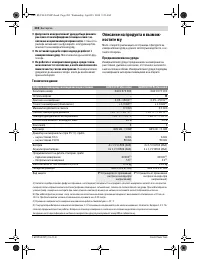
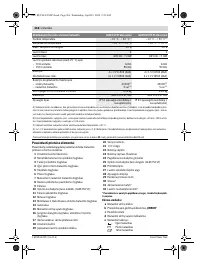
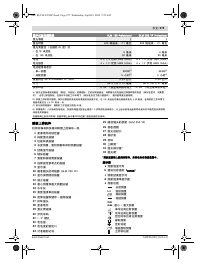
- 164 Технические данные; Цифровой лазерный дальномер
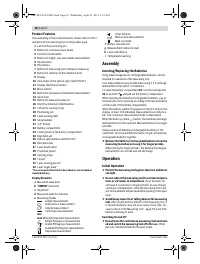
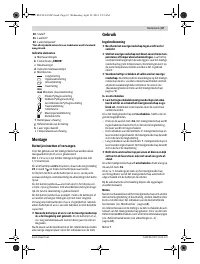
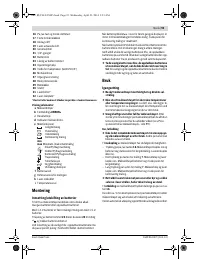
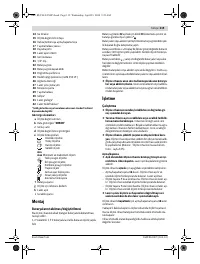
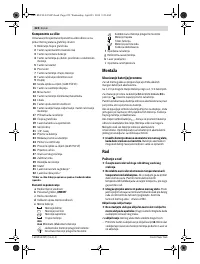
- 165 Элементы индикации; Сборка; Установка/замена батареек; Работа с инструментом; Эксплуатация; включения
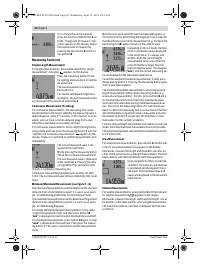
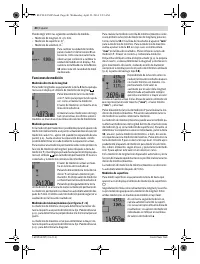
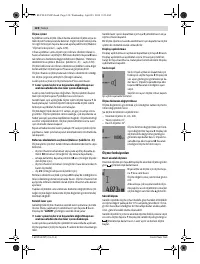
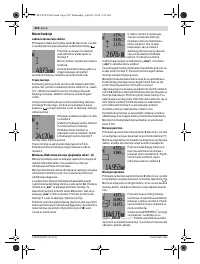
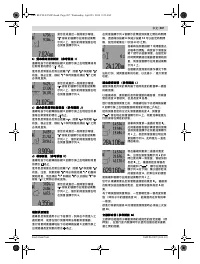
- 166 Режимы измерений
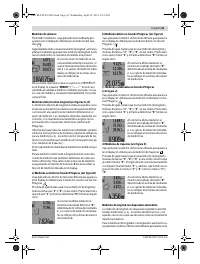
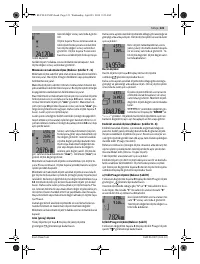
- 168 Измерение длины с выдержкой по времени
- 169 «cst»
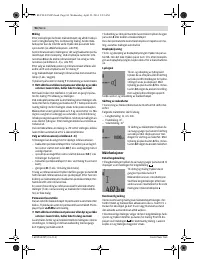
- 170 Указания по применению
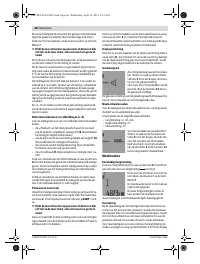
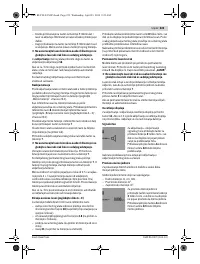
- 171 Выверка уровня; Неисправность – Причины и устранение; Причина
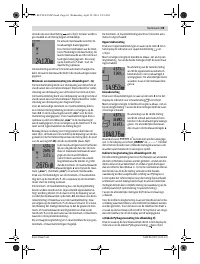
- 172 Контроль точности измерительного инструмента; Техобслуживание и сервис; Техобслуживание и очистка; Россия; Беларусь; Утилизация
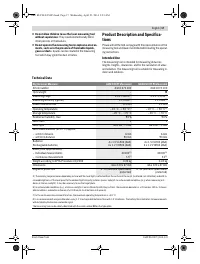
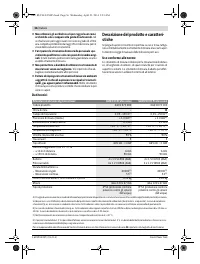
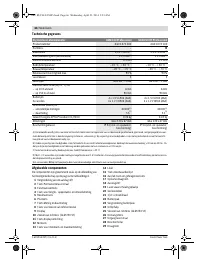
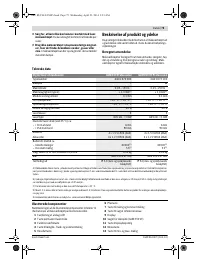
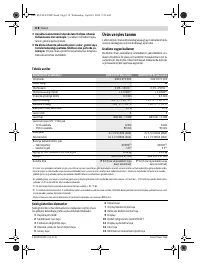
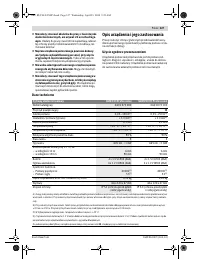
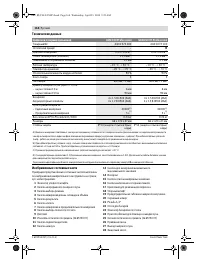
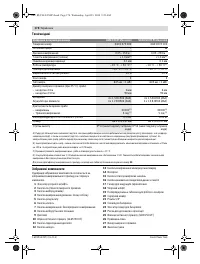
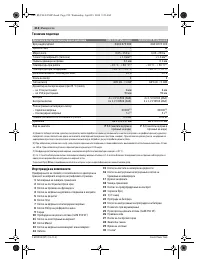
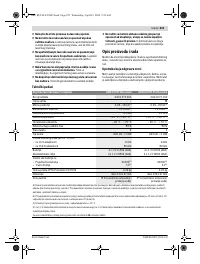
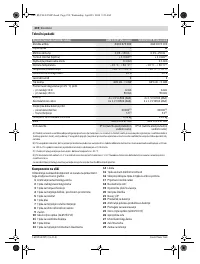
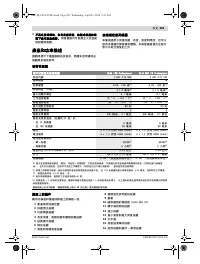
Характеристики

Остались вопросы?Не нашли свой ответ в руководстве или возникли другие проблемы? Задайте свой вопрос в форме ниже с подробным описанием вашей ситуации, чтобы другие люди и специалисты смогли дать на него ответ. Если вы знаете как решить проблему другого человека, пожалуйста, подскажите ему :)


