Измерительные приборы Bosch GLM 150 - инструкция пользователя по применению, эксплуатации и установке на русском языке. Мы надеемся, она поможет вам решить возникшие у вас вопросы при эксплуатации техники.
Если остались вопросы, задайте их в комментариях после инструкции.
"Загружаем инструкцию", означает, что нужно подождать пока файл загрузится и можно будет его читать онлайн. Некоторые инструкции очень большие и время их появления зависит от вашей скорости интернета.


18
| English
1 609 92A 0KT | (23.4.14)
Bosch Power Tools
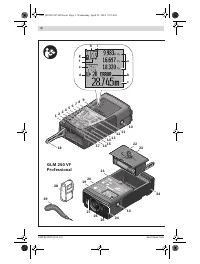
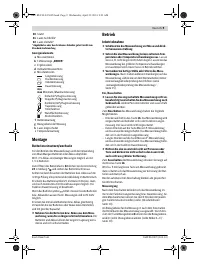
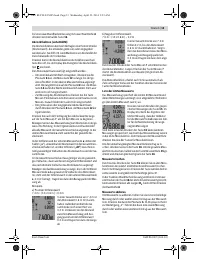
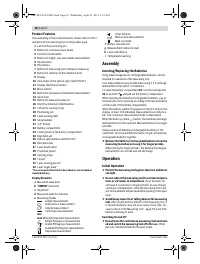
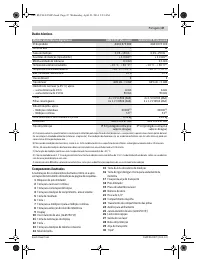
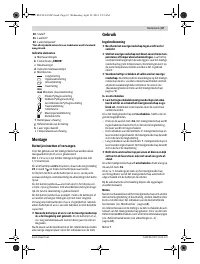
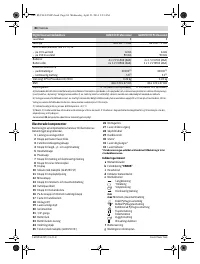
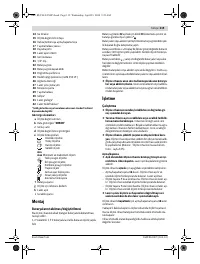
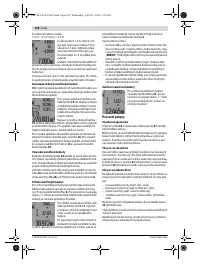
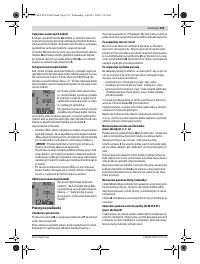
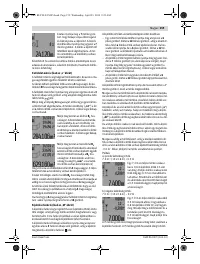
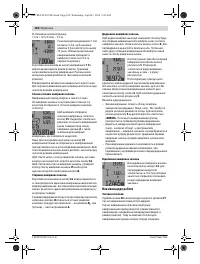
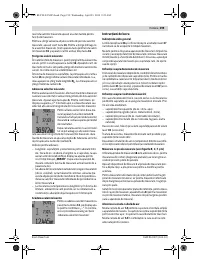
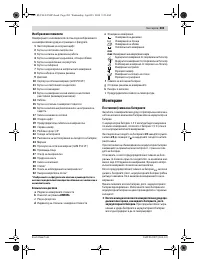
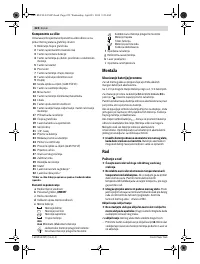
Product Features
The numbering of the product features shown refers to the il-
lustration of the measuring tool on the graphic page.
1
Latch of the positioning pin
2
Button for continuous laser beam
3
Function-mode button
4
Button for length, area and volume measurement
5
Result button
6
Plus button
7
Button for measuring and continuous measuring
8
Button for selection of the reference level
9
Display
10
View finder of the optical sight (GLM 250 VF)
11
Display-illumination button
12
Minus button
13
Button for minimum and maximum measurement
14
Spirit level
15
Button for measured-value list
16
On/Off and memory delete button
17
Fixture for carrying strap
18
Positioning pin
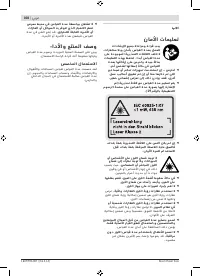
19
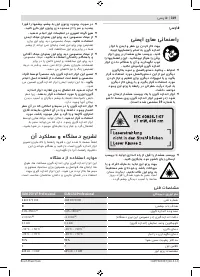
Laser warning label
20
Serial number
21
1/4" thread
22
Battery compartment
23
Locking knob of the battery compartment
24
Alignment aid
25
Optical sight window (GLM 250 VF)
26
Reception lens
27
Laser beam outlet
28
Protective pouch
29
Carrying strap
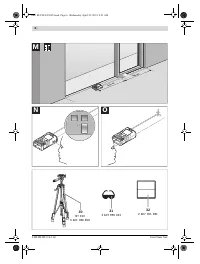
30
Tripod*
31
Laser viewing glasses *
32
Laser target plate *
* The accessories illustrated or described are not included as
standard delivery.
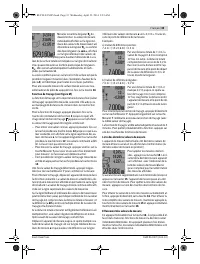
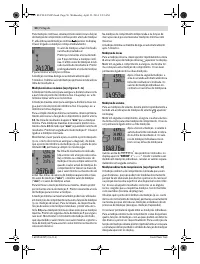
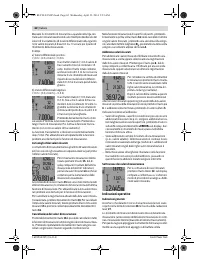
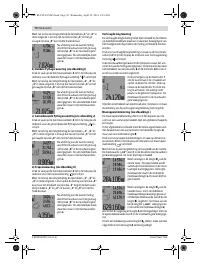
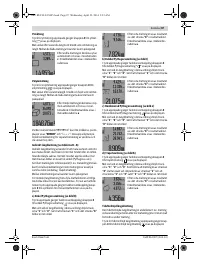
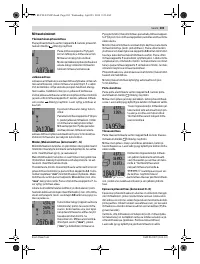
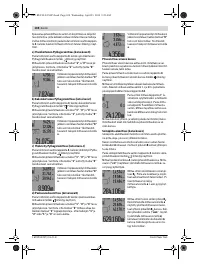
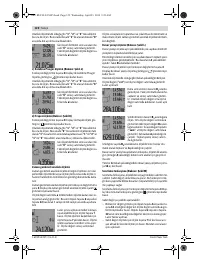
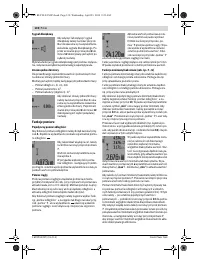
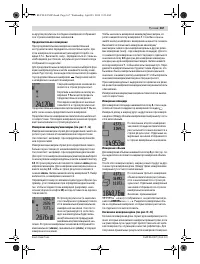
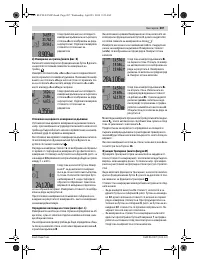
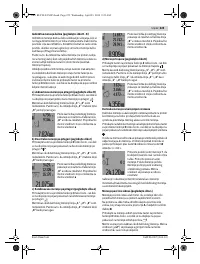
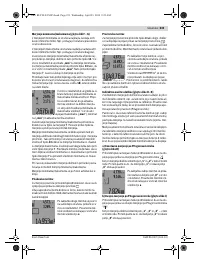
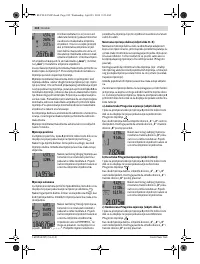
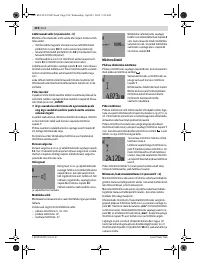
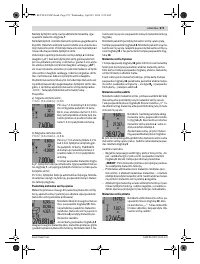
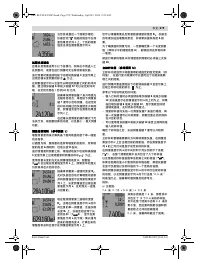
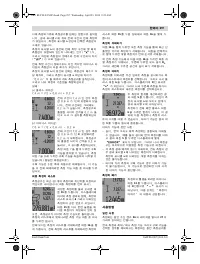
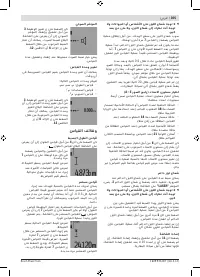
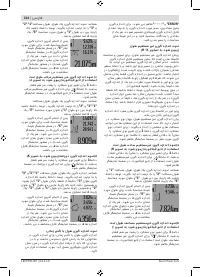
Display Elements
a
Measured-value lines
b “ERROR”
indication
c
Result line
d
Measured-value list indicator
e
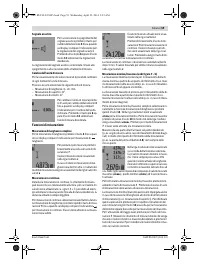
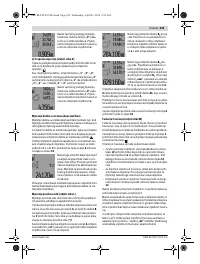
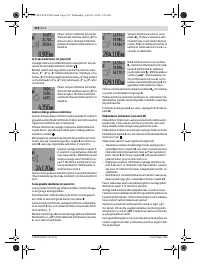
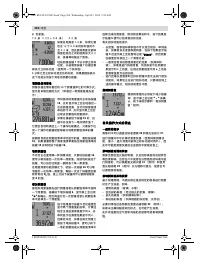
Measuring modes
Length measurement
Area/surface measurement
Volume measurement
Continuous measurement
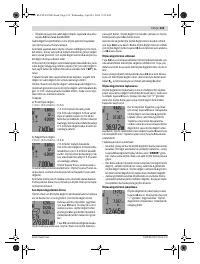
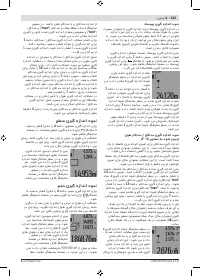
min
max
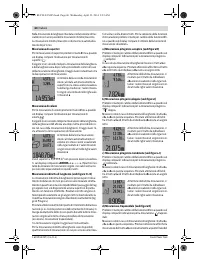
Minimum/maximum measurement
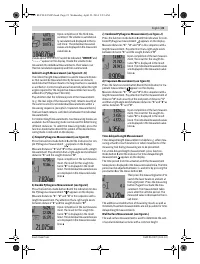
Simple Pythagoras measurement
Double Pythagoras measurement
Combined Pythagoras measurement
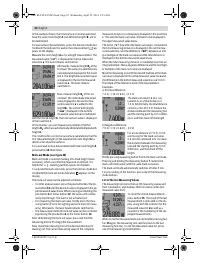
Trapezium measurement
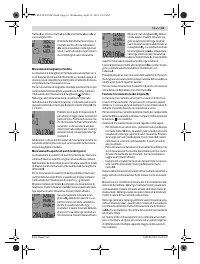
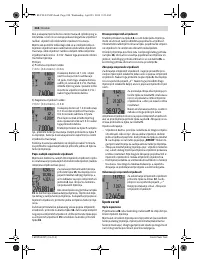
Timer function
Wall-surface measurement
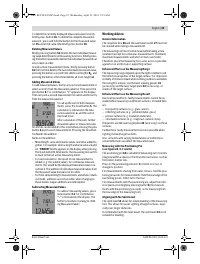
Mark-out mode
f
Battery low indicator
g
Measurement reference level
h
Laser switched on
i
Temperature warning
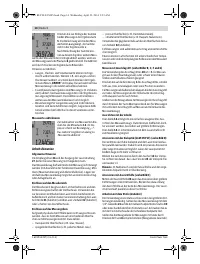
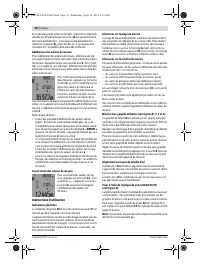
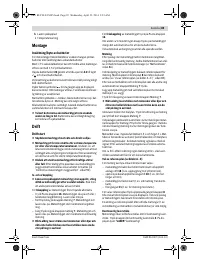
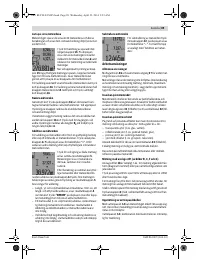
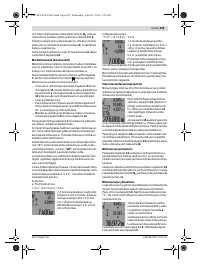
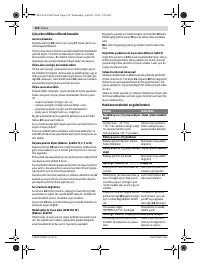
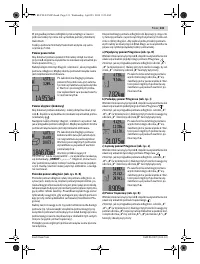
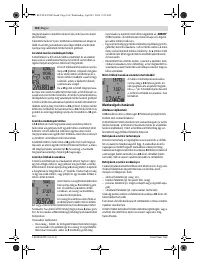
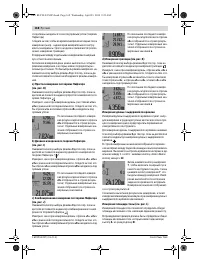
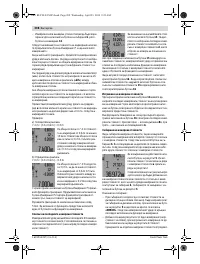
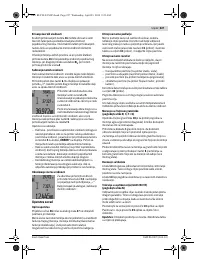
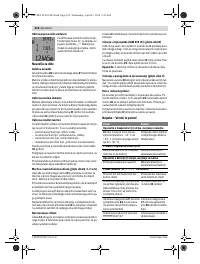
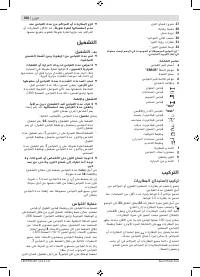
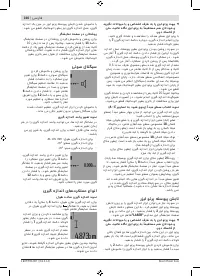
Assembly
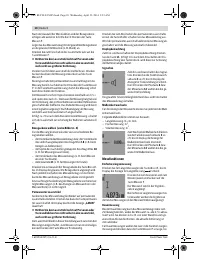
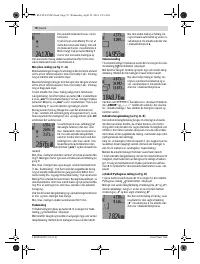
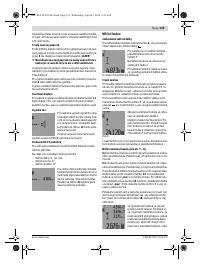
Inserting/Replacing the Batteries
Using alkali-manganese or rechargeable batteries is recom-
mended for operation of the measuring tool.
Less measurements are possible when using 1.2 V recharge-
able batteries than with 1.5 V batteries.
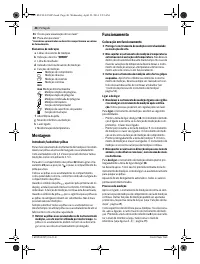
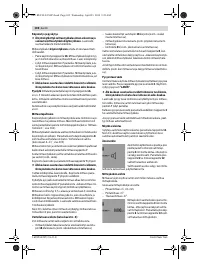
To open the battery compartment
22
, turn the locking knob
23
to position
and pull out the battery compartment.
When inserting the batteries/rechargeable batteries, pay at-
tention to the correct polarity according to the representation
on the inside of the battery compartment.
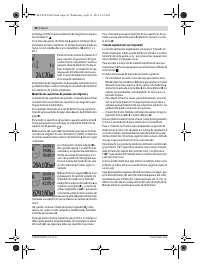
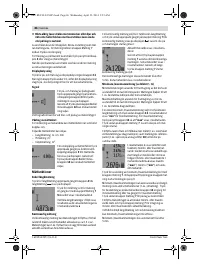
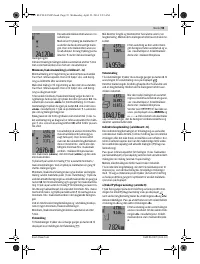
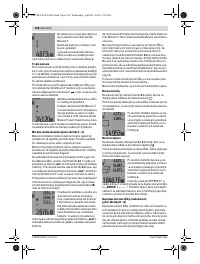
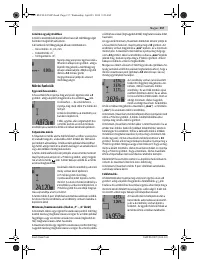
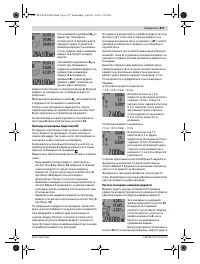
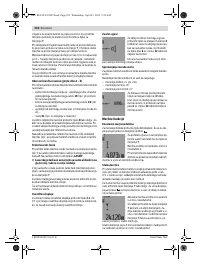
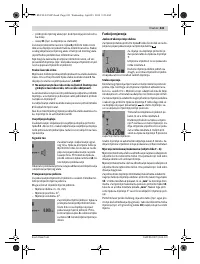
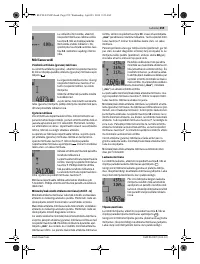
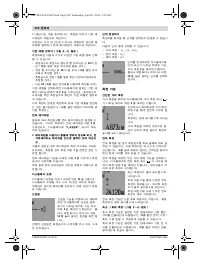
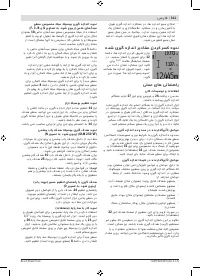
When the battery symbol
appears for the first time on the
display, at least 100 individual measurements are still possi-
ble. The continuous measurement mode is deactivated.
When the battery symbol
flashes, the batteries/recharge-
able batteries must be replaced. Measurements are no longer
possible.
Always replace all batteries/rechargeable batteries at the
same time. Do not use different brands or types of batteries/
rechargeable batteries together.
Remove the batteries/rechargeable batteries from the
measuring tool when not using it for longer periods.
When storing for longer periods, the batteries/rechargea-
ble batteries can corrode and self-discharge.
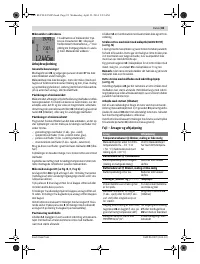
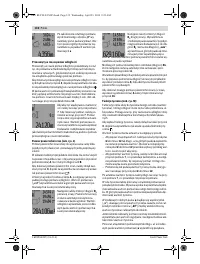
Operation
Initial Operation
Protect the measuring tool against moisture and direct
sun light.
Do not subject the measuring tool to extreme tempera-
tures or variations in temperature.
As an example, do
not leave it in vehicles for longer periods. In case of large
variations in temperature, allow the measuring tool to ad-
just to the ambient temperature before putting it into oper-
ation.
Avoid heavy impact to or falling down of the measuring
tool.
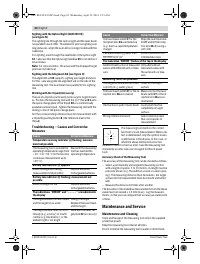
After severe exterior effects to the measuring tool, it
is recommended to carry out an accuracy check (see “Ac-
curacy Check of the Measuring Tool”, page 24) each time
before continuing to work.
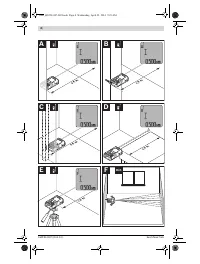
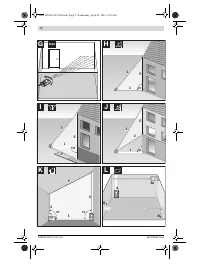
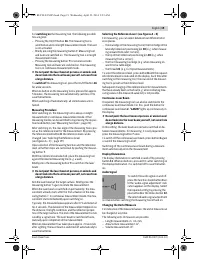
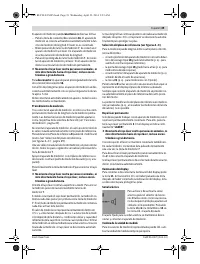
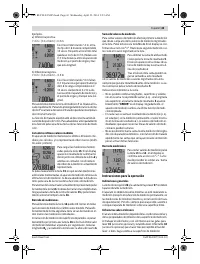
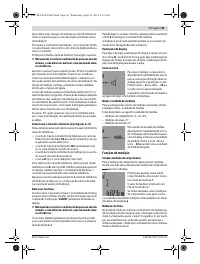
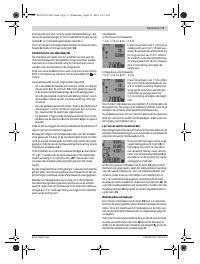
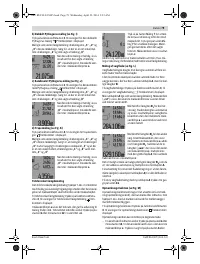
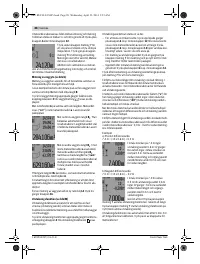
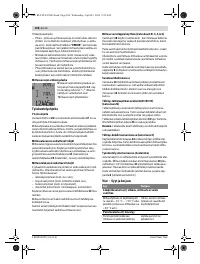
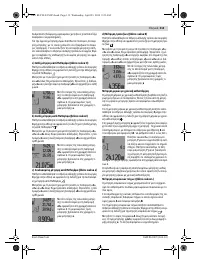
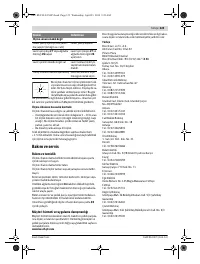
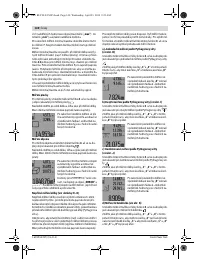
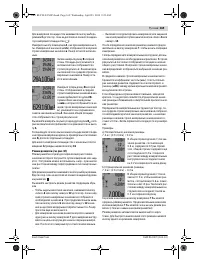
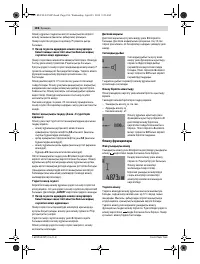
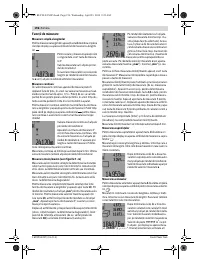
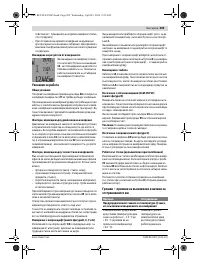
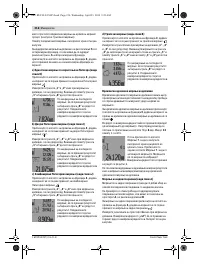
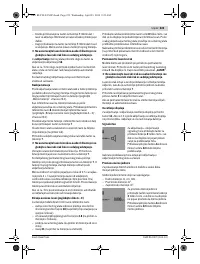
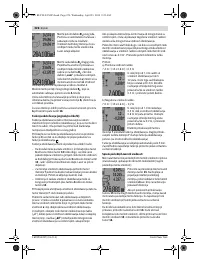
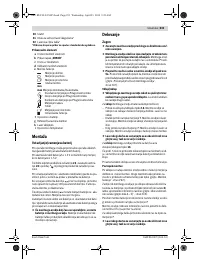
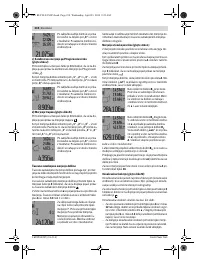
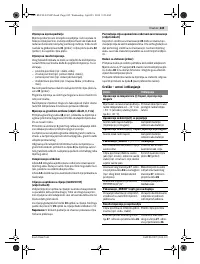
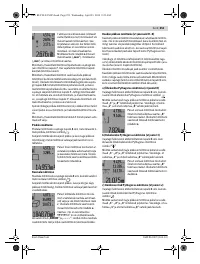
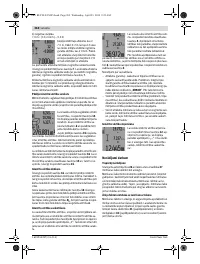
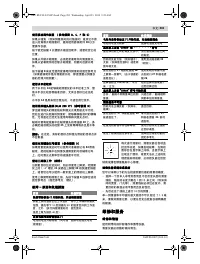
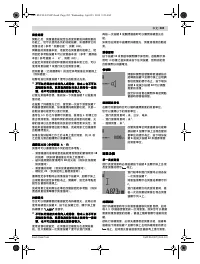
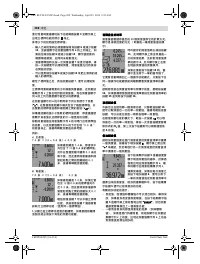
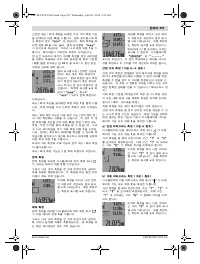
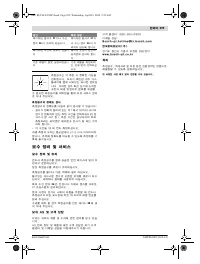
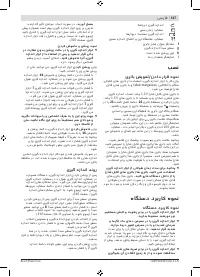
Switching On and Off
Do not leave the switched-on measuring tool unattend-
ed and switch the measuring tool off after use.
Other
persons could be blinded by the laser beam.
1
2
1
3
2
1
3
2
1
3
2
OBJ_BUCH-947-005.book Page 18 Wednesday, April 23, 2014 9:23 AM
Содержание
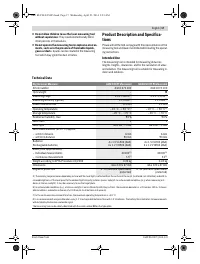
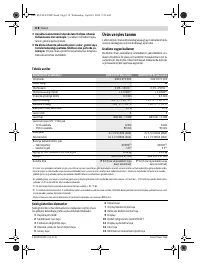
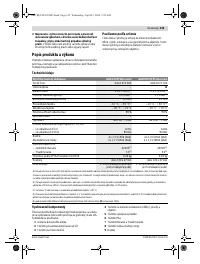
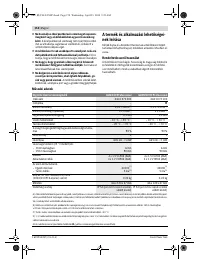
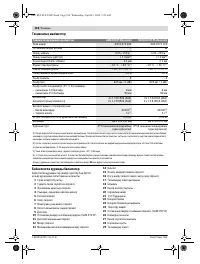
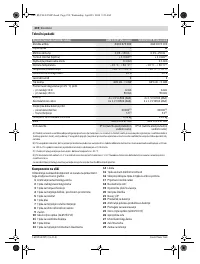
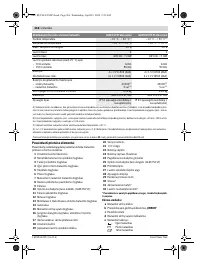
- 164 Технические данные; Цифровой лазерный дальномер
- 165 Элементы индикации; Сборка; Установка/замена батареек; Работа с инструментом; Эксплуатация; включения
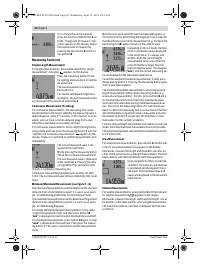
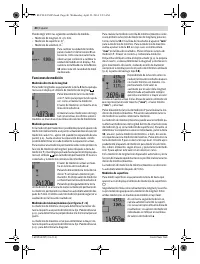
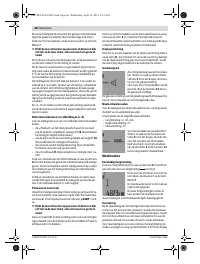
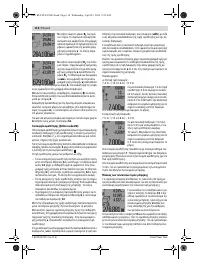
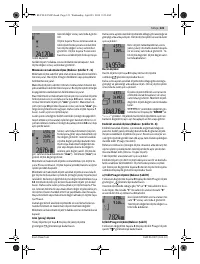
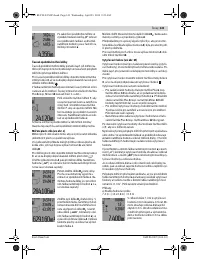
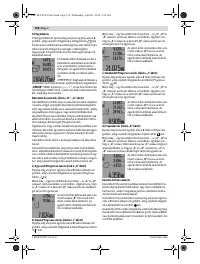
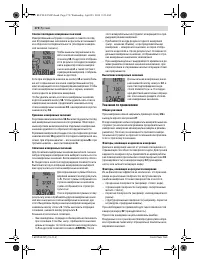
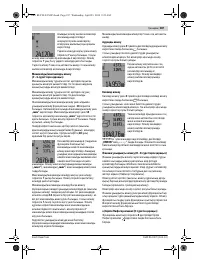
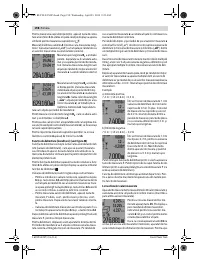
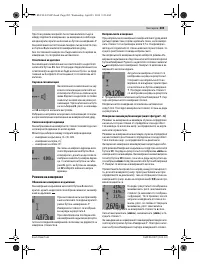
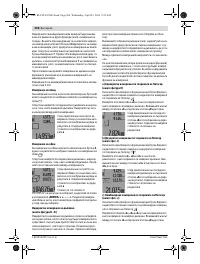
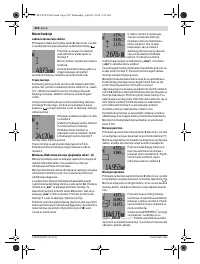
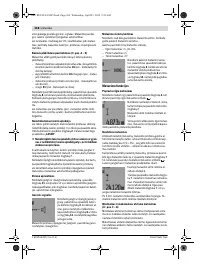
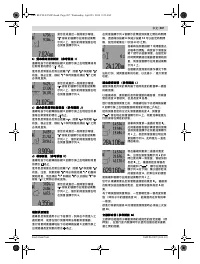
- 166 Режимы измерений
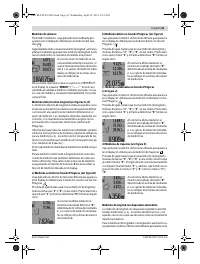
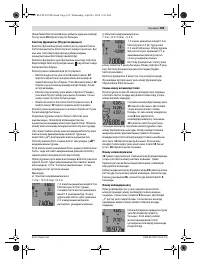
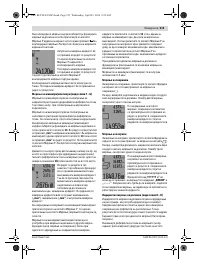
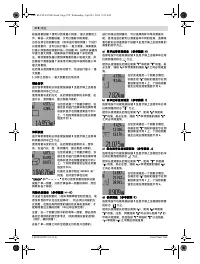
- 168 Измерение длины с выдержкой по времени
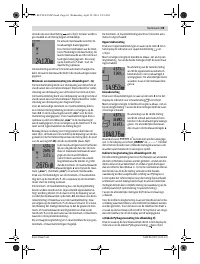
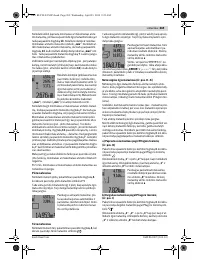
- 169 «cst»
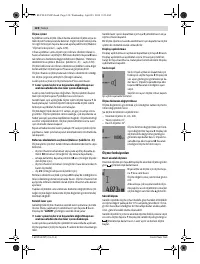
- 170 Указания по применению
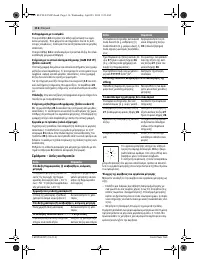
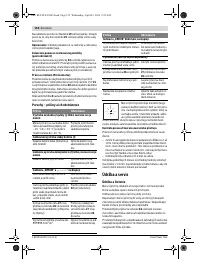
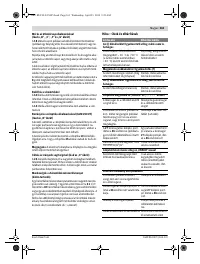
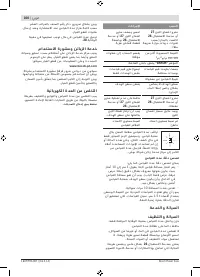
- 171 Выверка уровня; Неисправность – Причины и устранение; Причина
- 172 Контроль точности измерительного инструмента; Техобслуживание и сервис; Техобслуживание и очистка; Россия; Беларусь; Утилизация
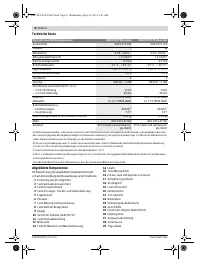
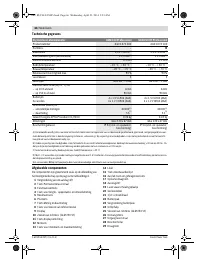
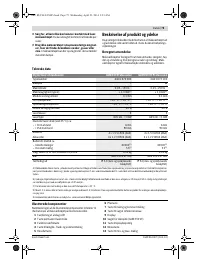
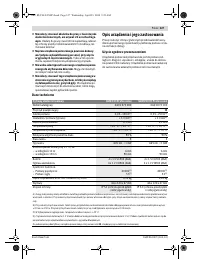
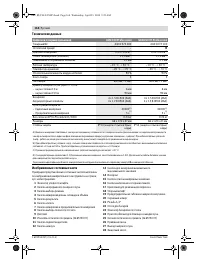
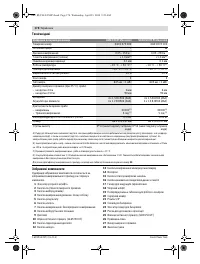
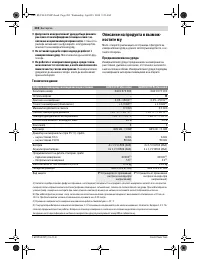
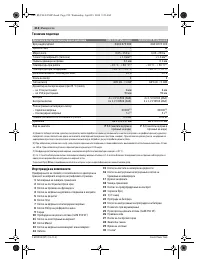
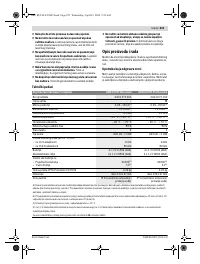
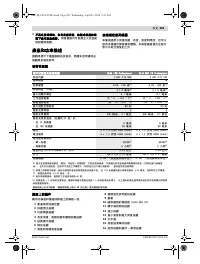
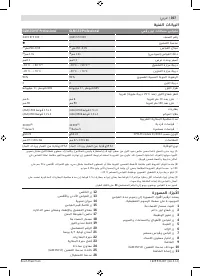
Характеристики

Остались вопросы?Не нашли свой ответ в руководстве или возникли другие проблемы? Задайте свой вопрос в форме ниже с подробным описанием вашей ситуации, чтобы другие люди и специалисты смогли дать на него ответ. Если вы знаете как решить проблему другого человека, пожалуйста, подскажите ему :)


