Измерительные приборы Bosch GLM 150 - инструкция пользователя по применению, эксплуатации и установке на русском языке. Мы надеемся, она поможет вам решить возникшие у вас вопросы при эксплуатации техники.
Если остались вопросы, задайте их в комментариях после инструкции.
"Загружаем инструкцию", означает, что нужно подождать пока файл загрузится и можно будет его читать онлайн. Некоторые инструкции очень большие и время их появления зависит от вашей скорости интернета.


English |
23
Bosch Power Tools
1 609 92A 0KT | (23.4.14)
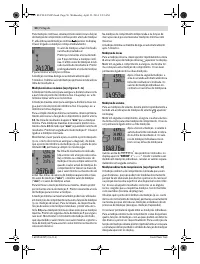
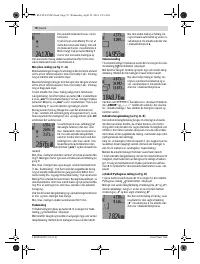
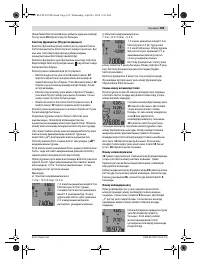
To delete the currently displayed measured-value list entry,
briefly press button
16
. To delete the complete measured-
value list, press and hold the button for the measured-value
list
15
and at the same time briefly press button
16
.
Deleting Measured Values
Briefly pressing button
16
deletes the last individual measur-
ing value determined in all measuring functions. Briefly press-
ing the button repeatedly deletes the individual measured val-
ues in reverse order.
In wall surface measurement mode, briefly pressing button
16
the first time deletes the last individually measured value;
pressing the button a second time deletes all lengths
B
X
, and
pressing the button a third time deletes all room heights
A
.
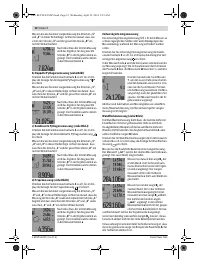
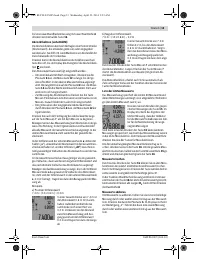
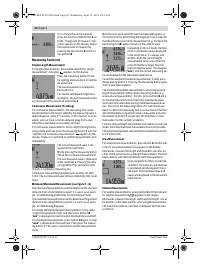
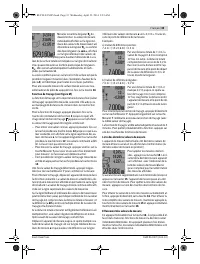
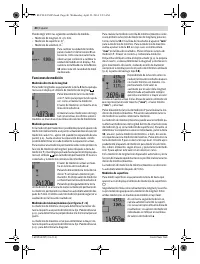
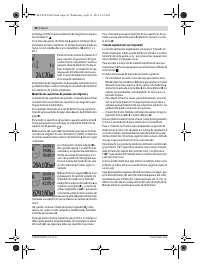
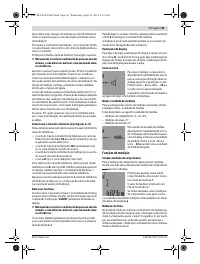
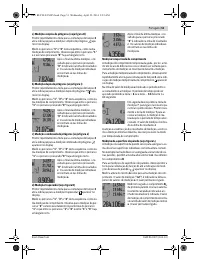
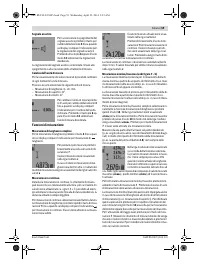
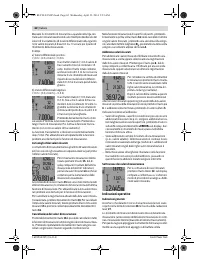
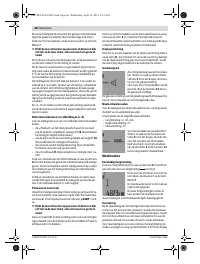
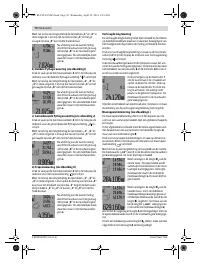
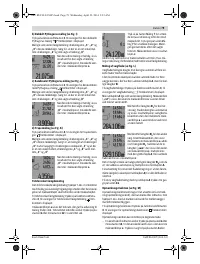
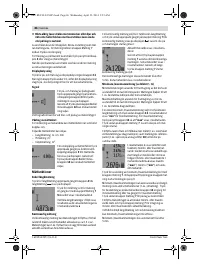
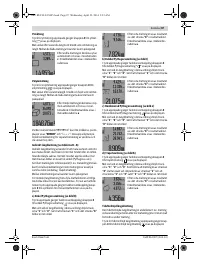
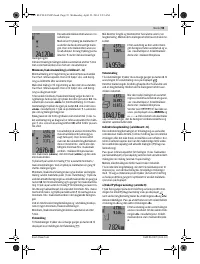
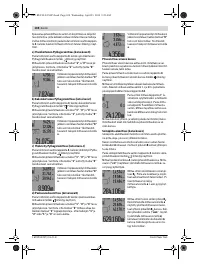
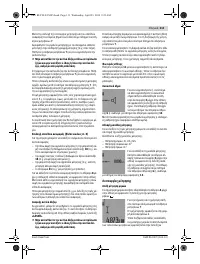
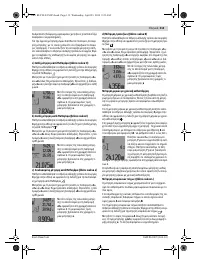
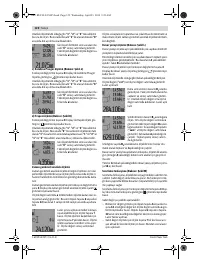
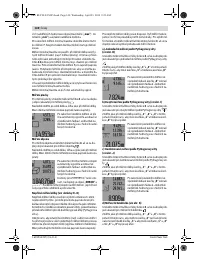
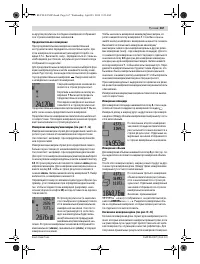
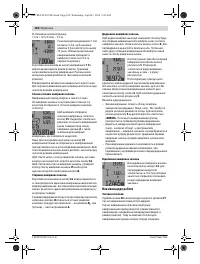
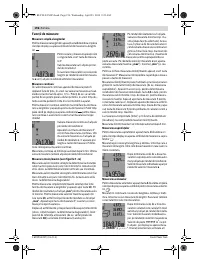
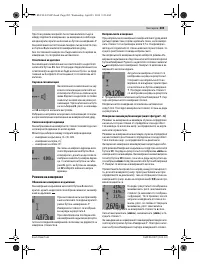
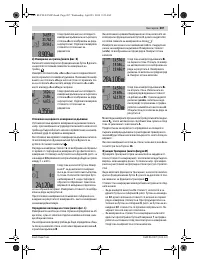
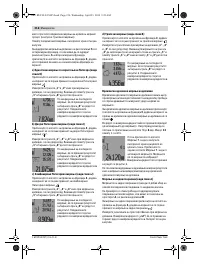
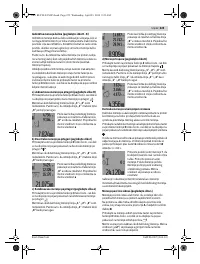
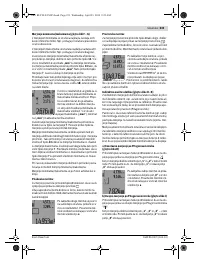
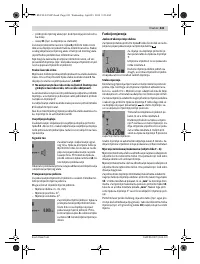
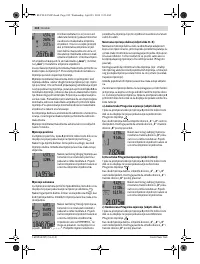
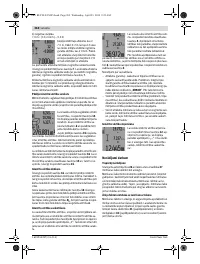
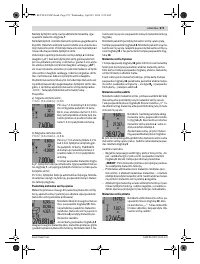
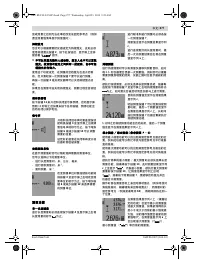
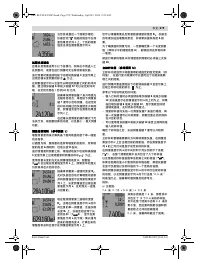
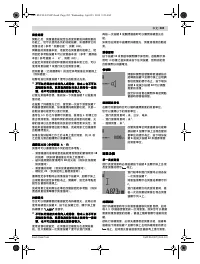
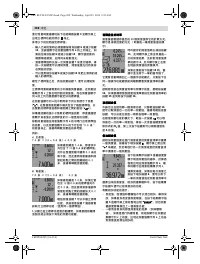
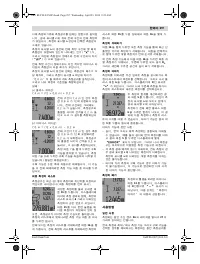
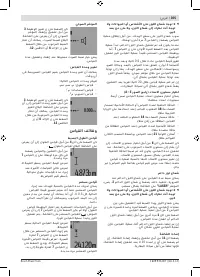
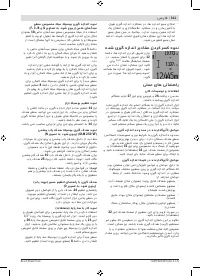
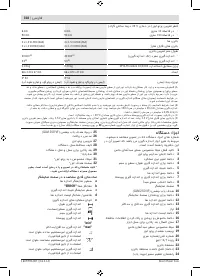
Adding Measured Values
To add measured values, firstly carry out any measurement or
select an entry from the measured-value list. Then press the
plus button
6
. For confirmation,
“+”
appears on the display.
Then carry out a second measurement or select another entry
from the measured-value list.
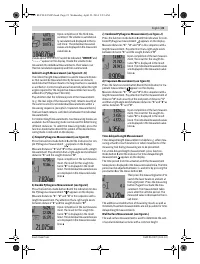
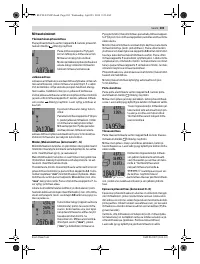
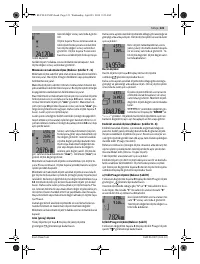
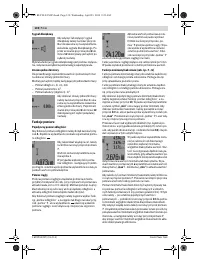
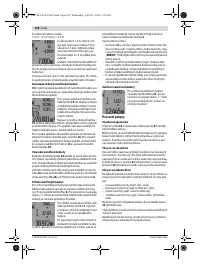
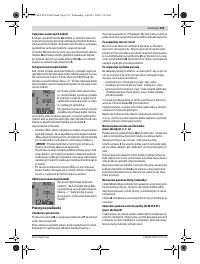
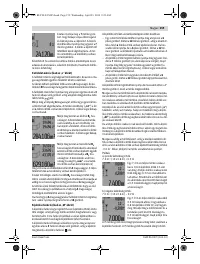
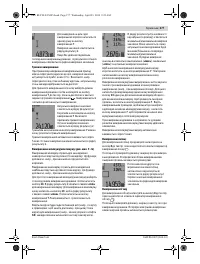
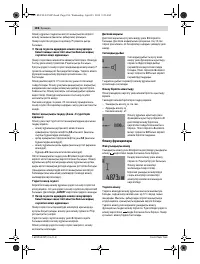
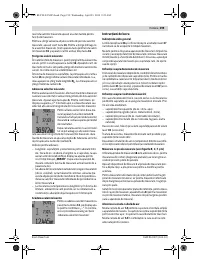
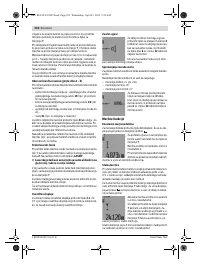
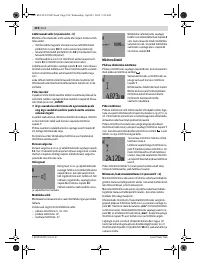
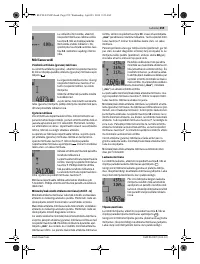
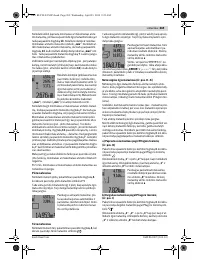
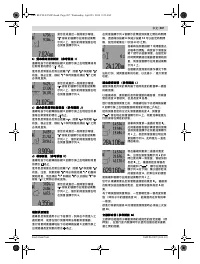
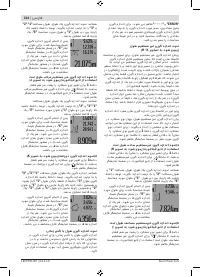
To call up the sum of both measure-
ments, press the result button
5
. The
calculation is indicated in the mea-
sured-value lines
a
, and the sum in
the result line
c
.
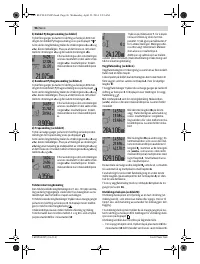
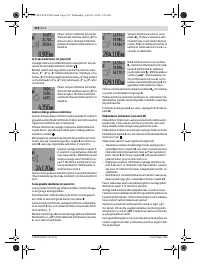
After calculation of the sum, further
measured values or measured-value
list entries can be added to this result when pressing the plus
button
6
prior to each measurement. Pressing the result but-
ton
5
ends the addition.
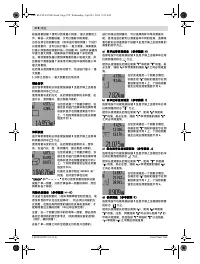
Notes on the addition:
– Mixed length, area and volume values cannot be added to-
gether. For example, when a length and area value are add-
ed,
“ERROR”
briefly appears on the display after pressing
the result button
5
. Afterwards, the measuring tool switch-
es back to the last active measuring mode.
– For each calculation, the result of one measurement is
added (e. g. the volume value); for continuous measure-
ments, this would be the displayed measured value in re-
sult line
c
. The addition of individual measured values from
the measured-value lines
a
is not possible.
– For time-delayed length measurements and when in mark-
out mode, additions are not possible; when changing to
these modes, begun additions are interrupted.
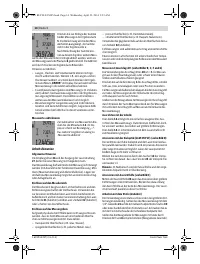
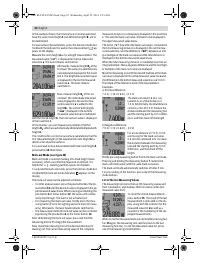
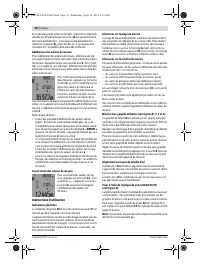
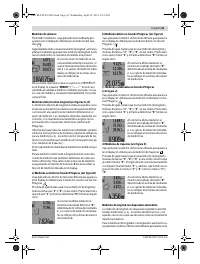
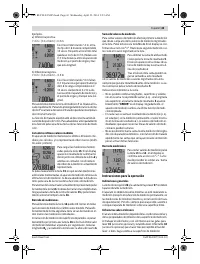
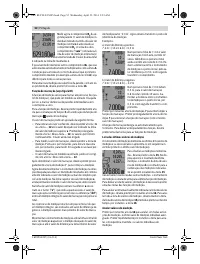
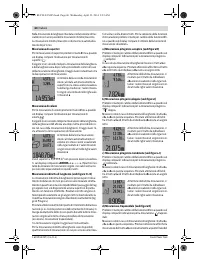
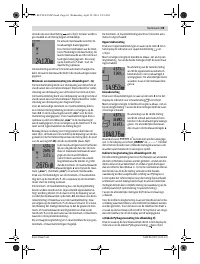
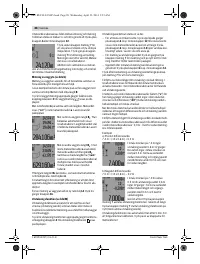
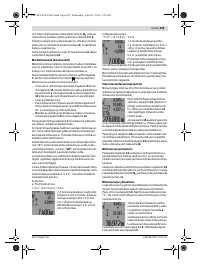
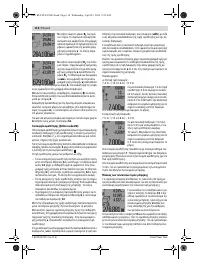
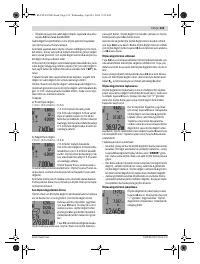
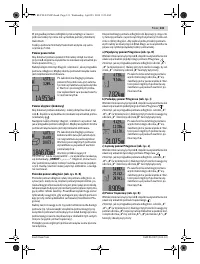
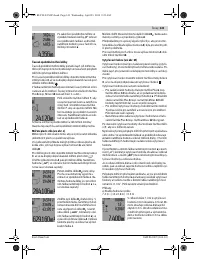
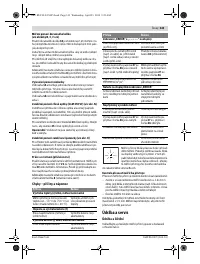
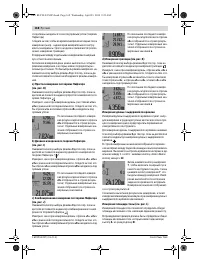
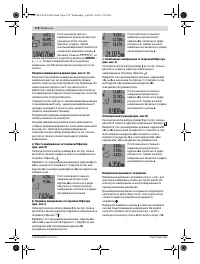
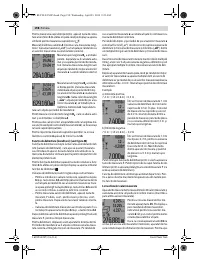
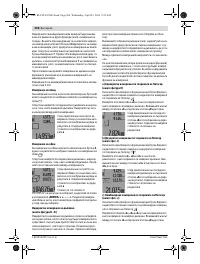
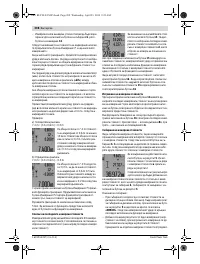
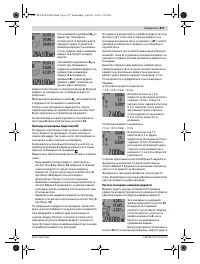
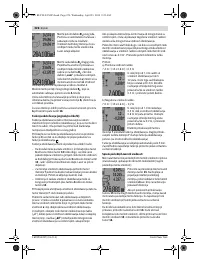
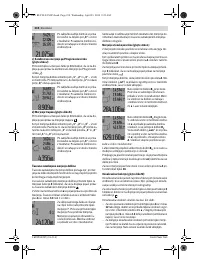
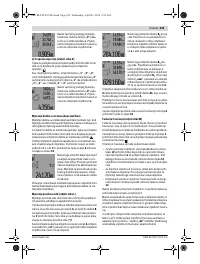
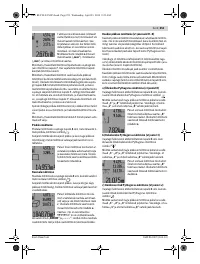
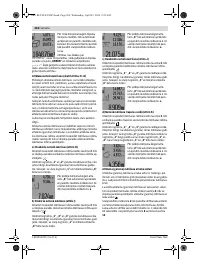
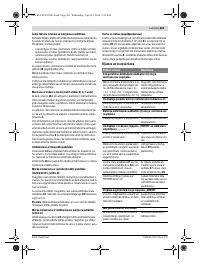
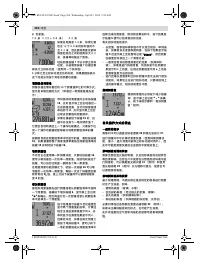
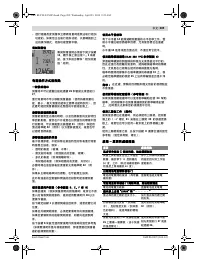
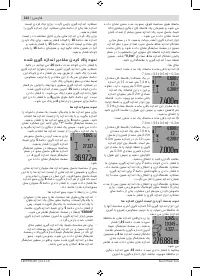
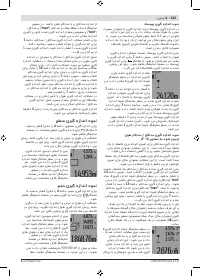
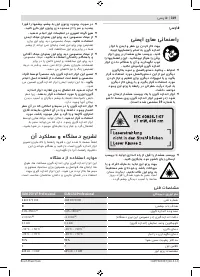
Subtracting Measured Values
To subtract measuring values, press
minus button
12
; for confirmation,
“– ”
is indicated on the display. The
further procedure is analog to “Add-
ing Measured Values”.
Working Advice
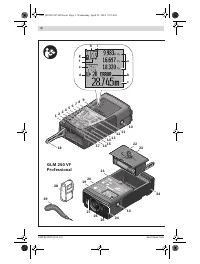
General Information
The reception lens
26
and the laser beam outlet
27
must not
be covered when taking a measurement.
The measuring tool must not be moved while taking a mea-
surement (except for continuous measurements, minimum/
maximum measurements and when in mark-out mode).
Therefore, place the measuring tool, as far as this is possible,
against or on a firm stop or supporting surface.
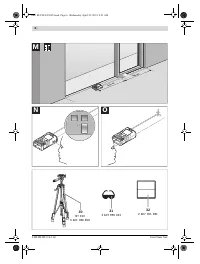
Influence Effects on the Measuring Range
The measuring range depends upon the light conditions and
the reflection properties of the target surface. For improved
visibility of the laser beam when working outdoors and when
the sunlight is intense, use the laser viewing glasses
31
(accessory) and the laser target plate
32
(accessory), or
shade off the target surface.
Influence Effects on the Measuring Result
Due to physical effects, faulty measurements cannot be ex-
cluded when measuring on different surfaces. Included here
are:
– transparent surfaces (e. g., glass, water),
– reflecting surfaces (e. g., polished metal, glass),
– porous surfaces (e. g. insulation materials),
– structured surfaces (e. g., roughcast, natural stone).
If required, use the laser target plate
32
(accessory) on these
surfaces.
Furthermore, faulty measurements are also possible when
sighting inclined target surfaces.
Also, air layers with varying temperatures or indirectly re-
ceived reflections can affect the measured value.
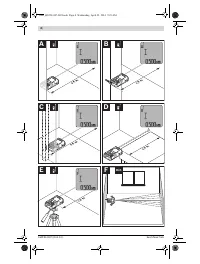
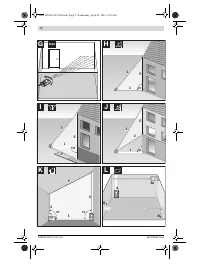
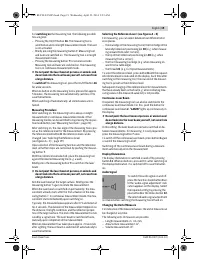
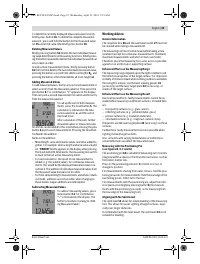
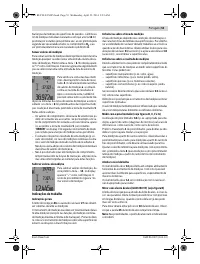
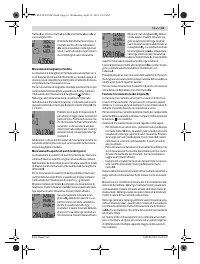
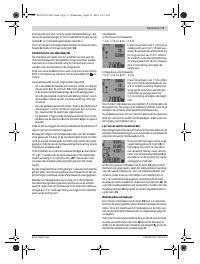
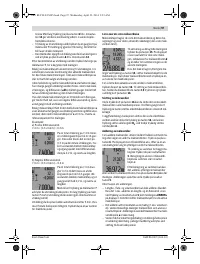
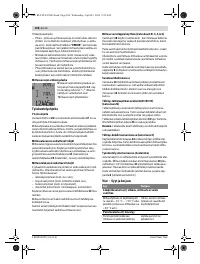
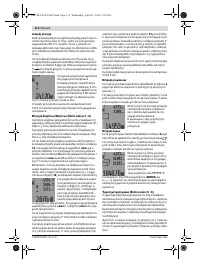
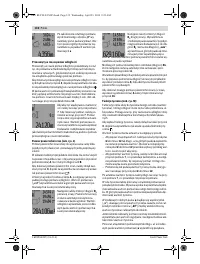
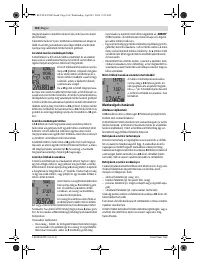
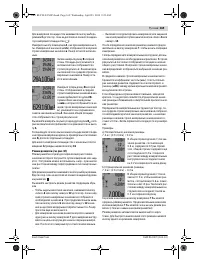
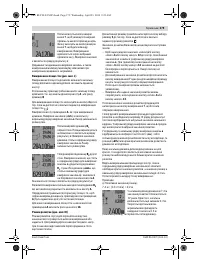
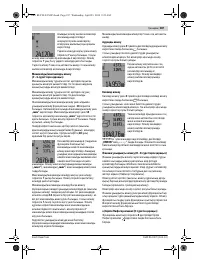
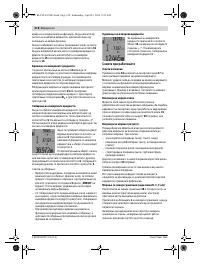
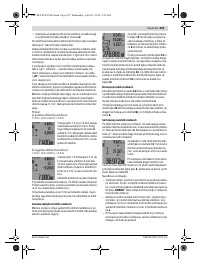
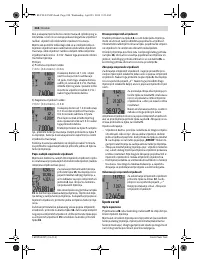
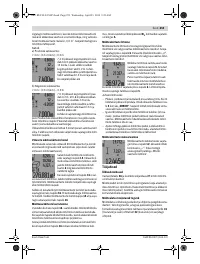
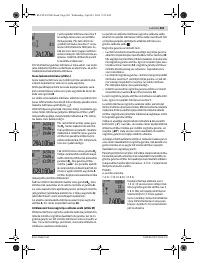
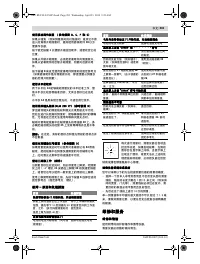
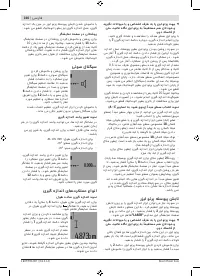
Measuring with the Positioning Pin
(see figures B, C, F and G)
The positioning pin
18
is suitable for measuring out of corners
(diagonal within a space) or from hard to reach areas, such as
from roller-shutter rails.
Press on the positioning pin latch
1
to fold it in or out, or
change its position.
For measurements starting from outer corners, fold the posi-
tioning pin aside; for measurements from the rear edge of the
positioning pin on, fold it out to the rear.
For measurements with the positioning pin, adjust the refer-
ence plane accordingly by pressing button
8
(for measure-
ments with the positioning pin aside, set to measuring from
the rear edge of the measuring tool).
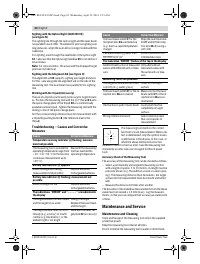
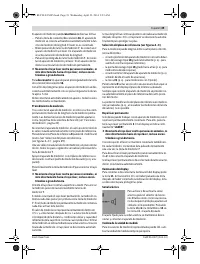
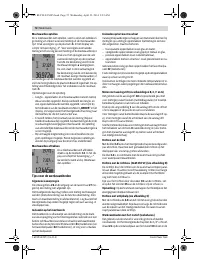
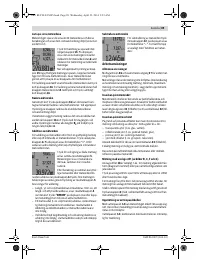
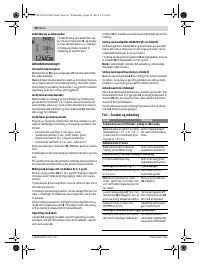
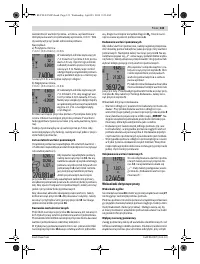
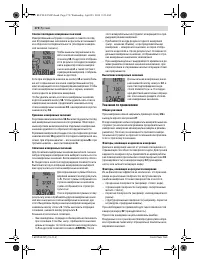
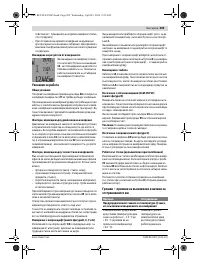
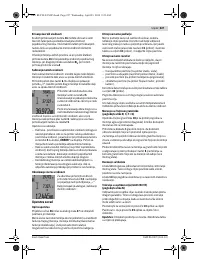
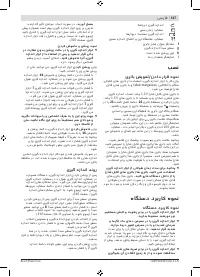
Aligning with the Spirit Level
The spirit level
14
allows for simple levelling of the measuring
tool. This allows for easier sighting of target surfaces, espe-
cially over longer distances.
In combination with the laser beam, the spirit level
14
is not
suitable for levelling.
OBJ_BUCH-947-005.book Page 23 Wednesday, April 23, 2014 9:23 AM
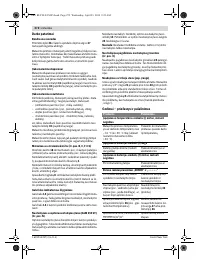
Содержание
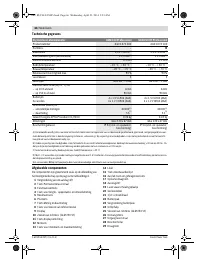
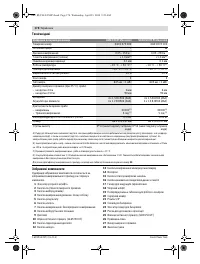
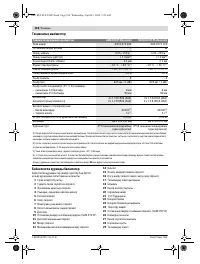
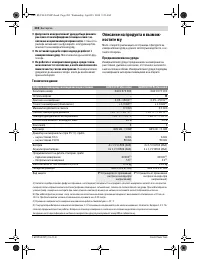
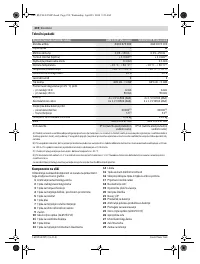
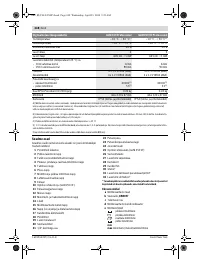
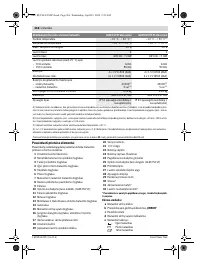
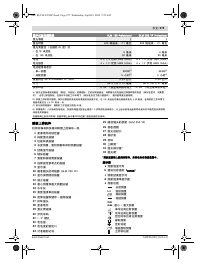
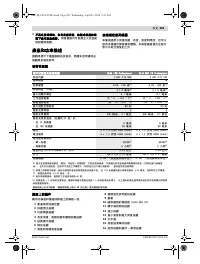
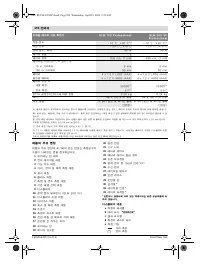
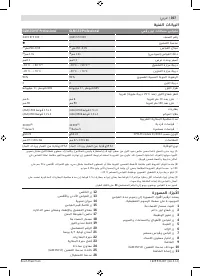
- 164 Технические данные; Цифровой лазерный дальномер
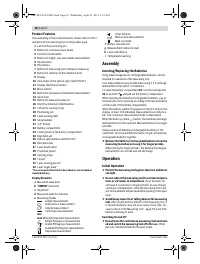
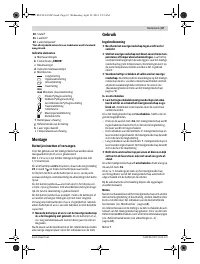
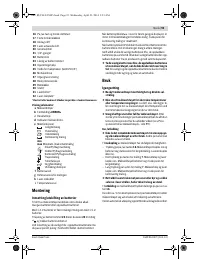
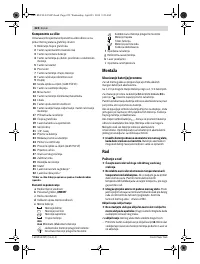
- 165 Элементы индикации; Сборка; Установка/замена батареек; Работа с инструментом; Эксплуатация; включения
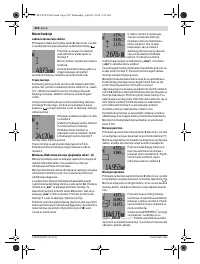
- 166 Режимы измерений
- 168 Измерение длины с выдержкой по времени
- 169 «cst»
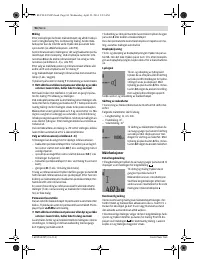
- 170 Указания по применению
- 171 Выверка уровня; Неисправность – Причины и устранение; Причина
- 172 Контроль точности измерительного инструмента; Техобслуживание и сервис; Техобслуживание и очистка; Россия; Беларусь; Утилизация
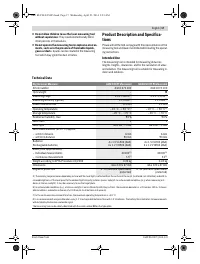
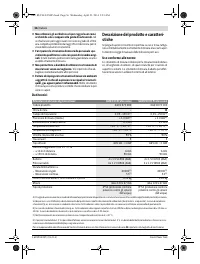
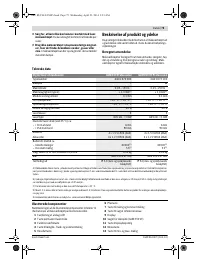
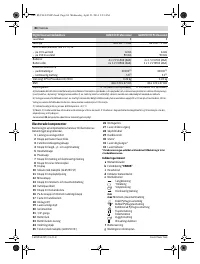
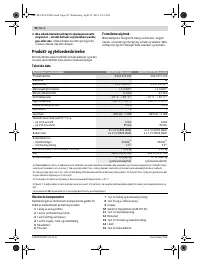
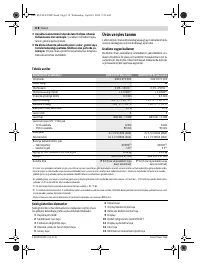
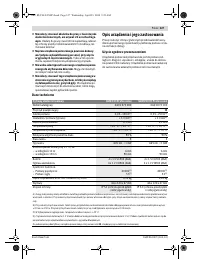
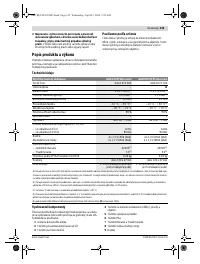
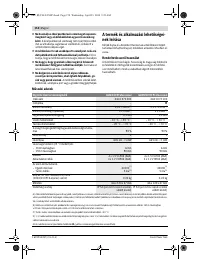
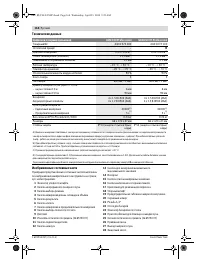
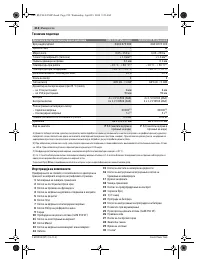
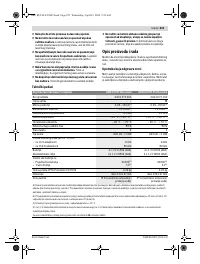
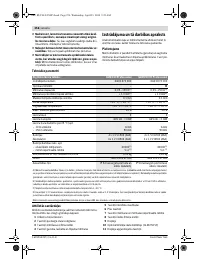
Характеристики

Остались вопросы?Не нашли свой ответ в руководстве или возникли другие проблемы? Задайте свой вопрос в форме ниже с подробным описанием вашей ситуации, чтобы другие люди и специалисты смогли дать на него ответ. Если вы знаете как решить проблему другого человека, пожалуйста, подскажите ему :)


