Измерительные приборы Bosch GLM 150 - инструкция пользователя по применению, эксплуатации и установке на русском языке. Мы надеемся, она поможет вам решить возникшие у вас вопросы при эксплуатации техники.
Если остались вопросы, задайте их в комментариях после инструкции.
"Загружаем инструкцию", означает, что нужно подождать пока файл загрузится и можно будет его читать онлайн. Некоторые инструкции очень большие и время их появления зависит от вашей скорости интернета.


20
| English
1 609 92A 0KT | (23.4.14)
Bosch Power Tools
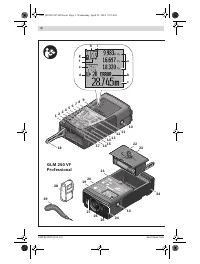
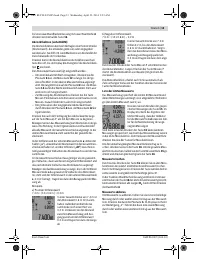
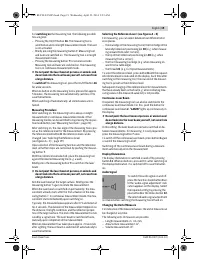
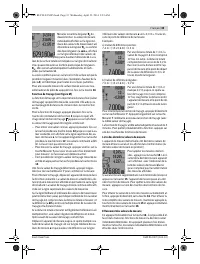
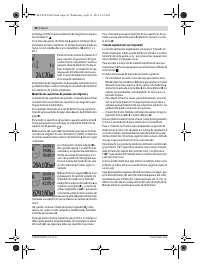
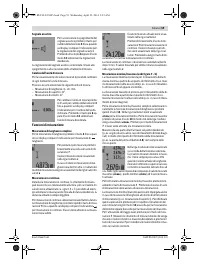
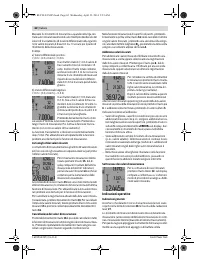
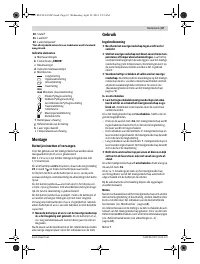
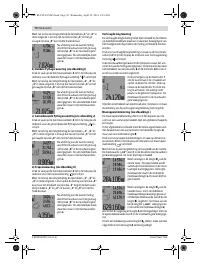
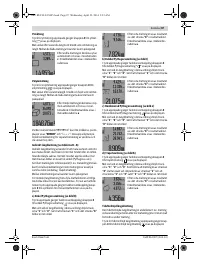
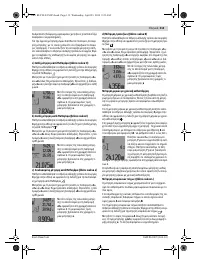
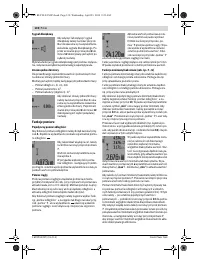
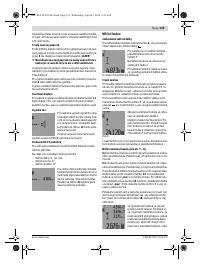
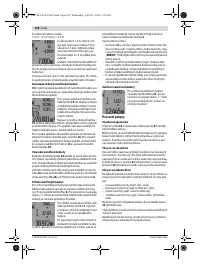
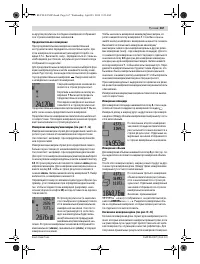
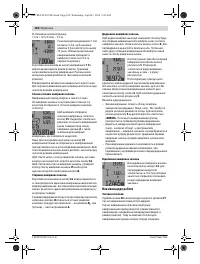
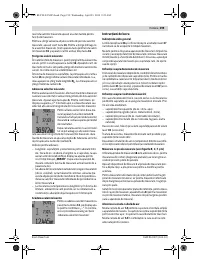
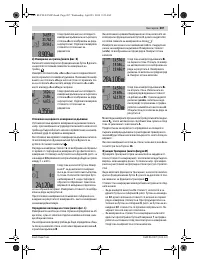
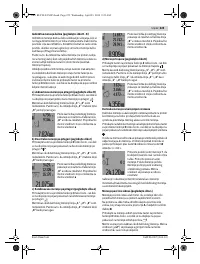
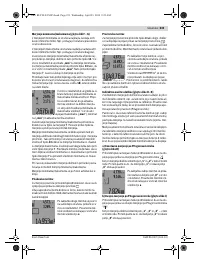
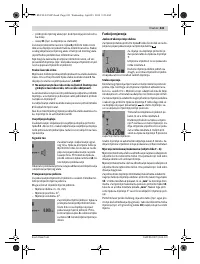
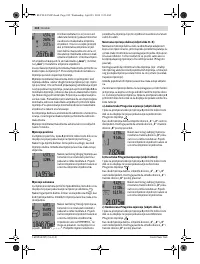
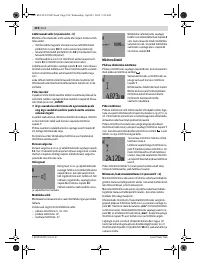
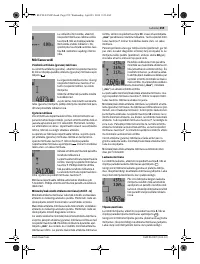
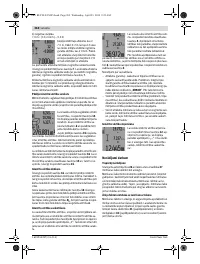
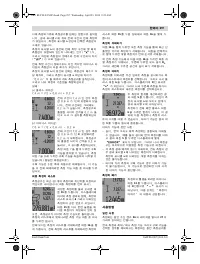
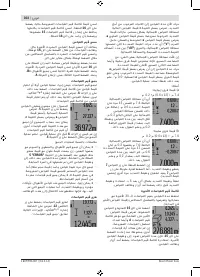
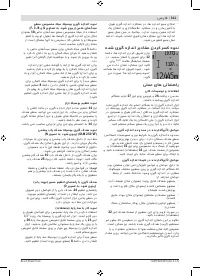
To to change the unit of measure,
press the function-mode button
3
un-
til the “change unit of measure” indi-
cation appears on the display. Select
the required unit of measure by
pressing the plus button
6
or the mi-
nus button
12
.
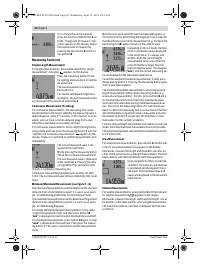
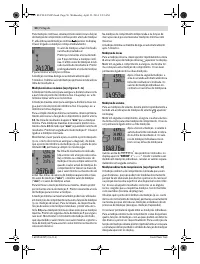
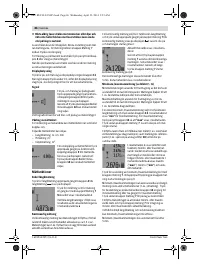
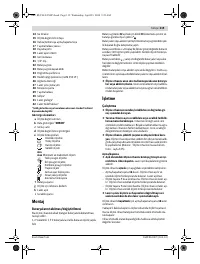
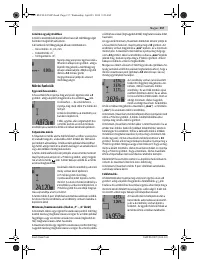
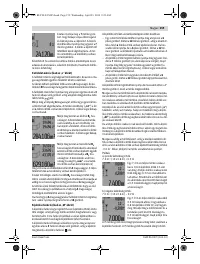
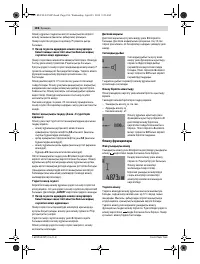
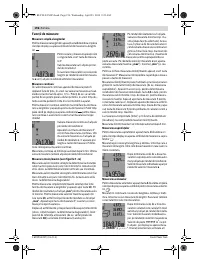
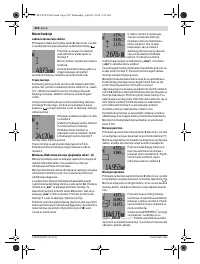
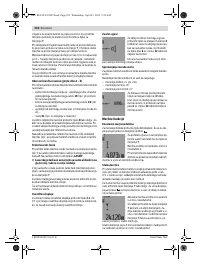
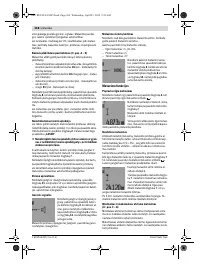
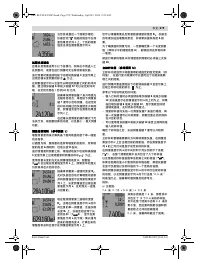
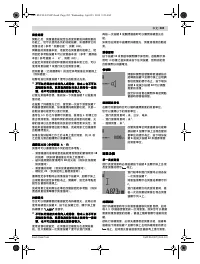
Measuring Functions
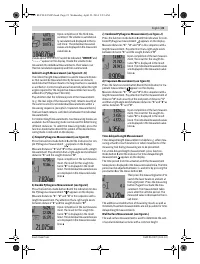
Simple Length Measurement
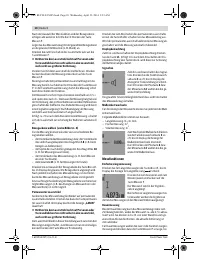
For length measurements, press button
4
until the “length
measurement” indication
appears on the display.
Press the measuring button
7
once
for sighting and once more to take the
measurement.
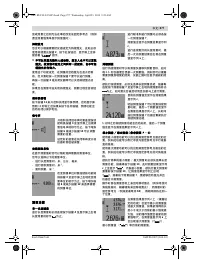
The measured value is displayed in
the result line
c
.
For several subsequent length mea-
surements, the last measured results
are displayed in the measured-value lines
a
.
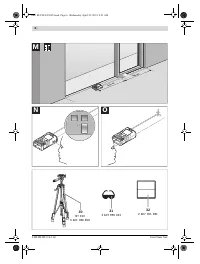
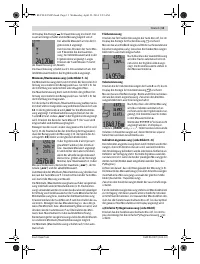
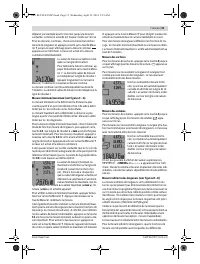
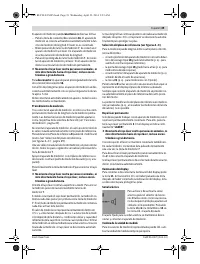
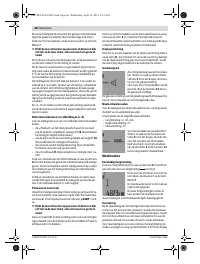
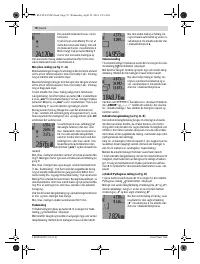
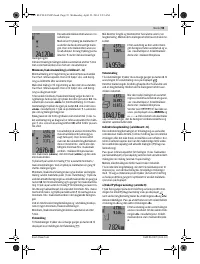
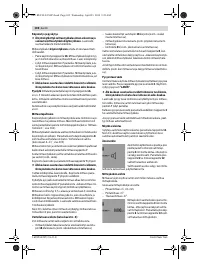
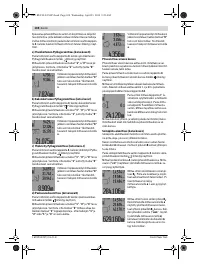
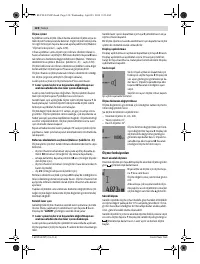
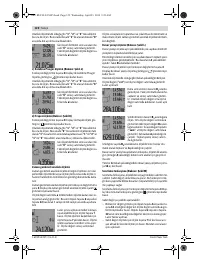
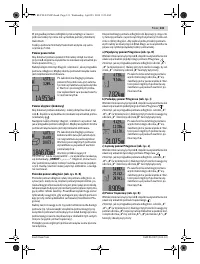
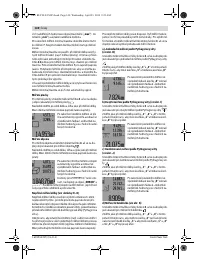
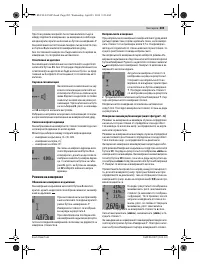
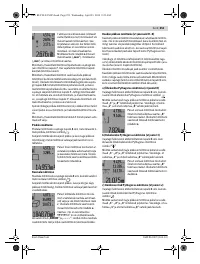
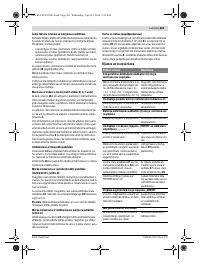
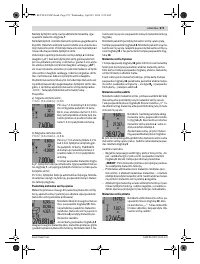
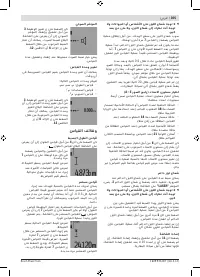
Continuous Measurement (Tracking)
For continuous measurements, the measuring tool can be
moved relative to the target, whereby the measuring value is
updated approx. every 0.5 seconds. In this manner, as an ex-
ample, you can move a certain distance away from a wall,
while the actual distance can always be read.
For continuous measurements, firstly select the length mea-
suring mode and then press the measuring button
7
until the
“indicator for continuous measurement”
appears on the
display. The laser is switched on and the measurement starts
immediately.
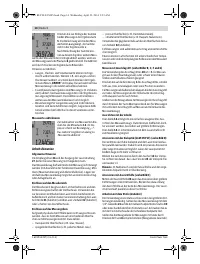
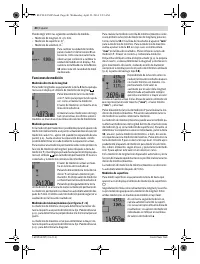
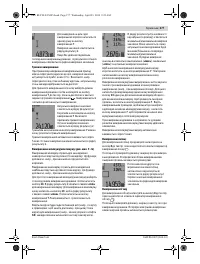
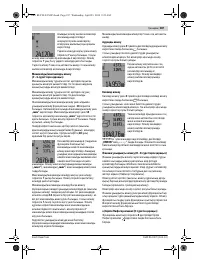
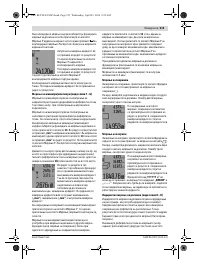
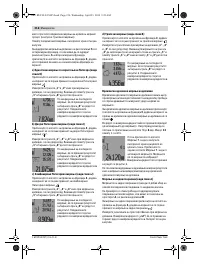
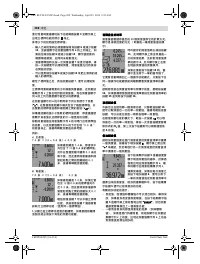
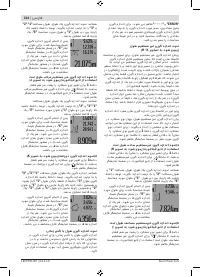
The current measured value is dis-
played in the result line
c
.
Briefly pressing the measuring button
7
ends the continuous measurement.
The last measured value is displayed
in the result line
c
. Pressing the mea-
suring button
7
for several seconds
restarts a continuous measuring run.
Continuous measurement automatically switches off after
5 min. The last measured value remains indicated in the result
line
c
.
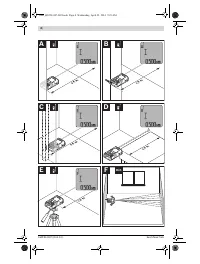
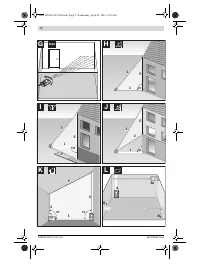
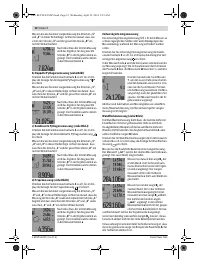
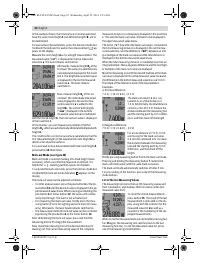
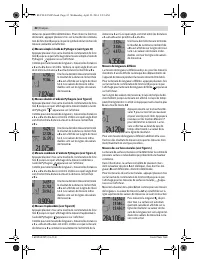
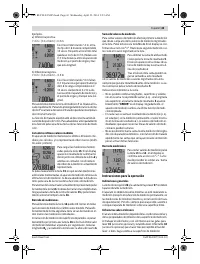
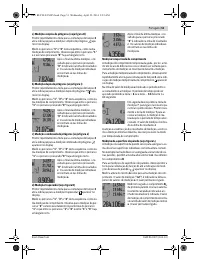
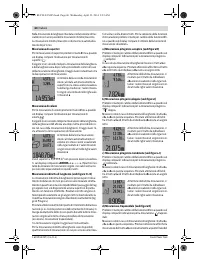
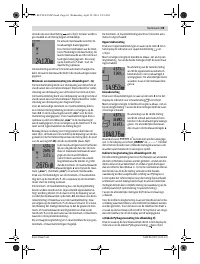
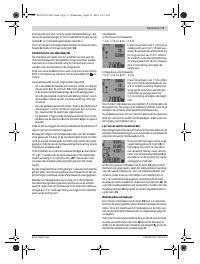
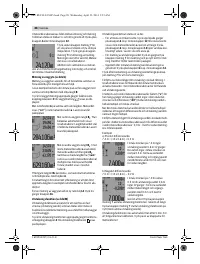
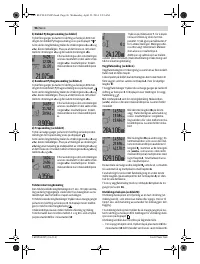
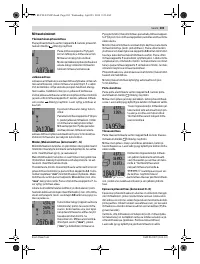
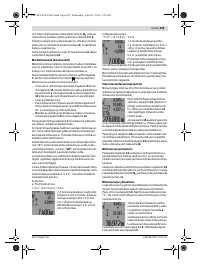
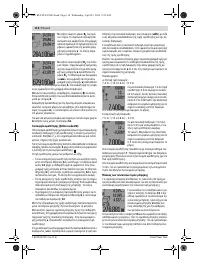
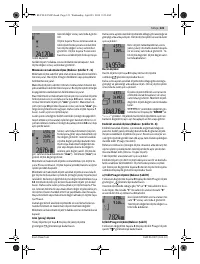
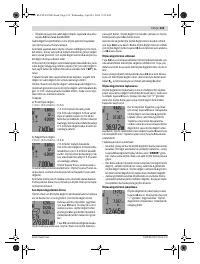
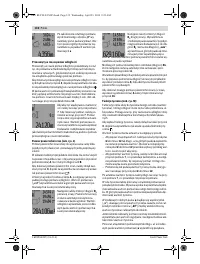
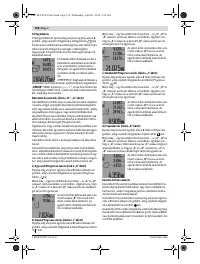
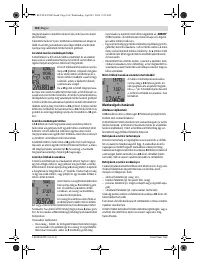
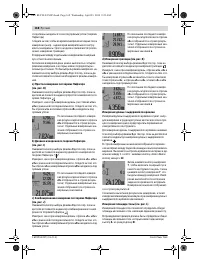
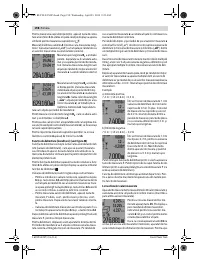
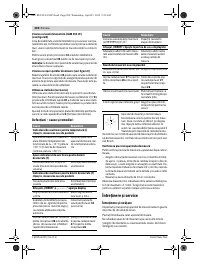
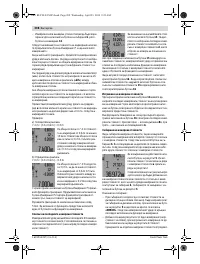
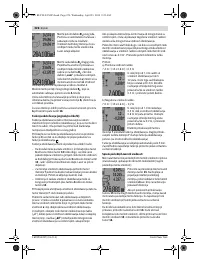
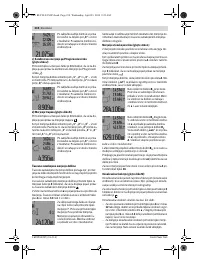
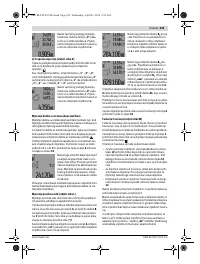
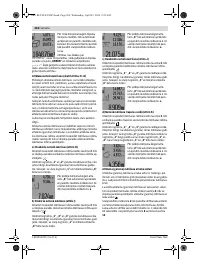
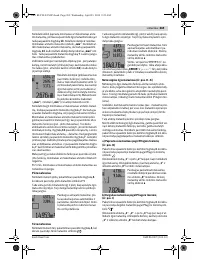
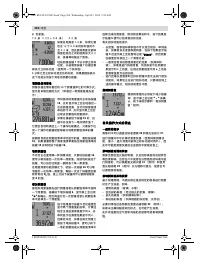
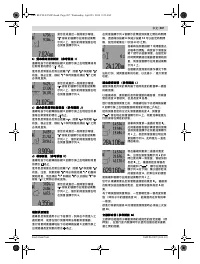
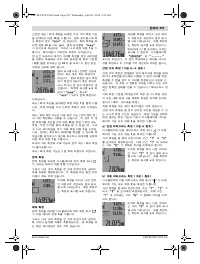
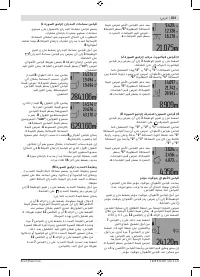
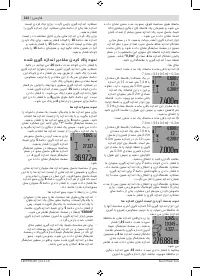
Minimum/Maximum Measurement (see figure F – G)
The minimum measurement is used to determine the shortest
distance from a fixed reference point. It is used, as an exam-
ple, for determining plumb lines or horizontal partitions.
The maximum measurement is used to determine the greatest
distance from a fixed reference point. It is used, as an exam-
ple, for determining diagonals.
For simple minimum/maximum measurement, firstly select
“length measurement mode” and then press button
13
.
“
min”
is displayed in result line
c
for minimum measurement.
For maximum measurements, press button
13
again, so that
“max”
is displayed in the result line. Then press the measur-
ing button
7
. The laser is switched on and the measurement
starts.
Move the laser back and forth over the requested target (e. g.,
the room corner for determining the diagonal) in such a manner
that the reference point of the measurement (e. g., the tip of the
positioning pin
18
) always remains at the same location.
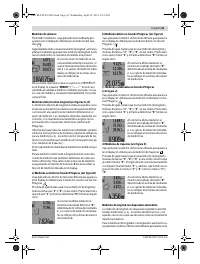
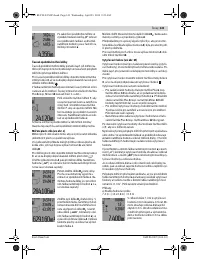
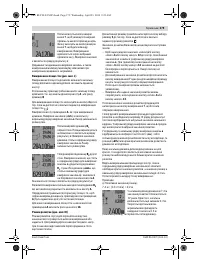
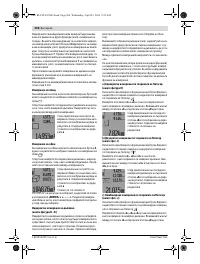
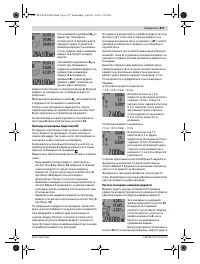
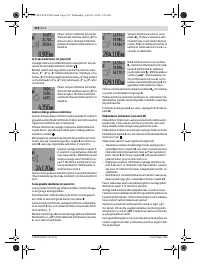
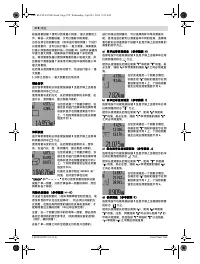
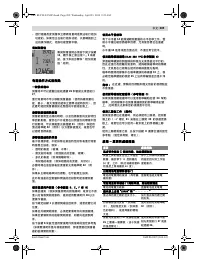
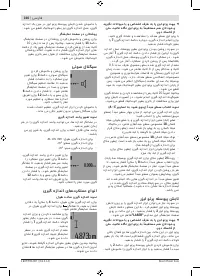
Depending on the set mode, the mini-
mum or maximum value is displayed
in the result line
c
. It is always over-
written, when the current length
measurement value is less than the
present minimal or larger than the
present maximal value. The maximal
(
“max”
), the minimal (
“min”
) and the current measuring val-
ue are displayed in the measured-value lines
a
.
To end the minimum/maximum measurement, briefly press
the measuring button
7
. Pressing the measuring button again
starts a new measurement.
The minimum/maximum measurement can also be used for
length measurements within other measuring modes (e. g.
area/surface measurement). For this, press button
13
once
for minimal measurement and twice for maximal measure-
ment each time when determining individual measured val-
ues. Then press the measuring button
7
to switch the laser
beam on. Move the measuring tool in such a manner that the
desired minimum or maximum value is measured, and press
the measuring button
7
to take over the minimum or maxi-
mum value into the current calculation.
For time-delayed length measurements and when in mark-out
mode, minimum/maximum measurements are not possible.
The minimum/maximum measurement automatically switch-
es off after 5 min.
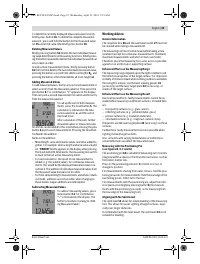
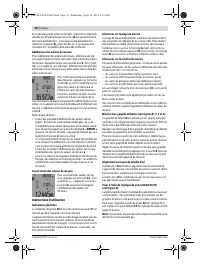
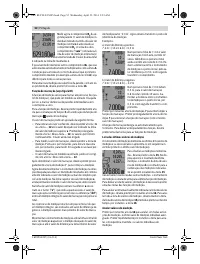
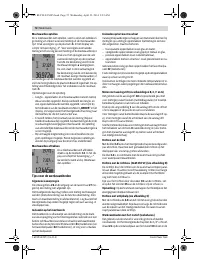
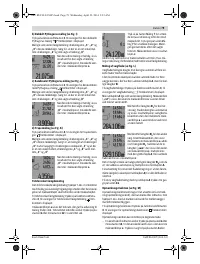
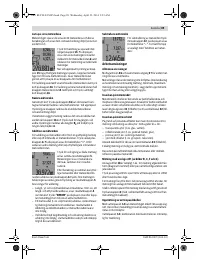
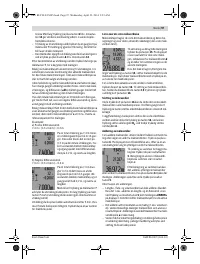
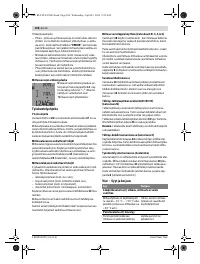
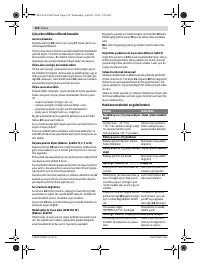
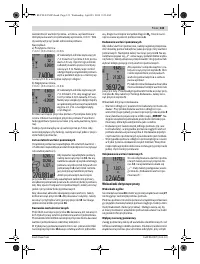
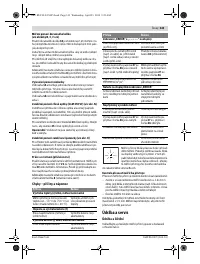
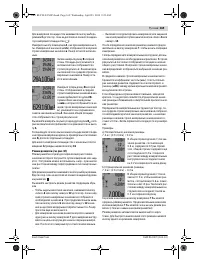
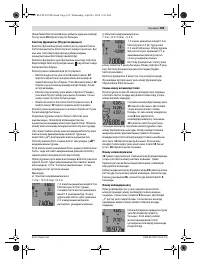
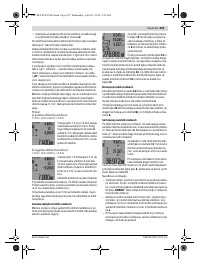
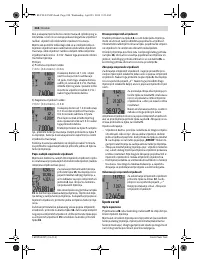
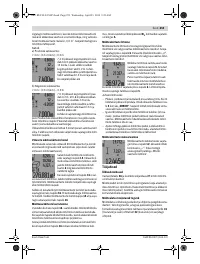
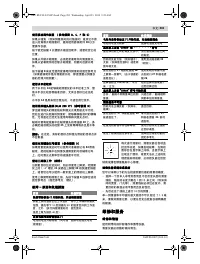
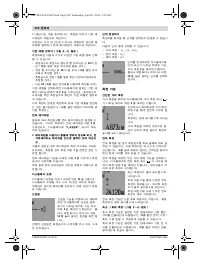
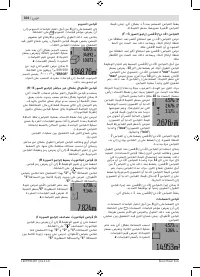
Area Measurement
For area/surface measurements, press button
4
until the indi-
cator for area measurement
appears on the display.
Afterwards, measure the length and the width, one after an-
other, in the same manner as a length measurement. The laser
beam remains switched on between both measurements.
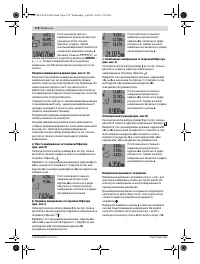
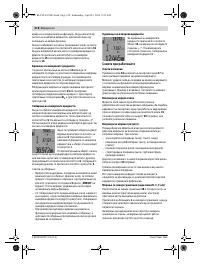
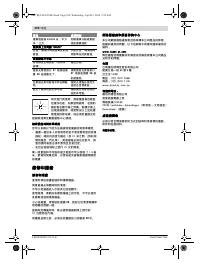
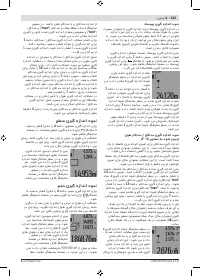
Upon completion of the second mea-
surement, the surface is automatical-
ly calculated and displayed in the re-
sult line
c
. The individual measured
values are displayed in the measured-
value lines
a
.
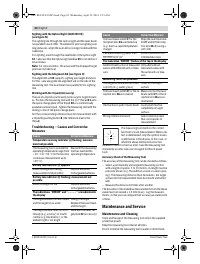
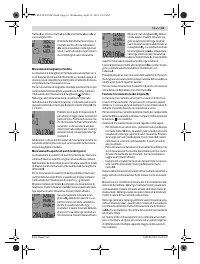
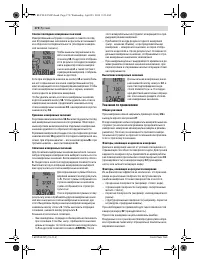
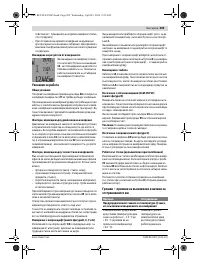
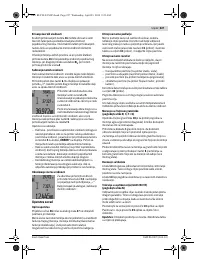
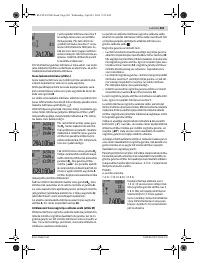
Volume Measurement
For volume measurements, press button
4
until the indicator
for volume measurement
appears on the display.
Afterwards, measure the length, width and the height, one af-
ter another, in the same manner as for a length measurement.
The laser beam remains switched on between all three mea-
surements.
OBJ_BUCH-947-005.book Page 20 Wednesday, April 23, 2014 9:23 AM
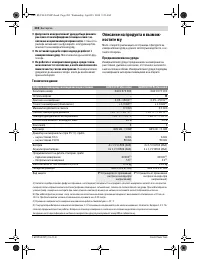
Содержание
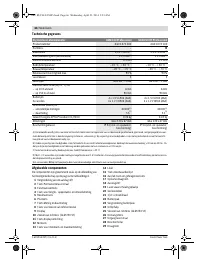
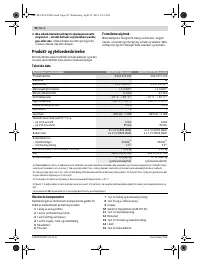
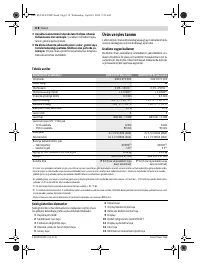
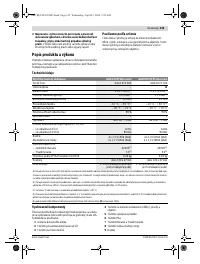
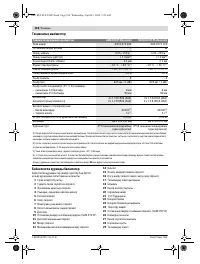
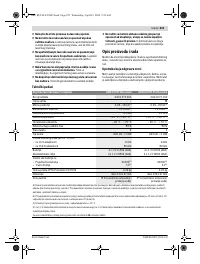
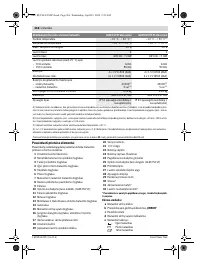
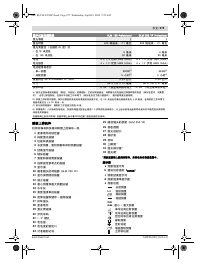
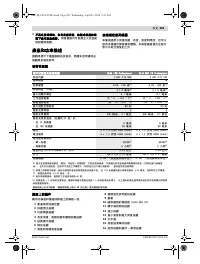
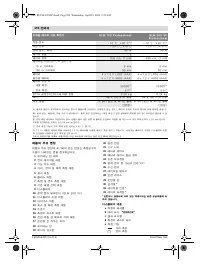
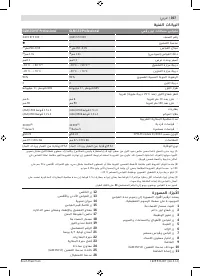
- 164 Технические данные; Цифровой лазерный дальномер
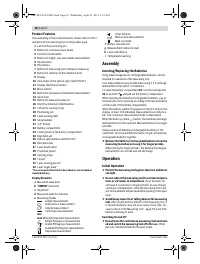
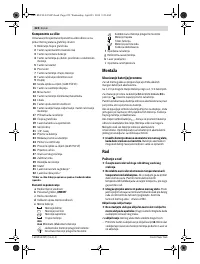
- 165 Элементы индикации; Сборка; Установка/замена батареек; Работа с инструментом; Эксплуатация; включения
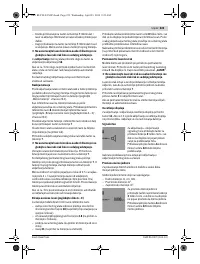
- 166 Режимы измерений
- 168 Измерение длины с выдержкой по времени
- 169 «cst»
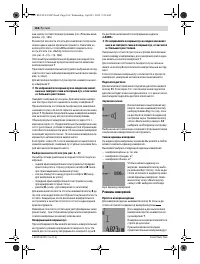
- 170 Указания по применению
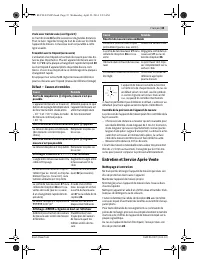
- 171 Выверка уровня; Неисправность – Причины и устранение; Причина
- 172 Контроль точности измерительного инструмента; Техобслуживание и сервис; Техобслуживание и очистка; Россия; Беларусь; Утилизация
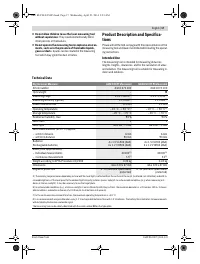
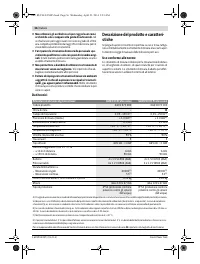
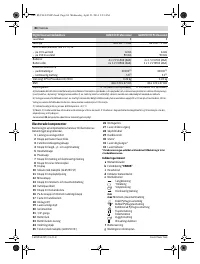
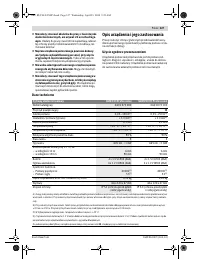
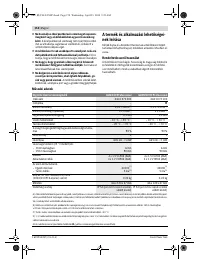
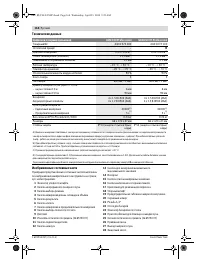
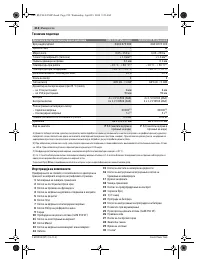
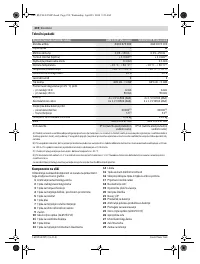
Характеристики

Остались вопросы?Не нашли свой ответ в руководстве или возникли другие проблемы? Задайте свой вопрос в форме ниже с подробным описанием вашей ситуации, чтобы другие люди и специалисты смогли дать на него ответ. Если вы знаете как решить проблему другого человека, пожалуйста, подскажите ему :)


