Электропилы Bosch PCM 7 S - инструкция пользователя по применению, эксплуатации и установке на русском языке. Мы надеемся, она поможет вам решить возникшие у вас вопросы при эксплуатации техники.
Если остались вопросы, задайте их в комментариях после инструкции.
"Загружаем инструкцию", означает, что нужно подождать пока файл загрузится и можно будет его читать онлайн. Некоторые инструкции очень большие и время их появления зависит от вашей скорости интернета.


36
| English
1 609 929 W43 | (22/7/10)
Bosch Power Tools
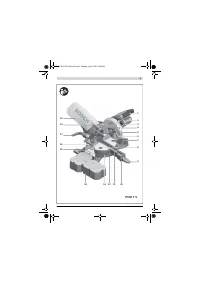
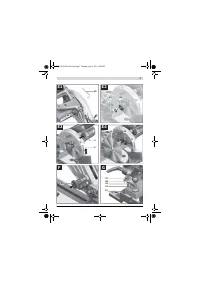
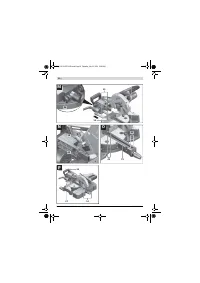
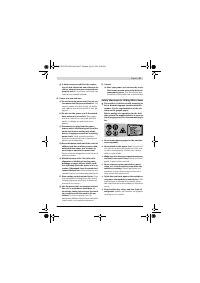
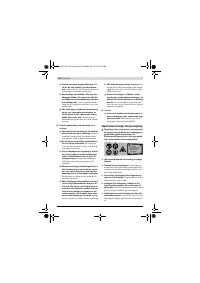
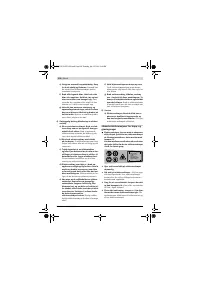
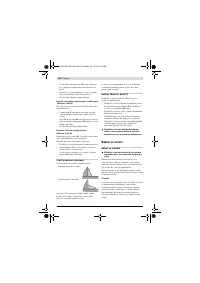
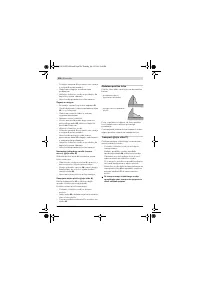
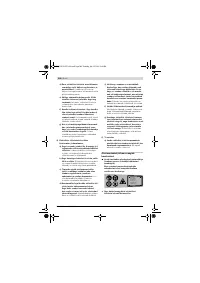
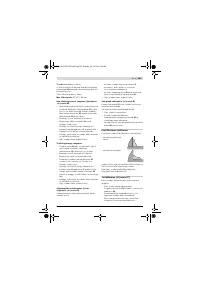
Position of the Operator (see figure L)
f
Do not stand in a line with the saw blade in
front of the machine. Always stand aside of
the saw blade.
This protects your body
against possible kickback.
– Keep hands, fingers and arms away from the
rotating saw blade.
– Do not cross your arms when operating the
tool arm.
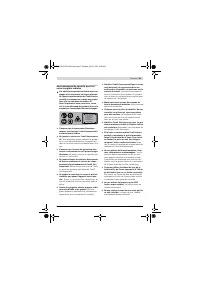
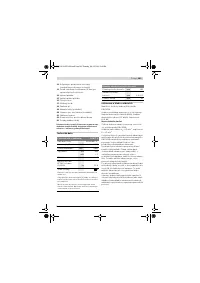
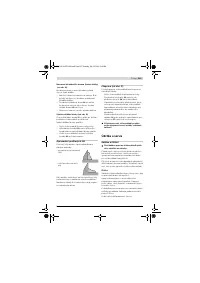
Permissible Workpiece Dimensions
Maximal
workpiece sizes:
Minimal
workpiece sizes
(= all workpieces that can be clamped left or
right from the saw blade with the supplied ma-
terial clamp
16
):
100 x 40 mm (length x width)
Cutting capacity, max.
(0 ° /0 ° ): 40 mm
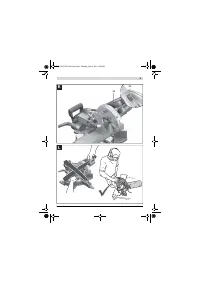
Sawing without Slide Movement (Cutting Off)
(see figure M)
– For cuts without slide movement (small
workpieces), loosen the locking screw
26
in
case it is tightened. Slide the tool arm to the
stop in the direction of the fence
15
and
retighten the locking screw
26
.
– Firmly clamp the workpiece as appropriate
for its dimensions.
– Set the desired mitre angle.
– Switch on the machine.
– Press lever
3
and slowly guide the tool arm
downward by handle
1
.
– Saw through the workpiece applying uniform
feed.
– Switch off the machine and wait until the
saw blade has come to a complete stop.
– Guide the tool arm slowly upward.
Sawing with Slide Movement
– For cuts using the slide device
41
(wide
workpieces), loosen the locking screw
26
in
case it is tightened.
– Firmly clamp the workpiece as appropriate
for its dimensions.
– Set the desired mitre angle.
– Pull the tool arm away from the fence
15
far
enough so that the saw blade is in front of
the workpiece.
– Switch on the machine.
– Press lever
3
and slowly guide the tool arm
downward by handle
1
.
– Press the tool arm in the direction of the
fence
15
and saw through the workpiece ap-
plying uniform feed.
– Switch off the machine and wait until the
saw blade has come to a complete stop.
– Guide the tool arm slowly upward.
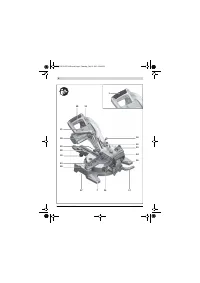
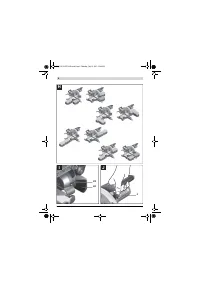
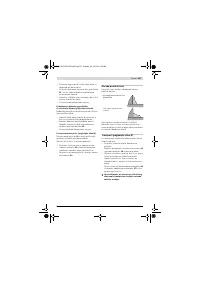
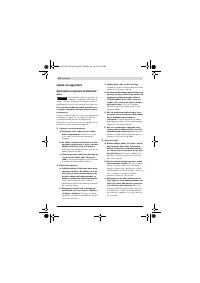
Adjusting the Depth Stop (Sawing Grooves)
(see figure N)
The depth stop must be adjusted when a butt
gap is to be sawed.
– Tilt the tool arm by the handle
1
to the posi-
tion at which the requested groove depth is
reached.
– Screw depth stop
18
in clockwise direction
until the screw end faces against casing stop
42
.
– Guide the tool arm slowly upward.
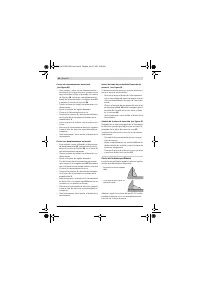
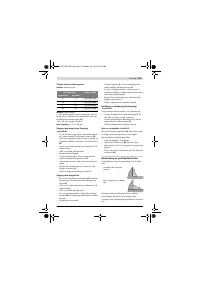
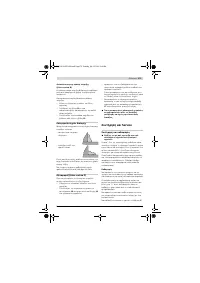
Replacing the Insert Plate (see figure O)
The red insert plate
11
can become worn after
long use of the power tool.
Replace defective insert plates.
– Bring the power tool into the working posi-
tion.
– Unscrew screws
43
using a Phillips screw-
driver and remove the old insert plate.
– Insert the new insert plate and and screw all
screws
43
in again.
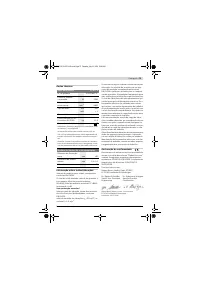
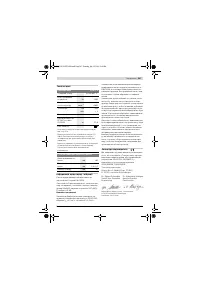
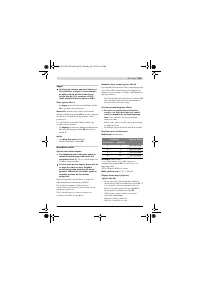
Mitre/Bevel Angle
Height x Width
Horizontal
Vertical
0 °
0 °
40 x 220 mm
45 °
0 °
40 x 150 mm
0 °
45 °
18 x 220 mm
45 °
45 °
18 x 150 mm
OBJ_BUCH-1270-001.book Page 36 Thursday, July 22, 2010 12:44 PM
Содержание
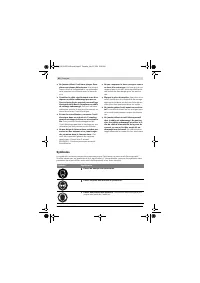
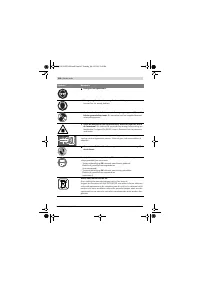
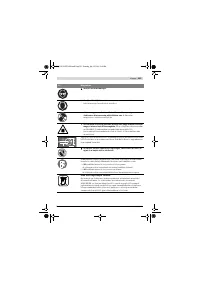
- 248 а) Ремонт Вашего электроинструмента
- 249 Закрепляйте заготовку.
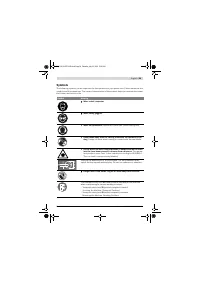
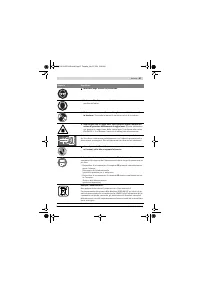
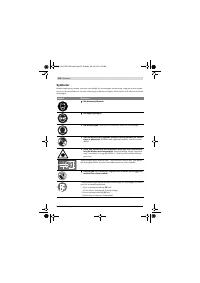
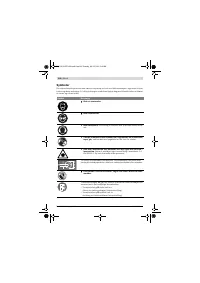
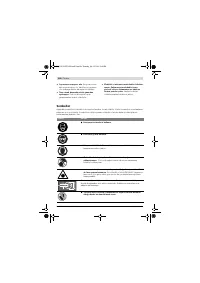
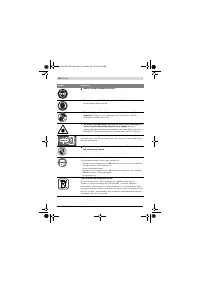
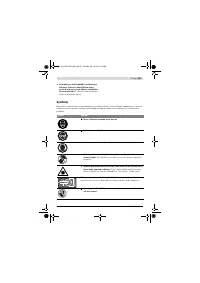
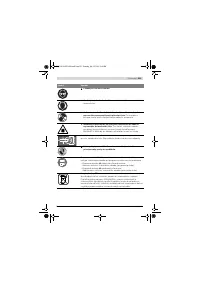
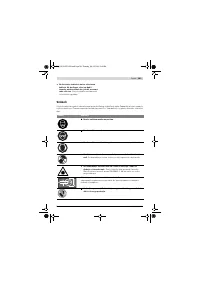
- 250 Символы; Символ
- 251 Описание функции; Применение по назначению
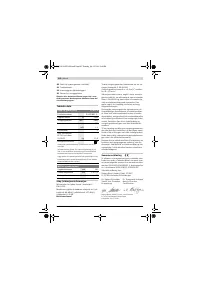
- 252 Технические данные; Применяйте средства защиты органов слуха!; Размеры пильных дисков
- 253 Заявление о соответствии; Сборка; Комплект поставки
- 254 Отсос пыли и стружки
- 255 Внешняя система пылеотсоса
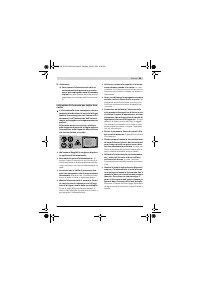
- 256 Работа с инструментом; Снятие крепления детали; Настройка угла распила; Настройка горизонтального угла распила
- 257 Включение электроинструмента
- 258 Допустимые размеры заготовки
- 259 Обработка профильных реек; Техобслуживание и сервис; Техобслуживание и очистка; Очистка; Принадлежности
- 260 Россия; Утилизация


