Шлифмашины Bosch GWS 24-300 J - инструкция пользователя по применению, эксплуатации и установке на русском языке. Мы надеемся, она поможет вам решить возникшие у вас вопросы при эксплуатации техники.
Если остались вопросы, задайте их в комментариях после инструкции.
"Загружаем инструкцию", означает, что нужно подождать пока файл загрузится и можно будет его читать онлайн. Некоторые инструкции очень большие и время их появления зависит от вашей скорости интернета.


English |
17
Bosch Power Tools
1 609 92A 0J8 | (4.7.14)
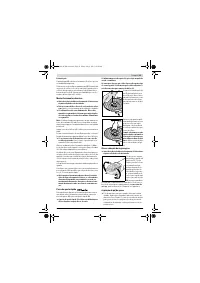
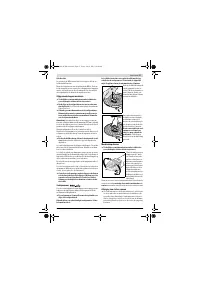
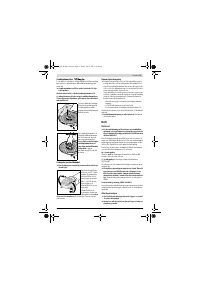
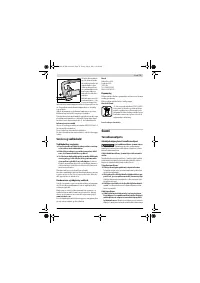
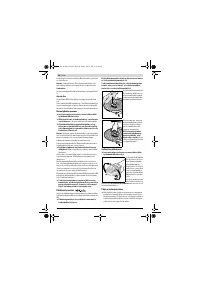
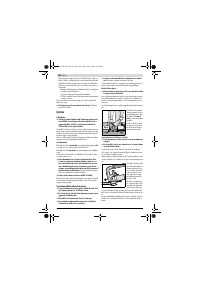
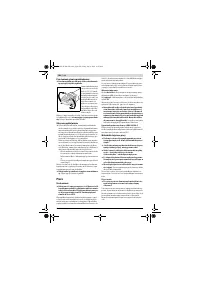
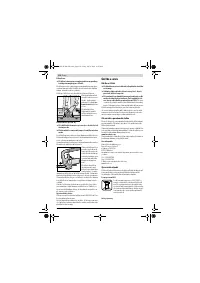
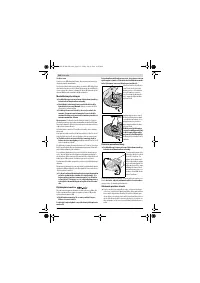
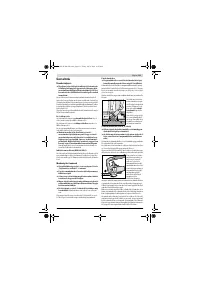
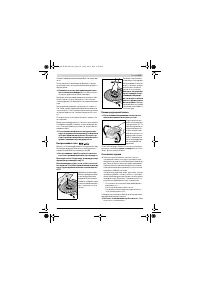
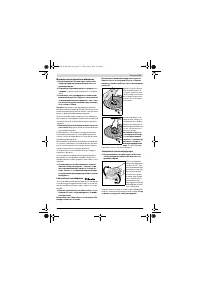
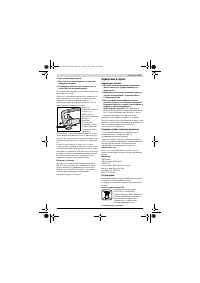
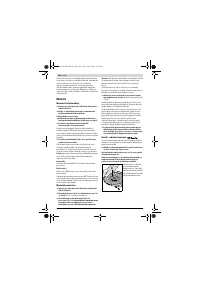
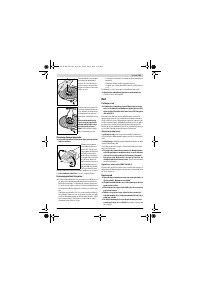
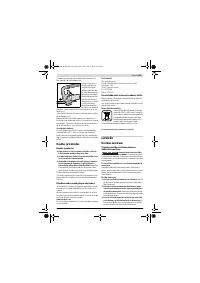
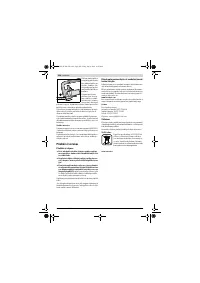
Adjust the protection guard 5 in such a manner that
sparking is prevented in the direction of the operator.
The tensioning force of the clamping lever is preset for tight
seating of the protection guard
6
. By tightening the adjust-
ment screw
7
, the tensioning force can be increased. Pay at-
tention to the tight seating of the protection guard
6
and
check it regularly.
Note:
The encoding keys on the protection guard
5
ensure
that only a protection guard that fits the machine type can be
mounted.
Bow Handle
Fasten the bow handle
1
to the gear case as shown in the figure.
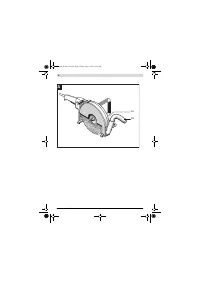
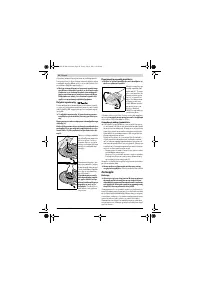
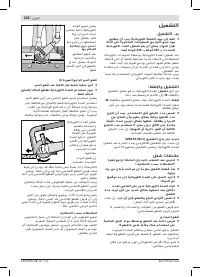
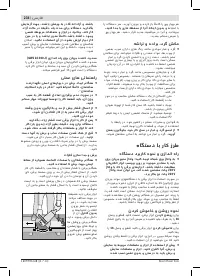
Cutting Guide
The cutting guide
15
prevents the application tool and the
workpiece from jamming.
Loosen the wing nuts on the cutting guide
15
. Press both wing
nuts and at the same time insert the screw heads into the slots
on the bottom side of the protection guard
6
. Adjust the re-
quested cutting depth and tighten the wing nuts.
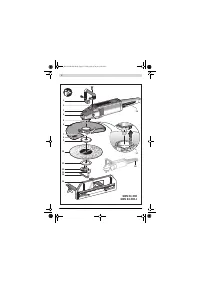
Mounting the Grinding Tools
Before any work on the machine itself, pull the mains
plug.
Do not touch grinding and cutting discs before they
have cooled down.
The discs can become very hot while
working.
Use only diamond-tipped cutting discs. Segmented dia-
mond wheels may only have negative cutting angles
and slots between the segments to a maximum of
10 mm.
Note:
Use only grinding tools with an outer diameter of maxi-
mum 300 mm. For cutting stone or metal, only use the grind-
ing tools recommended by Bosch.
Clean the grinder spindle
5
and all parts to be mounted.
For clamping and loosening the grinding tools, lock the grind-
er spindle with the spindle lock button
3
.
Actuate the spindle lock button only when the grinder
spindle is at a standstill.
Otherwise, the machine may be-
come damaged.
Pay attention to the dimensions of the grinding tools. The
mounting hole diameter must fit the mounting flange without
play. Do not use reducers or adapters.
When using diamond cutting discs, pay attention that the di-
rection-of-rotation arrow on the diamond cutting disc and the
direction of rotation of the machine (see direction-of-rotation
arrow on the machine head) agree.
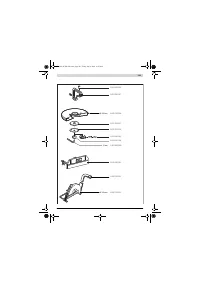
See graphics page for the mounting sequence.
To fasten the grinding/cutting disc, screw on the clamping nut
13
and tighten with the two-pin spanner; see Section “Quick-
clamping Nut ”.
After mounting the grinding tool and before switching
on, check that the grinding tool is correctly mounted
and that it can turn freely. Make sure that the grinding
tool does not graze against the protection guard or oth-
er parts.
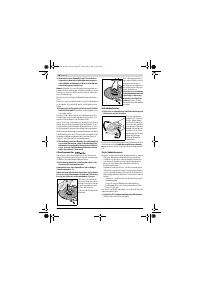
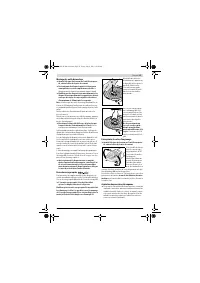
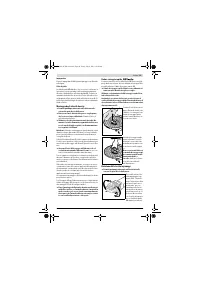
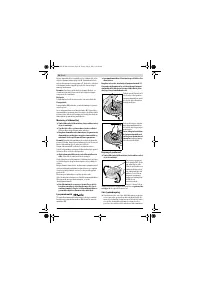
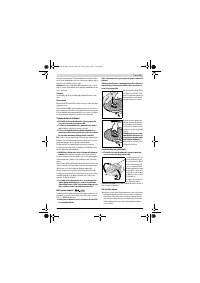
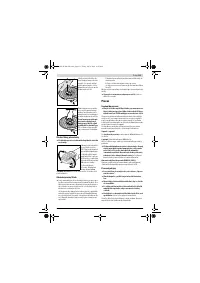
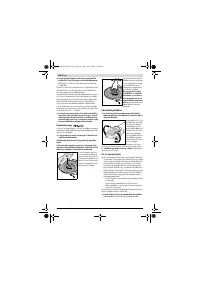
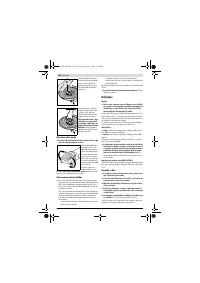
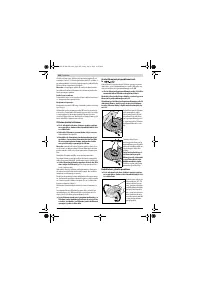
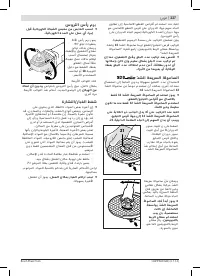
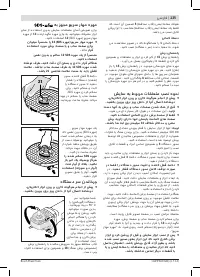
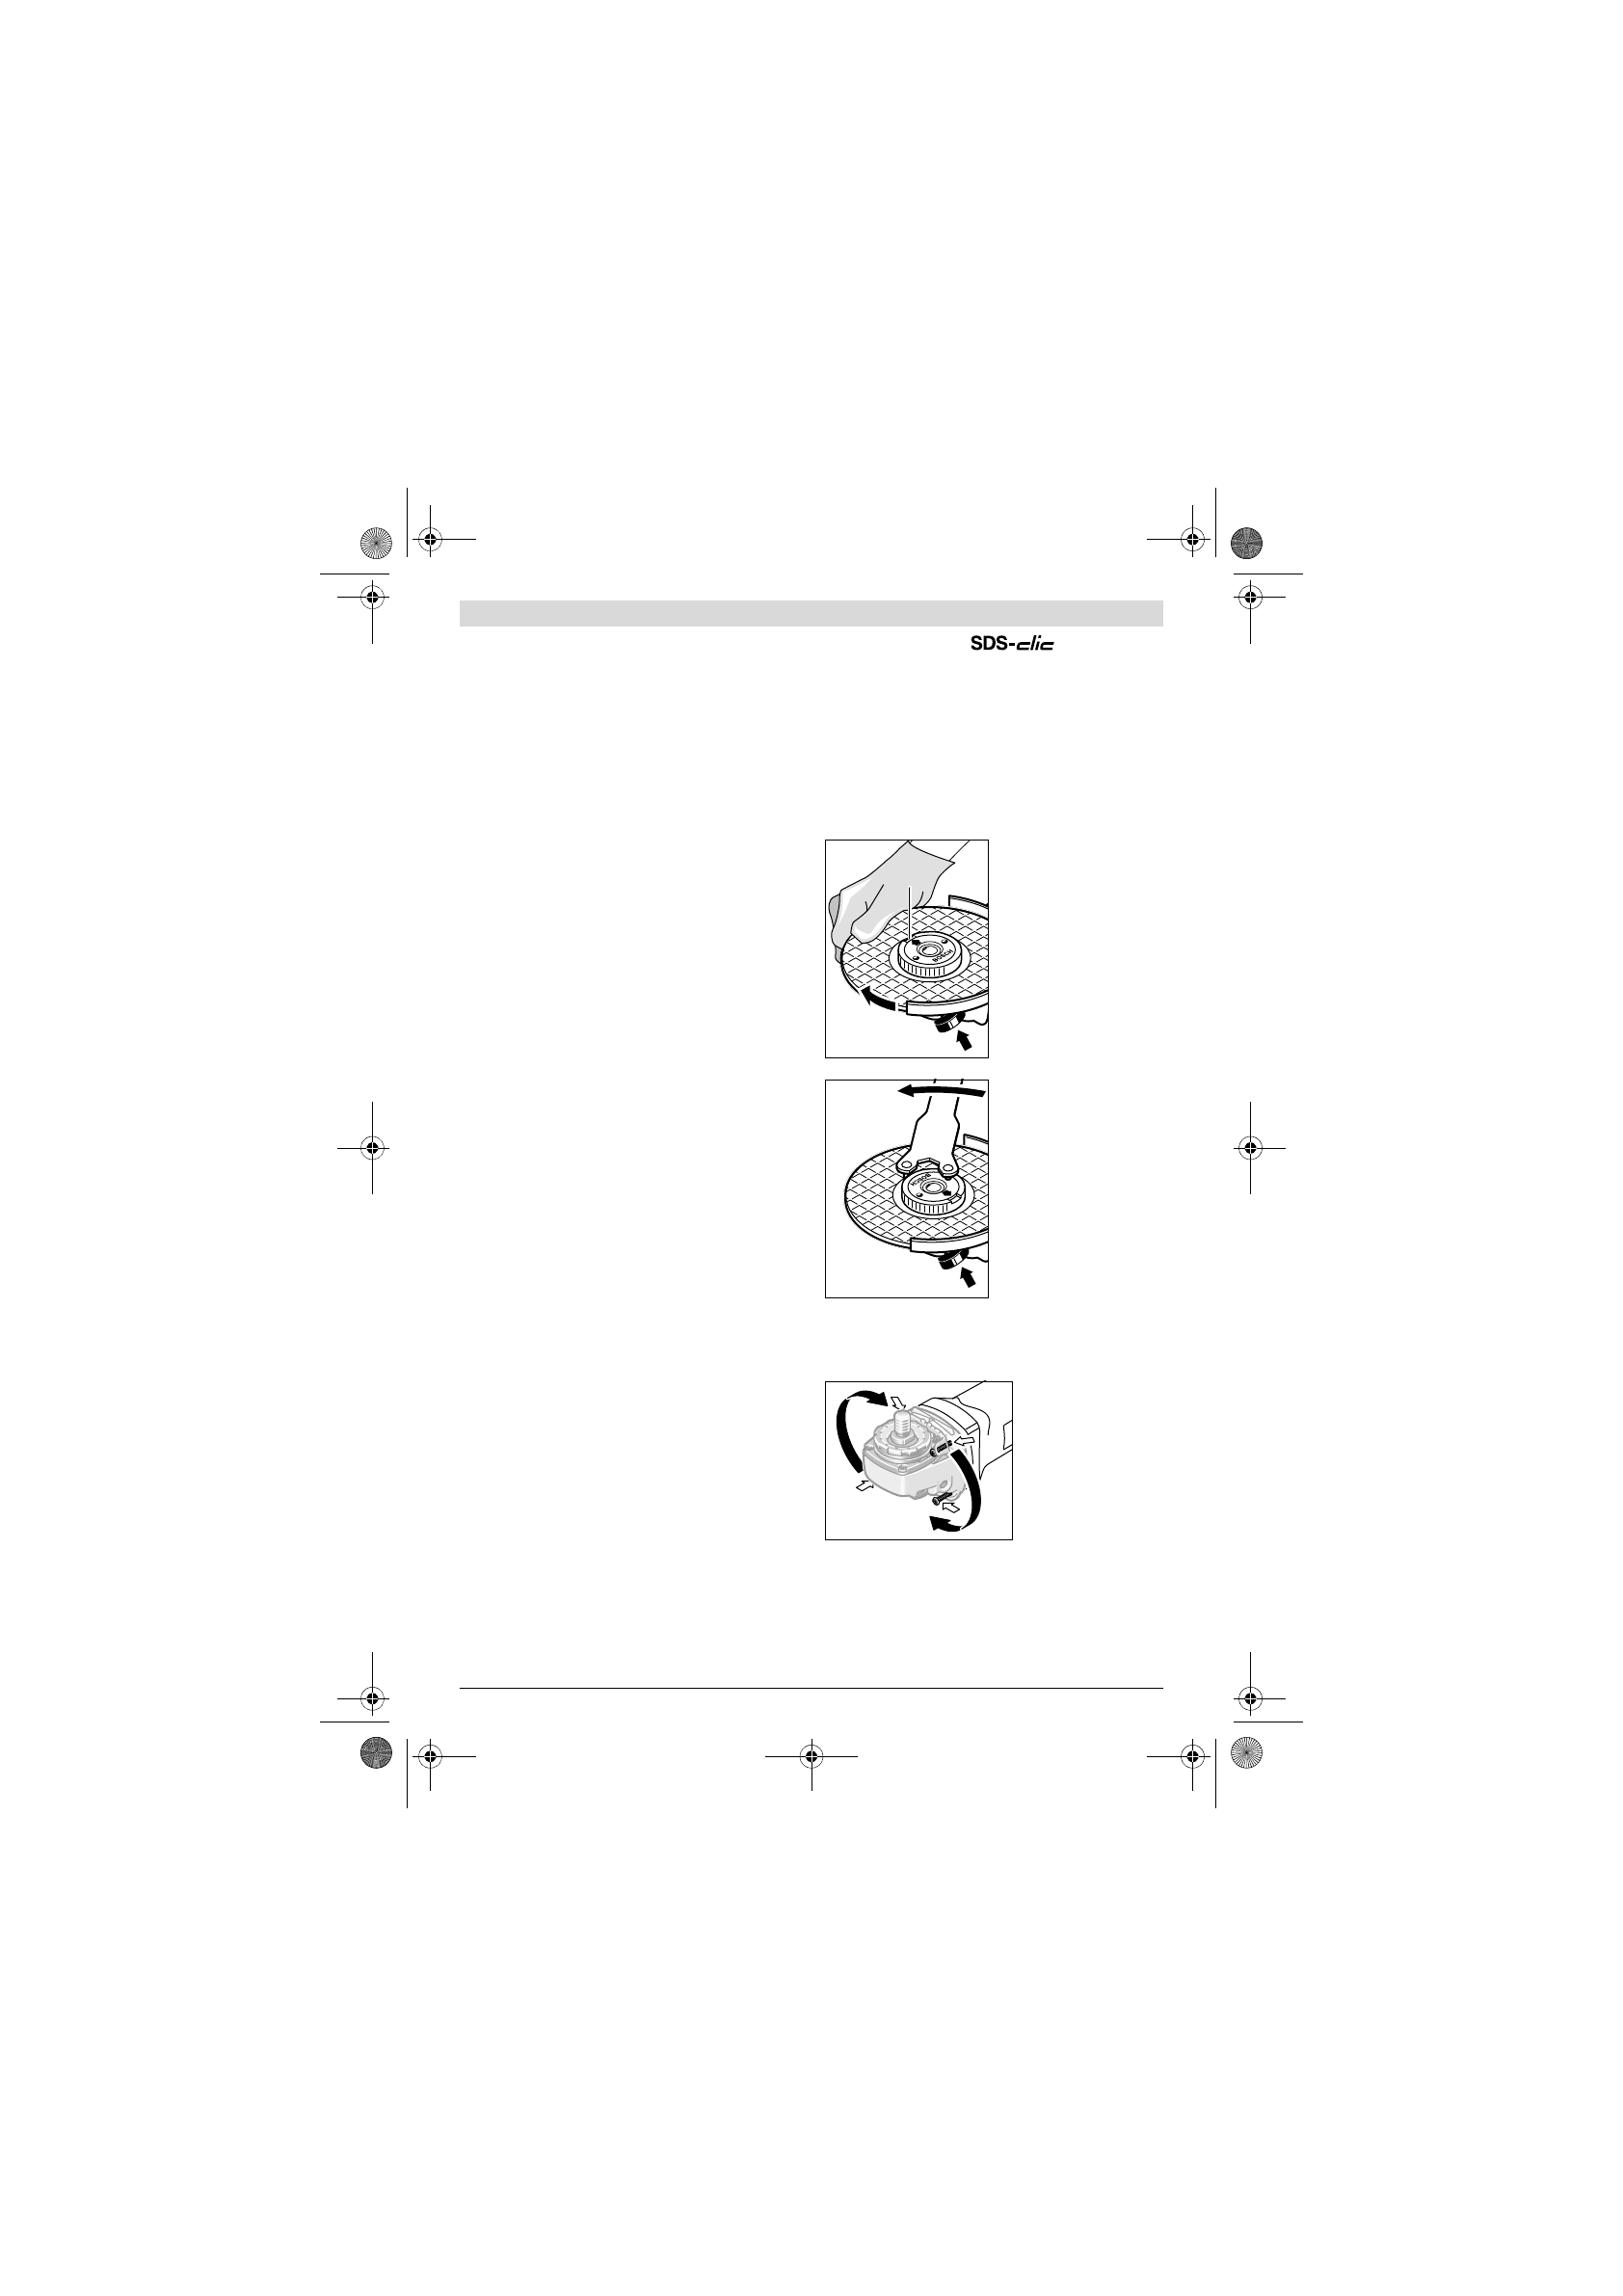
Quick-clamping Nut
For convenient changing of grinding tools without the use of
additional tools, you can use the quick-clamping nut
12
in-
stead of the clamping nut
13
.
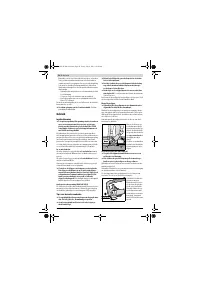
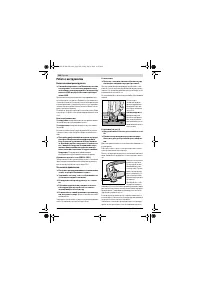
The quick-clamping nut 12 may be used only for grind-
ing or cutting discs.
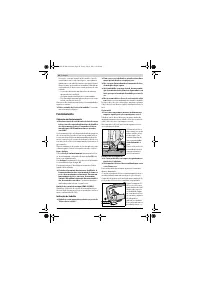
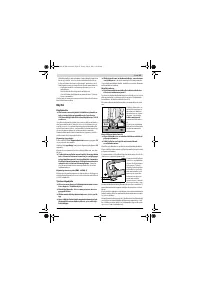
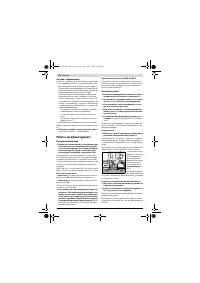
Use only a flawless, undamaged quick-clamping nut 12.
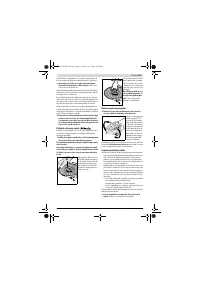
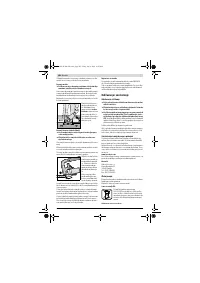
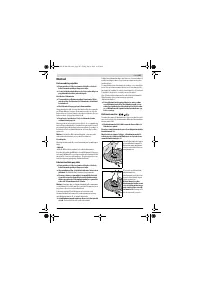
When screwing on, pay attention that the side of the
quick-clamping nut 12 with printing does not face the
grinding disc; the arrow must point to the index mark 21.
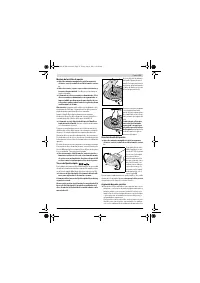
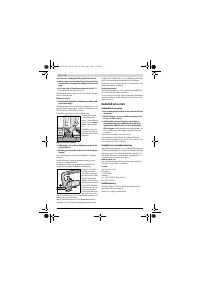
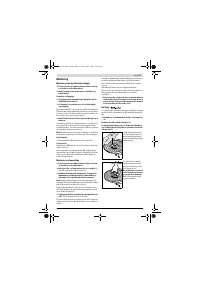
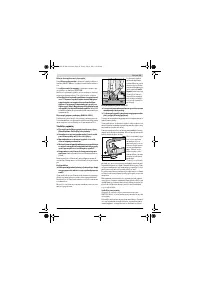
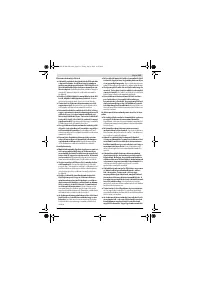
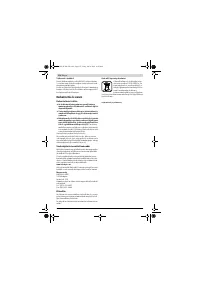
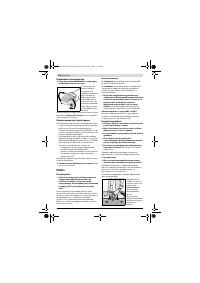
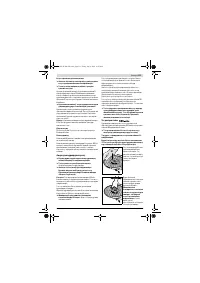
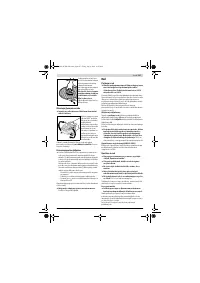
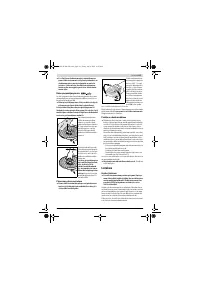
Lock the grinder spindle with
the spindle lock button
3
. To
tighten the quick-clamping
nut, firmly turn the grinding
disc in clockwise direction.
A properly attached, undam-
aged quick-clamping nut can
be loosened by hand when
turning the knurled ring in an-
ticlockwise direction.
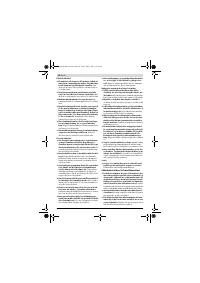
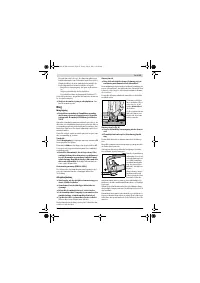
Never loosen a tight quick-
clamping nut with pliers. Al-
ways use the two-pin span-
ner.
Insert the two-pin span-
ner as shown in the
illustration.
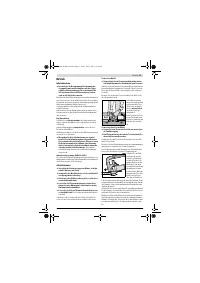
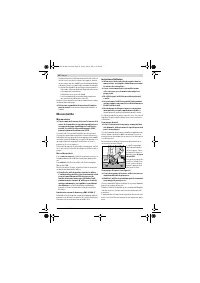
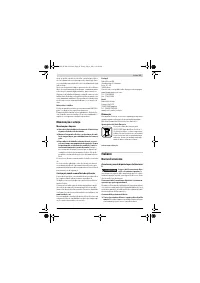
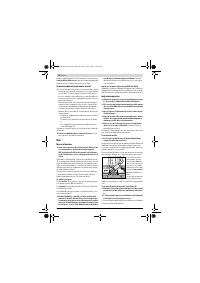
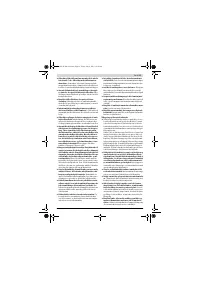
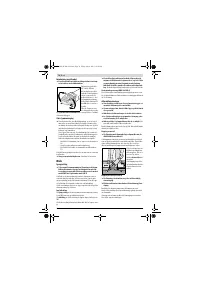
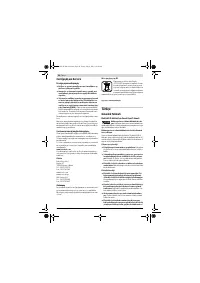
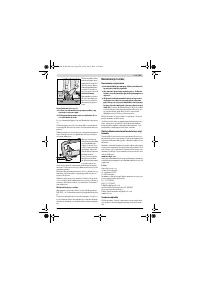
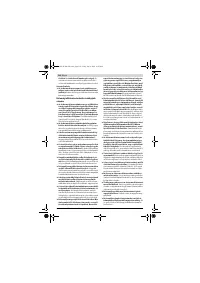
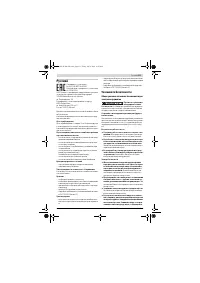
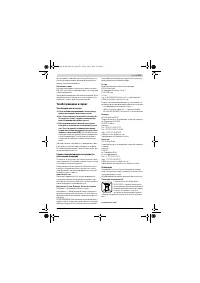
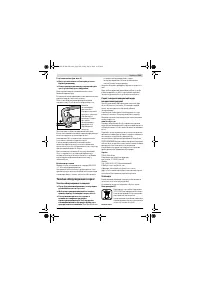
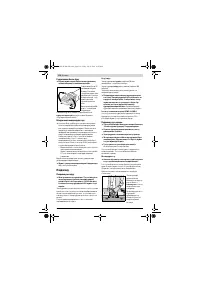
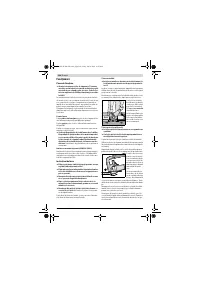
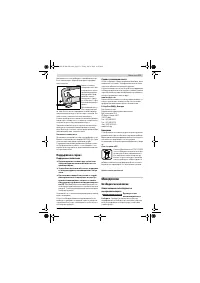
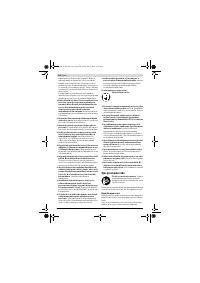
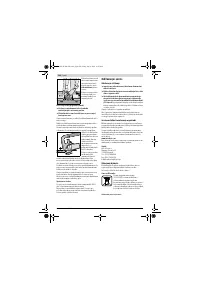
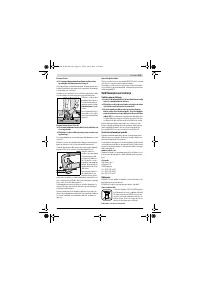
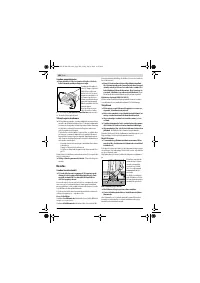
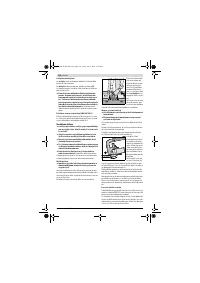
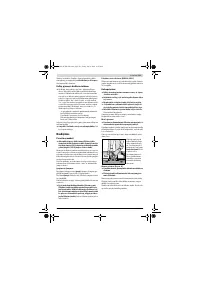
Rotating the Machine Head
Before any work on the machine itself, pull the mains
plug.
The machine head can be
rotated with respect to
the machine housing in
90 ° steps. In this man-
ner, the On/Off switch
can be brought into a
more convenient posi-
tion for special working
situations, e. g., for cut-
ting operations using the
cutting guide with dust extraction protection guard
18
or for
left-handed persons.
Completely unscrew the four screws. Rotate the machine
head carefully,
without removing it from the housing,
to the
new position. Screw in and tighten the four screws again.
21
OBJ_BUCH-280-005.book Page 17 Friday, July 4, 2014 10:30 AM
Содержание
- 134 или подвижных частей электроинструмента.
- 135 ных частиц и частиц материала.
- 136 Дополнительные предупредительные указания
- 137 Описание продукта и услуг; Применение по назначению; Угловая шлифмашина
- 138 Данные по шуму и вибрации; Применяйте средства защиты органов слуха!; Заявление о соответствии; Сборка; Установка защитных устройств; Защитный кожух для отрезания; Установка шлифовальных инструментов
- 139 Быстрозажимная гайка; без отрыва от корпуса; Отсос пыли и стружки; Избегайте скопления пыли на рабочем месте.
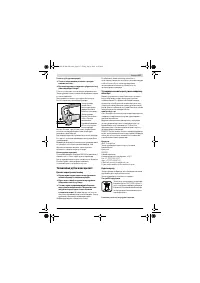
- 140 Работа с инструментом; Включение электроинструмента; включения; Указания по применению; Резка металла
- 141 Указания по статике; Техобслуживание и сервис; Техобслуживание и очистка; Россия; Беларусь; Утилизация
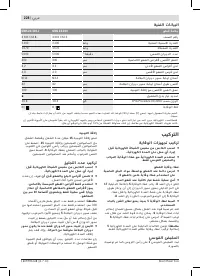
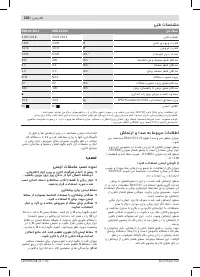
Характеристики

Остались вопросы?Не нашли свой ответ в руководстве или возникли другие проблемы? Задайте свой вопрос в форме ниже с подробным описанием вашей ситуации, чтобы другие люди и специалисты смогли дать на него ответ. Если вы знаете как решить проблему другого человека, пожалуйста, подскажите ему :)


