
Плита La Cornue CornuFe 110 F1 - инструкция пользователя по применению, эксплуатации и установке на русском языке. Мы надеемся, она поможет вам решить возникшие у вас вопросы при эксплуатации техники.
Если остались вопросы, задайте их в комментариях после инструкции.
"Загружаем инструкцию", означает, что нужно подождать пока файл загрузится и можно будет его читать онлайн. Некоторые инструкции очень большие и время их появления зависит от вашей скорости интернета.


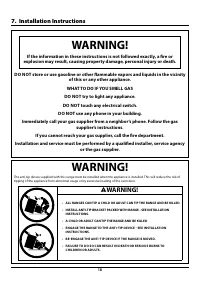
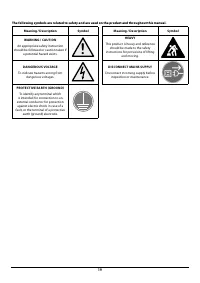

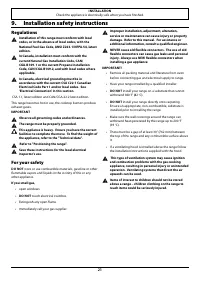
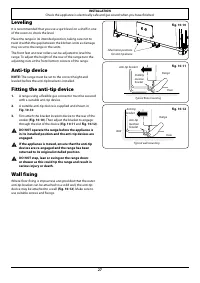

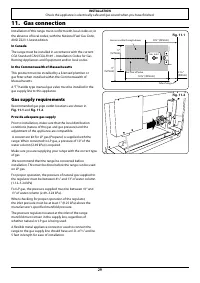
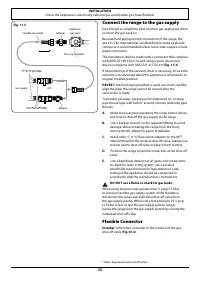

INSTALLATION
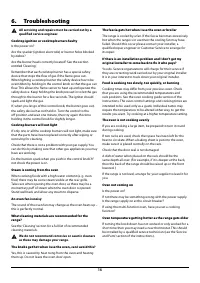
Check the appliance is electrically safe and gas sound when you have finished.
26
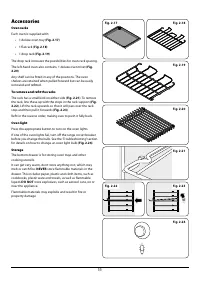
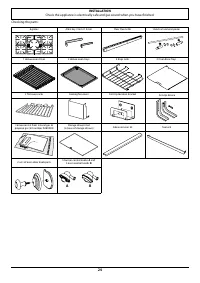
ArtNo.280-0029 - Flue Grill
ArtNo.280-0030 - Fixing Flue Grill
ArtNo.280-0031 - Flue Extension Fixing
Viewed from the back
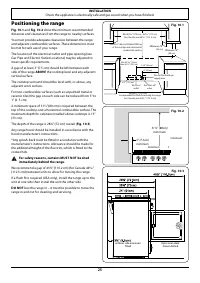
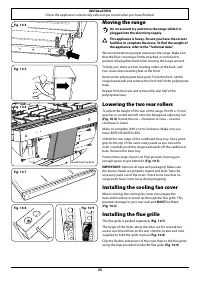
Moving the range
On no account try and move the range while it is
plugged into the electricity supply.
This appliance is heavy. Ensure you have the correct
facilities to complete the move. To find the weight of
the appliance, refer to the “Technical data”.
We recommend two people maneuver the range. Make sure
that the floor covering is firmly attached, or removed to
prevent it being disturbed when moving the range around.
To help you, there are two leveling rollers at the back, and
two screw-down leveling feet at the front.
Remove the polystyrene base pack. From the front, tilt the
range backwards and remove the front half of the polystyrene
base.
Repeat from the back and remove the rear half of the
polystyrene base.
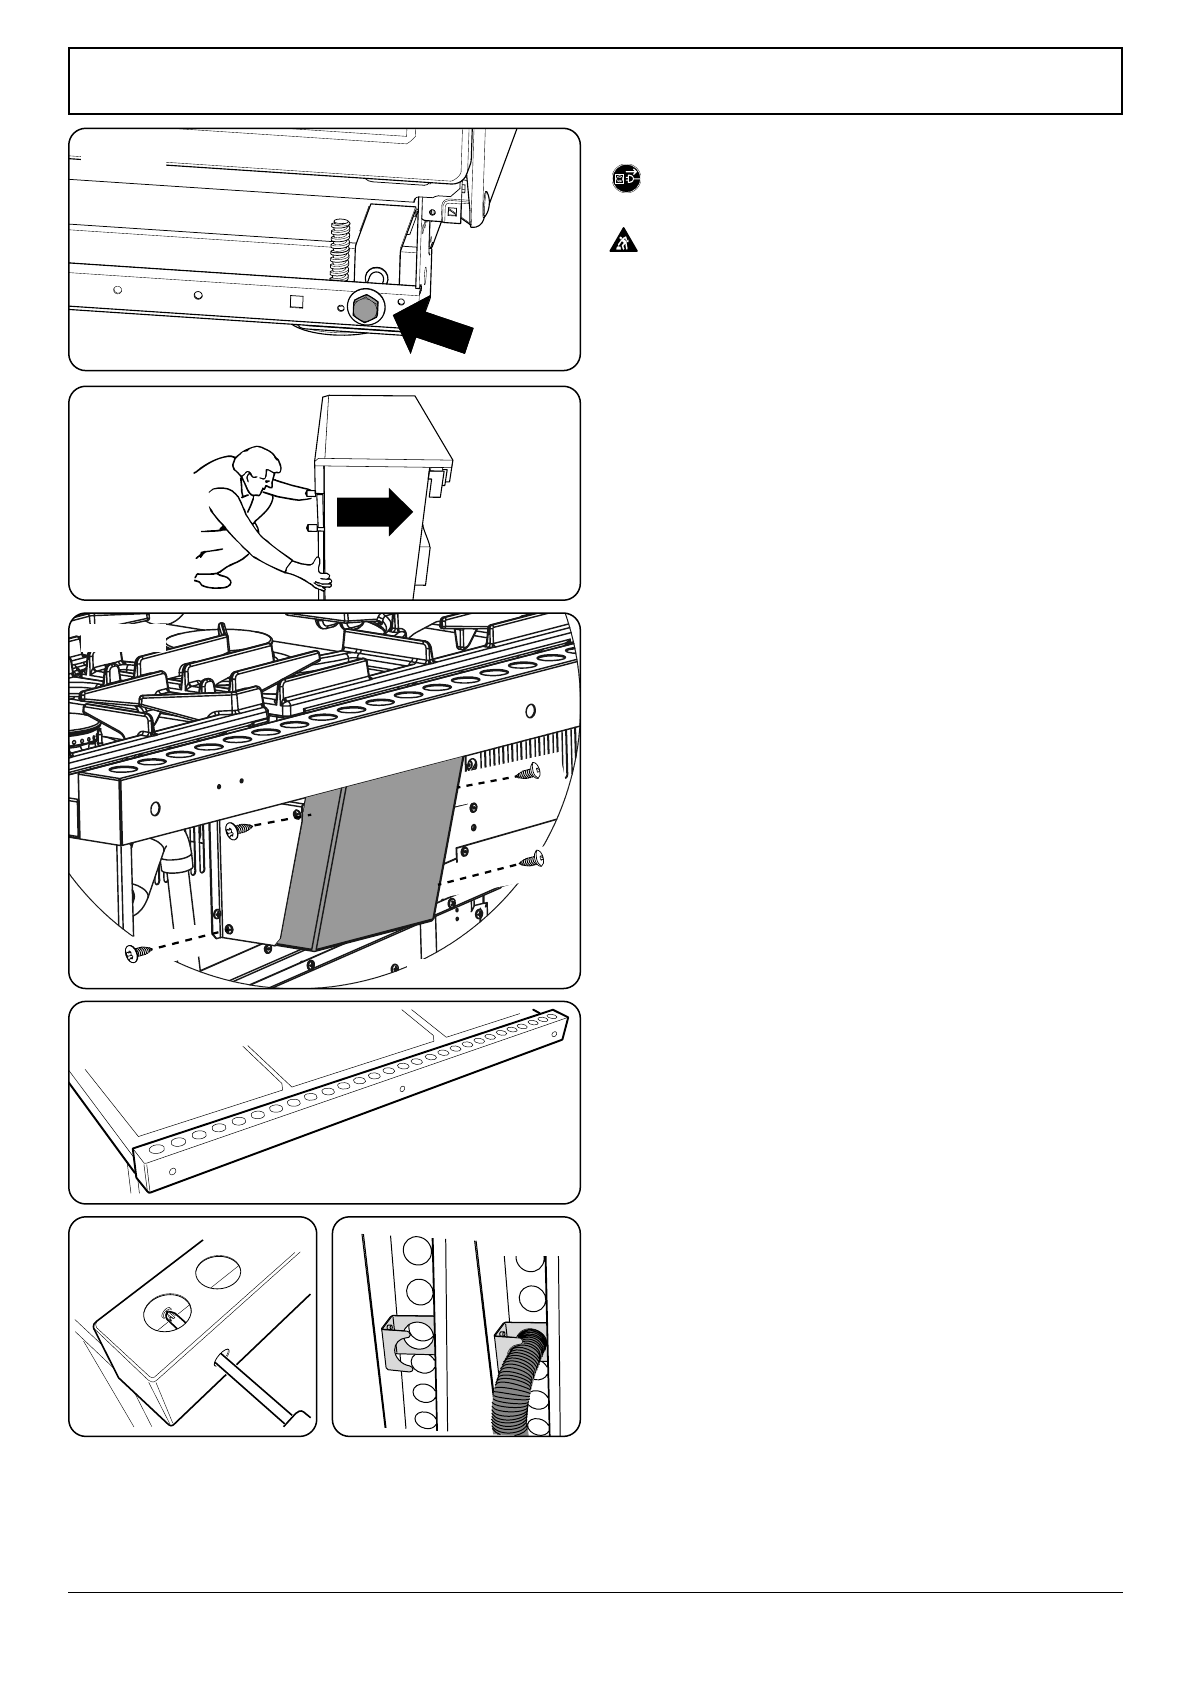
Lowering the two rear rollers
To adjust the height of the rear of the range, first fit a 13 mm
spanner or socket wrench onto the hexagonal adjusting nut
. Rotate the nut – clockwise to raise – counter-
clockwise to lower.
Make 10 complete (360°) turns clockwise. Make sure you
lower BOTH REAR ROLLERS.
Unfold the rear edge of the cardboard base tray. Get a good
grip on the top of the oven cavity panel as you move the
oven. Carefully push the range backwards off the cardboard
base. Remove the base tray.
Position the range close to its final position, leaving just
enough space to get behind it (
IMPORTANT:
Remove all tape and packaging. Make sure
the burner heads are properly seated and level. Take the
accessory pack out of the oven. Check to be sure that no
range parts have come loose during shipping.
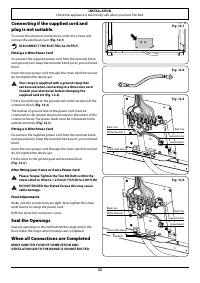
Installing the cooling fan cover
When cooking, the cooling fan cover encourages the
heat and moisture to travel up through the flue grille. This
prevents damage to your rear wall and
MUST
be fitted
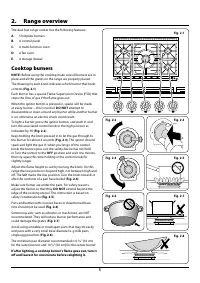
Installing the flue grille
The flue grille is packed separately (
).
The larger of the holes along the sides are for screwdriver
access and should face to the rear. Use the screws and nuts
supplied to hold the grille in place (
).
Clip the flexible extensions of the oven flues to the flue grille
using the clips provided inside the flue grille (
).
Fig. 10.4
Fig. 10.5
Fig. 10.6
Fig. 10.7
Fig. 10.8
Fig. 10.9
Характеристики

Остались вопросы?Не нашли свой ответ в руководстве или возникли другие проблемы? Задайте свой вопрос в форме ниже с подробным описанием вашей ситуации, чтобы другие люди и специалисты смогли дать на него ответ. Если вы знаете как решить проблему другого человека, пожалуйста, подскажите ему :)


