
Мультиварки Profi Cook PC-SV 1126 - инструкция пользователя по применению, эксплуатации и установке на русском языке. Мы надеемся, она поможет вам решить возникшие у вас вопросы при эксплуатации техники.
Если остались вопросы, задайте их в комментариях после инструкции.
"Загружаем инструкцию", означает, что нужно подождать пока файл загрузится и можно будет его читать онлайн. Некоторые инструкции очень большие и время их появления зависит от вашей скорости интернета.


44
PC-SV1126_IM
19.09.16
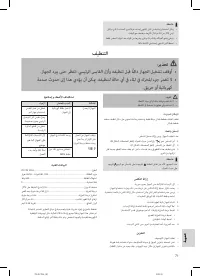
Electric Connection
• Before inserting the power plug into the outlet, check that
the mains voltage to be used matches that of the device.
You can fi nd the required information on the nameplate.
• Connect the device only to a correctly installed safety
socket.
Function Buttons
The buttons on the appliance are touch keys. Gently touch
the buttons with a fi nger to execute the function.
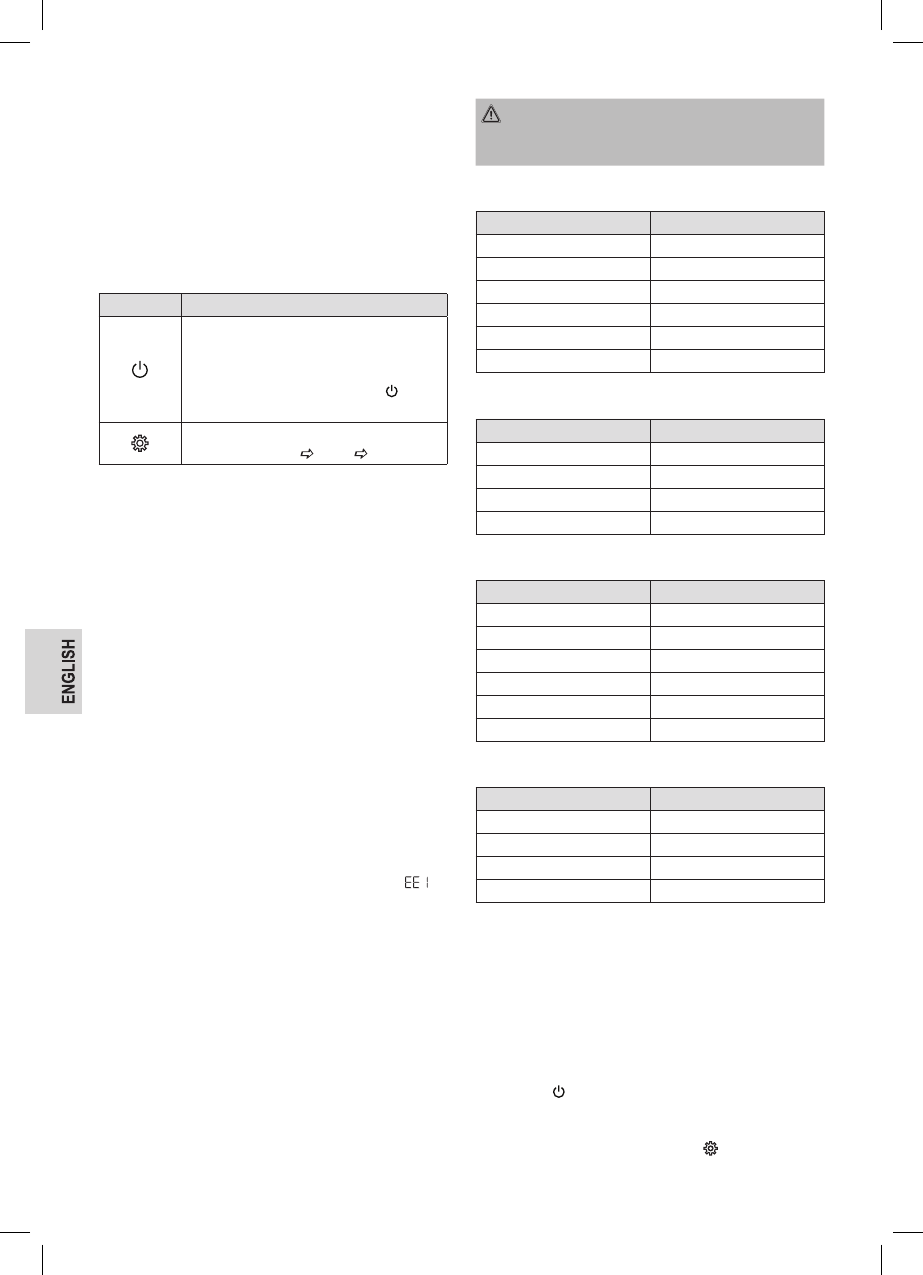
Button
Function description
Turn the appliance on / off / Start the heating
phase; start the cooking time / stop the process
To switch off the appliance or terminate the
process, press and hold the button for a
time period of approx. 3 seconds.
To select the next setting
(Water temperature Hours Minutes)
When switched on, each button press is confi rmed with a
beep.
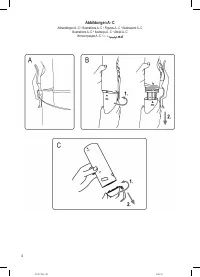
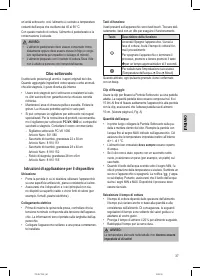
Fastening clip
Use the clip to attach the Sous Vide cooker onto a suitable
pan. The pan capacity should be between 6 and 15 liters. In
order to securely attach the appliance to the pan with the clip,
make sure that the pan height is at least 15 cm. (See page 4,
Fig. A)
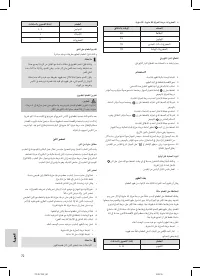
Water Quantity
• First attach the Sous Vide cooker onto the pan and put
in the food. Fill up the pan with water to the MAX mark
shown on the appliance. This ensures that the set temper-
atures are maintained within + / - 1 °C.
• The weld-sealed food
always must be
covered with
water.
• If the food has not been covered with water due air bub-
bles, place a weight (e.g., plate) on the bag.
• When the water level drops below the MIN mark, the
temperature protection unit starts up. A beep will be heard
and the appliance will shut down. The notifi cation “ “
appears on the display. Therefore, ensure that the water
level is between the MIN and MAX marks. The process
must be restarted after this.
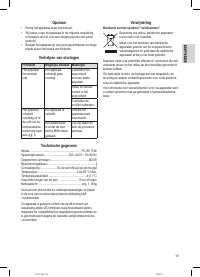
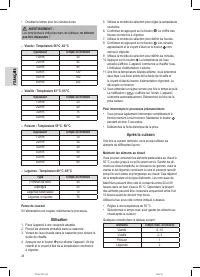
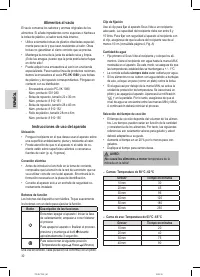
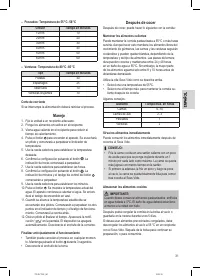
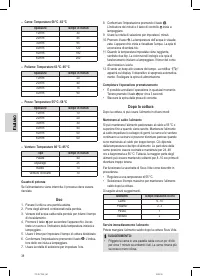
Selecting the Cooking Time
• The cooking time depends on the thickness of the food.
The times may vary due to quantity and consistency of
the food as well. Accordingly, the following time settings
are only guidelines and should be adapted according to
your taste.
• Extend the time by at least 20 % for deep-frozen food.
• Double the time for tough meat.
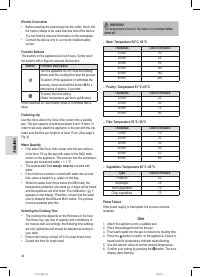
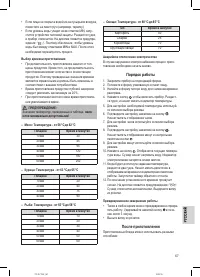
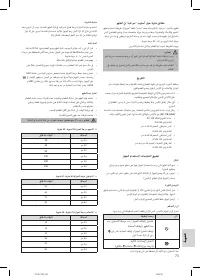
WARNING:
The temperatures listed in the tables must
not be fallen
short of!
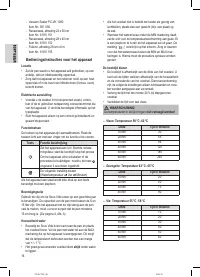
– Meat: Temperature 58 °C - 62 °C
Thickness
Time in minutes
10 mm
30
20 mm
45
30 mm
95
40 mm
120
50 mm
180
60 mm
250
– Poultry: Temperature 63 °C - 65 °C
Thickness
Time in minutes
10 mm
20
20 mm
40
30 mm
75
40 mm
90
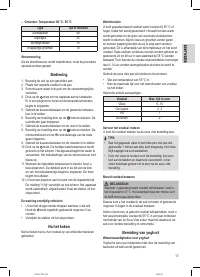
– Fish: Temperature 55 °C - 58 °C
Thickness
Time in minutes
10 mm
10
20 mm
20
30 mm
30
40 mm
40
50 mm
50
60 mm
60
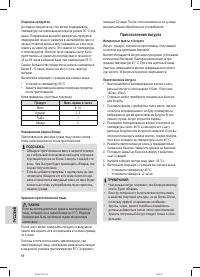
– Vegetables: Temperature 80 °C - 85 °C
Type
Time in minutes
Potatoes
40
Asparagus
25
Root vegetables
70
Crisp vegetables
70
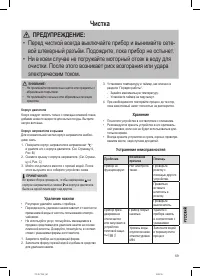
Power Failure
If the power supply is interrupted, the process must be
restarted.
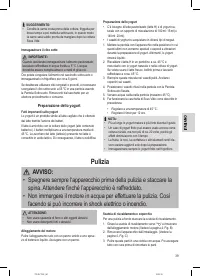
Use
1. Attach the appliance onto a suitable pan.
2. Place the packaged food into the pan.
3. Pour warm water into the pan to reduce the heating time.
4. Press the button to switch on the appliance. A beep is
heard and the temperature indicator starts fl ashing.
5. Use the selector wheel to set the desired temperature.
6. Confi rm your setting by pressing the button. The hour
display starts fl ashing.
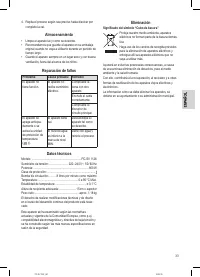
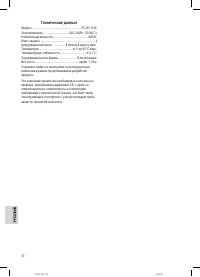
Характеристики

Остались вопросы?Не нашли свой ответ в руководстве или возникли другие проблемы? Задайте свой вопрос в форме ниже с подробным описанием вашей ситуации, чтобы другие люди и специалисты смогли дать на него ответ. Если вы знаете как решить проблему другого человека, пожалуйста, подскажите ему :)


