Краскораспылители Bosch PFS 65 - инструкция пользователя по применению, эксплуатации и установке на русском языке. Мы надеемся, она поможет вам решить возникшие у вас вопросы при эксплуатации техники.
Если остались вопросы, задайте их в комментариях после инструкции.
"Загружаем инструкцию", означает, что нужно подождать пока файл загрузится и можно будет его читать онлайн. Некоторые инструкции очень большие и время их появления зависит от вашей скорости интернета.


English |
17
Bosch Power Tools
1 609 92A 0AN | (14.10.13)
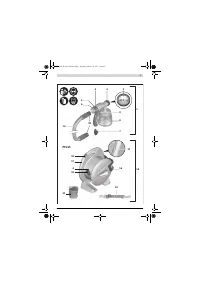
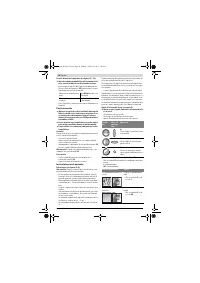
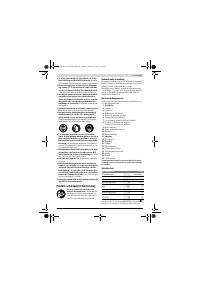
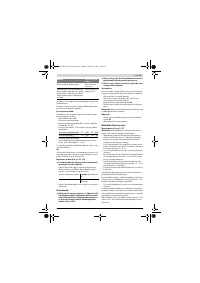
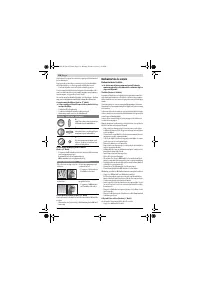
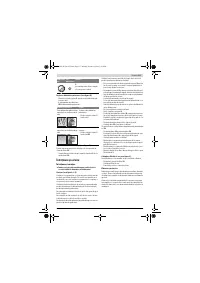
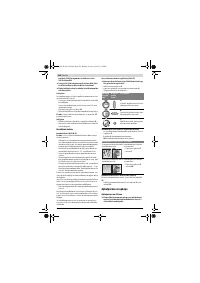
Adjusting the Spraying Capacity (see figure G)
– To adjust the requested spraying capacity, turn the thumb-
wheel
5
:
I
: Min. spraying capacity,
IIII
: Max. spraying capacity.
Placing down the Spray Gun (see figure H)
For breaks, the spray gun can be hung in the holding clamp
16
.
– Hang the spray gun with the union nut
3
into the holding
clamp
16
.
Maintenance and Service
Maintenance and Cleaning
Before any work on the machine itself, pull the mains
plug.
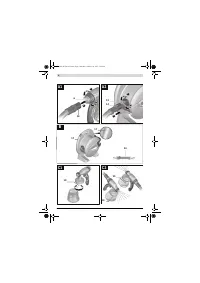
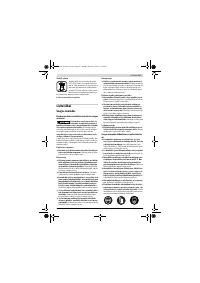
Cleaning (see figures I – K)
Proper cleaning is the requirement for flawless operation of
the spray gun. Improper or lack of cleaning voids warranty
claims.
Always clean the spray gun and the container with the respec-
tive diluting agent (paint thinner or water) for the spray mate-
rial being used.
Never immerse the complete spray gun into the cleaning
agent.
Never clean the nozzle and air holes of the spray gun with
pointed metal objects.
Do not pour diluted spray material back into the original spray
material drum/tin for storage.
Clean the spray gun thoroughly after having sprayed material
hazardous to one's health.
– Switch the base unit off and pull the trigger switch
9
of the
spray gun so that the spray material can flow back into the
container.
– Unscrew the container
8
and empty the remaining spray
material back into the original spray material.
– Fill diluting agent (paint thinner or water) into the contain-
er and screw it to the spray gun.
– Shake the spray gun several times.
– Switch the base unit on and spray the diluting agent into an
empty material tin.
– Repeat the last three steps until clear diluting agent emerg-
es from the spray gun.
– Switch the base unit off again.
– Completely empty the container
8
.
– Check if the suction tube
10
and the container seal are
free of spray material and undamaged.
– Clean the outside of the container and the spray gun with a
cloth moistened in paint thinner.
– Unscrew the union nut
3
and the air cap
2
.
– Clean the nozzle
11
and the nozzle needle with diluting
agent.
From time to time, the nozzle seal
12
must also be cleaned.
– Remove the nozzle
11
and the nozzle seal
12
.
If required, use a pointed object, as the nozzle seal is seat-
ed firmly to the spray gun.
– Clean the nozzle seal with diluting agent.
– Reinstall the nozzle seal in the spray gun. Pay attention that
the groove points away from the spray gun.
– Mount the nozzle onto the spray gun body and turn it to the
correct position.
– Mount the air cap
2
onto the nozzle and tighten with the un-
ion nut
3
.
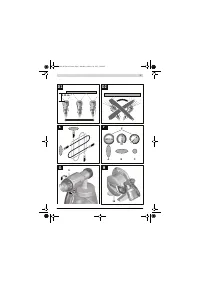
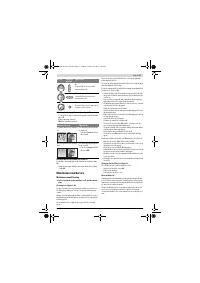
Changing the Air Filter (see figure L)
The air filter must be replaced when soiled.
– Remove the air filter cover
22
.
– Replace the air filter .
– Remount the air filter cover.
Material Disposal
Diluting agent and remainders of spray material must be dis-
posed of in an environmentally-friendly manner. Observe the
manufacturer’s disposal information and the local regulations
for disposal of hazardous waste.
Chemicals harmful to the environment may not be disposed
of into soil, groundwater or bodies of water. Never pour
chemicals harmful to the environment into the sewerage sys-
tem!
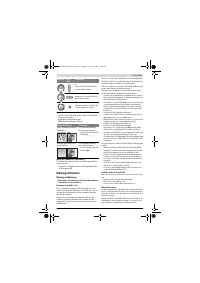
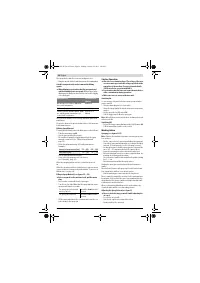
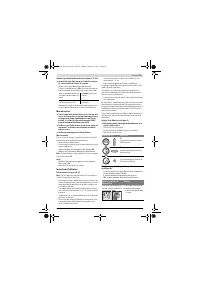
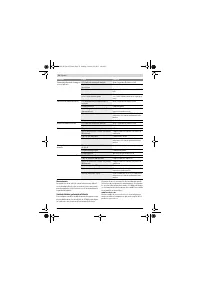
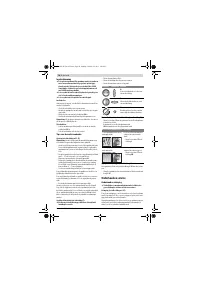
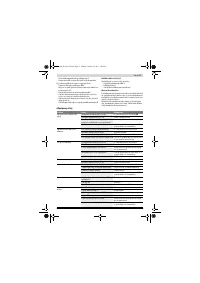
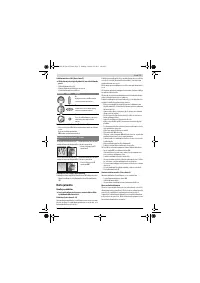
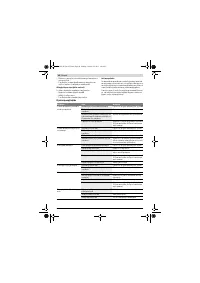
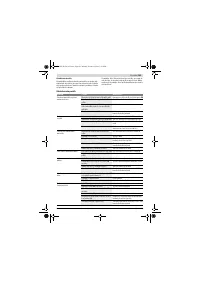
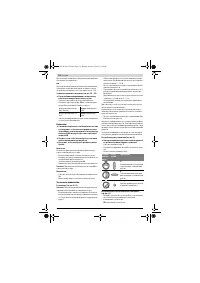
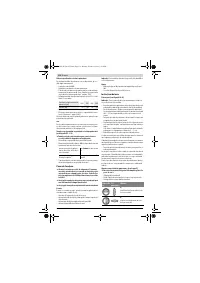
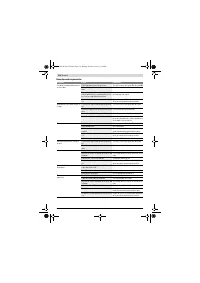
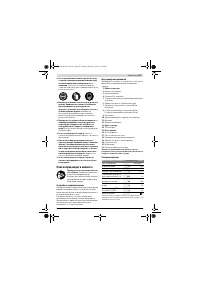
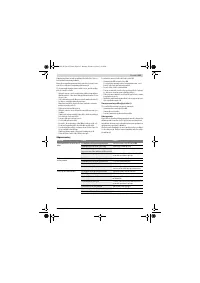
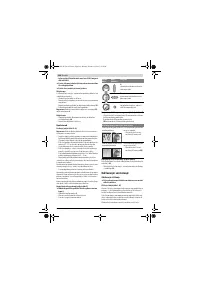
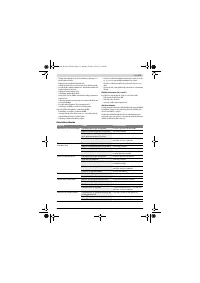
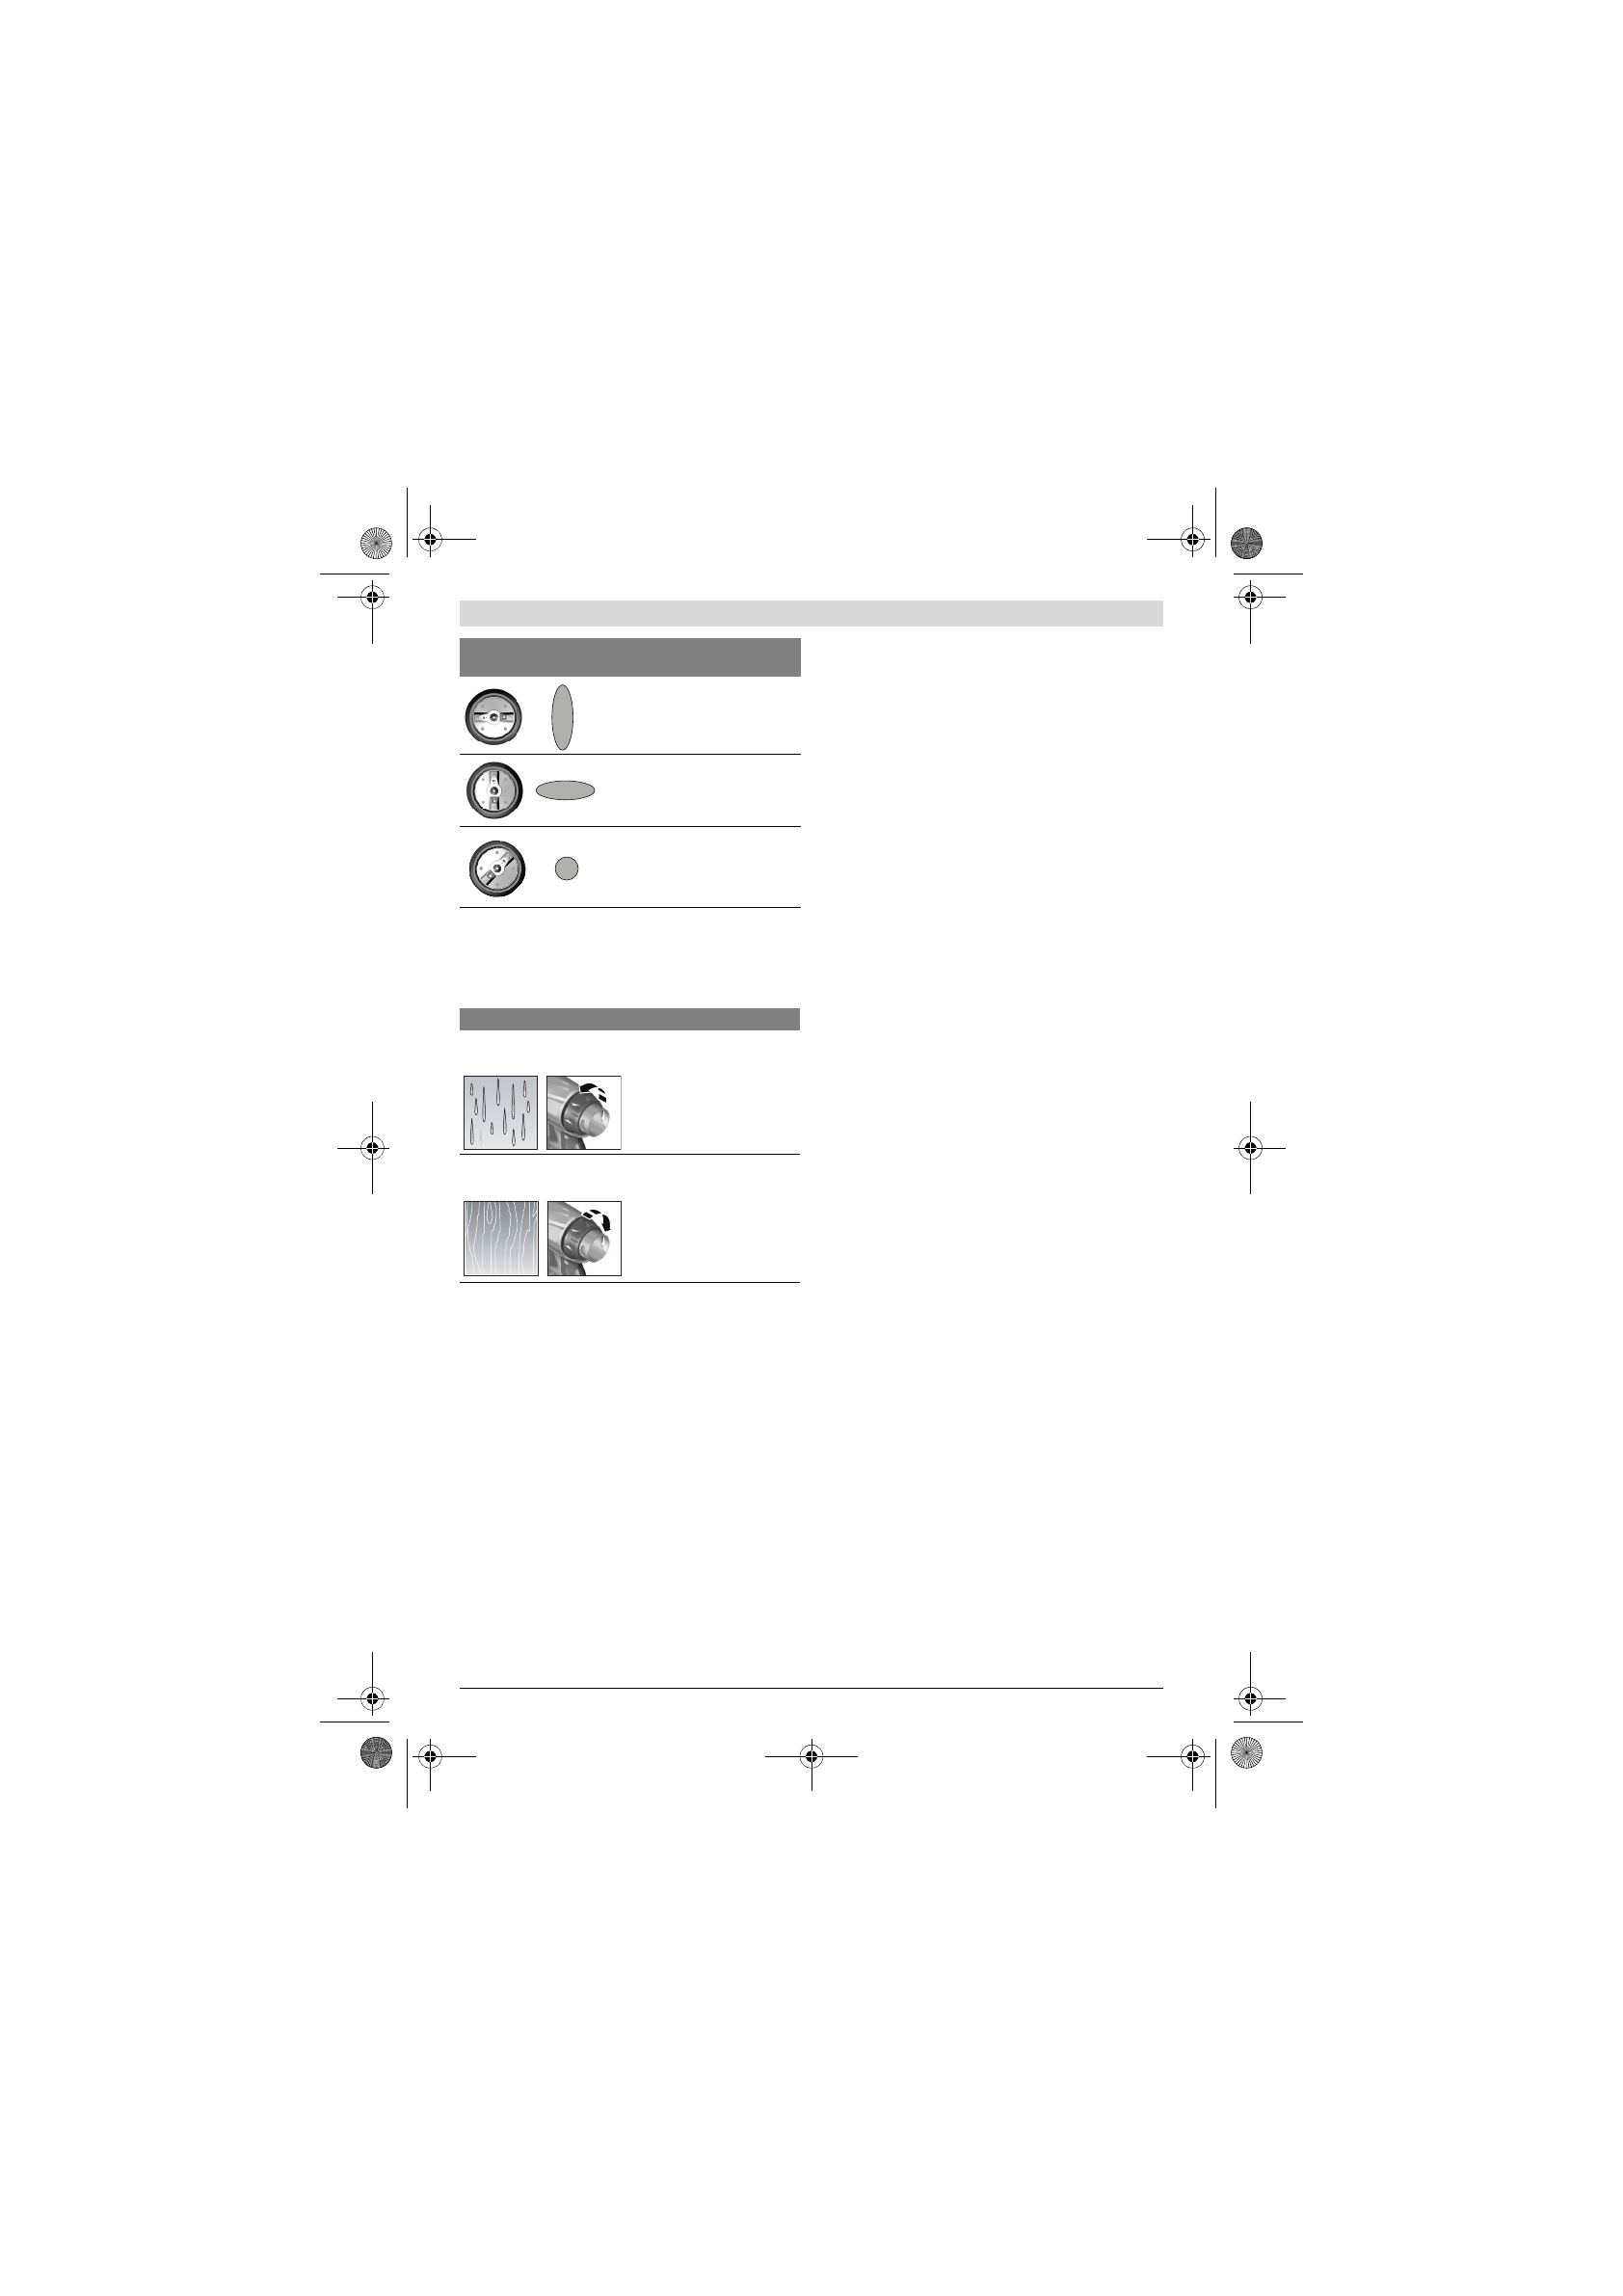
Air cap
Spray jet
pattern
Application
A
Vertical flat jet for horizontal
working direction
B
Horizontal flat jet for vertical
working direction
C
Round jet for corners, edges and
hard to reach locations
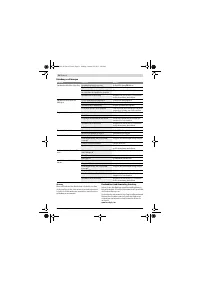
Spraying capacity
Adjustment
Too much material on target ar-
ea:
The spraying capacity must
be reduced.
– Turn the thumbwheel
5
in
direction
I
.
Not enough material on target
area:
The spraying capacity must
be increased.
– Turn the thumbwheel
5
in
direction
IIII
.
OBJ_BUCH-620-007.book Page 17 Monday, October 14, 2013 2:04 PM
Содержание
- 114 Описание продукта и услуг; Применение по назначению
- 115 Заявление о соответствии; Сборка; Подготовка к эксплуатации
- 116 Включение
- 117 Техобслуживание и сервис; Техобслуживание и очистка
- 118 Устранение неисправностей
- 119 Утилизация; Українська; Вказівки з техніки безпеки; Загальні застереження для електроприладів
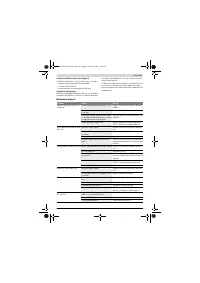
Характеристики

Остались вопросы?Не нашли свой ответ в руководстве или возникли другие проблемы? Задайте свой вопрос в форме ниже с подробным описанием вашей ситуации, чтобы другие люди и специалисты смогли дать на него ответ. Если вы знаете как решить проблему другого человека, пожалуйста, подскажите ему :)


