Бензопилы Bosch AKE 35-19 S - инструкция пользователя по применению, эксплуатации и установке на русском языке. Мы надеемся, она поможет вам решить возникшие у вас вопросы при эксплуатации техники.
Если остались вопросы, задайте их в комментариях после инструкции.
"Загружаем инструкцию", означает, что нужно подождать пока файл загрузится и можно будет его читать онлайн. Некоторые инструкции очень большие и время их появления зависит от вашей скорости интернета.


English |
23
Bosch Power Tools
F 016 L81 142 | (7.12.16)
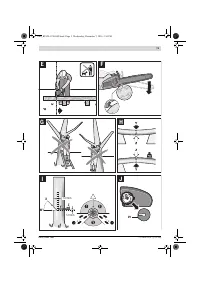
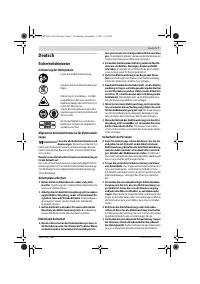
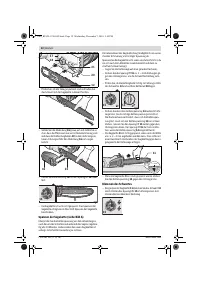
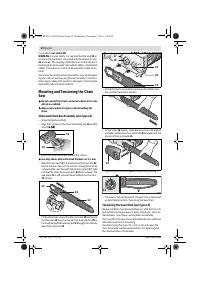
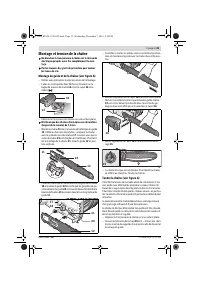
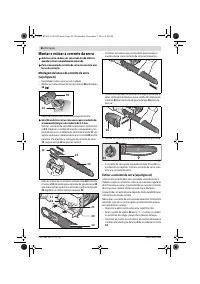
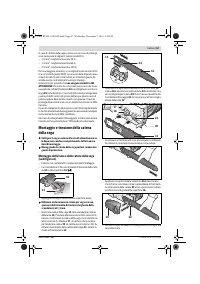
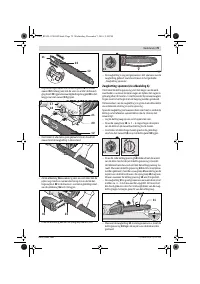
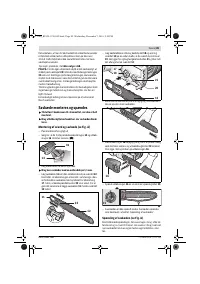
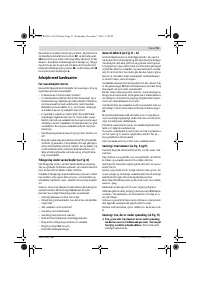
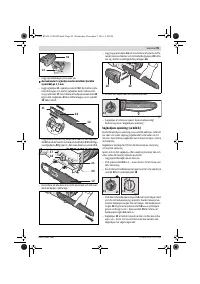
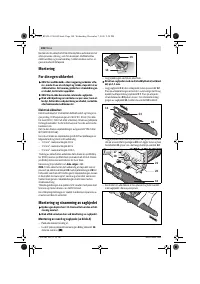
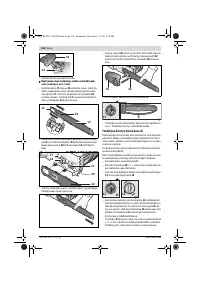
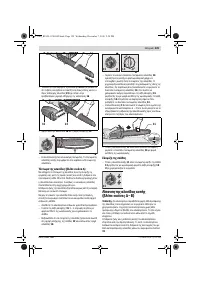
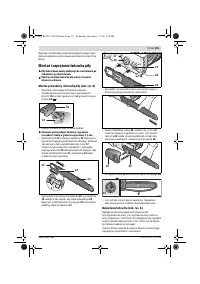
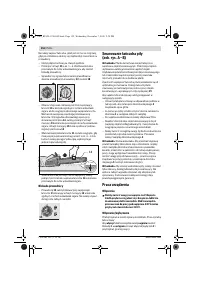
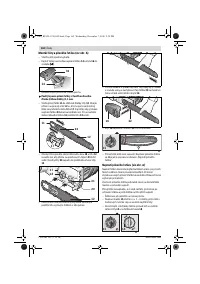
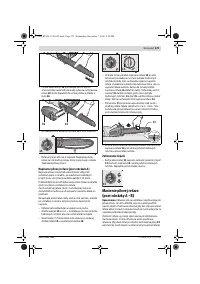
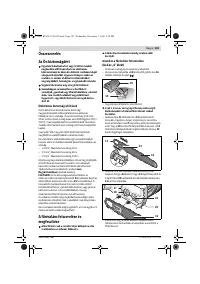
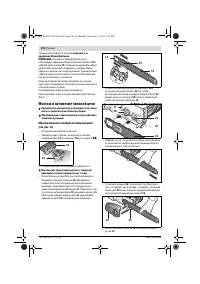
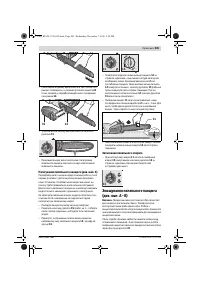
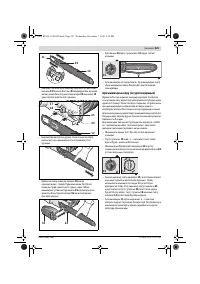
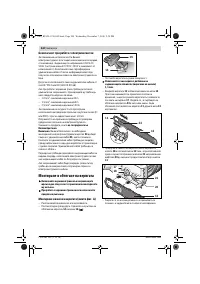
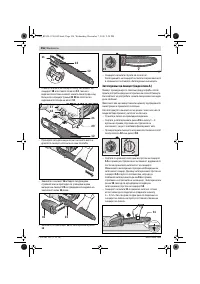
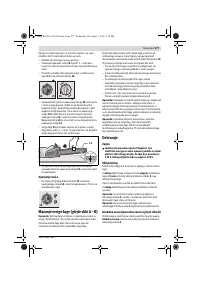
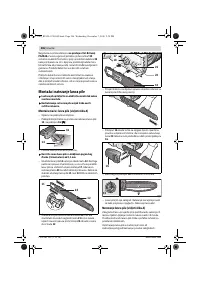
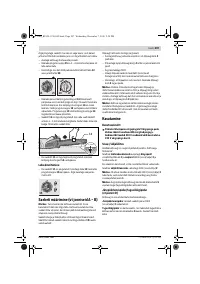
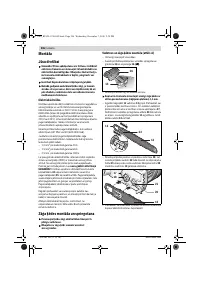
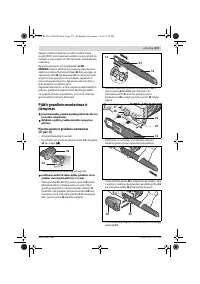
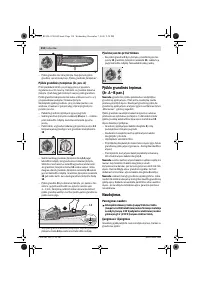
– Place the chain saw on any suitable flat surface.
– Turn locking knob
15
approx. 1 – 3 turns anticlockwise to
loosen the chain bar.
– Check if the chain links are correctly located in the slot
around the chain bar
12
and on the drive sprocket
18
.
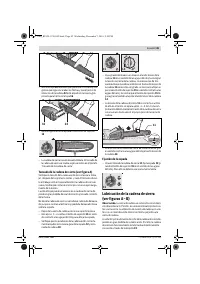
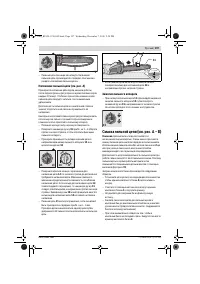
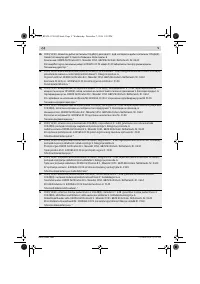
– Turn the red chain-tensioning ring
14
clockwise ratcheting
until the correct chain tension is reached. The ratchet
mechanism prevents the chain tension from loosening. If
the chain-tensioning ring
14
is hard to turn, loosen the
locking knob
15
further in anticlockwise direction. The
locking knob
15
may also turn, when adjusting the chain-
tensioning ring
14
.
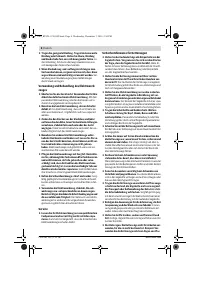
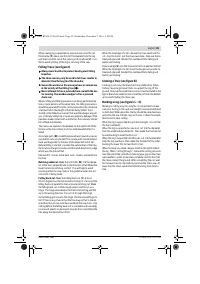
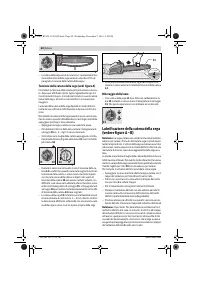
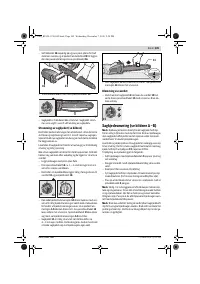
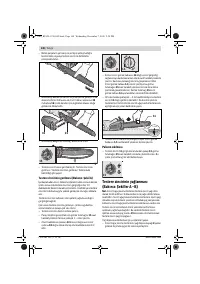
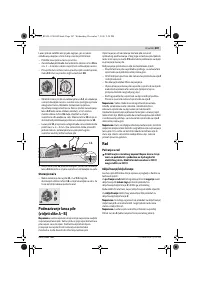
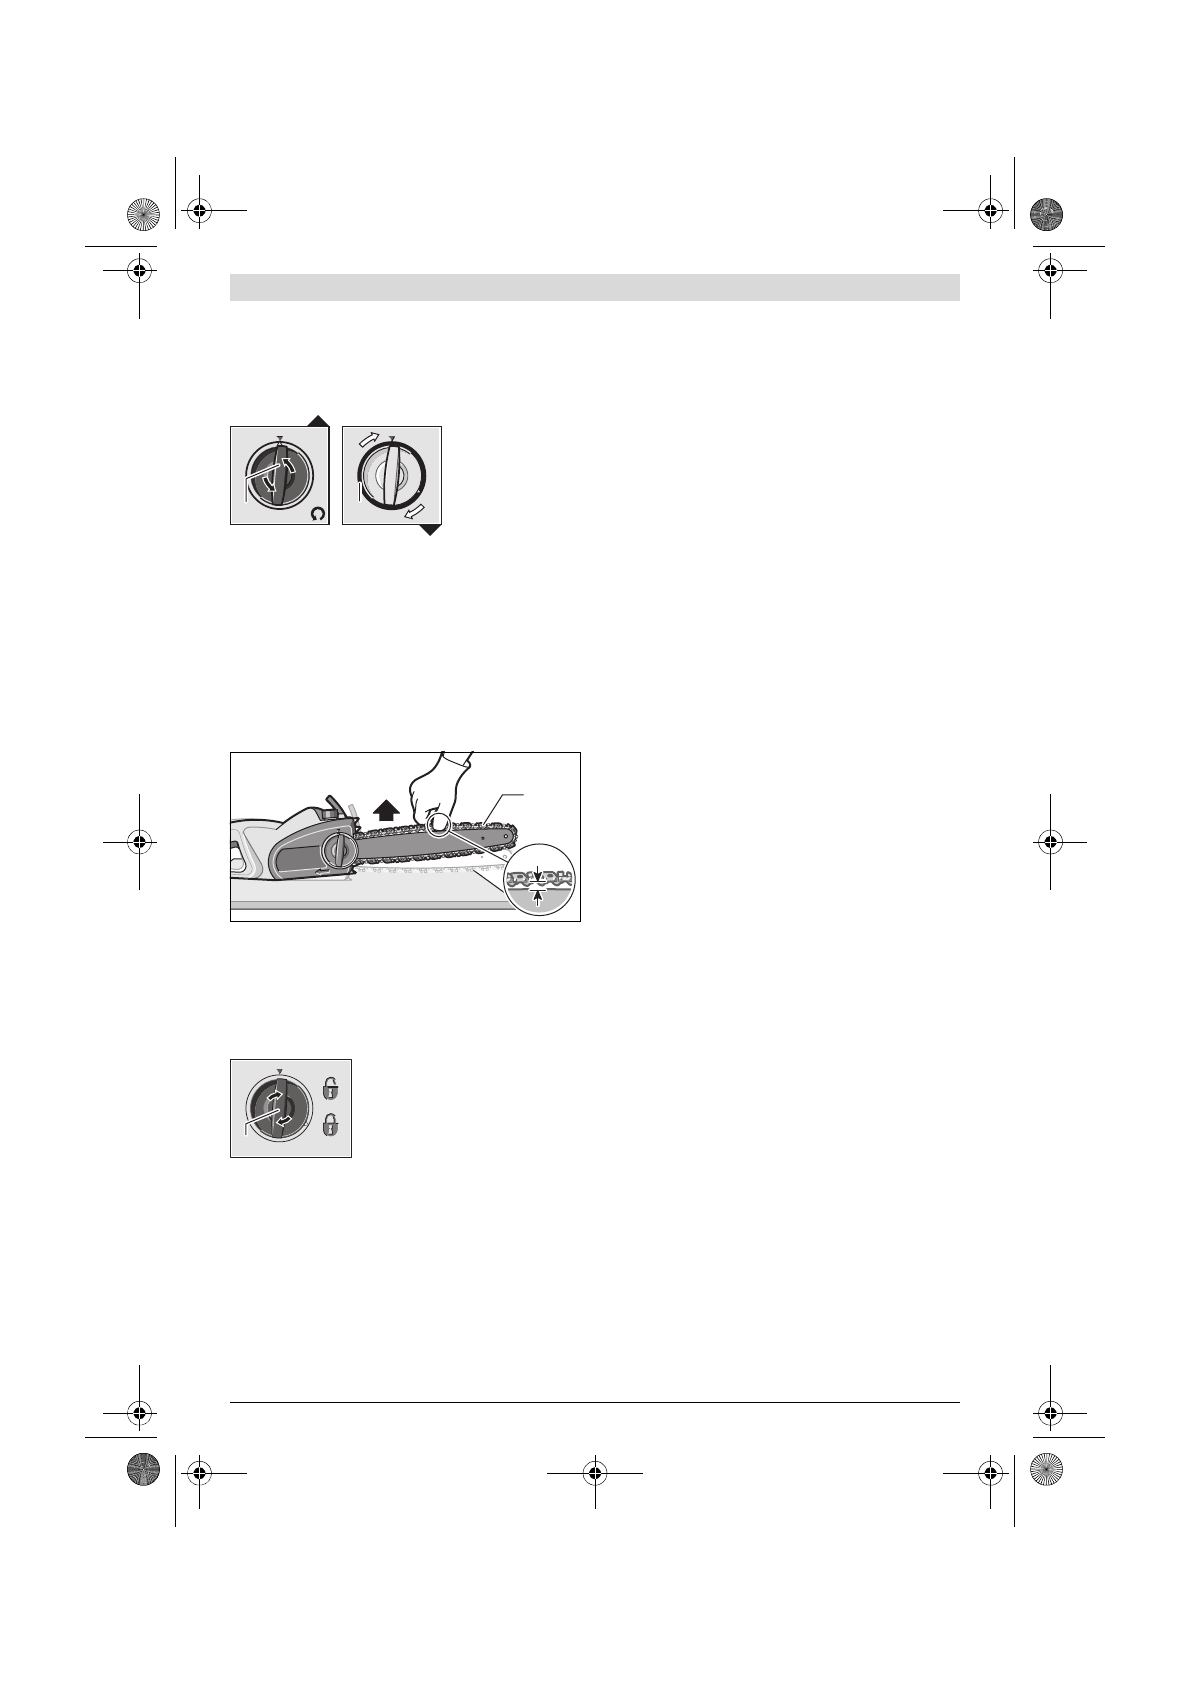
– The saw chain
11
is correctly tensioned when it can be
raised approx. 3 – 4 mm from the chain bar in the centre.
This should be done by using one hand to raise the saw
chain against the weight of the machine.
– If the saw chain
11
is overtensioned, turn the chain-ten-
sioning ring
14
in anticlockwise direction.
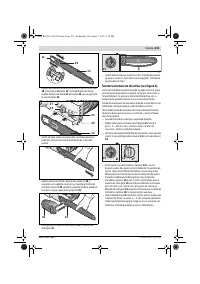
Clamping the Chain Bar
– When the chain
11
is tensioned, clamp the chain bar
12
by
turning the locking knob
15
in clockwise direction. Do not
use a tool for this.
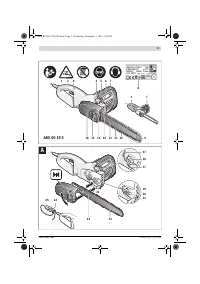
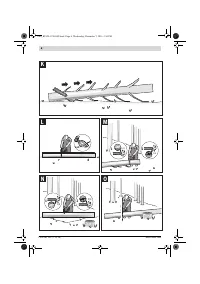
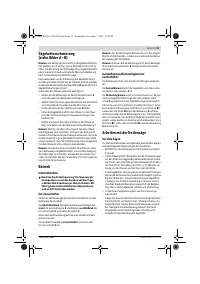
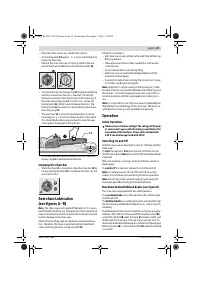
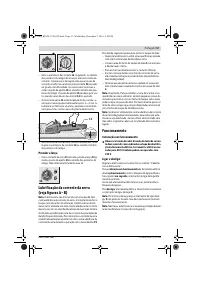
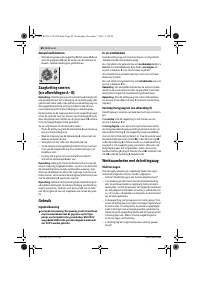
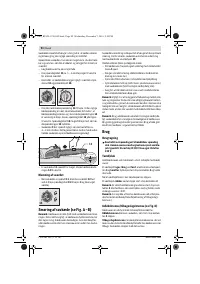
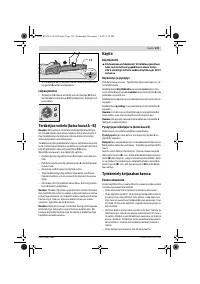
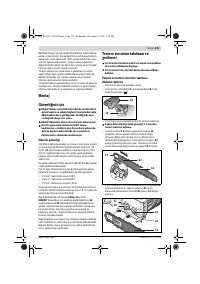
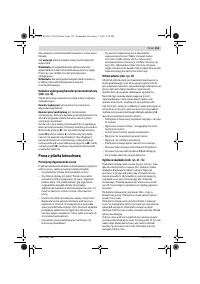
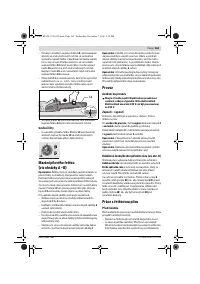
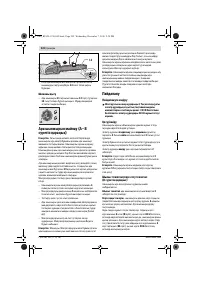
Saw-chain Lubrication
(see figures A – B)
Note:
The chain saw is not supplied filled with oil. It is essen-
tial to fill with oil before use. Operating the chain saw without
chain oil or when the oil level is below the minimum mark will
result in damage to the chain saw.
Chain life and cutting capacity depend on optimum lubrica-
tion. Therefore, the chain is automatically lubricated with
chain oil during operation via the oil outlet
19
.
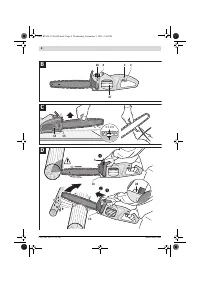
Filling the oil reservoir:
– Set chain saw on any suitable surface with the oil filler cap
4
facing upward.
– Clean area around the oil filler cap
4
with a cloth and un-
screw the cap.
– Do not remove filter insert during filling.
– Add chain saw oil (preferably biodegradable) until the
maximum oil level gauge.
– Avoid dirt or debris from entering the oil reservoir. Screw
on oil filler cap
4
again and tighten.
Note:
Important: To allow venting of the oil reservoir, small
breather channels are provided between the oil filler cap and
the strainer. To prevent leakage ensure chain saw is left in a
horizontal position (oil filler cap
4
uppermost) when not in
use.
Note:
It is important to use only chain saw oil (preferably bio-
degradable) to avoid damage to the chain saw. Never use re-
cycled/old oil as doing so will invalidate the warranty.
Operation
Initial Operation
Observe correct mains voltage! The voltage of the pow-
er source must agree with the voltage specified on the
nameplate of the machine. Power tools marked with
230 V can also be operated with 220 V.
Switching On and Off
Hold the chain saw as described in section “Working with the
Chain Saw”.
To
start
the machine,
first
push the lock-off button for the
On/Off switch
3
and
then
press the On/Off switch
2
and keep
it pressed.
When the machine is running, the lock-off button can be re-
leased again.
To
switch off
the machine, release the On/Off switch
2
.
Note:
For safety reasons, the On/Off switch
2
cannot be
locked; it must remain pressed during the entire operation.
Note:
Do not stop chain saw after sawing by actuating the
front hand guard
5
(activating the kickback brake).
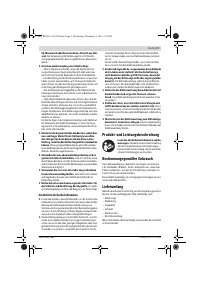
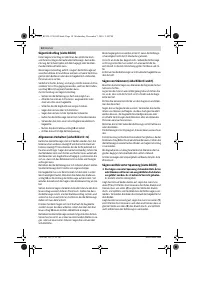
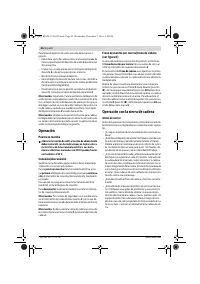
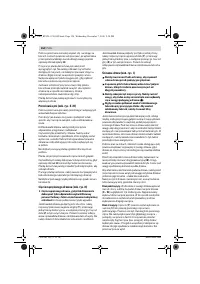
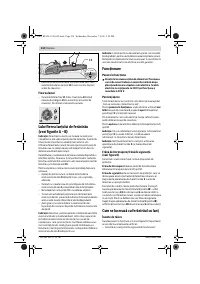
Run-down Brake/Kickback Brake (see figure D)
The chain saw is equipped with two safety features:
The
run-down brake
stops the saw chain after releasing the
On/Off switch
2
.
The
kickback brake
is a safety mechanism activated through
the front hand guard
5
when kickback occurs. Chain stops im-
mediately.
The following function check should be carried out at regular
intervals. Push the front hand guard
5
forward (position
)
so that the red dot
28
under the mark
6
becomes visible, and
briefly start the chain saw. The saw chain must not start. To
deactivate the kickback brake again, pull the front hand guard
5
back (position
), so that the red dot
28
under the mark
6
is covered.
15
14
3 – 4 mm
11
15
OBJ_BUCH-1238-002.book Page 23 Wednesday, December 7, 2016 2:54 PM
Содержание
- 191 Безопасность рабочего места; Безопасность людей
- 192 Сервис
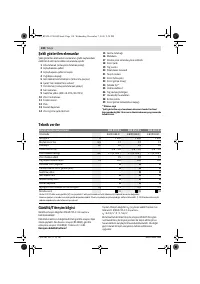
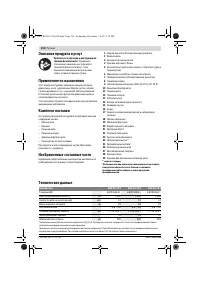
- 194 Описание продукта и услуг
- 195 Данные по шуму и вибрации; Электробезопасность
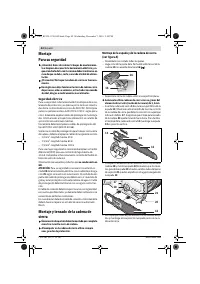
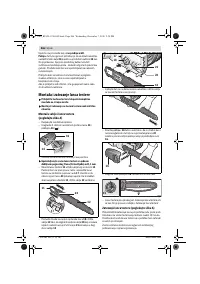
- 196 Монтаж и натяжение пильной цепи
- 197 Зажатие пильного аппарата
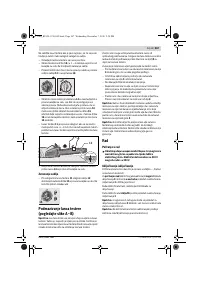
- 198 Работа с инструментом; Эксплуатация; Работа с цепной пилой; Перед пилением
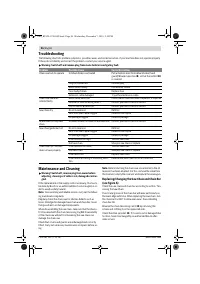
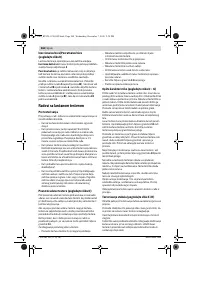
- 201 Поиск неисправностей
- 202 Затачивание пильной цепи; Принадлежности; Очистка
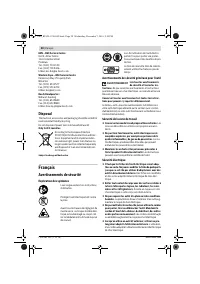
- 203 Утилизация; Українська; Вказівки з техніки безпеки; Пояснення щодо символів
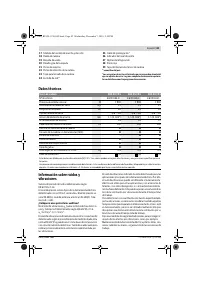
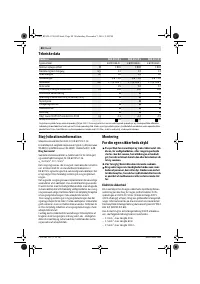
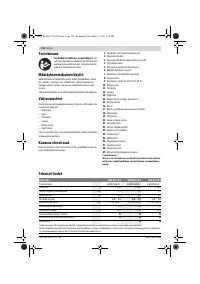
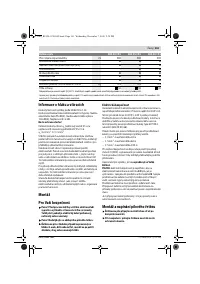
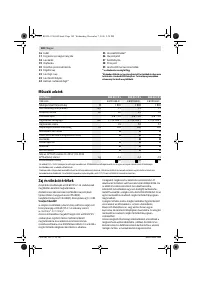
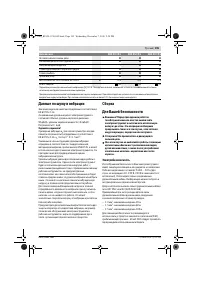
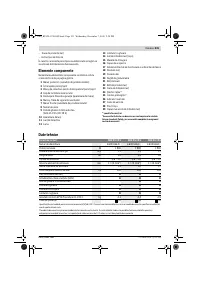
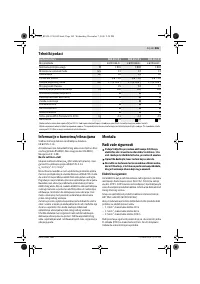
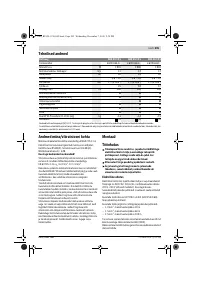
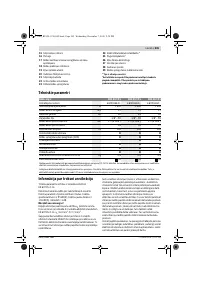
Характеристики

Остались вопросы?Не нашли свой ответ в руководстве или возникли другие проблемы? Задайте свой вопрос в форме ниже с подробным описанием вашей ситуации, чтобы другие люди и специалисты смогли дать на него ответ. Если вы знаете как решить проблему другого человека, пожалуйста, подскажите ему :)


