Шлифмашины Bosch GWS 22 230 JH 0601882203 - инструкция пользователя по применению, эксплуатации и установке на русском языке. Мы надеемся, она поможет вам решить возникшие у вас вопросы при эксплуатации техники.
Если остались вопросы, задайте их в комментариях после инструкции.
"Загружаем инструкцию", означает, что нужно подождать пока файл загрузится и можно будет его читать онлайн. Некоторые инструкции очень большие и время их появления зависит от вашей скорости интернета.


20
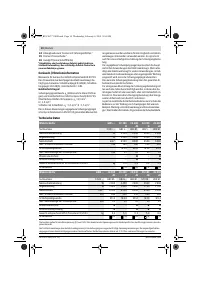
| English
1 609 929 X88 | (8.2.12)
Bosch Power Tools
Assembly
Mounting the Protective Devices
f
Before any work on the machine itself, pull the mains
plug.
Note:
After breakage of the grinding disc during operation or
damage to the holding fixtures on the protection guard/power
tool, the machine must promptly be sent to an after-sales
service agent for maintenance for addresses, see section “Af-
ter-sales Service and Customer Assistance”.
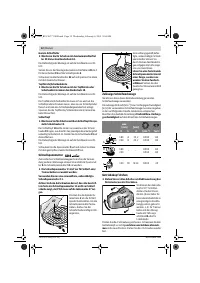
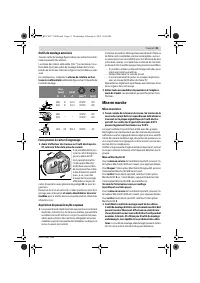
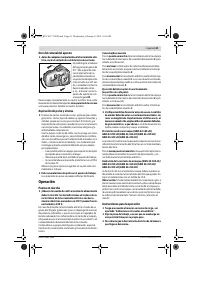
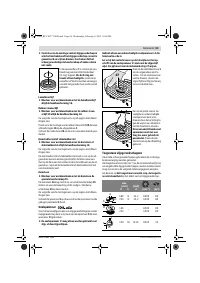
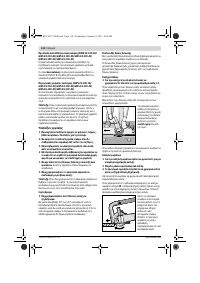
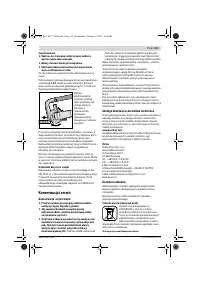
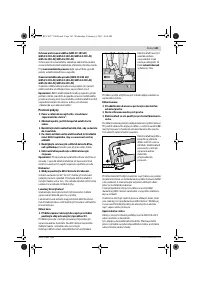
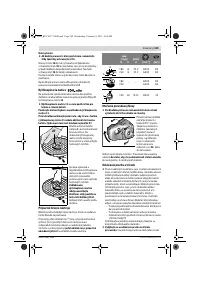
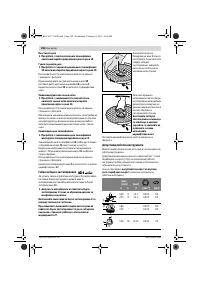
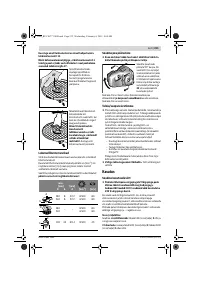
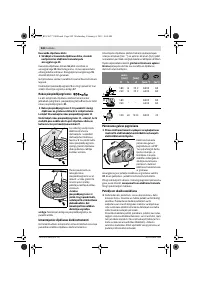
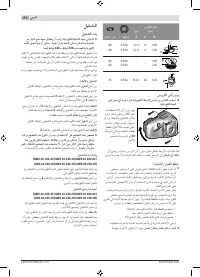
Protection Guard for Grinding
Place the protection guard
5
on the spindle collar. Adjust the
position of the protection guard
5
to the requirements of the
operation and lock the protection guard
5
with the locking
screw
6
.
f
Adjust the protection guard 5 in such a manner that
sparking is prevented in the direction of the operator.
Protection Guard for Cutting
f
For cutting with bonded abrasives, always use the pro-
tection guard for cutting 13.
f
Provide for sufficient dust extraction when cutting
stone.
The protection guard for cutting
13
is mounted in the same
manner as the protection guard for grinding
5
.
Cutting Guide with Dust Extraction Protection Guard
The cutting guide with dust extraction protection guard
24
is
mounted in the same manner as the protection guard for
grinding
5
.
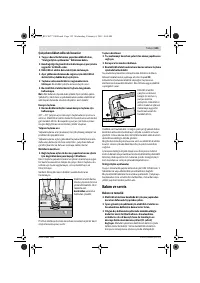
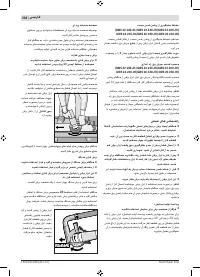
Auxiliary Handle
f
Operate your machine only with the auxiliary handle 3.
Screw the auxiliary handle
3
on the right or left of the machine
head depending on the working method.
Hand Guard
f
For operations with the rubber sanding plate 20 or with
the cup brush/wheel brush/flap disc, always mount the
hand guard 18.
The hand guard
18
is fastened with the auxiliary handle
3
.
Mounting the Grinding Tools
f
Before any work on the machine itself, pull the mains
plug.
f
Do not touch grinding and cutting discs before they
have cooled down.
The discs can become very hot while
working.
Clean the grinder spindle
4
and all parts to be mounted.
For clamping and loosening the grinding tools, lock the grind-
er spindle with the spindle lock button
1
.
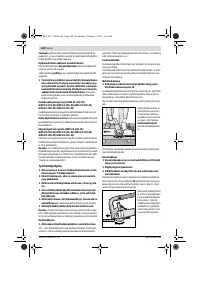
f
Actuate the spindle lock button only when the grinder
spindle is at a standstill.
Otherwise, the machine may be-
come damaged.
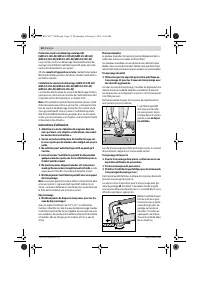
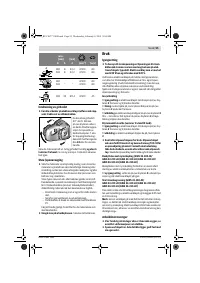
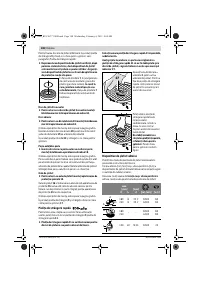
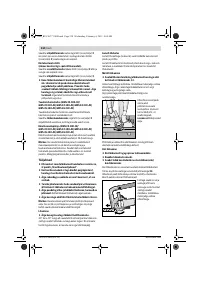
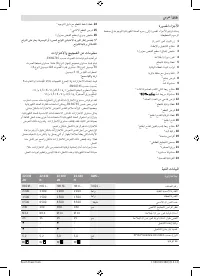
Grinding/Cutting Disc
Pay attention to the dimensions of the grinding tools. The
mounting hole diameter must fit the mounting flange without
play. Do not use reducers or adapters.
When using diamond cutting discs, pay attention that the di-
rection-of-rotation arrow on the diamond cutting disc and the
direction of rotation of the machine (see direction-of-rotation
arrow on the machine head) agree.
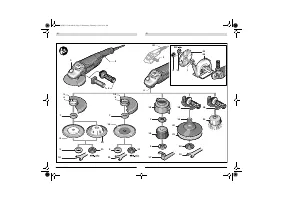
See graphics page for the mounting sequence.
To fasten the grinding/cutting disc, screw on the clamping nut
9
and tighten with the two-pin spanner; see Section “Quick-
clamping Nut ”.
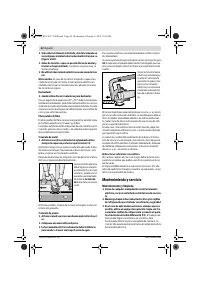
f
After mounting the grinding tool and before switching
on, check that the grinding tool is correctly mounted
and that it can turn freely. Make sure that the grinding
tool does not graze against the protection guard or oth-
er parts.
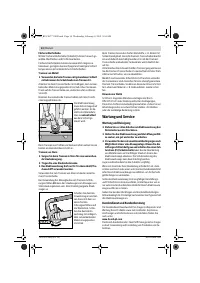
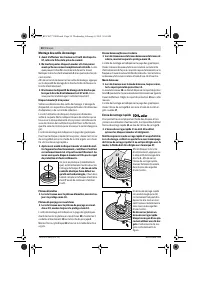
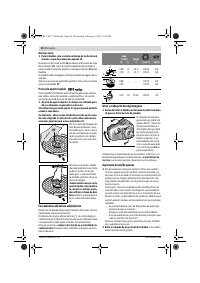
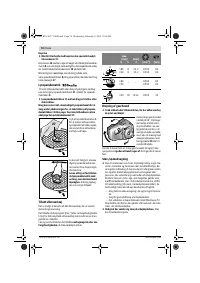
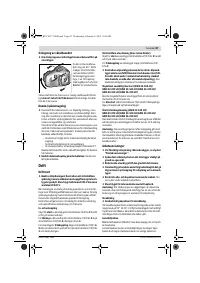
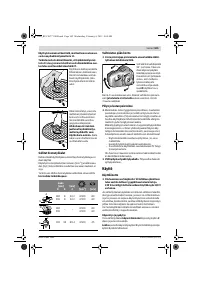
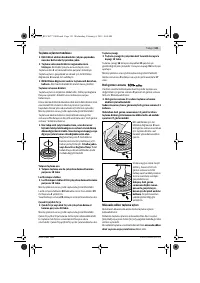
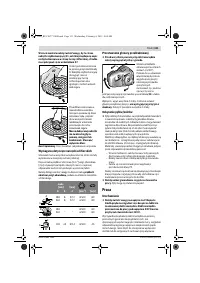
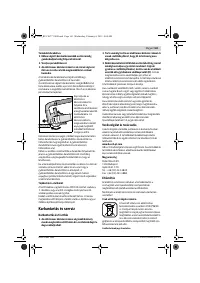
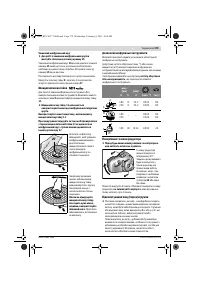
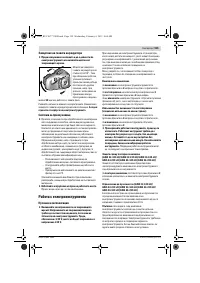
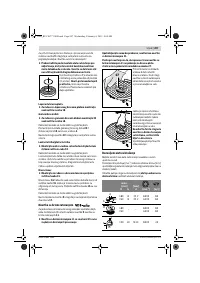
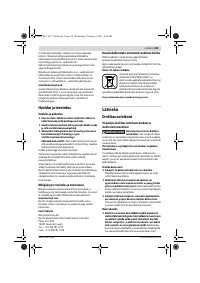
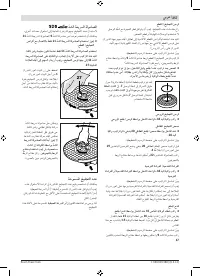
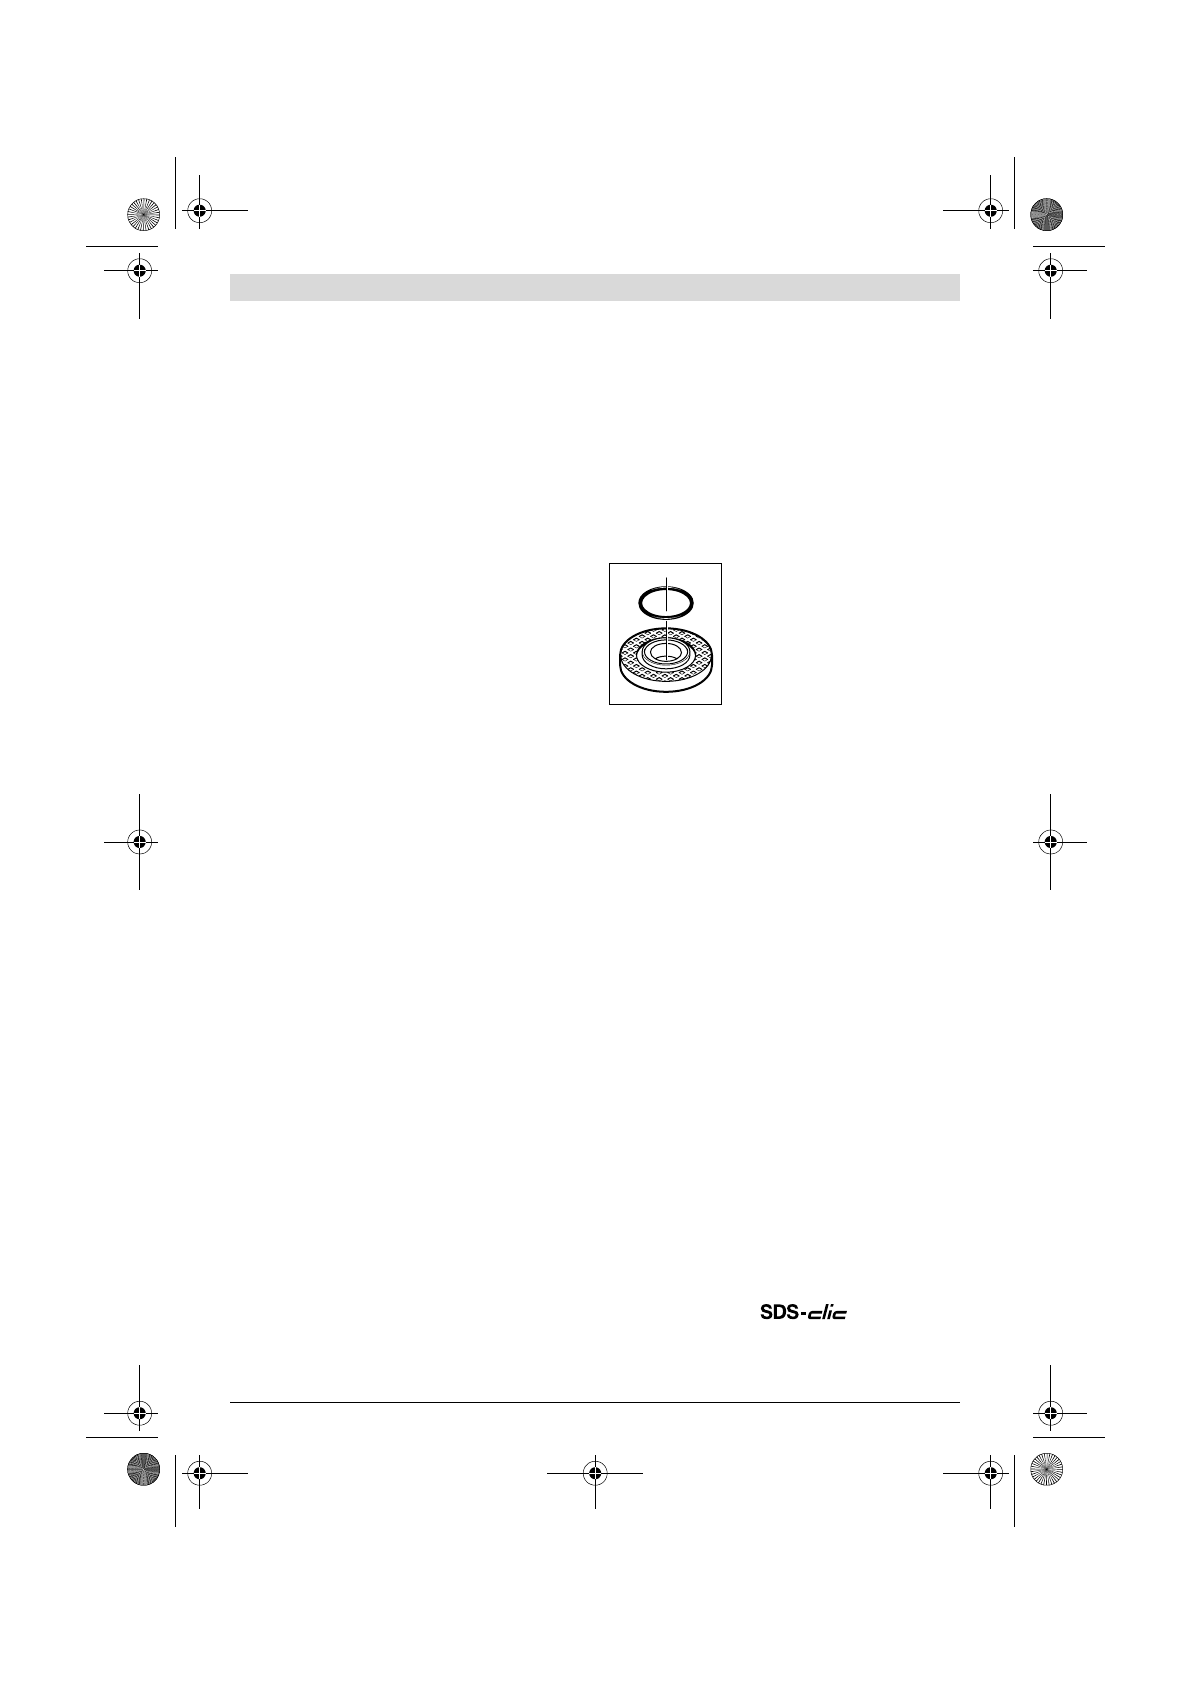
A plastic part (O-ring) is fitted around
the centring collar of mounting flange
7
.
If the O-ring is missing or damaged,
the mounting flange
7
must be replaced
before resuming operation.
Flap Disc
f
For operations with the flap disc, always mount the
hand guard 18.
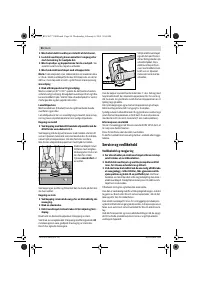
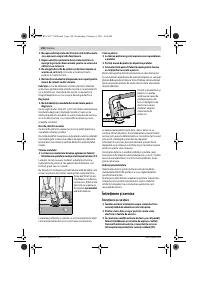
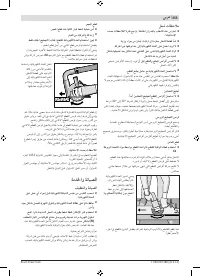
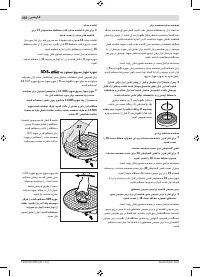
Rubber Sanding Plate
f
For operations with the rubber sanding plate 20, al-
ways mount the hand guard 18.
See graphics page for the mounting sequence.
Before mounting the rubber sanding plate
20
, put the 2 spac-
er discs
19
onto the grinder spindle
4
.
Screw on the round nut
22
and tighten with the two-pin span-
ner.
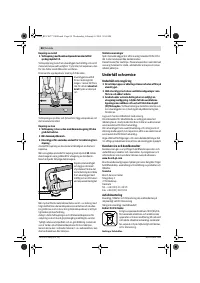
Cup Brush/Disc Brush
f
For operations with the cup brush/wheel brush, always
mount the hand guard 18.
See graphics page for the mounting sequence.
The cup brush/disc brush must be able to be screwed onto
the grinder spindle until it rests firmly against the grinder
spindle flange at the end of the grinder spindle threads. Tight-
en the cup brush/disc brush with an open-end spanner.
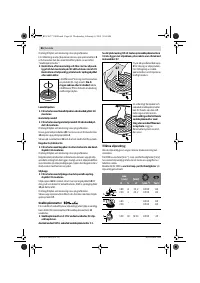
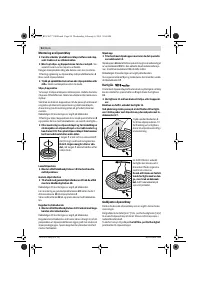
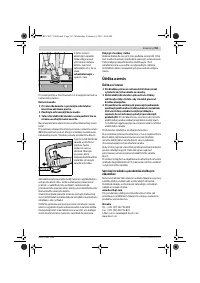
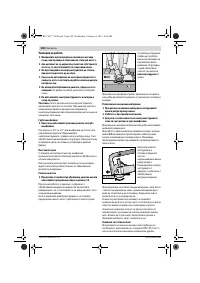
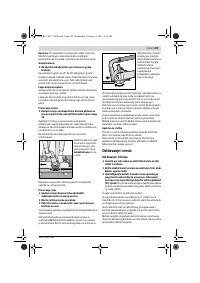
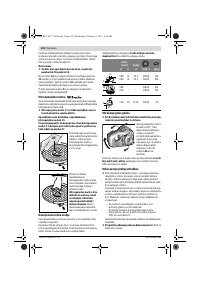
Grinding Cup
f
When working with the grinding cup, mount the special
protection guard 15.
The grinding cup
16
should never project further out of the
protection guard
15
than necessary for the respective grind-
ing application. Adjust the protection guard
15
accordingly to
this dimension.
See graphics page for the mounting sequence.
Screw on clamping nut
9
and tighten with two-pin spanner
17
.
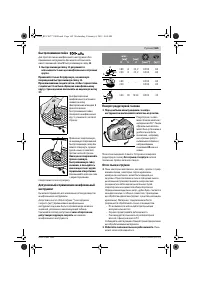
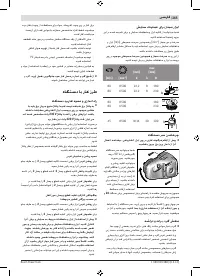
Quick-clamping Nut
For convenient changing of grinding tools without the use of
additional tools, you can use the quick-clamping nut
11
in-
stead of the clamping nut
9
.
OBJ_BUCH-777-008.book Page 20 Wednesday, February 8, 2012 8:04 AM


