Пароварки Philips HD9189 - инструкция пользователя по применению, эксплуатации и установке на русском языке. Мы надеемся, она поможет вам решить возникшие у вас вопросы при эксплуатации техники.
Если остались вопросы, задайте их в комментариях после инструкции.
"Загружаем инструкцию", означает, что нужно подождать пока файл загрузится и можно будет его читать онлайн. Некоторые инструкции очень большие и время их появления зависит от вашей скорости интернета.


Electromagnetic fields (EMF)
This Philips appliance complies with all standards regarding electromagnetic fields (EMF). If handled
properly and according to the instructions in this user manual, the appliance is safe to use based on
scientific evidence available today.
Before first use
1
Thoroughly clean the parts that come into contact with food before you use the appliance
for the first time (see chapter ‘Cleaning and maintenance’).
2
Wipe the inside of the water tank with a damp cloth.
Preparing for use
1
Put the appliance on a stable, horizontal and level surface.
2
Fully unwind the mains cord from the reel in the base before you plug in the appliance.
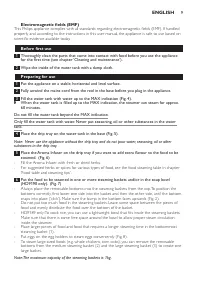
3
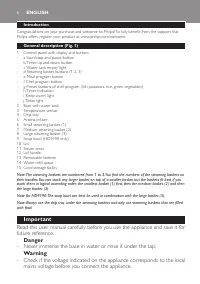
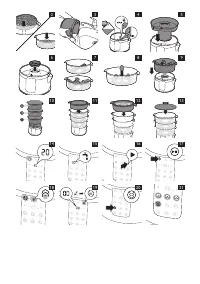
Fill the water tank with water up to the MAX indication (Fig. 4).
,
When the water tank is filled up to the MAX indication, the steamer can steam for approx.
60 minutes.
Do not fill the water tank beyond the MAX indication.
Only fill the water tank with water. Never put seasoning, oil or other substances in the water
tank.
4
Place the drip tray on the water tank in the base (Fig. 5).
Note: Never use the appliance without the drip tray and do not pour water, seasoning, oil or other
substances in the drip tray.
5
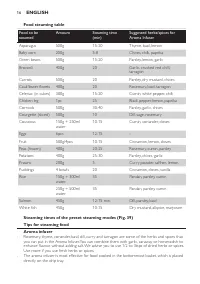
Place the Aroma Infuser on the drip tray if you want to add extra flavour to the food to be
steamed. (Fig. 6)
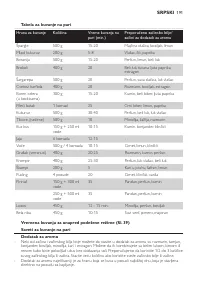
- Fill the Aroma Infuser with fresh or dried herbs.
- For suggested herbs or spices for various types of food, see the food steaming table in chapter
‘Food table and steaming tips’.
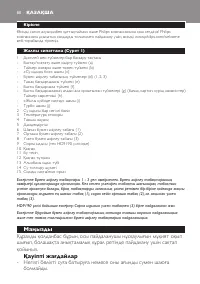
6
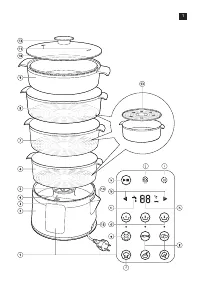
Put the food to be steamed in one or more steaming baskets and/or in the soup bowl
(HD9190 only). (Fig. 7)
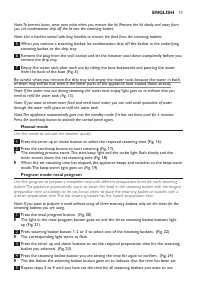
- Always place the removable bottoms into the steaming baskets from the top. To position the
bottoms correctly, first lower one side into the basket and then the other side, until the bottom
snaps into place (‘click’). Make sure the bump in the bottom faces upwards (Fig. 2).
- Do not put too much food in the steaming baskets. Leave some space between the pieces of
food and evenly distribute the food over the bottom of the basket.
- HD9189 only: To cook rice, you can use a lightweight bowl that fits inside the steaming baskets.
Make sure that there is some free space around the bowl to allow proper steam circulation
inside the steamer.
- Place larger pieces of food and food that requires a longer steaming time in the bottommost
steaming basket (1).
- Put eggs on the egg holders to steam eggs conveniently (Fig. 8).
- To steam large-sized foods (e.g. whole chickens, corn cobs), you can remove the removable
bottoms from the medium steaming basket (2) and the large steaming basket (3) to create one
large basket.
Note: The maximum capacity of the steaming baskets is 1kg.
ENGLISH
9
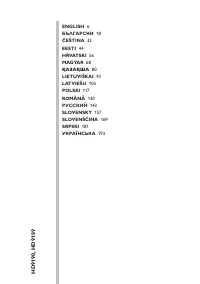
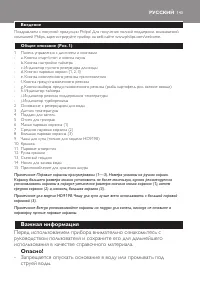
Содержание
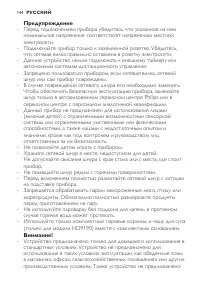
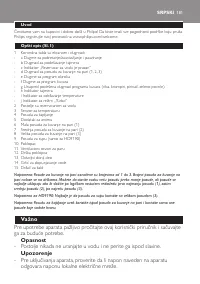
- 144 Предупреждение
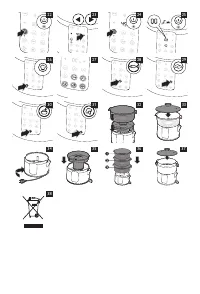
- 146 Автоматическое отключение; прибора, заполните резервуар холодной водой до отметки MAX.; Перед первым использованием; воды до максимального уровня.
- 147 подвергаются обработке паром в нужной степени.; Использование прибора
- 148 Общие рекомендации; Вставьте вилку сетевого шнура в розетку электросети.
- 149 Ручной режим; Используйте этот режим для быстрого включения пароварки.
- 151 Режим поддержания температуры; поддержания температуры при помощи кнопок настройки таймера.; Очистка и уход; незначительному помутнению пластика.; Очистка от накипи; проводить очистку от накипи.
- 152 Несколько раз промойте резервуар для воды холодной водой.; Хранение
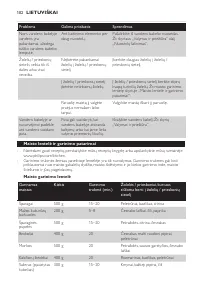
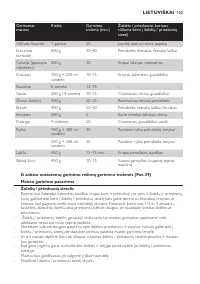
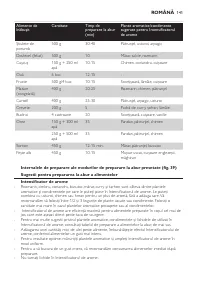
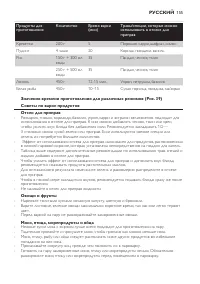
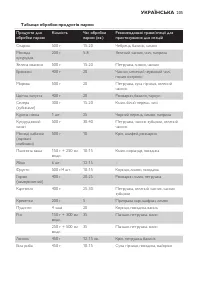
- 155 Овощи и фрукты


