Пароварки Philips HD9189 - инструкция пользователя по применению, эксплуатации и установке на русском языке. Мы надеемся, она поможет вам решить возникшие у вас вопросы при эксплуатации техники.
Если остались вопросы, задайте их в комментариях после инструкции.
"Загружаем инструкцию", означает, что нужно подождать пока файл загрузится и можно будет его читать онлайн. Некоторые инструкции очень большие и время их появления зависит от вашей скорости интернета.


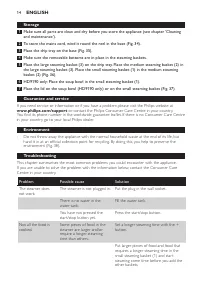


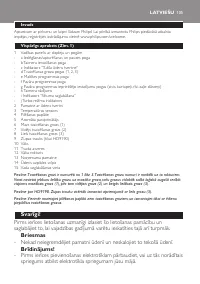


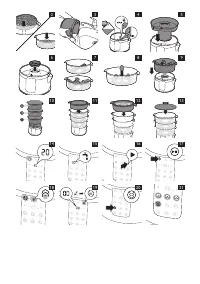


Storage
1
Make sure all parts are clean and dry before you store the appliance (see chapter ‘Cleaning
and maintenance’).
2
To store the mains cord, wind it round the reel in the base (Fig. 34).
3
Place the drip tray on the base (Fig. 35).
4
Make sure the removable bottoms are in place in the steaming baskets.
5
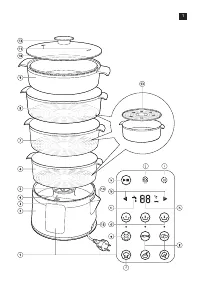
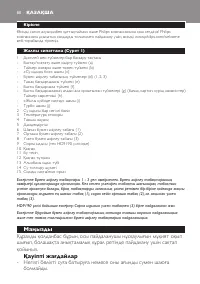
Place the large steaming basket (3) on the drip tray. Place the medium steaming basket (2) in
the large steaming basket (3). Place the small steaming basket (1) in the medium steaming
basket (2) (Fig. 36).
6
HD9190 only: Place the soup bowl in the small steaming basket (1).
7
Place the lid on the soup bowl (HD9190 only) or on the small steaming basket (Fig. 37).
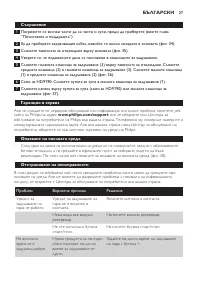
Guarantee and service
If you need ser vice or information or if you have a problem, please visit the Philips website at
www.philips.com/support
or contact the Philips Consumer Care Centre in your countr y.
You find its phone number in the worldwide guarantee leaflet. If there is no Consumer Care Centre
in your countr y, go to your local Philips dealer.
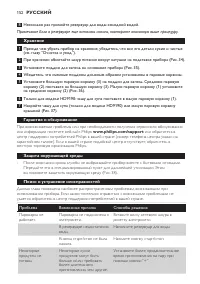
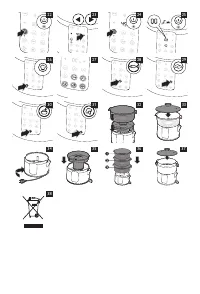
Environment
- Do not throw away the appliance with the normal household waste at the end of its life, but
hand it in at an official collection point for recycling. By doing this, you help to preser ve the
environment (Fig. 38).
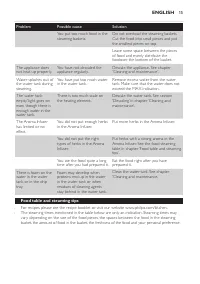
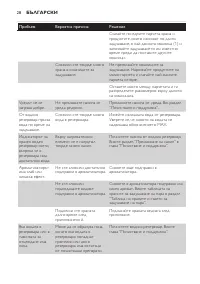
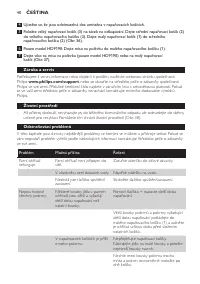
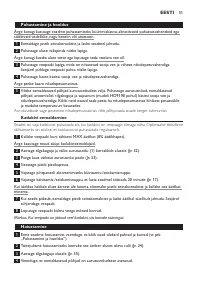
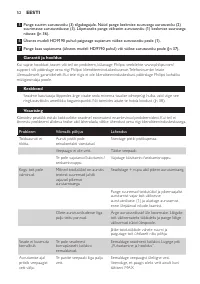
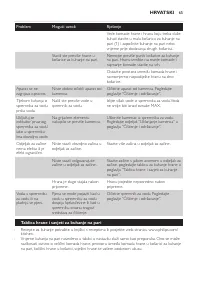
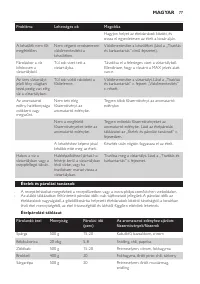
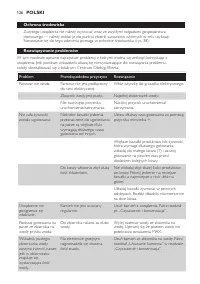
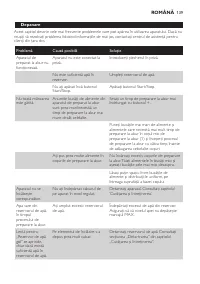
Troubleshooting
This chapter summarises the most common problems you could encounter with the appliance.
If you are unable to solve the problem with the information below, contact the Consumer Care
Centre in your countr y.
Problem
Possible cause
Solution
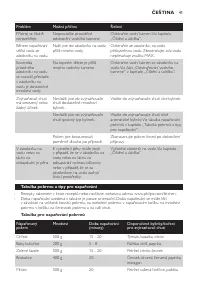
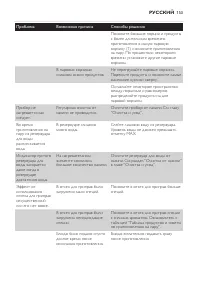
The steamer does
not work.
The steamer is not plugged in. Put the plug in the wall socket.
There is no water in the
water tank.
Fill the water tank.
You have not pressed the
star t/stop button yet.
Press the star t/stop button.
Not all the food is
cooked.
Some pieces of food in the
steamer are larger and/or
require a longer steaming
time than others.
Set a longer steaming time with the +
button.
Put larger pieces of food and food that
requires a longer steaming time in the
small steaming basket (1) and star t
steaming some time before you add the
other baskets.
ENGLISH
14
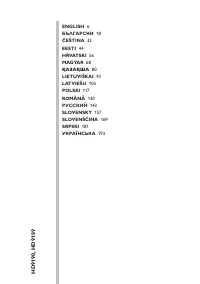
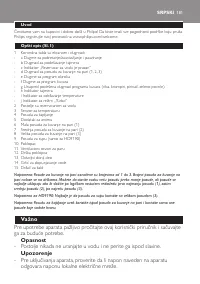
Содержание
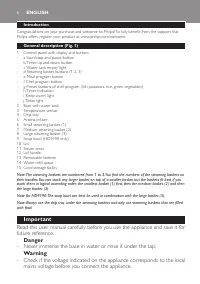
- 144 Предупреждение
- 146 Автоматическое отключение; прибора, заполните резервуар холодной водой до отметки MAX.; Перед первым использованием; воды до максимального уровня.
- 147 подвергаются обработке паром в нужной степени.; Использование прибора
- 148 Общие рекомендации; Вставьте вилку сетевого шнура в розетку электросети.
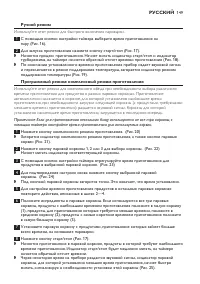
- 149 Ручной режим; Используйте этот режим для быстрого включения пароварки.
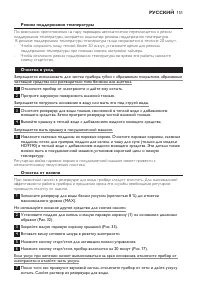
- 151 Режим поддержания температуры; поддержания температуры при помощи кнопок настройки таймера.; Очистка и уход; незначительному помутнению пластика.; Очистка от накипи; проводить очистку от накипи.
- 152 Несколько раз промойте резервуар для воды холодной водой.; Хранение
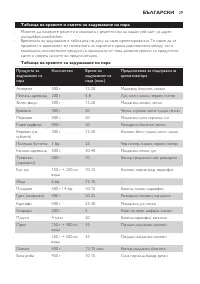
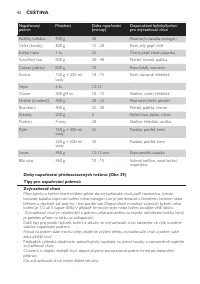
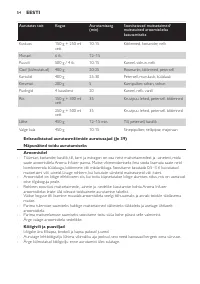
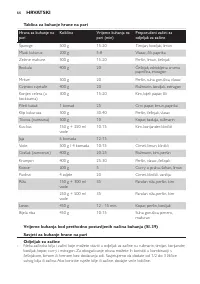
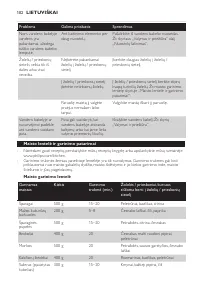
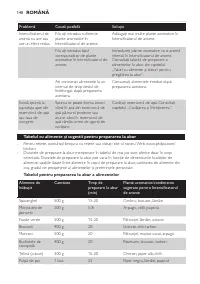
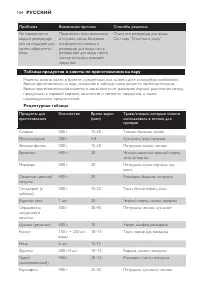
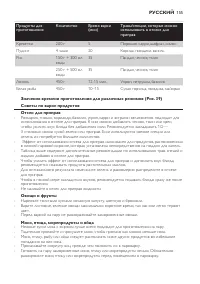
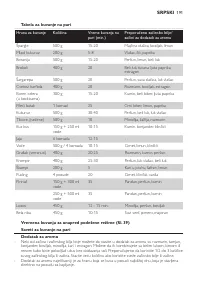
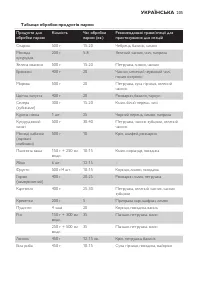
- 155 Овощи и фрукты


