Магнитолы Pioneer MVH-X560BT - инструкция пользователя по применению, эксплуатации и установке на русском языке. Мы надеемся, она поможет вам решить возникшие у вас вопросы при эксплуатации техники.
Если остались вопросы, задайте их в комментариях после инструкции.
"Загружаем инструкцию", означает, что нужно подождать пока файл загрузится и можно будет его читать онлайн. Некоторые инструкции очень большие и время их появления зависит от вашей скорости интернета.


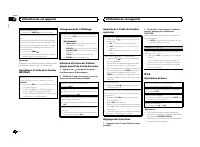
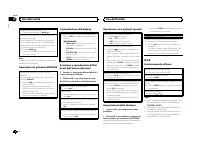


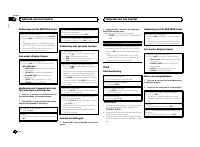

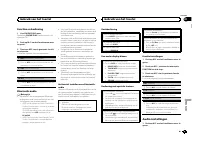


DISPLAY FX
(display effect)
The MIXTRAX special effects display can be turned
on or off.
1
Press
M.C.
to select the desired setting.
ON
(MIXTRAX special effects display)
—
OFF
(normal display)
CUT IN FX
(manual cut-in effect)
You can turn on or off the MIXTRAX sound effects
while manually changing tracks.
1
Press
M.C.
to select the desired setting.
ON
(on)
—
OFF
(off)
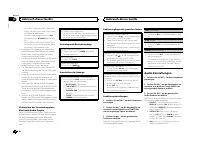
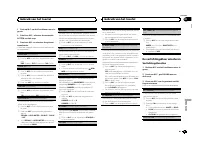
Initial menu
1
Press and hold SRC/OFF until the unit
turns off.
2
Press and hold SRC/OFF until the main
menu appears in the display.
3
Turn M.C. to change the menu option
and press to select INITIAL.
4
Turn M.C. to select the initial menu func-
tion.
Once selected, the following initial menu func-
tions can be adjusted.
FM STEP
(FM tuning step)
1
Press
M.C.
to select the FM tuning step.
100
(100 kHz)
—
50
(50 kHz)
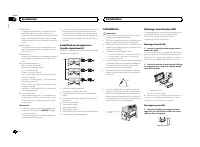
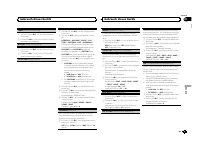
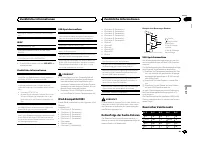
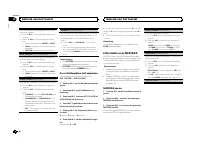
REAR-SP
(rear output setting)
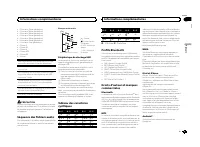
The rear speaker leads output and the RCA output
of this unit can be used to connect a full-range
speaker or subwoofer. Select a suitable option for
your connection.
1
Press
M.C.
to display the setting mode.
2
Turn
M.C.
to select the desired setting.
!
FUL
–
Select when there is a full-range
speaker connected to the rear speaker
leads output.
!
SW
–
Select when there is a subwoofer
connected directly to the rear speaker
leads output without any auxiliary amp.
S/W UPDATE
(updating the software)
This function is used to update this unit with the
latest Bluetooth software. For about Bluetooth
software and updating, refer to our website.
!
Never turn the unit off while the Bluetooth soft-
ware is being updated.
1
Press
M.C.
to start updating.
Follow the on-screen instructions to finish up-
dating the Bluetooth software.
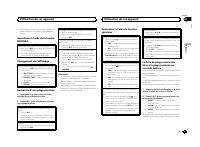
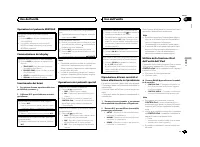
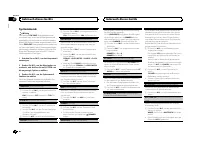
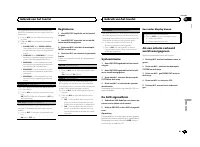
System menu
1
Press and hold SRC/OFF until the unit
turns off.
2
Press and hold SRC/OFF until the main
menu appears in the display.
3
Turn M.C. to change the menu option
and press to select SYSTEM.
4
Turn M.C. to select the system menu
function.
For details, refer to
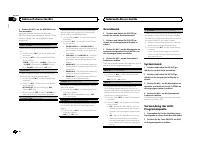
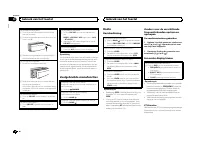
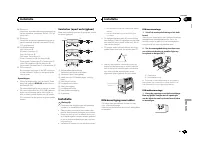
Using an AUX source
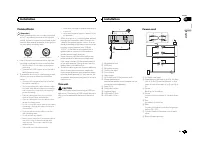
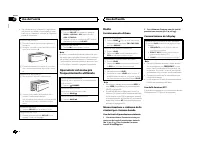
1
Use the AUX cable to connect an auxiliary
device to this unit.
2
Press SRC/OFF to select AUX as the
source.
Note
AUX cannot be selected unless the auxiliary set-
ting is turned on. For more details, refer to
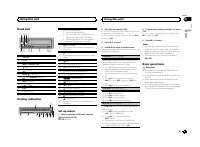
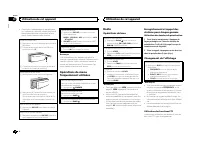
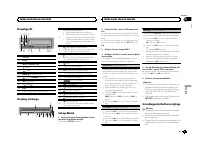
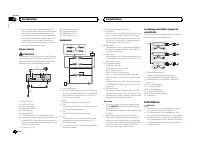
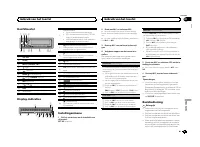
Switching the display
Selecting the desired text information
1
Press
DISP
to cycle between the following:
!
Source name
!
Source name and clock
If an unwanted display appears
Turn off the unwanted display using the proce-
dures listed below.
1
Press M.C. to display the main menu.
2
Turn M.C. to change the menu option
and press to select SYSTEM.
3
Turn M.C. to display DEMO OFF and press
to select.
4
Turn M.C. to switch to YES.
5
Press M.C. to select.
Using this unit
14
Section
Using this unit
En
02
Содержание
- 138 Благодарим Вас; PIONEER; Держите данное; Сведения об этом устройстве; RDS; ПРЕДУПРЕЖДЕНИЕ; Pioneer CarStereo-Pass; При возникновении проблем; Перед началом эксплуатации
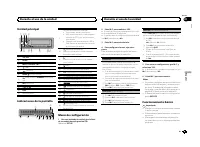
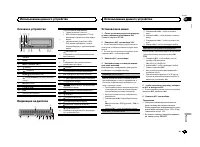
- 139 Установочное меню; SET UP; YES; Меню системы; SRC; Использование данного устройства
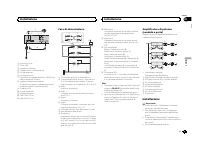
- 140 Радиоприемник; Основные операции; SEEK; AF; AF; FREQUENCY; Использование функций
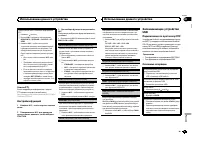
- 141 PTY; Настройка функций; FUNCTION; Запоминающее устройство; Подключение по протоколу
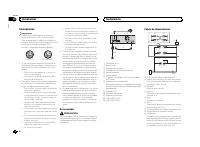
- 142 Функции кнопки
- 144 CONTROL iPod; Для пользователей
- 145 Для пользователей смартфонов; iPhone; Настройки для громкой связи
- 146 Использование меню соединения
- 147 DEL DEVICE; Использование меню телефона; Нажмите
- 148 Функции и их назначение; аудио; Настройка
- 149 Регулировки параметров звука; AUDIO
- 150 PW SAVE; DIMMER
- 151 Выбор цвета подсветки; Меню функции подсветки; Настройка цвета подсветки
- 152 Меню; Стартовое меню
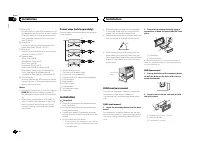
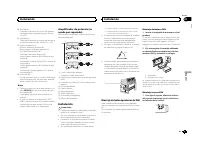
- 153 Меню систе; AUX; Соединения; Установка
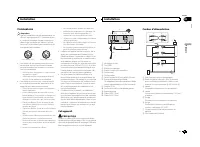
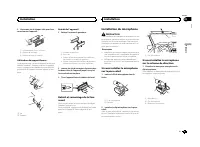
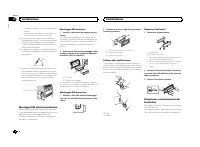
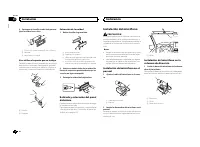
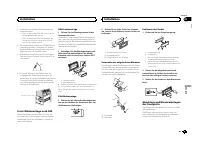
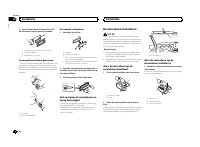
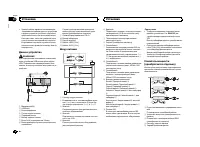
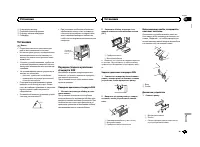
- 154 Данное устройство; ВНИМАНИЕ; Шнур питания; Примечания; на; Усилитель мощности
- 155 Переднее; DIN
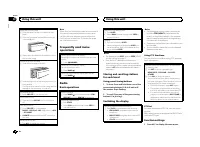
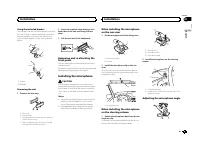
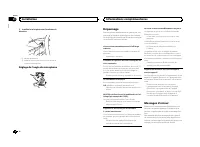
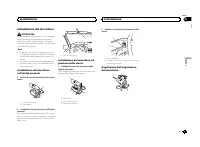
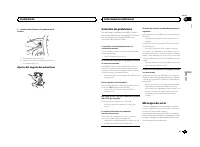
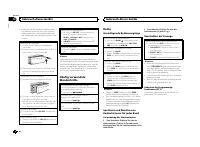
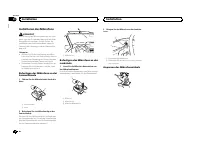
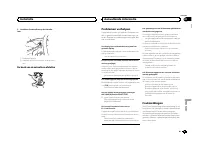
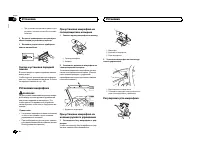
- 156 Установка микрофона; Регулировка угла микрофона
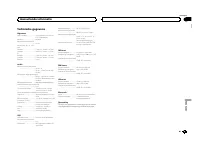
- 157 Общие; Дополнительная информация
- 159 Поддержка
- 160 Профили
- 162 Примечание


