Кондиционеры Daikin EWLD-J-SS - инструкция пользователя по применению, эксплуатации и установке на русском языке. Мы надеемся, она поможет вам решить возникшие у вас вопросы при эксплуатации техники.
Если остались вопросы, задайте их в комментариях после инструкции.
"Загружаем инструкцию", означает, что нужно подождать пока файл загрузится и можно будет его читать онлайн. Некоторые инструкции очень большие и время их появления зависит от вашей скорости интернета.


D-EIMWC01004-14EU - 9/190
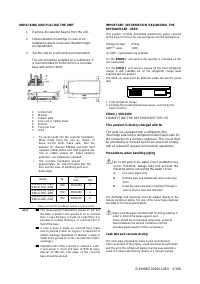
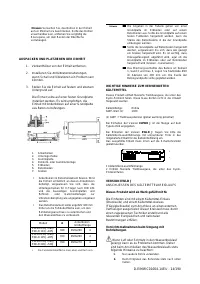
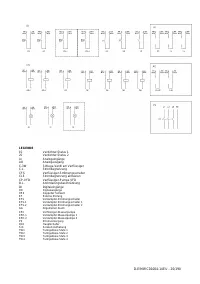
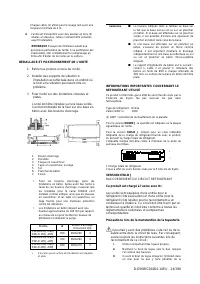
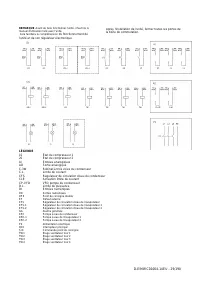
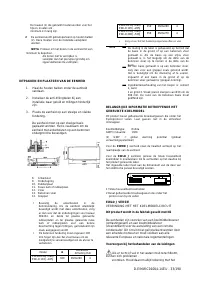
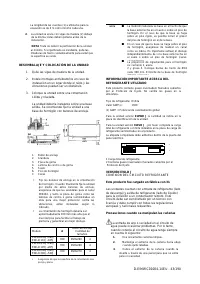
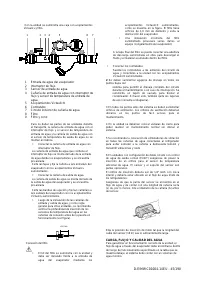
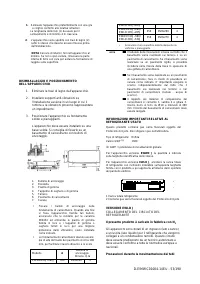
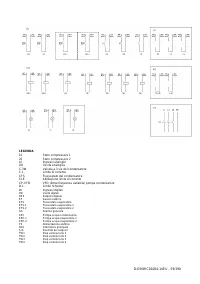
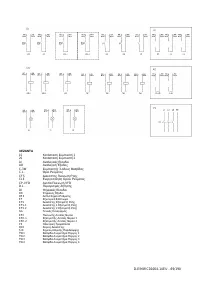
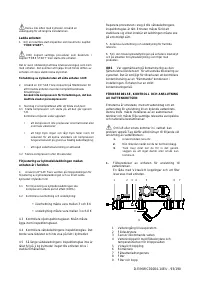
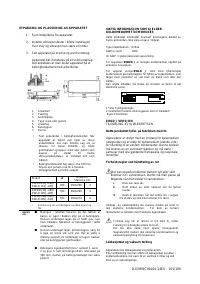
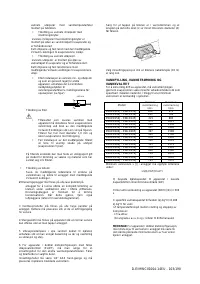
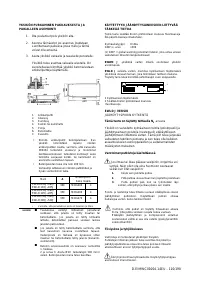
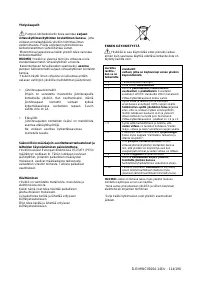
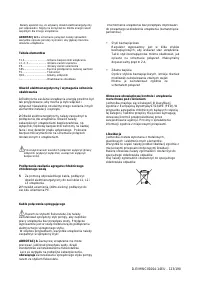
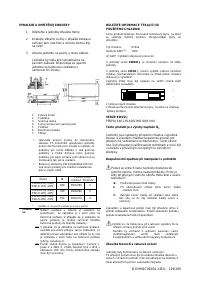
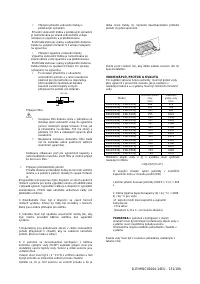
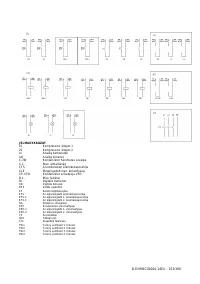
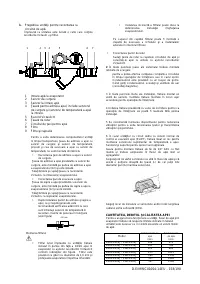
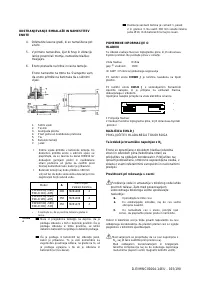
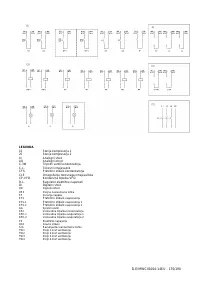
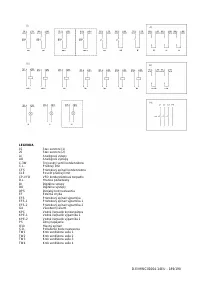
Interconnection cables
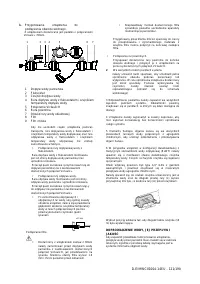
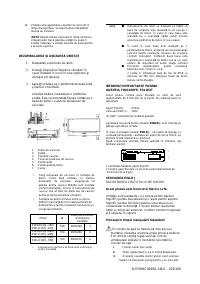
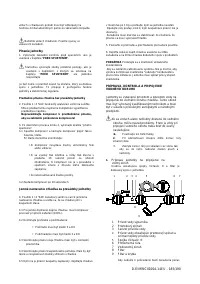
A pump interlock contact must be installed in
series with the contact of the flowswitch(es)
to prevent the unit from operating without water
flow. A terminal is provided in the switch box for
the electrical connection of the interlock contact.
In both cases, all units must be equipped with an
Interlock contact!
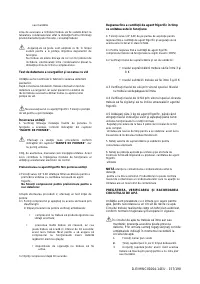
NOTE Normally the unit will not operate if there is no
flow thanks to the standard installed flowswitch.
But as to have a double safety, you must install
the pump interlock contact in series with the
contact of the flowswitch.
Operating the unit without flow will result in very
severe damage to the unit (freezing of the
evaporator).
•
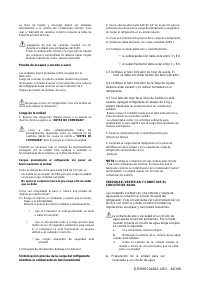
Voltage free contacts
The controller is provided with some voltage free
contacts to indicate the status of the unit. These
voltage free contacts can be wired as described
on the wiring diagram. The maximum allowable
current is 2 A.
•
Remote inputs
Besides the voltage free contacts, there are also
possibilities to install remote inputs.
They can be installed as shown on the
wiring diagram.
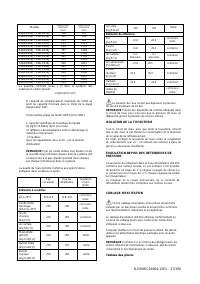
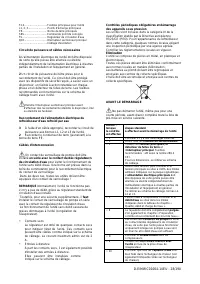
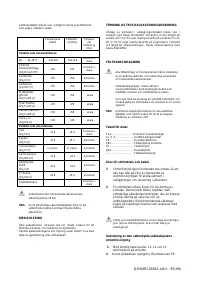
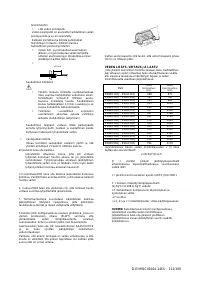
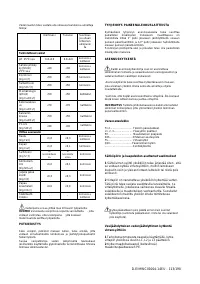
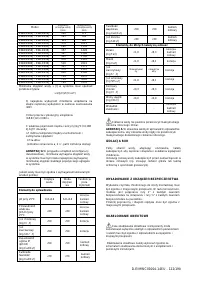
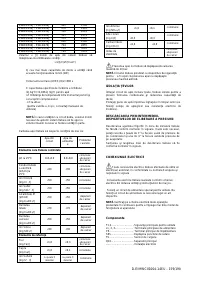
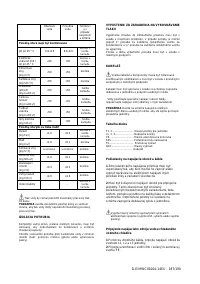
Periodic obligatory checks and starting up of
appliances under pressure
The units are included in category III of the
classification established by the European Directive
97/23/EC (PED). For chiller belonging to this category,
some local regulations require a periodic inspection by
an authorized agency. Please check with your local
requirements.
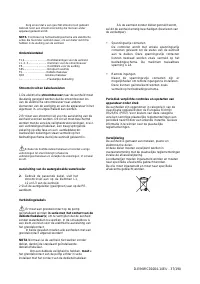
Disposal
The unit is made of metal, plastic and electronic parts.
All these parts must be disposed of in accordance with
the local regulations in terms of disposal.
Lead batteries must be collected and sent to specific
refuse collection centres.
Oil must be collected and sent to specific refuse
collection centres.
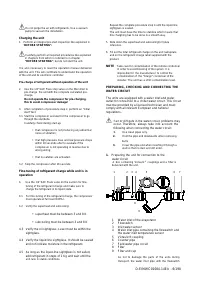
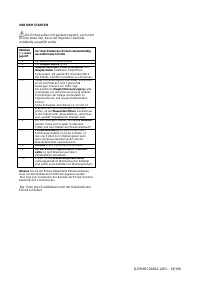
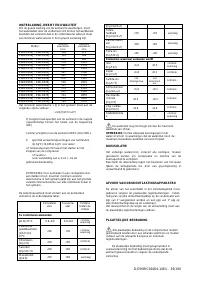
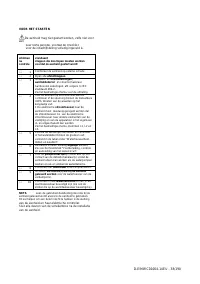
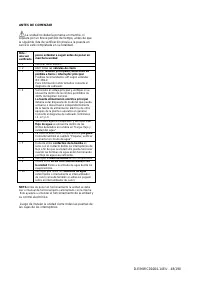
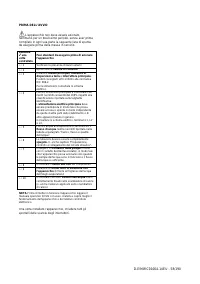
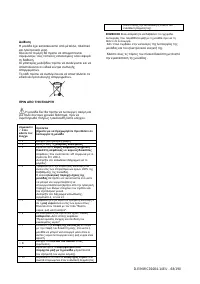
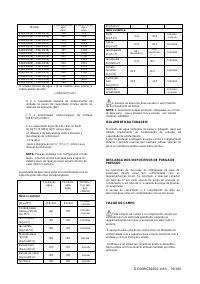
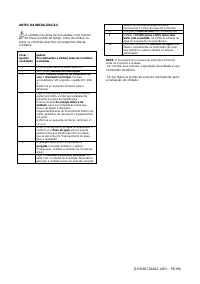
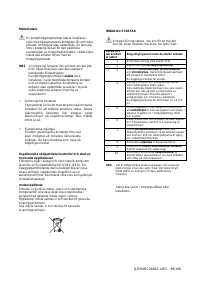
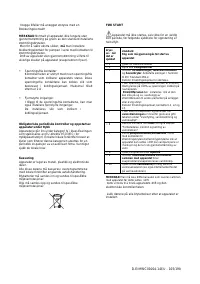
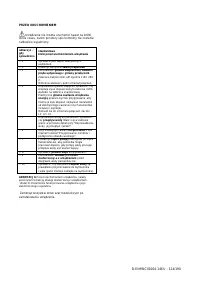
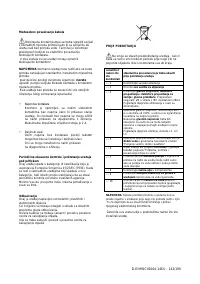
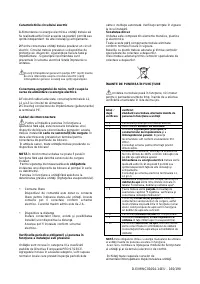
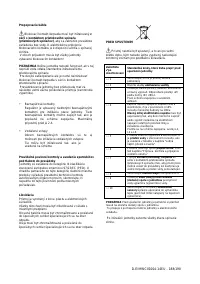
BEFORE STARTING
The unit should not be started, not even for a very
short period of time, before the following pre-
commissioning checklist is filled out completely.
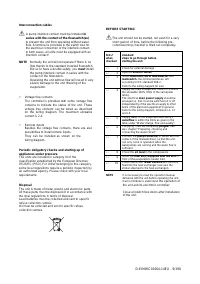
tick
when
checked
standard
steps to go through before
starting the unit
1 Check for external damage
2 Open all shut-off valves
3 Install mainfuses, earth leak detector and
mainswitch. Recommended fuses: aM
according to IEC standard 269-2.
Refer to the wiring diagram for size.
4 Supply the main voltage and check if it is within
the allowable ±10% limits of the nameplate
rating.
The electrical main power supply should be
arranged so, that it can be switched on or off
independently of the electrical supply to other
items of the plant and equipment in general.
Refer to the wiring diagram, terminals L1, L2
and L3.
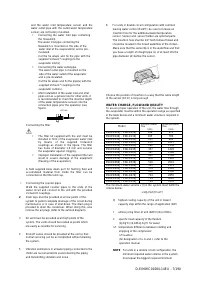
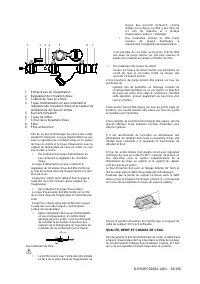
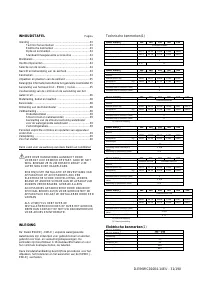
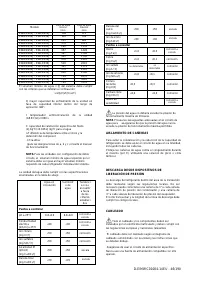
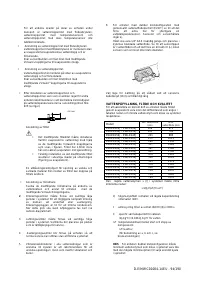
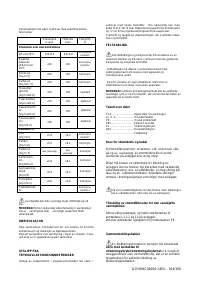
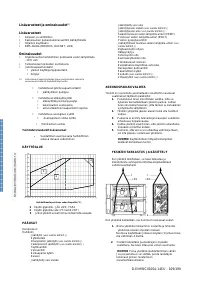
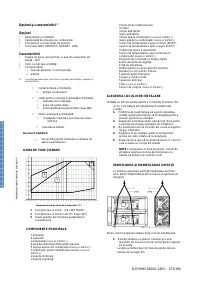
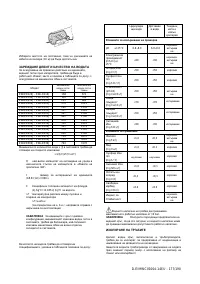
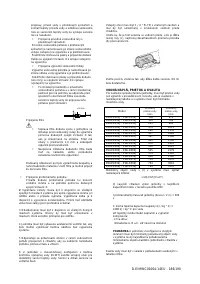
5 Supply water to the evaporator and verify if
waterflow is within the limits as given in the
table under “Water charge, flow and quality”.
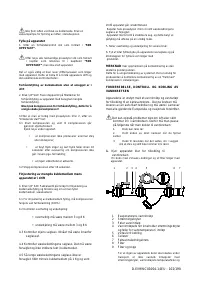
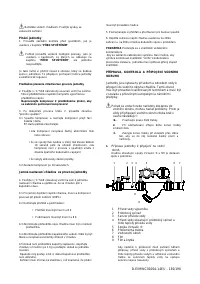
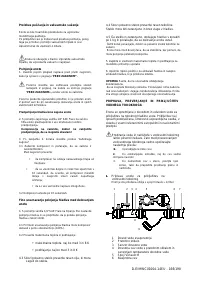
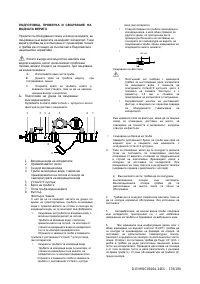
6 The pipng must be completely purged. See
also chapter “Preparing, checking and
connecting the water circuit”.
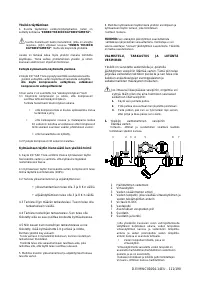
7 Connect the pump contact(s) in series with the
contact of the flowswitch(es), so that the unit
can only come in operation when the
waterpumps are running and the water flow is
sufficient.
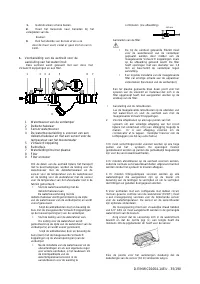
8 Check the oil level in the compressors.
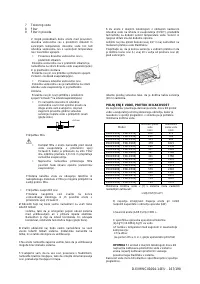
9 Install the filter kit(s) supplied with the unit in
front of the evaporator(s) water inlet.
10 Check that all the water sensors are corrently
fixed into the heat exchanger (see also the
sticker attached to the heat exchanger).
NOTE
It is necessary to read the operation manual
delivered with the unit before operating the unit.
It will contribute to understand
the operation of
the unit and its electronic controller.
Close all switch box doors after installation
of the unit.


