Усилители Yamaha RX-V465 - инструкция пользователя по применению, эксплуатации и установке на русском языке. Мы надеемся, она поможет вам решить возникшие у вас вопросы при эксплуатации техники.
Если остались вопросы, задайте их в комментариях после инструкции.
"Загружаем инструкцию", означает, что нужно подождать пока файл загрузится и можно будет его читать онлайн. Некоторые инструкции очень большие и время их появления зависит от вашей скорости интернета.


2
8
En
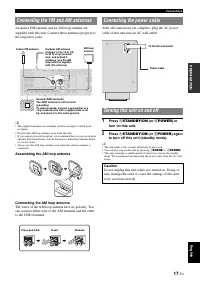
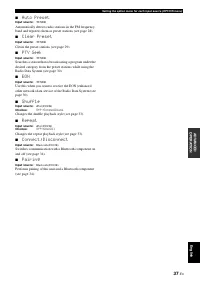
The FM/AM tuner of this unit provides the following two
modes for tuning.
■
Frequency tuning mode (Auto tuning /
Manual tuning)
You can tune in to a desired FM/AM station by searching
or specifying its frequency.
■
Preset tuning mode (Preset tuning)
You can preset the frequencies of FM/AM stations by
registering them to specific numbers, and later just select
those numbers to tune in.
Note
•
Adjust the FM/AM antennas connected to this unit for the best reception.
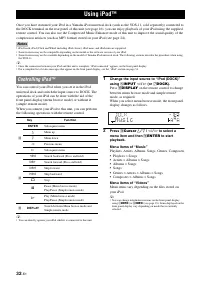
1
Press
N
INPUT
l
/
h
(or
g
TUNER
)
repeatedly and switch the input source to
“TUNER.”
2
Press
F
FM
(
h
FM
) or
G
AM
(
h
AM
) to select
a band.
“FM” or “AM” appears on the front panel display
according to the band that you have selected.
3
Press
H
TUNING
l
/
h
(or
h
TUNING
k
/
n
) to specify the frequency.
To adjust the frequency to a higher range, press
h
(or
k
). To adjust it to the lower range, press
l
(or
n
).
The TUNED indicator on the front panel display
lights up when the tuner is tuned in to a station. The
STEREO indicator also lights up if the program being
broadcasted is in stereo.
The frequency changes in the following manner according
to how you press
H
TUNING
l
/
h
(or
h
TUNING
k
/
n
).
When you press the key more than 1 second.
The tuner searches the frequency of a station that is
detectable around the current frequency. This is effective
when the tuner can receive strong signals without any
interference. Once the search starts, release the key.
When you keep holding the key, the search continues even
when a station is detected. This is useful when you want to
tune in to a specific station.
When you press and release the key
The tuner increases or decreases the frequency in steps.
Use this method when the tuner cannot receive strong
signals and stations are skipped during the search. You can
listen to better quality sound even when the tuner cannot
receive a strong signal.
y
•
You can switch between stereo and monaural for FM broadcast in the
option menu (see page 36).
4
To tune in by direct frequency tuning, enter
the frequency of the desired station using
the numeric keys on the remote control.
Enter only integers. For example, if you want to set
the frequency to 88.90 MHz, enter “8890” using
s
Numeric keys
.
Notes
•
When you press
s
Numeric keys
during preset tuning, a
preset number is selected. Set tuning mode to normal tuning mode
using
H
TUNING
l
/
h
(or
h
TUNING
k
/
n
) prior to the
operation.
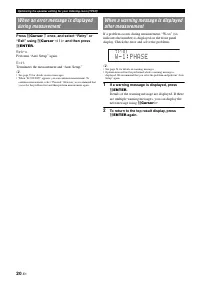
•
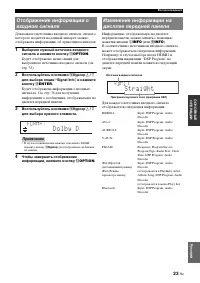
“Wrong Station!” appears on the front panel display when you
enter a frequency that is out of receivable range. Make sure that the
entered frequency is correct.
•
You do not need enter zero if it comes at the end of a decimal
number. For example, enter “925” for “92.50 MHz” or “940” for
“94.00MHz.”
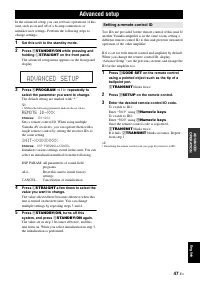
You can register up to 40 FM/AM stations (Preset) using
“Automatic station preset” or “Manual station preset.”
The tuner automatically detects FM stations with strong
signals and registers up to 40 stations. AM stations cannot
be automatically registered. Use manual station preset.
1
Press
N
INPUT
l
/
h
repeatedly (or press
g
TUNER
) to switch the input source to
“TUNER.”
2
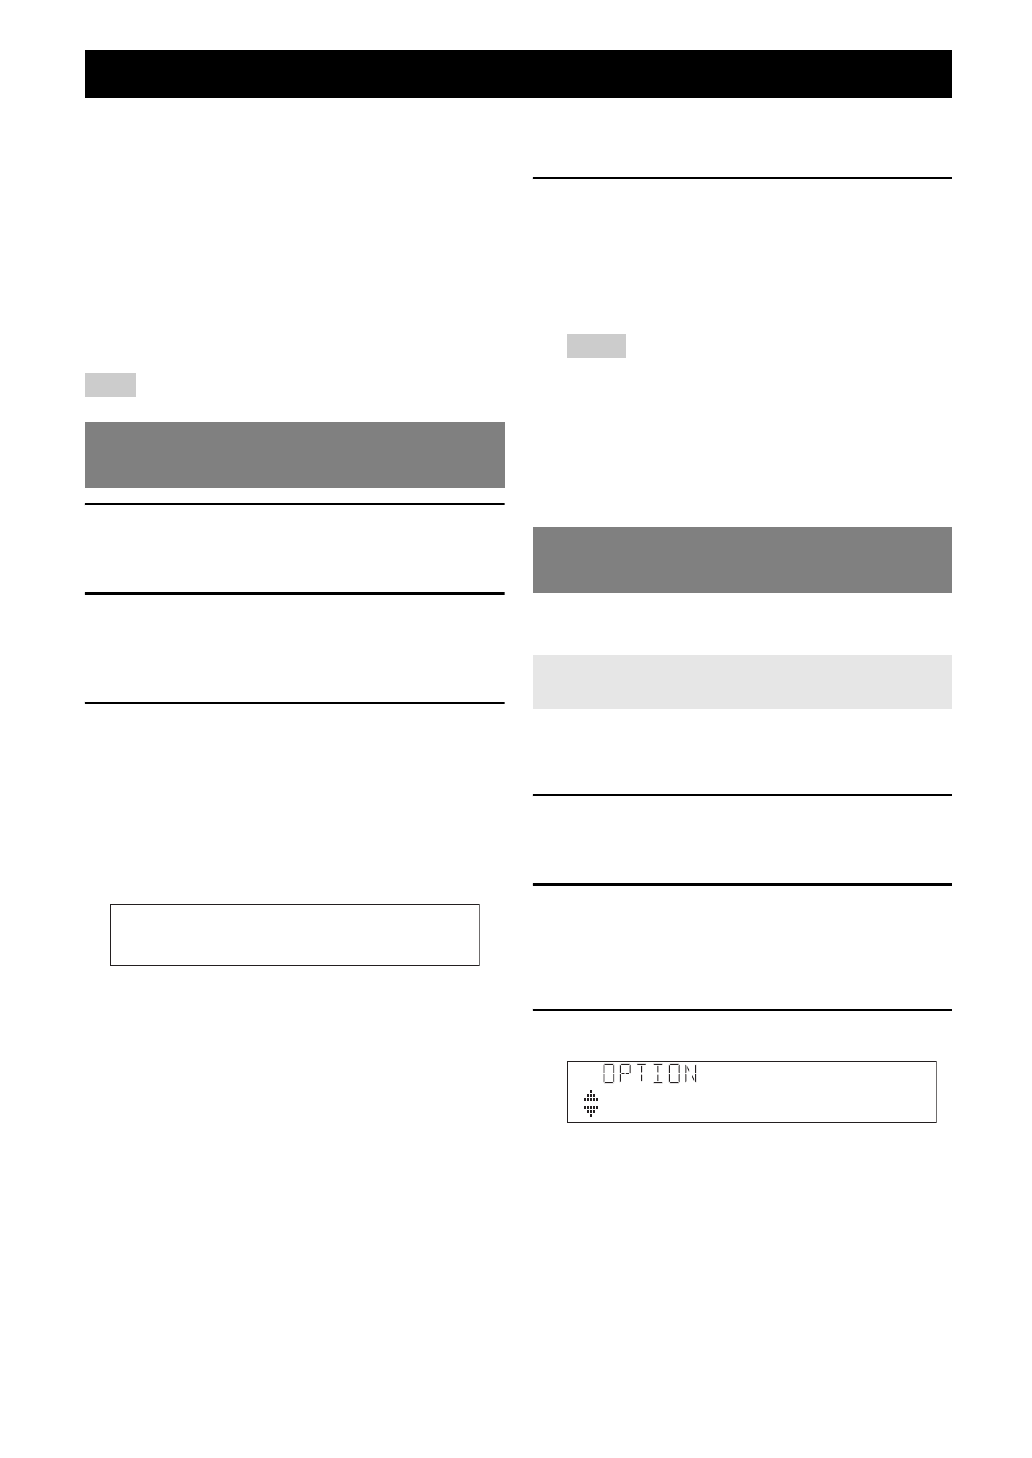
Press
m
OPTION
on the remote control.
The option menu screen for setting options of tuner
input appears on the front panel display.
y
•
For details on the option menu, see page 35.
3
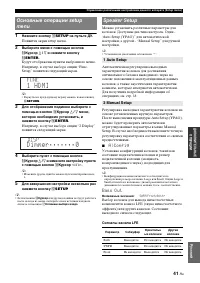
Select “Auto Preset,” and press
n
ENTER
.
Automatic station preset starts about 5 seconds later
from the lowest frequency upwards.
y
•
You can select the preset number at which the preset starts by
pressing
h
PRESET
k
/
n
or
n
Cursor
k
/
n
while the front
panel display is in the state as shown in the below figure.
•
To cancel registration, press
n
RETURN
on the remote control.
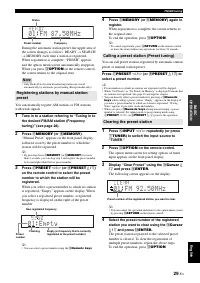
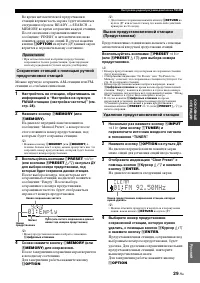
FM/AM tuning
Tuning in to the desired FM/AM station
(Frequency tuning)
STEREO
TUNED
F M 9 2 . 5 0 M H z
Registering FM/AM stations and
tuning in (Preset tuning)
Registering stations by automatic station
preset
A u t o P r e s e t
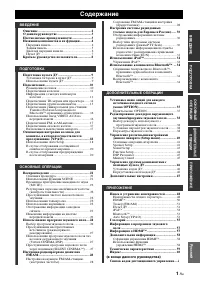
Содержание
- 65 Содержание; ВВЕДЕНИЕ
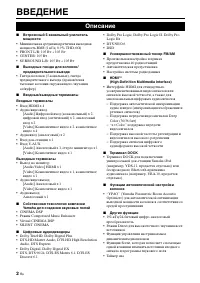
- 66 Описание
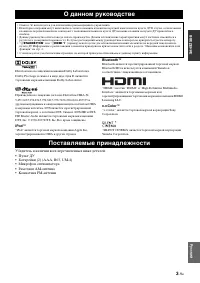
- 67 Убедитесь в наличии всех перечисленных ниже деталей.; О данном руководстве; Поставляемые принадлежности
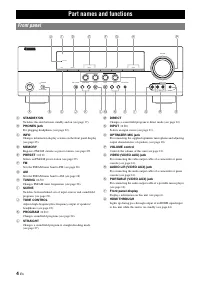
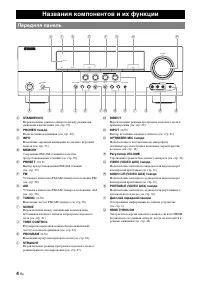
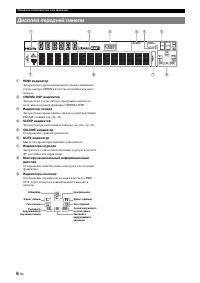
- 68 Названия компонентов и их функции; Передняя панель
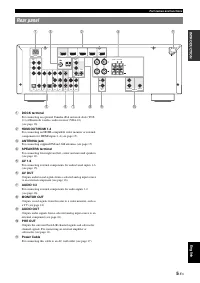
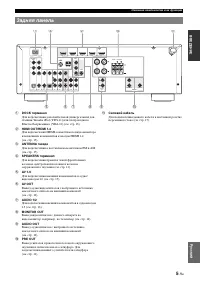
- 69 Задняя панель
- 70 Дисплей передней панели
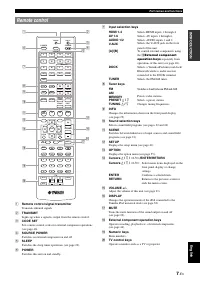
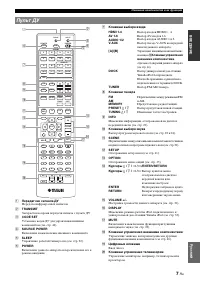
- 71 Пульт ДУ
- 72 Краткое руководство пользователя; Шаг 2: Установите колонки
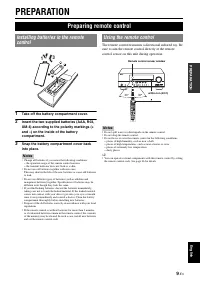
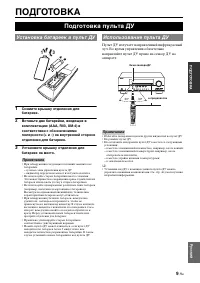
- 73 ОВКА; ПОДГОТОВКА; Примечания; Подготовка пульта ДУ; Установка батареек в пульт ДУ
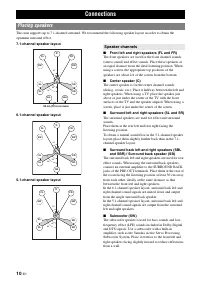
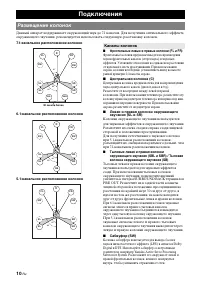
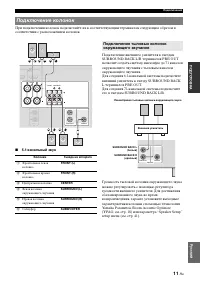
- 74 Фронтальные левые и правые колонки (FL и FR); Подключения; Размещение колонок; Каналы колонок
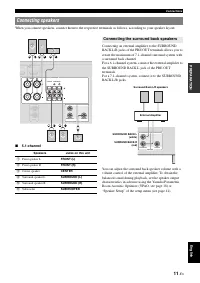
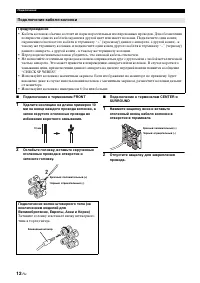
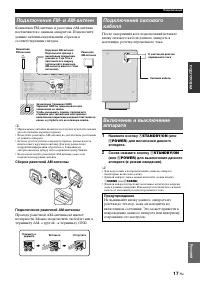
- 75 Подключение колонок
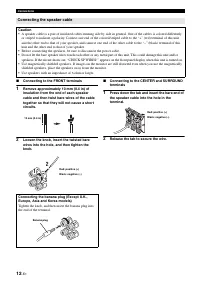
- 76 Подключение к терминалам FRONT; Подключение кабеля колонки; Предупреждение; Используйте колонки с импедансом 6 Ом или больше.
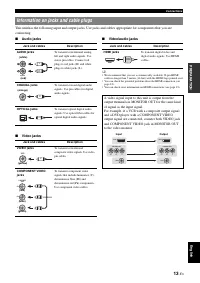
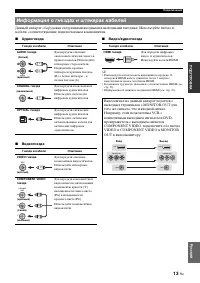
- 77 Информация о гнездах и штекерах кабелей
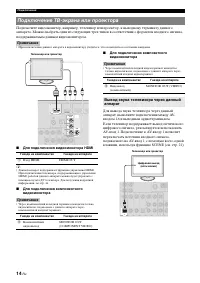
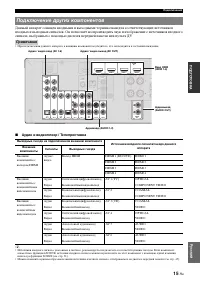
- 78 Для подключения видеомонитора HDMI; Примечание; Подключение ТВ-экрана или проектора
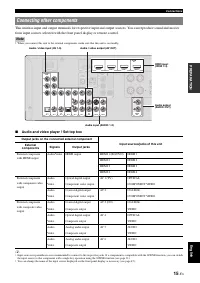
- 79 Аудио и видеоплеер / Телеприставка; Подключение других компонентов
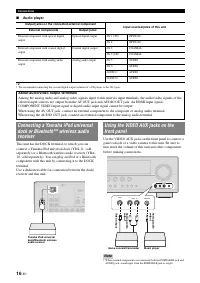
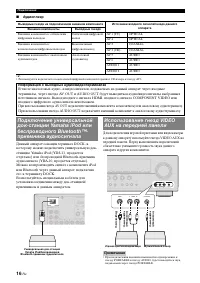
- 80 Аудиоплеер; Информация о выходных аудио/видеотерминалах; приемника аудиосигнала
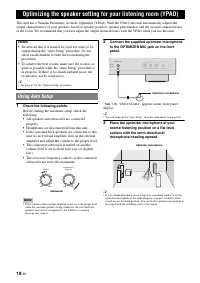
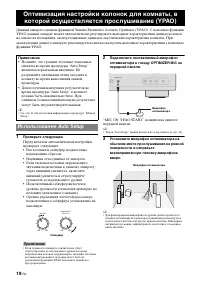
- 82 Наушники отсоединены от аппарата.; Оптимизация настройки колонок для комнаты, в; Использование Auto Setup
- 83 кнопку; SETUP; , а затем продолжите
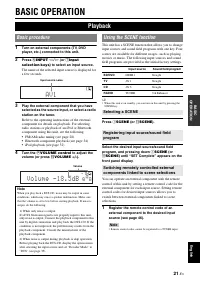
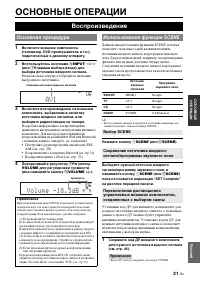
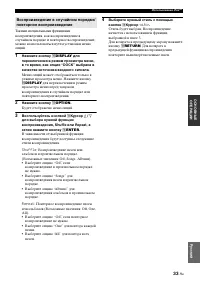
- 85 ОСНОВ; ОСНОВНЫЕ ОПЕРАЦИИ; Воспроизведение; Основная процедура; Использование функции SCENE; Выбор SCENE
- 86 Использование таймера сна
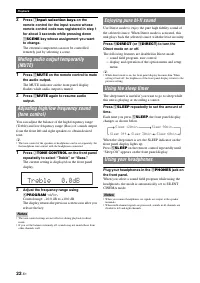
- 87 OPTION
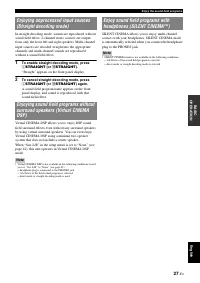
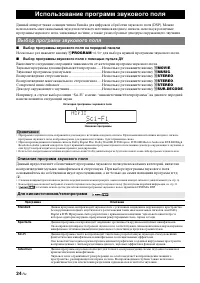
- 88 Выбор программы звукового поля на передней панели; Несколько раз нажмите кнопку; Выбор программы звукового поля с помощью пульта ДУ; Использование программ звукового поля; Выбор программ звукового поля; Описание программ звукового поля
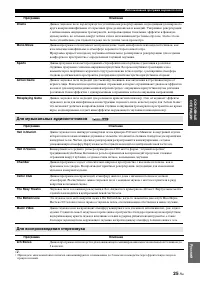
- 89 Для музыкальных аудиоисточников
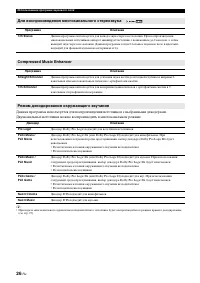
- 90 Для воспроизведения многоканального стереозвука
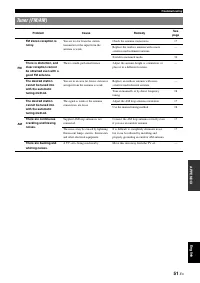
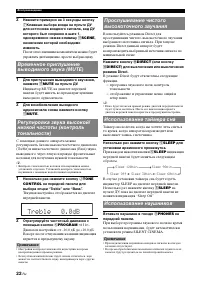
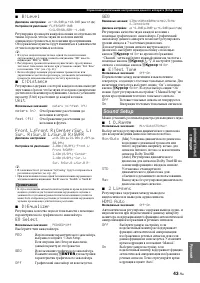
- 92 Настройка радиопрограмм диапазона FM/AM
- 93 На дисплее появится следующий экран.; Удаление предустановленной станции
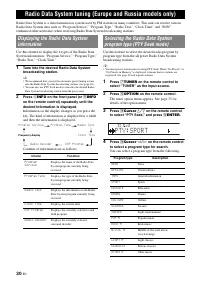
- 94 Информация имеет следующее содержание.; Тип программы можно выбрать из следующего списка.; Настройка системы радиоданных
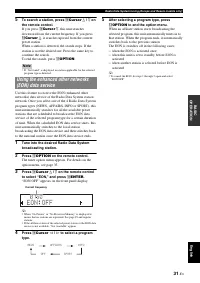
- 95 В случае нажатий; если EON уже была включена
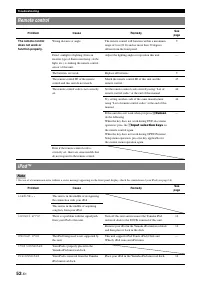
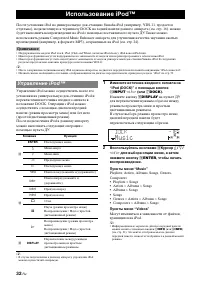
- 96 на пульте ДУ; Использование iPod; Управление iPod
- 97 для переключения в режим; Будет отображено меню опций.
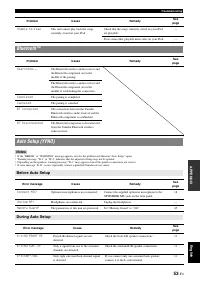
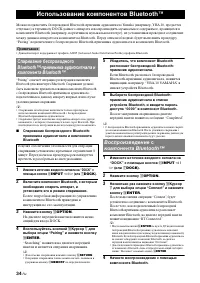
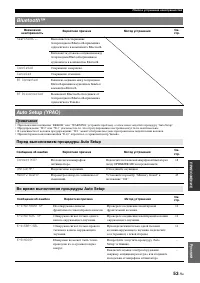
- 98 Использование компонентов BluetoothTM; -приемника аудиосигнала и
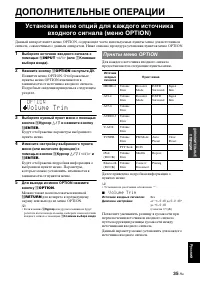
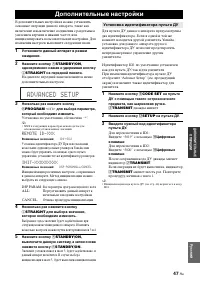
- 99 ДОПОЛНИТЕЛЬНЫЕ ОПЕРАЦИИ; Клавиши; Можно также воспользоваться кнопкой; Установка меню опций для каждого источника; Пункты меню OPTION
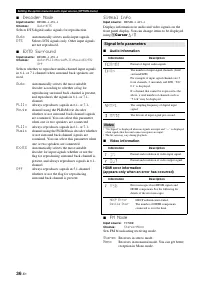
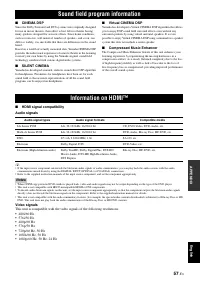
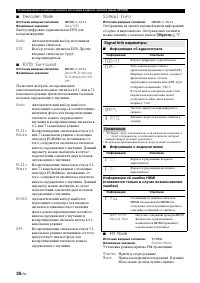
- 100 Информация о видеосигналах; Signal Info параметры; Прием в стереорежиме.
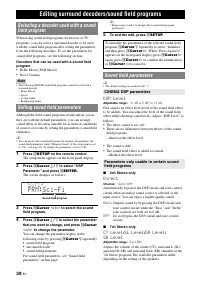
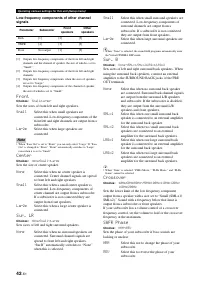
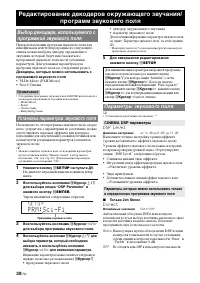
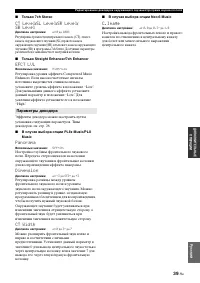
- 102 DSP Level; Редактирование декодеров окружающего звучания/; Установка параметров звукового поля; Параметры звукового поля; CINEMA DSP параметры
- 103 Только 7ch Stereo; Параметры декодера
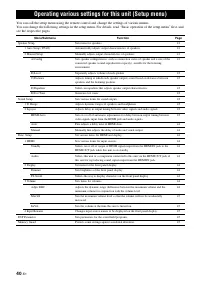
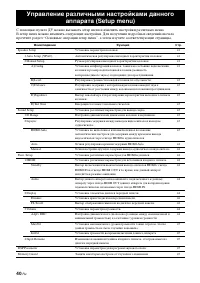
- 104 Управление различными настройками данного
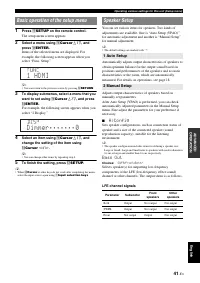
- 105 Появится экран setup menu.
- 106 Установка размеров левой и правой фронтальных колонок.; Установка размера центральной колонки.
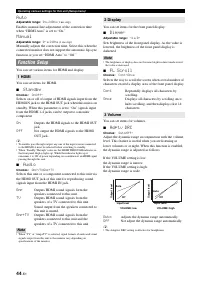
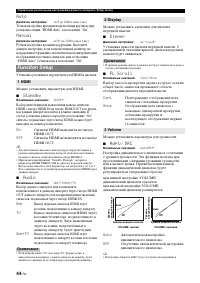
- 108 Установка различных параметров для HDMI и дисплея.
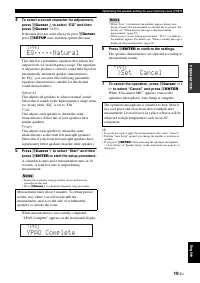
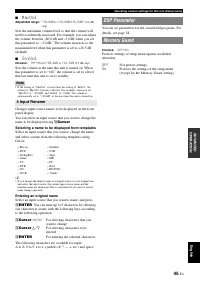
- 109 Для выбора вводимых знаков; Для ввода выбранных знаков
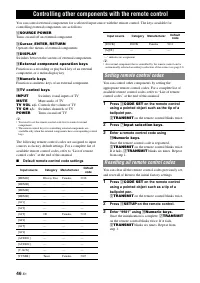
- 110 Управление другими компонентами с помощью пульта ДУ; Установка кодов ДУ
- 111 Отмена процедуры инициализации; Дополнительные настройки; Установка идентификатора пульта ДУ
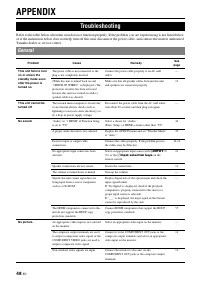
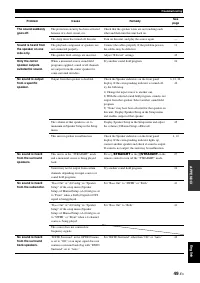
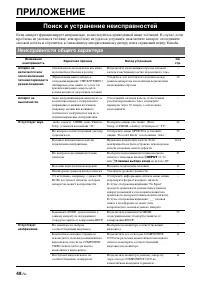
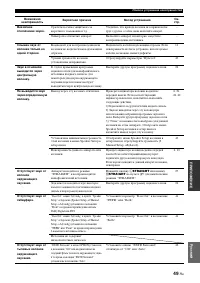
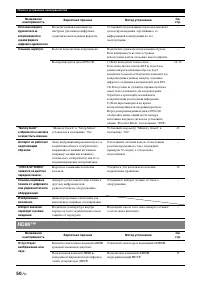
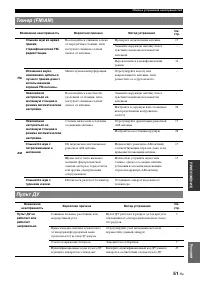
- 112 ПРИЛОЖЕНИЕ; Поиск и устранение неисправностей; Неисправности общего характера
- 113 ÂÂÅÄÅÍÈÅ
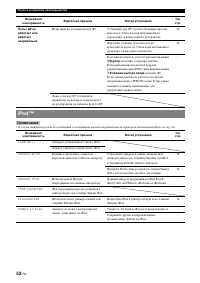
- 116 iPod
- 117 Перед выполнением процедуры Auto Setup; Во время выполнения процедуры Auto Setup
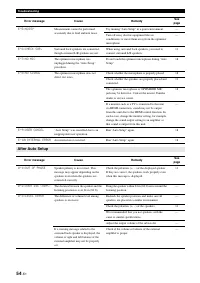
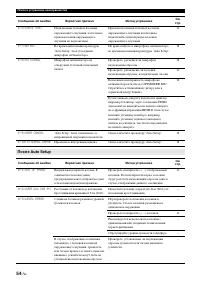
- 118 После Auto Setup
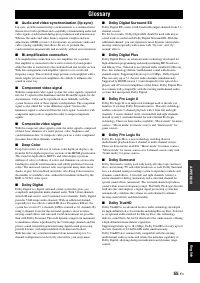
- 119 Глоссарий
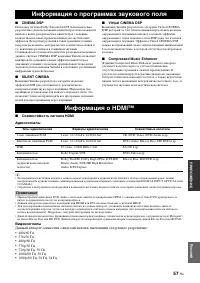
- 121 Информация о программах звукового поля
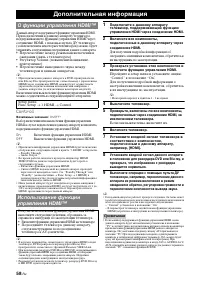
- 122 Дополнительная информация; О функции управления HDMI; HDMI
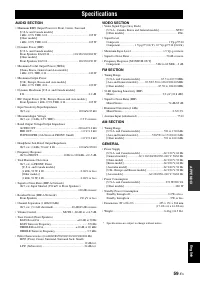
- 123 ОЖЕН; ОБЩИЕ ХАРАКТЕРИСТИКИ; Технические характеристики
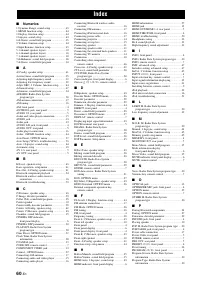
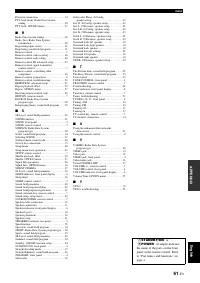
- 124 ЧИСЛЕННЫЕ ЗНАЧЕНИЯ; Индекс


