Усилители Yamaha RX-V465 - инструкция пользователя по применению, эксплуатации и установке на русском языке. Мы надеемся, она поможет вам решить возникшие у вас вопросы при эксплуатации техники.
Если остались вопросы, задайте их в комментариях после инструкции.
"Загружаем инструкцию", означает, что нужно подождать пока файл загрузится и можно будет его читать онлайн. Некоторые инструкции очень большие и время их появления зависит от вашей скорости интернета.


Caution-i
En
1
To assure the finest performance, please read this manual
carefully. Keep it in a safe place for future reference.
2
Install this sound system in a well ventilated, cool, dry, clean
place – away from direct sunlight, heat sources, vibration,
dust, moisture, and/or cold. Allow ventilation space of at least
30 cm on the top, 20 cm on the left and right, and 20 cm on
the back of this unit.
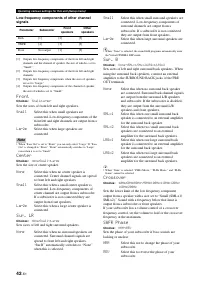
3
Locate this unit away from other electrical appliances, motors,
or transformers to avoid humming sounds.
4
Do not expose this unit to sudden temperature changes from
cold to hot, and do not locate this unit in an environment with
high humidity (i.e. a room with a humidifier) to prevent
condensation inside this unit, which may cause an electrical
shock, fire, damage to this unit, and/or personal injury.
5
Avoid installing this unit where foreign objects may fall onto
this unit and/or this unit may be exposed to liquid dripping or
splashing. On the top of this unit, do not place:
–
Other components, as they may cause damage and/or
discoloration on the surface of this unit.
–
Burning objects (i.e. candles), as they may cause fire,
damage to this unit, and/or personal injury.
–
Containers with liquid in them, as they may fall and liquid
may cause electrical shock to the user and/or damage to
this unit.
6
Do not cover this unit with a newspaper, tablecloth, curtain,
etc. in order not to obstruct heat radiation. If the temperature
inside this unit rises, it may cause fire, damage to this unit,
and/or personal injury.
7
Do not plug in this unit to a wall outlet until all connections
are complete.
8
Do not operate this unit upside-down. It may overheat,
possibly causing damage.
9
Do not use force on switches, knobs and/or cords.
10
When disconnecting the power cable from the wall outlet,
grasp the plug; do not pull the cable.
11
Do not clean this unit with chemical solvents; this might
damage the finish. Use a clean, dry cloth.
12
Only voltage specified on this unit must be used. Using this
unit with a higher voltage than specified is dangerous and may
cause fire, damage to this unit, and/or personal injury. Yamaha
will not be held responsible for any damage resulting from use
of this unit with a voltage other than specified.
13
To prevent damage by lightning, keep the power cord and
outdoor antennas disconnected from a wall outlet or the unit
during a lightning storm.
14
Do not attempt to modify or fix this unit. Contact qualified
Yamaha service personnel when any service is needed. The
cabinet should never be opened for any reasons.
15
When not planning to use this unit for long periods of time
(i.e. vacation), disconnect the AC power plug from the wall
outlet.
16
Install this unit near the AC outlet and where the AC power
plug can be reached easily.
17
Be sure to read the “Troubleshooting” section on common
operating errors before concluding that this unit is faulty.
18
Before moving this unit, press
A
STANDBY/ON
to set this
unit in the standby mode, and disconnect the AC power plug
from the wall outlet.
19
VOLTAGE SELECTOR (Asia and General models only)
The VOLTAGE SELECTOR on the rear panel of this unit
must be set for your local main voltage BEFORE plugging
into the AC wall outlet. Voltages are:
.......AC 110/120/220/230–240 V, 50/60 Hz (General model)
.......................... AC 220/230–240 V, 50/60 Hz (Asia model)
20
The batteries shall not be exposed to excessive heat such as
sunshine, fire or like.
21
Excessive sound pressure from earphones and headphones can
cause hearing loss.
22
When replacing the batteries, be sure to use batteries of the
same type. Danger of explosion may happen if batteries are
incorrectly replaced.
■
For U.K. customers
If the socket outlets in the home are not suitable for the
plug supplied with this appliance, it should be cut off and
an appropriate 3 pin plug fitted. For details, refer to the
instructions described below.
The plug severed from the mains lead must be destroyed, as a
plug with bared flexible cord is hazardous if engaged in a live
socket outlet.
■
Special Instructions for U.K. Model
Caution: Read this before operating your unit.
WARNING
TO REDUCE THE RISK OF FIRE OR ELECTRIC
SHOCK, DO NOT EXPOSE THIS UNIT TO RAIN
OR MOISTURE.
As long as this unit is connected to the AC wall outlet,
it is not disconnected from the AC power source even
if you turn off this unit by
A
STANDBY/ON
. In this
state, this unit is designed to consume a very small
quantity of power.
Note
IMPORTANT
THE WIRES IN MAINS LEAD ARE COLOURED IN
ACCORDANCE WITH THE FOLLOWING CODE:
Blue: NEUTRAL
Brown: LIVE
As the colours of the wires in the mains lead of this apparatus
may not correspond with the coloured markings identifying
the terminals in your plug, proceed as follows:
The wire which is coloured BLUE must be connected to the
terminal which is marked with the letter N or coloured
BLACK. The wire which is coloured BROWN must be
connected to the terminal which is marked with the letter L or
coloured RED.
Making sure that neither core is connected to the earth
terminal of the three pin plug.
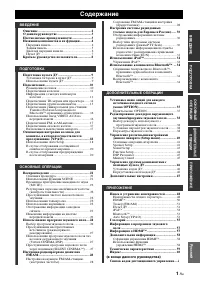
Содержание
- 65 Содержание; ВВЕДЕНИЕ
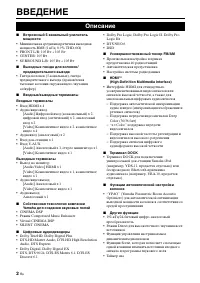
- 66 Описание
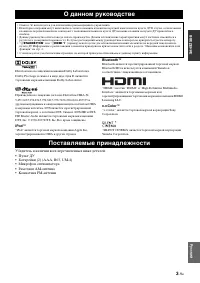
- 67 Убедитесь в наличии всех перечисленных ниже деталей.; О данном руководстве; Поставляемые принадлежности
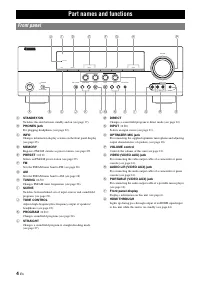
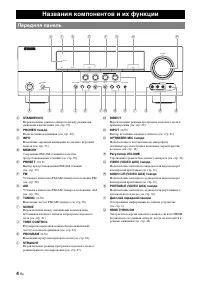
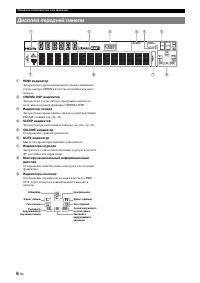
- 68 Названия компонентов и их функции; Передняя панель
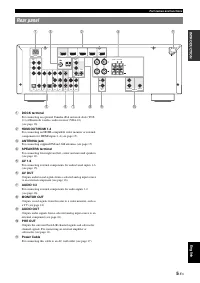
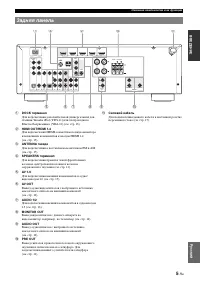
- 69 Задняя панель
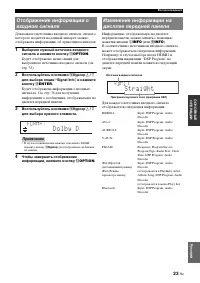
- 70 Дисплей передней панели
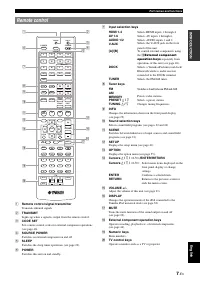
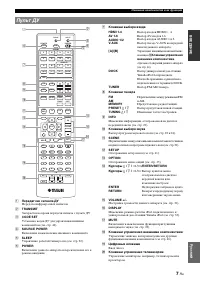
- 71 Пульт ДУ
- 72 Краткое руководство пользователя; Шаг 2: Установите колонки
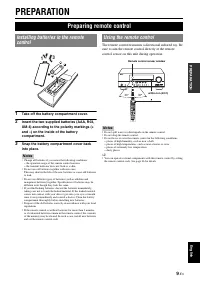
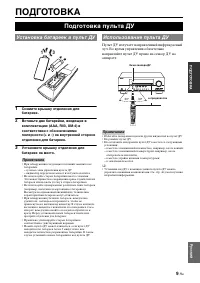
- 73 ОВКА; ПОДГОТОВКА; Примечания; Подготовка пульта ДУ; Установка батареек в пульт ДУ
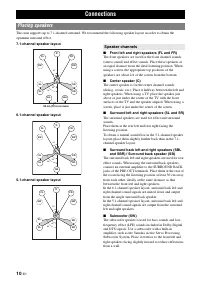
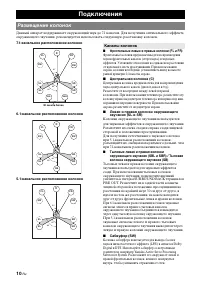
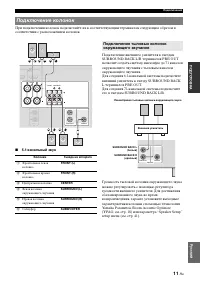
- 74 Фронтальные левые и правые колонки (FL и FR); Подключения; Размещение колонок; Каналы колонок
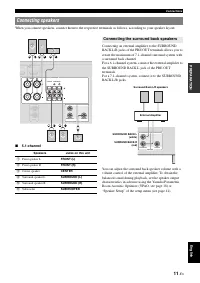
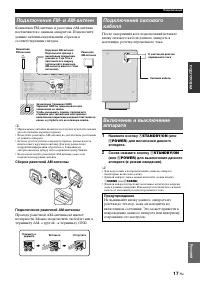
- 75 Подключение колонок
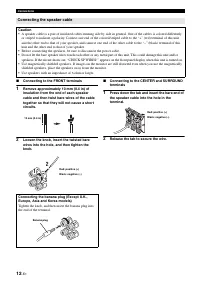
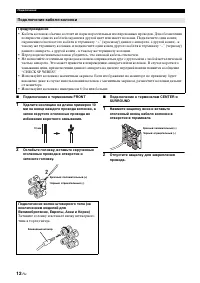
- 76 Подключение к терминалам FRONT; Подключение кабеля колонки; Предупреждение; Используйте колонки с импедансом 6 Ом или больше.
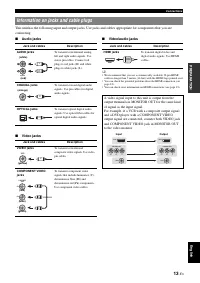
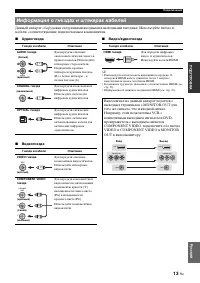
- 77 Информация о гнездах и штекерах кабелей
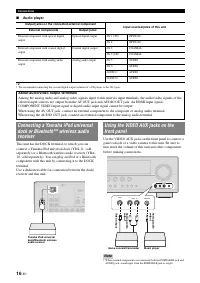
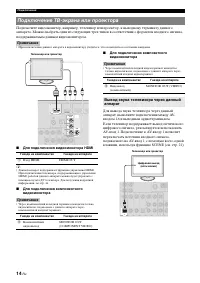
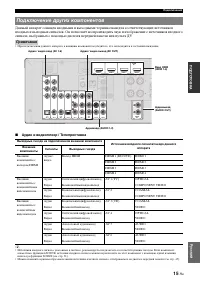
- 78 Для подключения видеомонитора HDMI; Примечание; Подключение ТВ-экрана или проектора
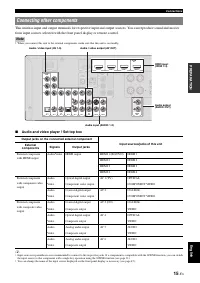
- 79 Аудио и видеоплеер / Телеприставка; Подключение других компонентов
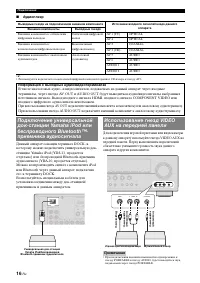
- 80 Аудиоплеер; Информация о выходных аудио/видеотерминалах; приемника аудиосигнала
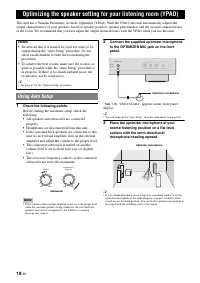
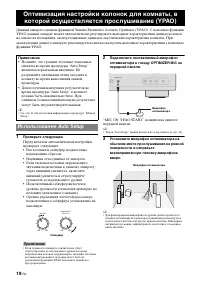
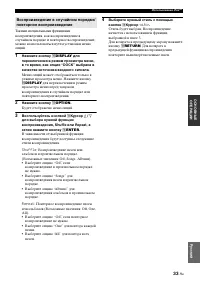
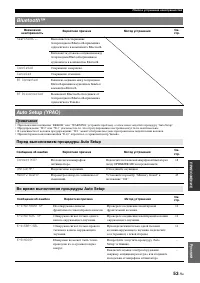
- 82 Наушники отсоединены от аппарата.; Оптимизация настройки колонок для комнаты, в; Использование Auto Setup
- 83 кнопку; SETUP; , а затем продолжите
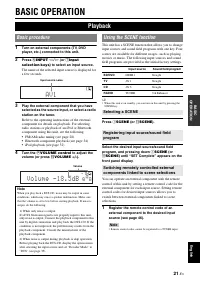
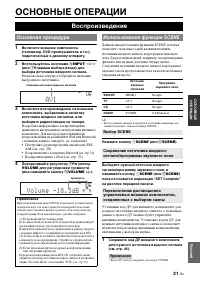
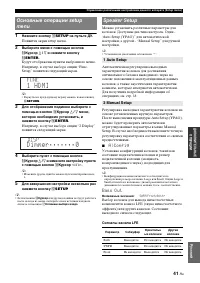
- 85 ОСНОВ; ОСНОВНЫЕ ОПЕРАЦИИ; Воспроизведение; Основная процедура; Использование функции SCENE; Выбор SCENE
- 86 Использование таймера сна
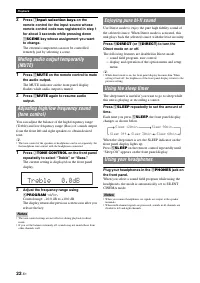
- 87 OPTION
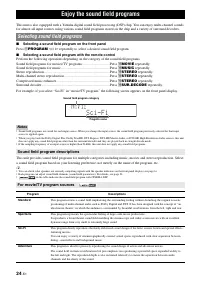
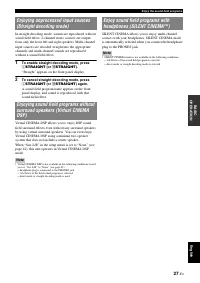
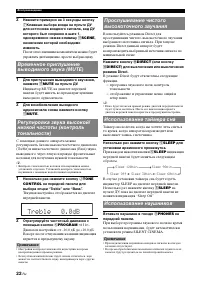
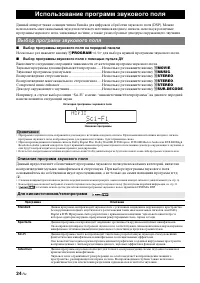
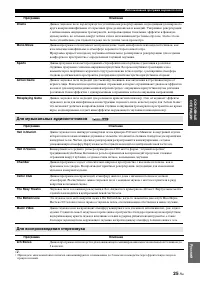
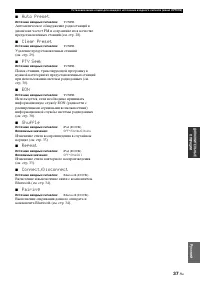
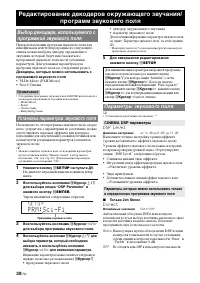
- 88 Выбор программы звукового поля на передней панели; Несколько раз нажмите кнопку; Выбор программы звукового поля с помощью пульта ДУ; Использование программ звукового поля; Выбор программ звукового поля; Описание программ звукового поля
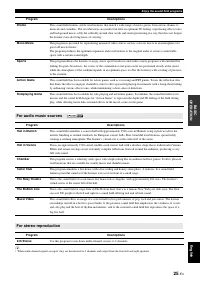
- 89 Для музыкальных аудиоисточников
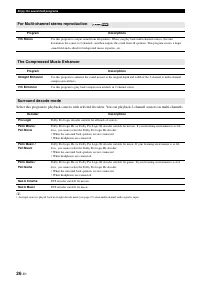
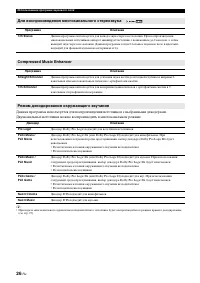
- 90 Для воспроизведения многоканального стереозвука
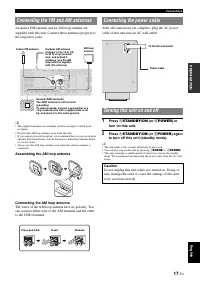
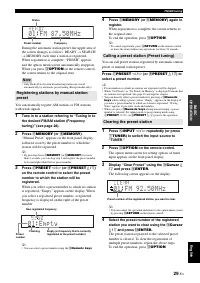
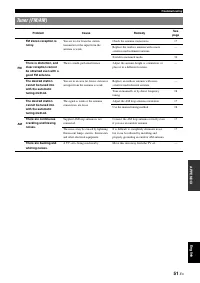
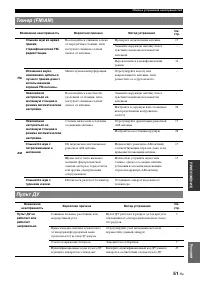
- 92 Настройка радиопрограмм диапазона FM/AM
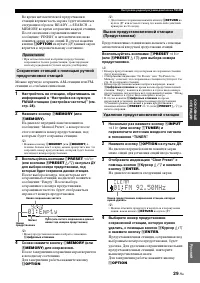
- 93 На дисплее появится следующий экран.; Удаление предустановленной станции
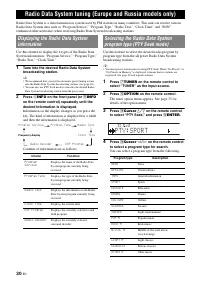
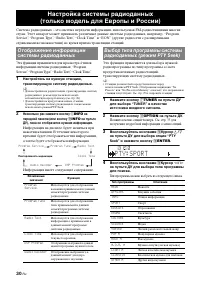
- 94 Информация имеет следующее содержание.; Тип программы можно выбрать из следующего списка.; Настройка системы радиоданных
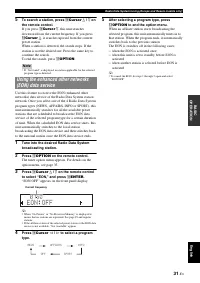
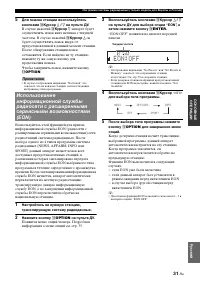
- 95 В случае нажатий; если EON уже была включена
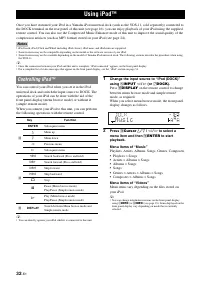
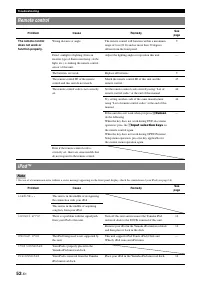
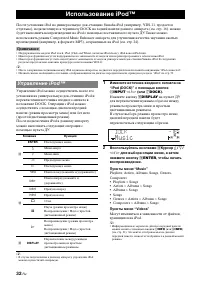
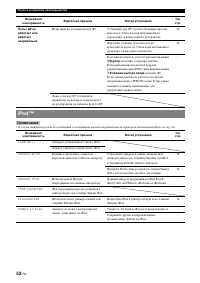
- 96 на пульте ДУ; Использование iPod; Управление iPod
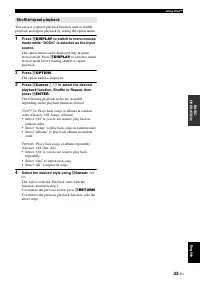
- 97 для переключения в режим; Будет отображено меню опций.
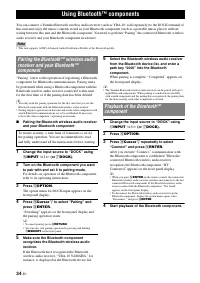
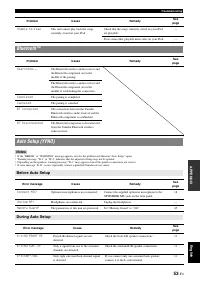
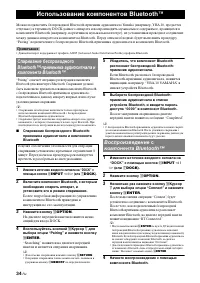
- 98 Использование компонентов BluetoothTM; -приемника аудиосигнала и
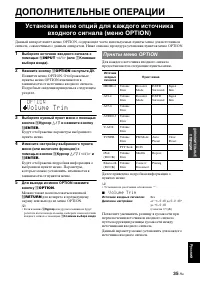
- 99 ДОПОЛНИТЕЛЬНЫЕ ОПЕРАЦИИ; Клавиши; Можно также воспользоваться кнопкой; Установка меню опций для каждого источника; Пункты меню OPTION
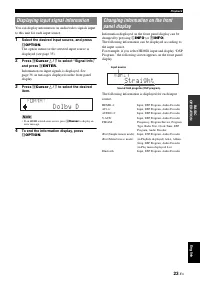
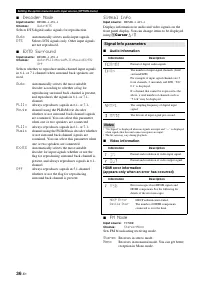
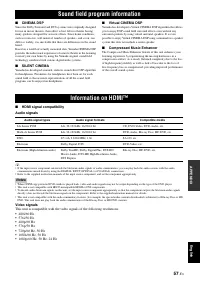
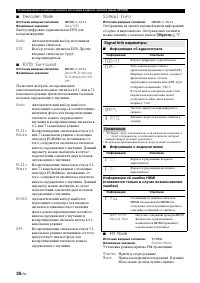
- 100 Информация о видеосигналах; Signal Info параметры; Прием в стереорежиме.
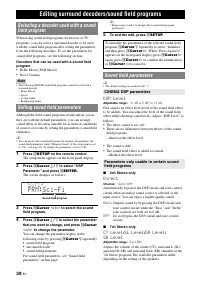
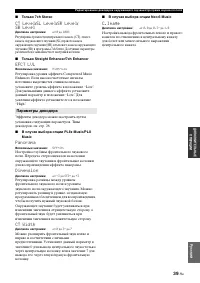
- 102 DSP Level; Редактирование декодеров окружающего звучания/; Установка параметров звукового поля; Параметры звукового поля; CINEMA DSP параметры
- 103 Только 7ch Stereo; Параметры декодера
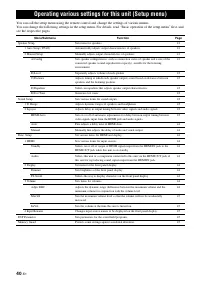
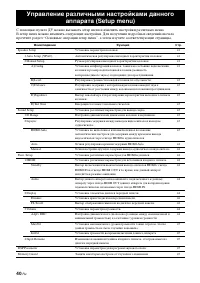
- 104 Управление различными настройками данного
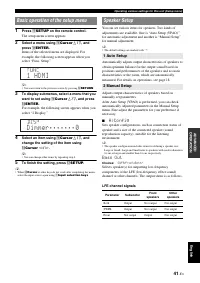
- 105 Появится экран setup menu.
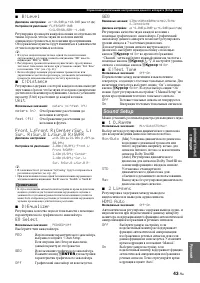
- 106 Установка размеров левой и правой фронтальных колонок.; Установка размера центральной колонки.
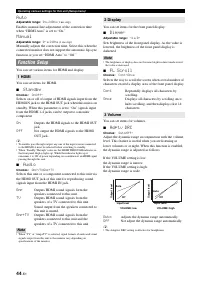
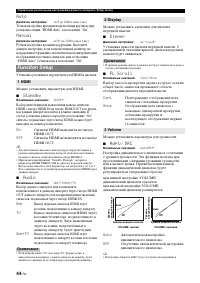
- 108 Установка различных параметров для HDMI и дисплея.
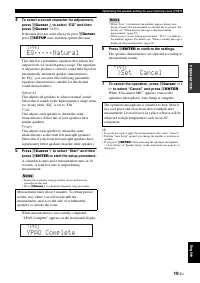
- 109 Для выбора вводимых знаков; Для ввода выбранных знаков
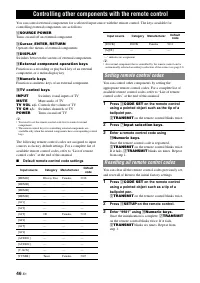
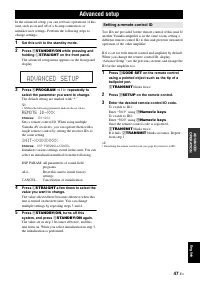
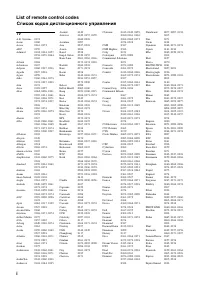
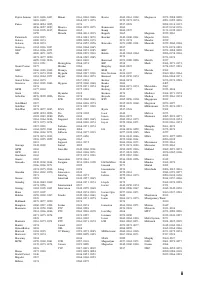
- 110 Управление другими компонентами с помощью пульта ДУ; Установка кодов ДУ
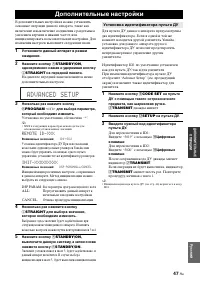
- 111 Отмена процедуры инициализации; Дополнительные настройки; Установка идентификатора пульта ДУ
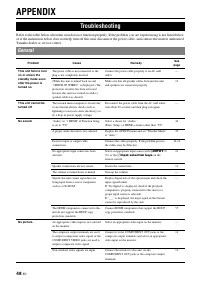
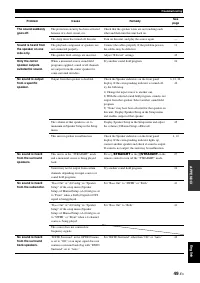
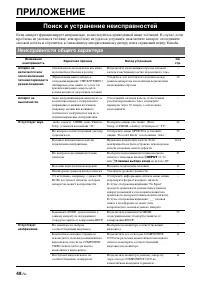
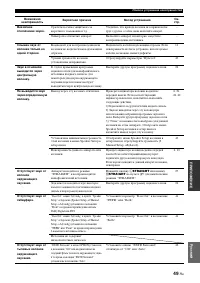
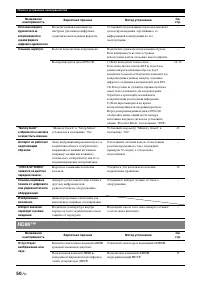
- 112 ПРИЛОЖЕНИЕ; Поиск и устранение неисправностей; Неисправности общего характера
- 113 ÂÂÅÄÅÍÈÅ
- 116 iPod
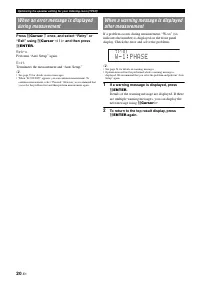
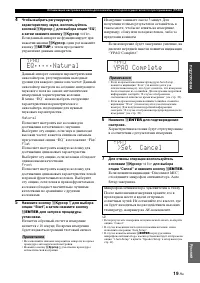
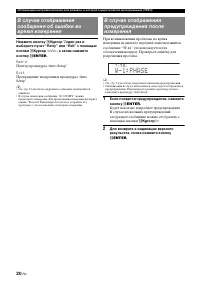
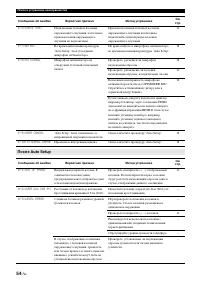
- 117 Перед выполнением процедуры Auto Setup; Во время выполнения процедуры Auto Setup
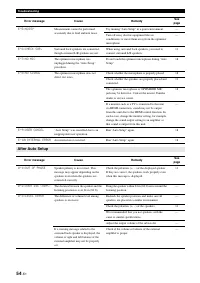
- 118 После Auto Setup
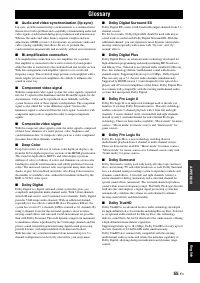
- 119 Глоссарий
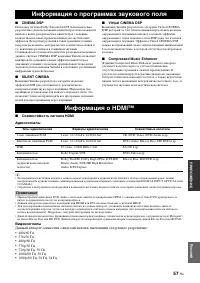
- 121 Информация о программах звукового поля
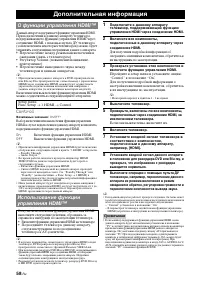
- 122 Дополнительная информация; О функции управления HDMI; HDMI
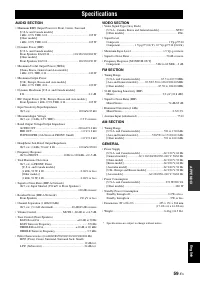
- 123 ОЖЕН; ОБЩИЕ ХАРАКТЕРИСТИКИ; Технические характеристики
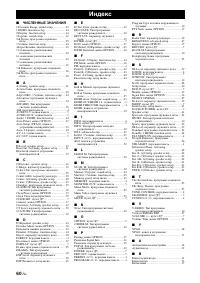
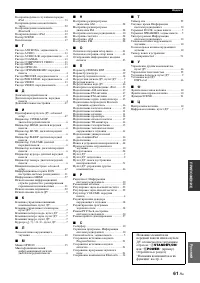
- 124 ЧИСЛЕННЫЕ ЗНАЧЕНИЯ; Индекс


