
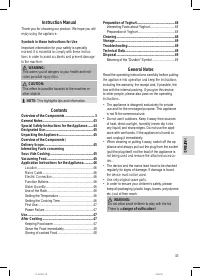
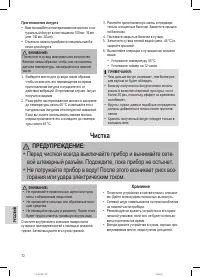
Мультиварки Profi Cook PC-SV 1112 - инструкция пользователя по применению, эксплуатации и установке на русском языке. Мы надеемся, она поможет вам решить возникшие у вас вопросы при эксплуатации техники.
Если остались вопросы, задайте их в комментариях после инструкции.
"Загружаем инструкцию", означает, что нужно подождать пока файл загрузится и можно будет его читать онлайн. Некоторые инструкции очень большие и время их появления зависит от вашей скорости интернета.


46
PC-SV1112_IM
18.03.16
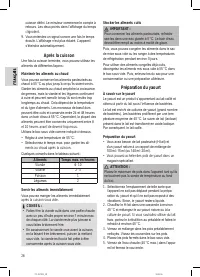
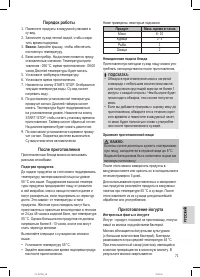
• You can purchase a vacuum sealer in a specialist
shop. From our product line we recommend the
vacuum sealer PC-VK 1080 and the corresponding
spare bags and foils. Contact your dealer.
•
Vacuum Sealer PC-VK 1080
Item No.: 501 080
•
Spare bag, size 22 x 30 cm
Item No.: 8 910 151
•
Spare bag, size 28 x 40 cm
Item No.: 8 910 152
•
Foil roll, size 28 cm x 6 m
Item No.: 8 910 155
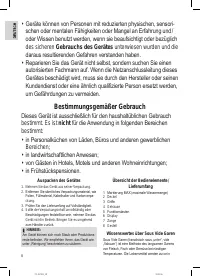
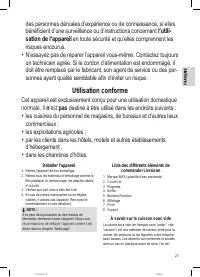
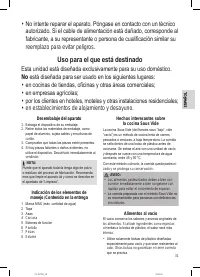
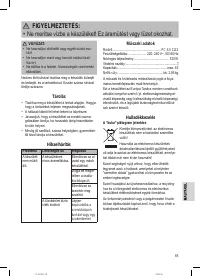
Application Instructions for the Appliance
Location
•
Set the appliance onto a non-slip, level, and
heat-resistant surface.
•
Take care that the appliance and the mains cable
never are placed onto hot surfaces or near heat
sources (e.g. range, hob).
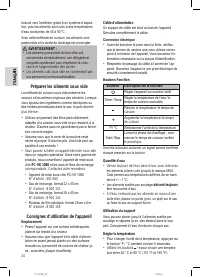
Mains Cable
A cable holder is located on the bottom of the appli
-
ance. Unwind the mains cable completely.
Electric Connection
•
Before inserting the power plug into the outlet,
check that the mains voltage to be used matches
that of the device. You can find the required infor
-
mation on the nameplate.
•
Observe the cable guidance on the rear of the
appliance. Connect the device only to a correctly
installed safety socket.
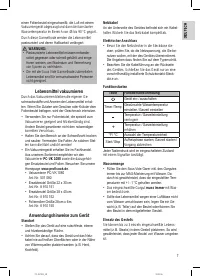
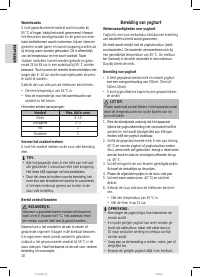
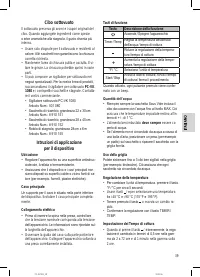
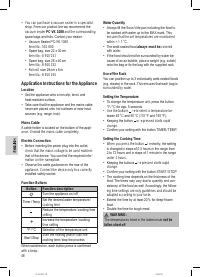
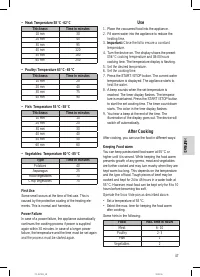
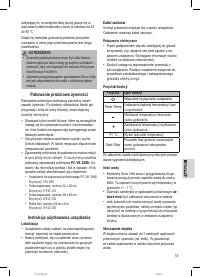
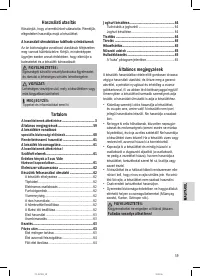
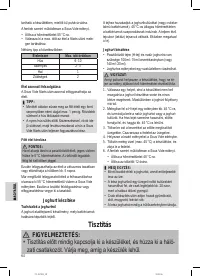
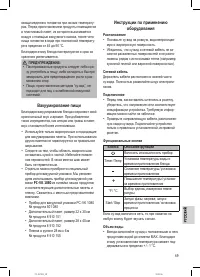
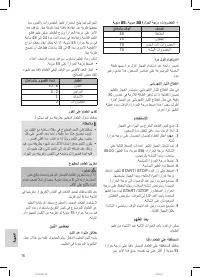
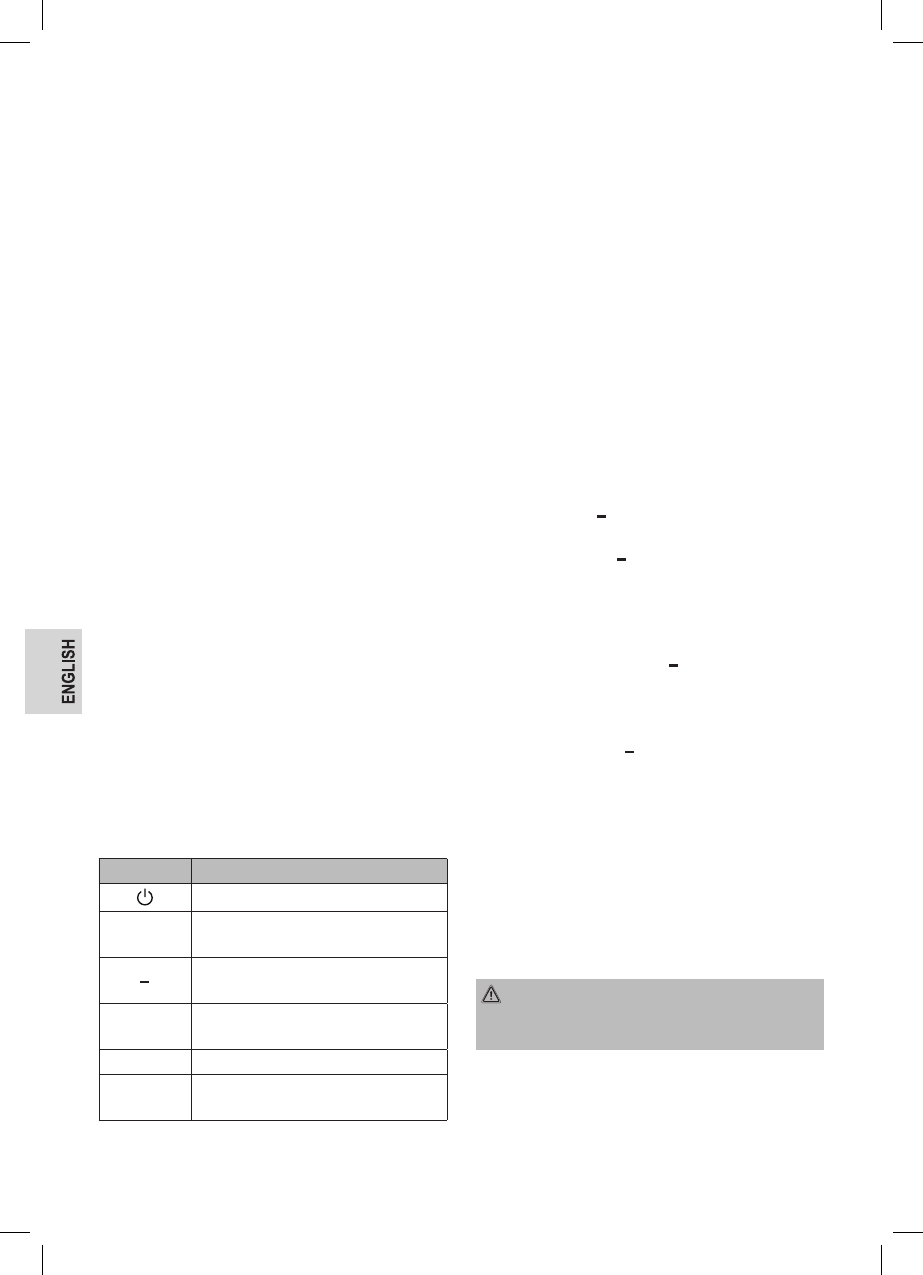
Function Buttons
Button
Function description
Turn the appliance on / off
Timer / Temp Set the desired water temperature /
cooking time
Reduce the temperature / cooking time
setting
+
Increase the temperature / cooking
time setting
°F / °C
Selection of the temperature unit
Start / Stop
Start the heating phase; start the
cooking time / stop the process
When switched on, each button press is confirmed
with a beep.
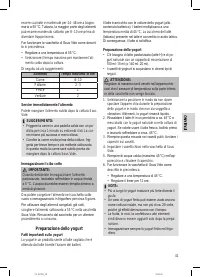
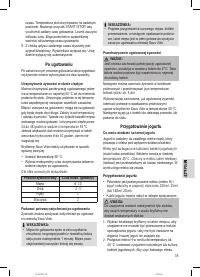
Water Quantity
•
Always fill the Sous Vide pan including the food to
be cooked with water up to the MAX mark. This
ensures that the set temperatures are maintained
within + / - 1 °C.
•
The weld-sealed food
always must be covered
with water.
•
If the food should not be surrounded by water be
-
cause of an air bubble, place a weight (e.g. a dish)
onto the bag or fix the bag with the supplied rack.
Use of the Rack
You can position up to 3 individually weld-sealed foods
(e.g. steaks) in the rack. This ensures that each bag is
surrounded by water.
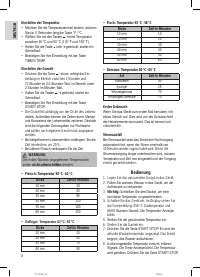
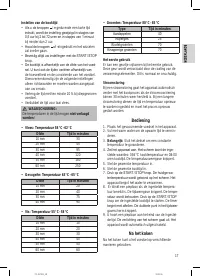
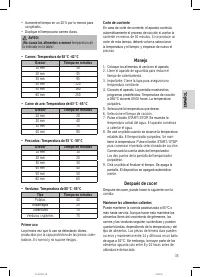
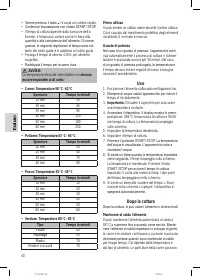
Setting the Temperature
•
To change the temperature unit, press the button
°F / °C for app. 5 seconds.
• Use the buttons
/
+
to select a temperature be-
tween 45 °C and 90 °C (115 °F and 195 °F).
•
Keeping the button
or
+
pressed starts rapid
change.
•
Confirm your setting with the button TIMER / TEMP.
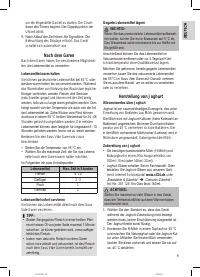
Setting the Cooking Time
• When you press the button
/
+
shortly, the setting
is changed in steps of 0.5 hours in the range from
2 to 72 hours and in steps of 1 minute in the range
under 2 hours.
•
Keeping the buttons /
+
pressed starts rapid
change.
•
Confirm your setting with the button START / STOP.
•
The cooking time depends on the thickness of the
food. The times may vary due to quantity and con
-
sistency of the food as well. Accordingly, the follow
-
ing time settings are only guidelines and should be
adapted according to your taste.
•
Extend the time by at least 20 % for deep-frozen
food.
•
Double the time for tough meat.
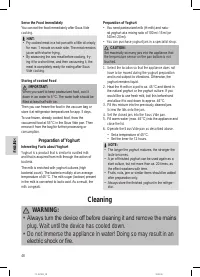
WARNING:
The temperatures listed in the tables must
not be
fallen short of!
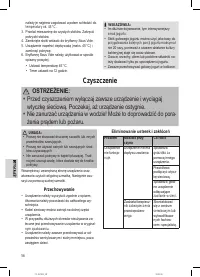
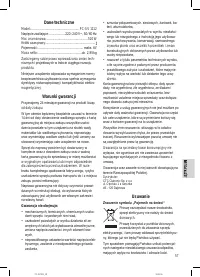
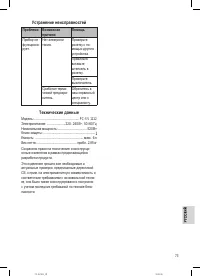
Характеристики

Остались вопросы?Не нашли свой ответ в руководстве или возникли другие проблемы? Задайте свой вопрос в форме ниже с подробным описанием вашей ситуации, чтобы другие люди и специалисты смогли дать на него ответ. Если вы знаете как решить проблему другого человека, пожалуйста, подскажите ему :)


